













![Drone | Arduino #16: La Boucle d'Asservissement d'un Drone Bicoptère [TUTO]](https://i.ytimg.com/vi_webp/BgVtylvH4nA/maxresdefault.webp)




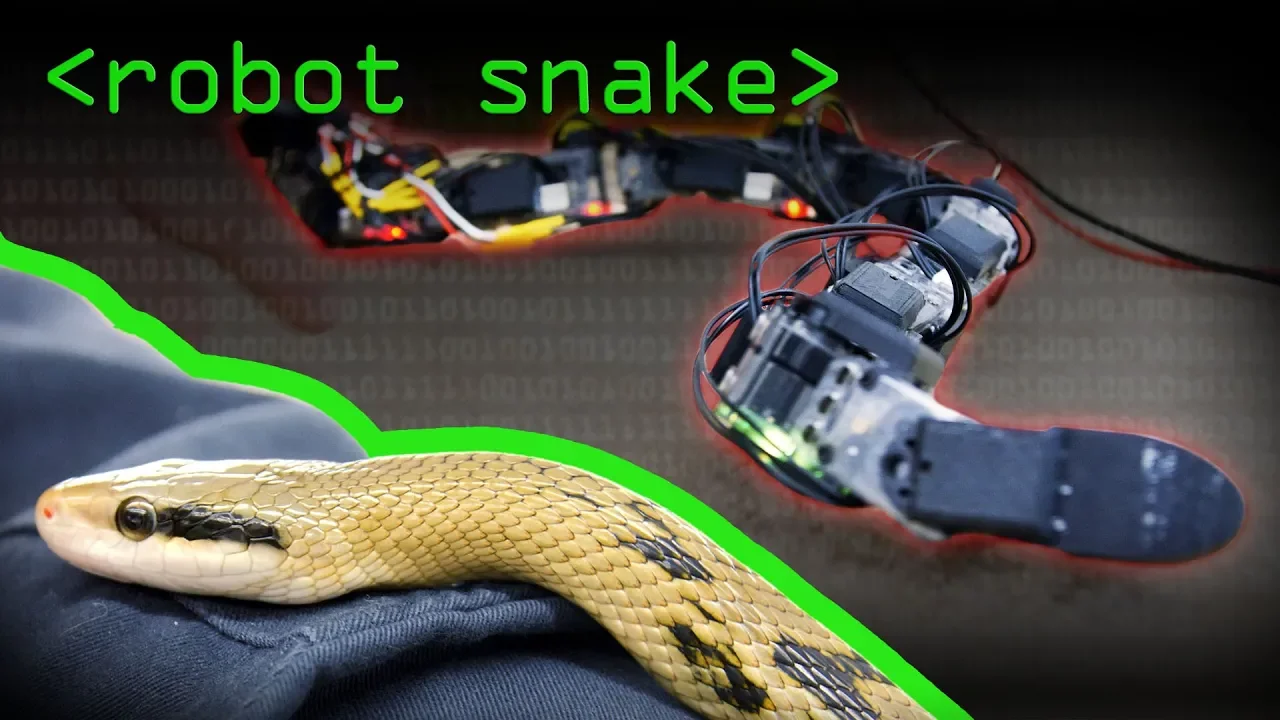
A modular snake robot uses interconnected segments with servo motors to achieve flexible movement in multiple directions, where each segment contains its own electronics (Arduino, motor drivers, battery) and communicates via serial bus, enabling complex locomotion patterns like bending up/down and steering left/right; however, the robot's ability to carry weight and navigate obstacles depends on servo strength, motor power, and proper load distribution across segments.
Engineering a Rideable Snake Robot: Design, Build, and Testing
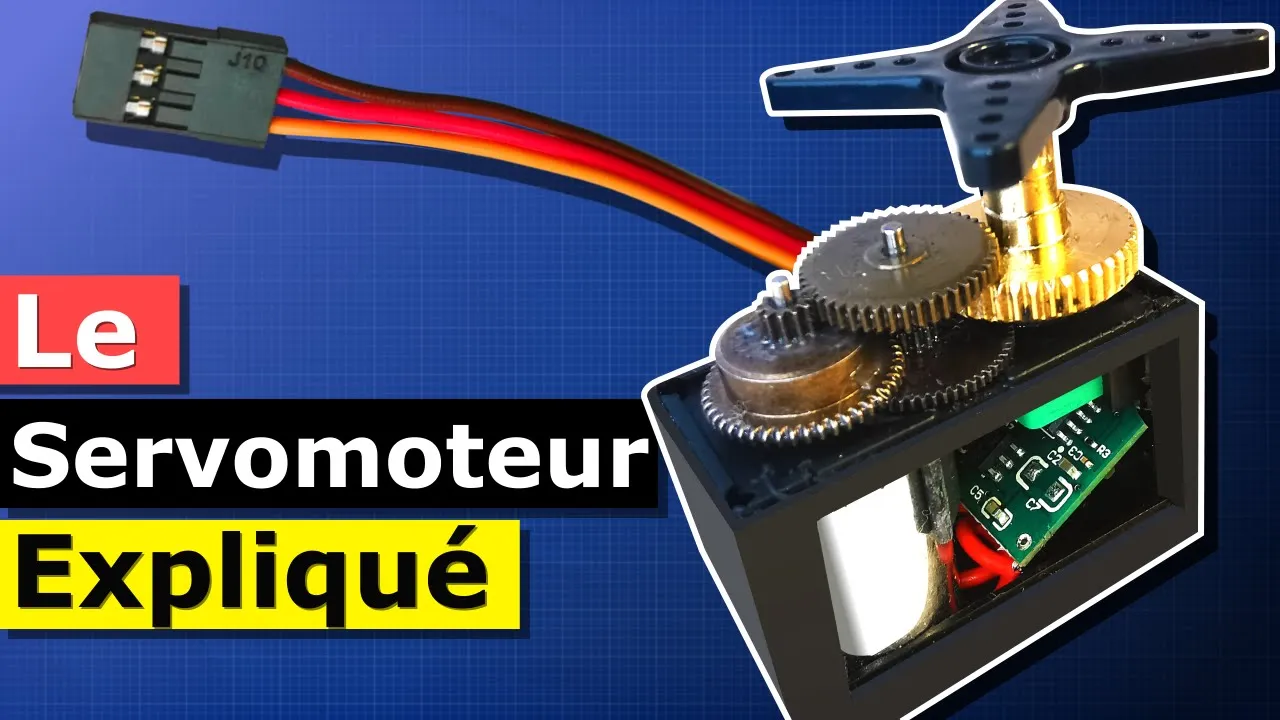
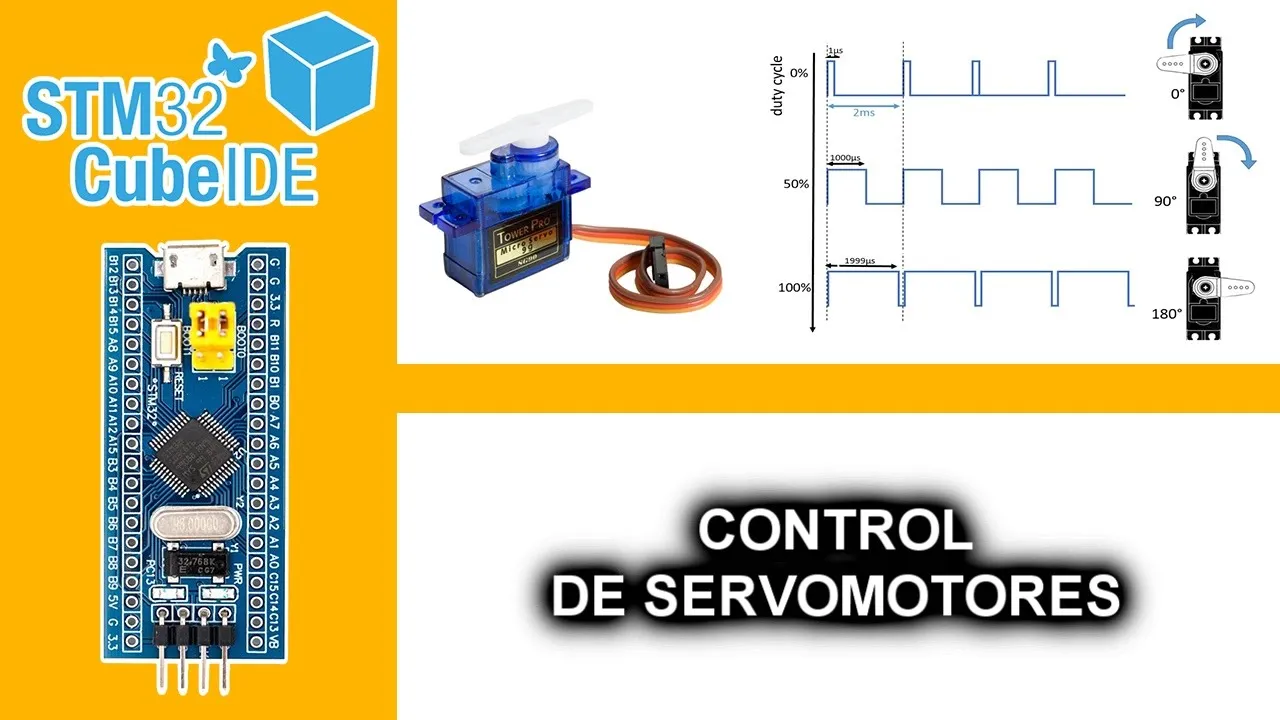
Added:Basic mechanics and servo motor operation, including torque calculations, gear ratios, and pulse-width modulation (PWM) control.
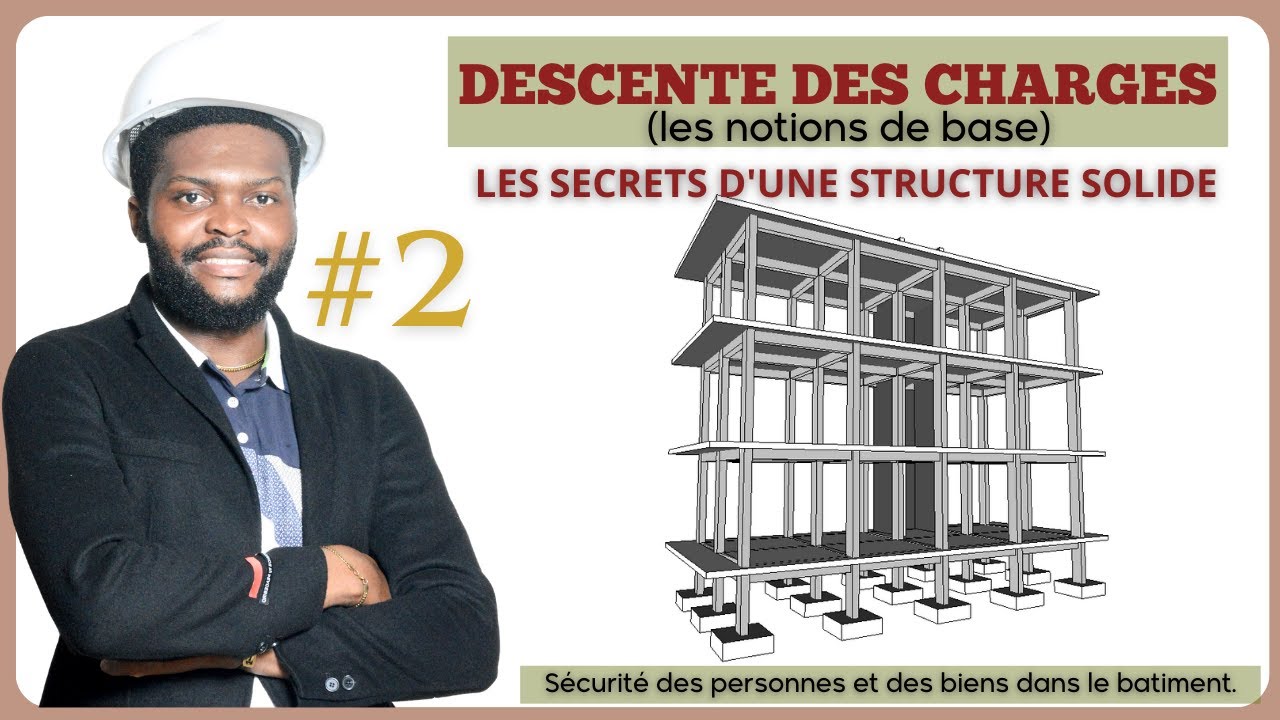
Fundamentals of structural engineering and material selection to support dynamic loads and weight distribution.
Introduction to multi-link kinematics and the physics of modular robotic locomotion.
Basics of wireless communication protocols and microcontrollers used for remote embedded systems control.
Advanced snake locomotion gaits, such as lateral undulation, sidewinding, and gait optimization algorithms.
Implementing closed-loop control systems with IMUs (Inertial Measurement Units) and load cells for active stabilization and balance.
High-power system design and battery management for high-current robotic actuators.
Autonomous navigation and path planning for snake robots in unstructured or hazardous environments using sensors like LiDAR and computer vision.
117.3K views4.9Klikes18:24Original Release: 2022-08-09
it's part two of the giant rydon snake robot this is the small one that i built a while ago and you can check that out in my channel and now i'm making one big enough to ride on this is half of it but this piece goes and links to another two segments which i built last time that you can check out in last week's video so each of these segments has got a driven wheel in and it's got two wiper motors that are going to act as servos so it can bend in both directions it's definitely strong enough to ride on and this time we need to put the electronics in and some sort of seat to sit on and some sort of control system to drive it so the aim is that it can bend up and down and left and right i'm not sure if it's actually going to carry my weight and be able to bend up and down to go over obstacles very well because the servos aren't that strong but it's definitely an interesting way of steering and we'll see how it works at the end of the video first of all we need to turn those wiper motors into servos so they're going to need some feedback so i've got some heavier duty pots here than the normal audio ones that i would use on small projects and we've got a 3d printed t5 pulley with a captive nut and a grub screw that fits onto the pot and the pot fits onto a bracket and that mounts onto the mount which i made last time for the servo so on the servo itself of its steel servo horn i've got another 3d printed part i'm going to glue and zip tie down that fits neatly over the nut on the wiper motor and then the feedback pot is going to fit with a belt so that we can adjust this exact position and that fits onto the bracket that i made last time so when the wiper motor turns the servo turns its pot and we can get the feedback there's lots of 3d printed parts in this project including all of the pulleys all of the wiper mounts and all of the flexible linkages between the parts so just a quick add from my 3d printing sponsor thanks to lolzbot for supporting my channel with 3d printers and thanks to 3d fuel for the filament for this project and lots of other projects so check out 3dfuel.com so we've got our pulleys and our pots all fitted and that's on both sides on each of the segments so there's six in total each unit of the snake is going to be quite modular so in each one there's an electronics tray with an arduino mega a battery mount and also somewhere we need to mount two motor drivers for each of the two wiper motors and there's also an esc for those hoverboard motors so we've got three of those together and those are linked together with a serial bus we have one which has got a radio receiver to receive data from my remote control and two which are just going to receive data from that one and control the other modules there are actually four sections but the front section doesn't have any wiper motors to push another section it just has a hoverboard motor so we don't really need dedicated electronics there i've been thinking about where to put controls for this so i can actually control it of course you've got various axes as well as the throttle to control and i thought about sitting on one of the back segments and putting some sort of steering column on one of the front segments it's quite bendy which means the steering wheel is going to actually move as i steer which is going to be quite tricky so instead i'm just going to make it wireless and use the good old open dog 3 remote which has got various axes of control and that means i don't have to bend my body while i'm steering and also i can just drive it with radio control as well and that's what the radio chip is for on that arduino to send serial data between those arduinos the main one is just doing a lot of serial prints and i'm using megas because they've got lots of serial ports so that makes it really easy first of all it's sending 800 which is a value that none of the other variables will be and that's an identifier so that we know where the start of the data is and after that it's just sending the other values on the receivers i'm just checking the serial data and then doing a loop basically going round checking that we get that value 800 and it knows that that's the first value after that we can read the other values in order and we know the data goes into the right place so for now i'm just printing those out to the serial terminal so if we do a plotter and i move the sticks we can see that we've got all that data and this is on one of those arduinos receiving it over serial so we've got various controls here to bend up and down and we've also got a differential control to bend the two servos in opposite directions when i steer so that it moves side to side like a snake but when i move up and down they both move together i can also move that control to the right hand stick so that i can use the throttle and the steering with one hand and that's purely so i can drive it and film with a selfie stick in my other hand in order to actually drive it though i'm gonna need a seat to sit on so we're back to the workshop to cut up some steel and make some additional pieces to mount on top yep i'm going to ride it like a motorbike because motorbikes are cool so i got this bike seat off ebay i can't remember what bike it's from but it's got these handy hooks in the bottom for mounting so i'm going to make up some steel to fit on there and so it can actually hook in on the mountings that it was intended to so i've just cut up some steel there to fit all the parts approximately then i'm going to tack weld all of that together and try and see if i can fit it to the seat the rest of the robot's already made from steel so once i've made this and fit it to the seat we can just fit that onto the existing structure so i'm going to cut out some slots here which are for those hooks on the bottom of the bike seat so hopefully we can hook them in and if we get it right we should be able to clip it on just like it would clip onto a motorbike presumably so we've got two slots in our piece of u-shaped metal that we now have and those should fit pretty accurately into the two hooks and the rest of the steel is supporting the seat so that seems like it's going to work so with that bracket attached we can now try and place it onto the rest of the robot and i can see how i'm going to sit on it it's pretty low to the ground so i'm going to be leaning forward quite a bit and i need definitely to support the front of my body somehow but i really don't want to attach it to the front of the snake because then i'll be twisting left and right as i steer but we're going to fix the seat on first so i've added another bracket to the bottom here and now i'm just going to tack that onto one section of the snake of course because it still needs to flex so it's going to be fitted onto that section that's the second from the back and i've put that at an angle so the seats actually level which is presumably how it should be and that means that when i sit on it it's a bit more like riding a bike so i could ride it feet forward like a big old harley with monkey hangers or probably not i'm gonna ride it like a sports bike so yeah i definitely need to um put my feet somewhere that isn't on the wheels and i definitely need to support the front of my body because i just can't hold that position otherwise it's impossible so i've made another bracket which is going to fit also onto that section and this is kind of a set of handlebars so that fits into two holes that i've drilled on the same section that the seats mounted on and it gives me something to rest on it does need to be quite high up though so the snake can still flex upward and there's still clearance and i've put some foot pegs in which are just some tubes banged into the square section now they are on the back section which is going to flex but it's not too hard to move my feet backwards and forwards as it does so so i don't think that's going to pose too much of a problem so back to the electronics we've got the arduino mega in a box with a breakout board for all of the i o and power made from some strip board i've also got the two motor drivers wired in a servo connector for the esc for the hub motor and two pot wires and there's three of those all together but before we carry on with that it's time for a quick ad from the video's sponsor which is on shape onshape is a cloud native cad and pdm platform built for business created by the founders of solidworks because they saw that modern product developers still experience many challenges related to their cad and pdm systems one shape is accessible across all operating systems and works like google docs so an on-shape document is a single source of truth for your design data onshape is great for working with teams using hybrid or remote working you can collaborate with team members at the same time on the same document across the world data management is built into on-shape there's no need for file management on your local hard drive one shape uses a github inspired version and branch emerge model for fearless design experimentation onshape has industry leading manufacturing specific features for sheet metal and frame based design as well as surfacing configurations and detailed drawings an on-shape is always improving new releases are pushed to the product every three weeks to add new features and functionality i highly recommend the engineers and product developers watching to consider using onshape for their business and you can try it for free at onshape.pro jamesbruton right let's get on with the snake i fitted the electronics in one section this is upside down with the wheels in the air at the moment so the motor drivers will be on the plate of plywood which is where the motors are and everything else is on that plastic mount which goes up the other way the esc for the hub motor is on the bottom which i'm not particularly convinced about is fairly recessed so hopefully i won't scrape it on anything so i've got my controls for bending up and down which bends both servos in the same direction and that seems to work pretty well and i can also bend left and right by twisting that stick or the right hand stick if i switch the other switch to move the control over so so far that's looking pretty good that just leaves us with three more sections to fit and one more hub motor to wire in for that full section at the front but so far i'm pretty happy with the outcome i did smooth out the values so that the data can't change too quick and it doesn't jerk around too much because the whole thing has quite a lot of mass and i did a demo in my channel about this with an animatronic set of eyes that i designed a while ago so you can check that out but basically what it does is take something like 90 percent of the previous value and only 10 percent of the new value when the values change it does that on a loop that goes around and around and that means the value can't change too quick and so we don't get really sudden motions and you can see that servo moving and giving feedback to its feedback pot which is controlled with the arduino with a pid controller to position it so these servos look like they should be pretty good for some fairly heavy-duty animatronics i've now fitted the second section which is pretty much the same as the first one with the electronics linked on that serial bus so now we've got both hub motors which move together so that's working okay and we've got all of those servos moving together which you can just see the second one in the bottom of the shot so as we can see all of those servos move in the same direction so this second segment is going to link to the third segment and that means the whole thing is going to flex in unison with all of those sections moving together the front sections are also wired in now so that third section has the electronics again and the front section just has the esc and a battery so with all of the sections moving together i haven't linked them in the middle yet because i've still got to carry the whole thing downstairs and it's enough trouble in two halves but we can see that all of those move in unison so that should be good so let's put it all together we can see that it can bend up and down and it can also steer left and right and it can dry steer even though those wheels are actually really grippy and it's really heavy there is a problem though which is one of those servos isn't moving properly in the middle section you can see just there so it bends left and right okay but bending up and down is a real problem so i'm just going to take the rod off there and see if the servo's working or what happens but it looks like that's working fine so it seems like there's just too much load on it with certain moves when it's right in the middle of the robot so i've got no problem moving to the full extent there but when i put the whole thing back together then that one doesn't push forward anymore now those motors on that section are actually getting really hot which is a bit concerning because it means the motors are over driven the back ones are cold though so i guess it's just a problem which the middle segment has got the load of the rest of the robot on when it's trying to arch its back and the servos just aren't up to it so it's probably not going to lift all of my weight so it's time to give it a test outside this is the first time i've driven it so i'm not going to ride on it to start with i'm just going to drive it around remotely and try and get a hang of the steering and the throttle i do have reverse as well so that's pretty good so we can do three-point turns and things like that you'll see the wheels are lifting off the ground slightly as it flexes but obviously with the person on that'll apply some extra mass to push them down so it's time to put the seat on and i've also attached some headlamps right so with that sort of handlebar thing on which isn't actually for steering i can ride it okay the only problem is i'm pushing my mast down quite a lot on that lever which is tipping that second section from the back where the seat is attached and lifting the back wheels off the ground also as i steer is moving my body in the opposite direction of course which is causing me quite a lot of problems and makes it really hard to ride so yeah you can see as i push down on there it's lifting the back off which you'd kind of expect i'm pushing those servos back and that steering rest is actually moving the opposite direction to the way i'm steering which is really disconcerting because it's like adverse camber so we're going to take that off and i'm going to try and find some other way of riding it we need to find another way to ride it and i definitely need to rest the front of me on something i don't want to be too far forward because i don't want to bend too much but i think i'm probably going to have to be because otherwise it's just really uncomfortable so this is the most comfortable position but i'm gonna have to bend my whole body left and right as i steer but anyway let's give that a go so this is actually much more comfortable it's not as bad as i thought it would be and after going quite slow and just getting a hang of the steering and remembering to flex my whole body as i do so it's actually not too bad i could probably do with some foam arm rests because the top of those headlamps are a bit sharp but actually it's not too uncomfortable to ride and it feels like quite a natural riding position [Music] so [Music] it [Music] it is of course possible to sit up on it and ride it like a go-cart but it's a lot harder to take those corners because you're much higher up and so you've got a higher center of gravity so you really have to lean into it so much prefer riding it in bike mode [Music] now i've had a bit of a go on it and got used to steering and driving it's time to test out my skills with some cones [Music] me [Music] [Laughter] [Music] so steering works okay but we've obviously still got this problem with flexing it in the other direction it just about works with no load on it but of course if i sit on it then it doesn't really work at all i also think that if we can have something that climbs over obstacles we probably need more than one drive wheel on each segment maybe tank tracks and definitely some heavier duty servos but in any case it's a really fun radio control car to drive around it's pretty dangerous because of all the mass but it's definitely got enough power with all of those hoverboard motors and i'm only running them on 6s lipos when they're rated for 10s we could run them up to 12 cell lipos and in that case we'd have twice as much voltage driving twice as much current which would give us four times as much power because power is voltage times current and because i made the whole thing quite modular i can drive two sections around as well which also makes a really fun radio control car and probably one that's slightly less dangerous and the steering seems to work perfectly fine with those two driven wheels in opposite corners and the two passive wheels in the other opposite corners and just using the servos for steering and there's no differential drive in any of this because the motors for the wheels are just being driven in current mode so they just go as fast as they can well that was a super fun project to build i think we're going to need another version though if we want to do anything more adventurous than flat ground so it's going to climb over terrain and flex up and down then we're probably going to need more traction than just those four hoverboard motors in the corners probably we need more like four motors per section or something else like tank tracks as i said and we're probably definitely gonna need some stronger servos i'm gonna try and develop something for bigger pieces of animatronics and robots like this that's still quite cheap the wiper motors are only about 20 pounds but it's much stronger so either that geared down or something with perhaps a ball screw like a linear actuator so look out for that i'm going to publish all the cabin code for this project as i usually do so that's in the link in the description to this video on my github so if you'd like to support me through patreon or youtube channel membership those links are in the description as well and patrons and youtube channel members can get access to all the videos up to a week early and sneak peeks and pictures of what's coming up so you can be part of that discussion alright that's all for now [Music] you
Up Next

78:10
Bioinspired Snake Robots: Principles & Locomotion | IROS
@IROS-xu5it
111 views•2014-12-11

58:25
MathWorks Virtual RoboSub Simulation Environment | Webinar 2026
@RoboNationInc
209 views•2026-03-10

13:24
Designing a Ball Balancing Robot: HAL 9000 Build, Mechanics, and Control Systems
@jamesbruton
194.7K views•2020-06-16

25:22
Micromouse: The Fastest Maze-Solving Robots on Earth
@veritasium
23.5M views•2023-05-24
Related Study Plans & Knowledge Roadmaps
Structured learning paths in Robotics
robotics
Building Delta Robots: Kinematics & Pico
01Foundations of Delta Robots & Mechanical Design
02Electronics and Microcontroller Setup with Pi Pico
03Delta Robot Kinematics and Coordinate Math
+ 3 more learning modules
65h6 modules
Explore Roadmap
robotics
Building Ballbots: Dynamics, Kalman & LQR
01Embedded Electronics & Omniwheel Actuation
02Ballbot Kinematics & Rigid Body Dynamics
03IMU Sensors & Kalman Filter State Estimation
+ 2 more learning modules
42h5 modules
Explore Roadmap
robotics
Micromouse: Hardware, PID Control & Flood-Fill
01Electronics & Teensy Microcontroller Basics
02Sensors and Actuators: Motors, Encoders & IR
03Precision Movement: Implementing PID Control
+ 2 more learning modules
35h5 modules
Explore Roadmap
robotics
CDPR: Kinematics, Arduino & Winch Control
01Foundations of Arduino & Basic Electronics
02Stepper Motors and Winch Mechanics
03Kinematics of 2D Cable-Driven Robots
+ 2 more learning modules
28h5 modules
Explore Roadmap