




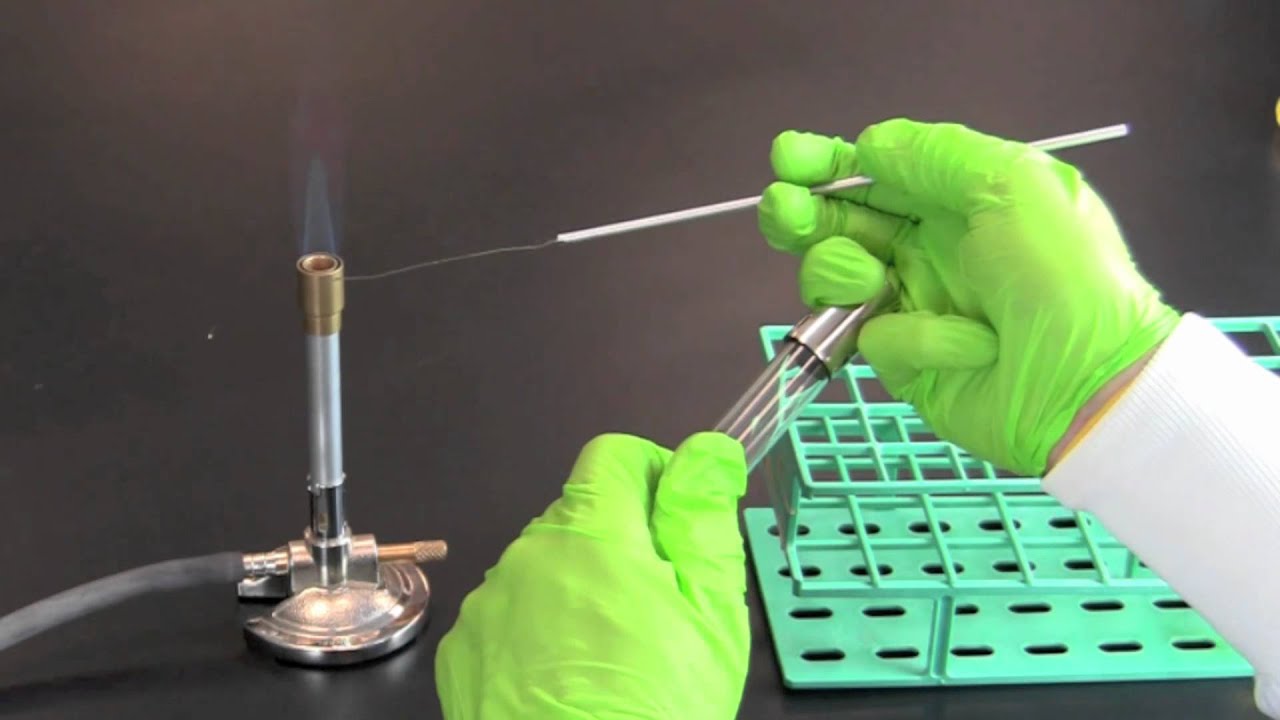


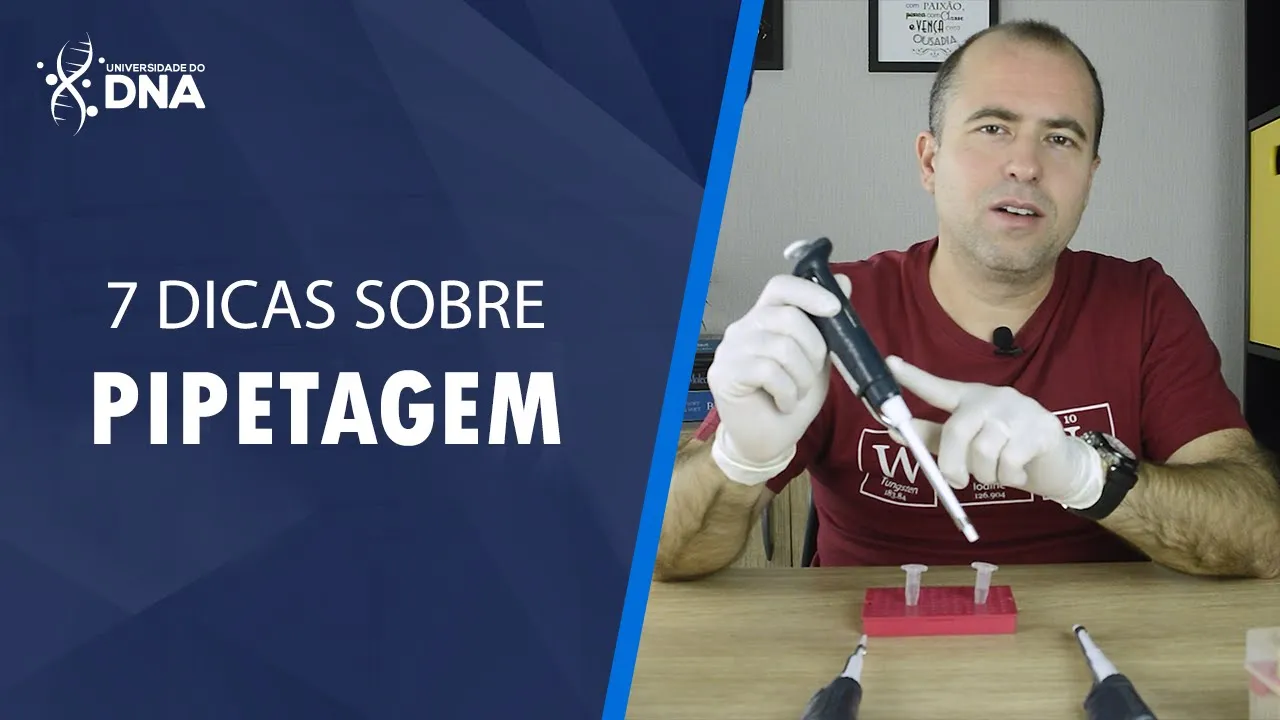

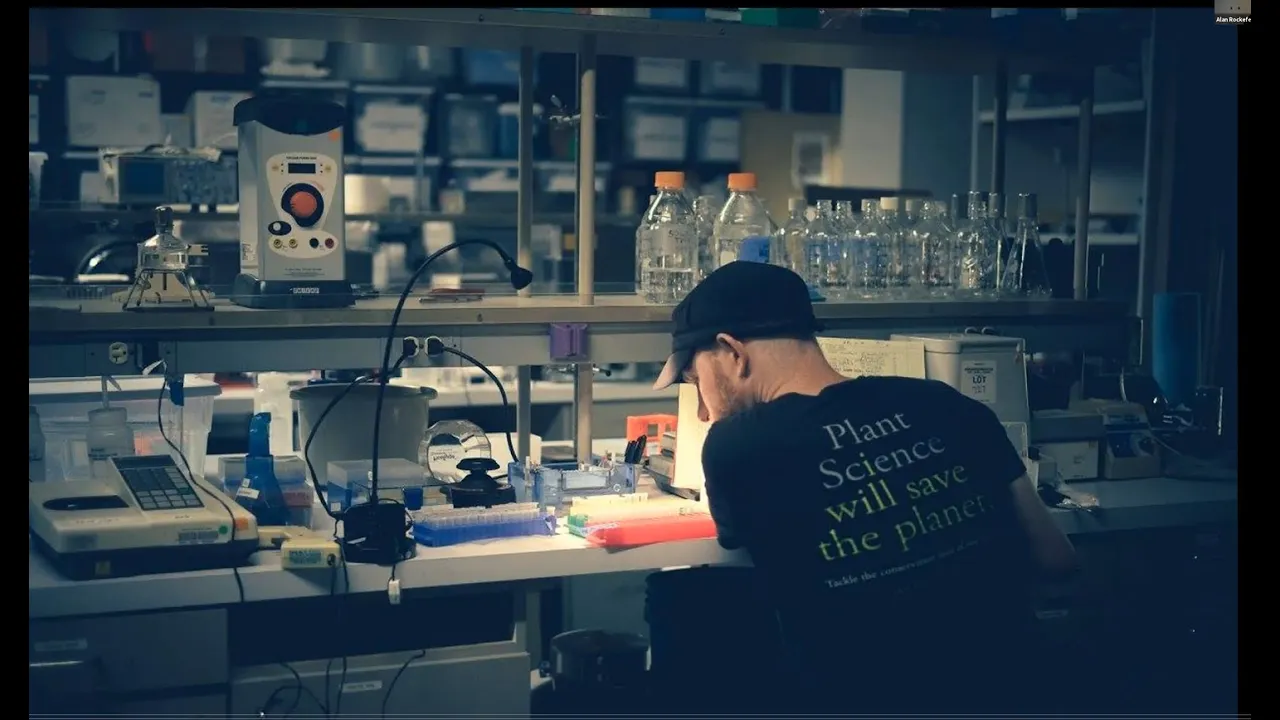












This video demonstrates the complete process of setting up PCR reactions using GoTaq master mix, including creating a master mix with primers and reagents, aliquoting into individual tubes, adding DNA templates, and loading onto a thermocycler; key principles include working in a clean bench environment, keeping reactions cold to prevent premature Taq activation, and using a master mix approach to reduce contamination risks while maintaining proper reaction volumes.
Setting Up PCR Reactions | GoTaq PCR Protocol Tutorial
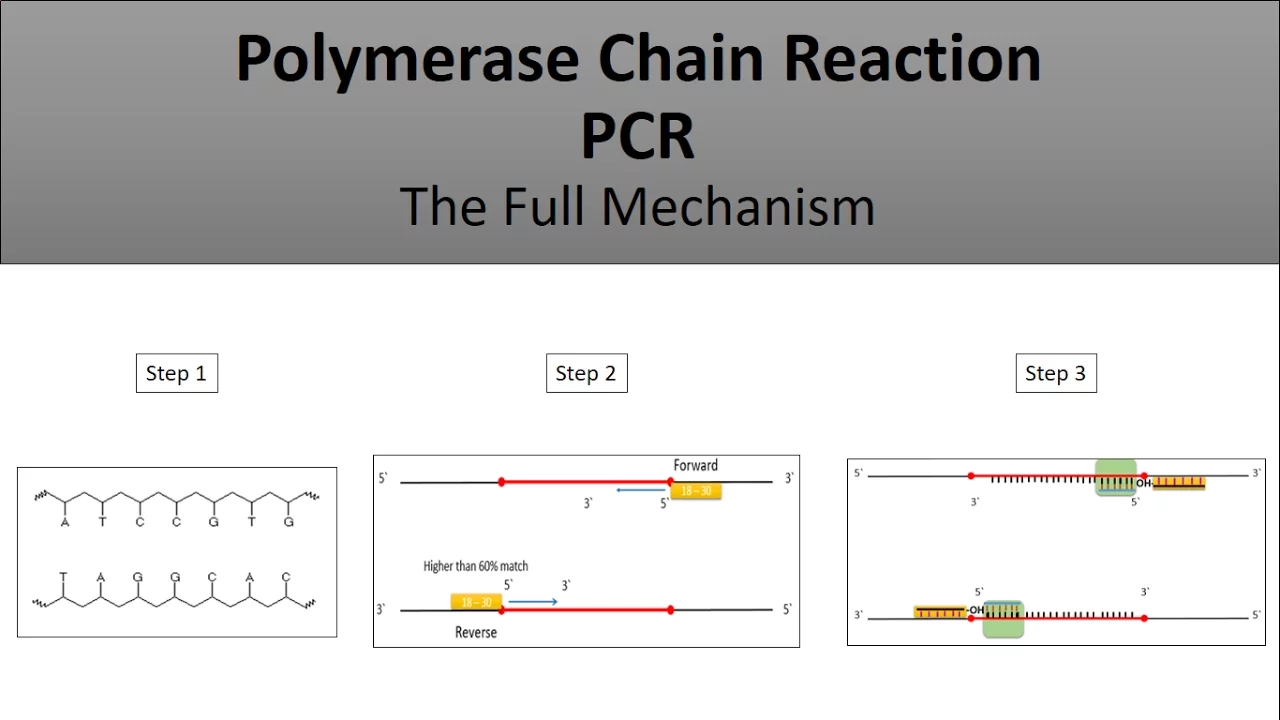
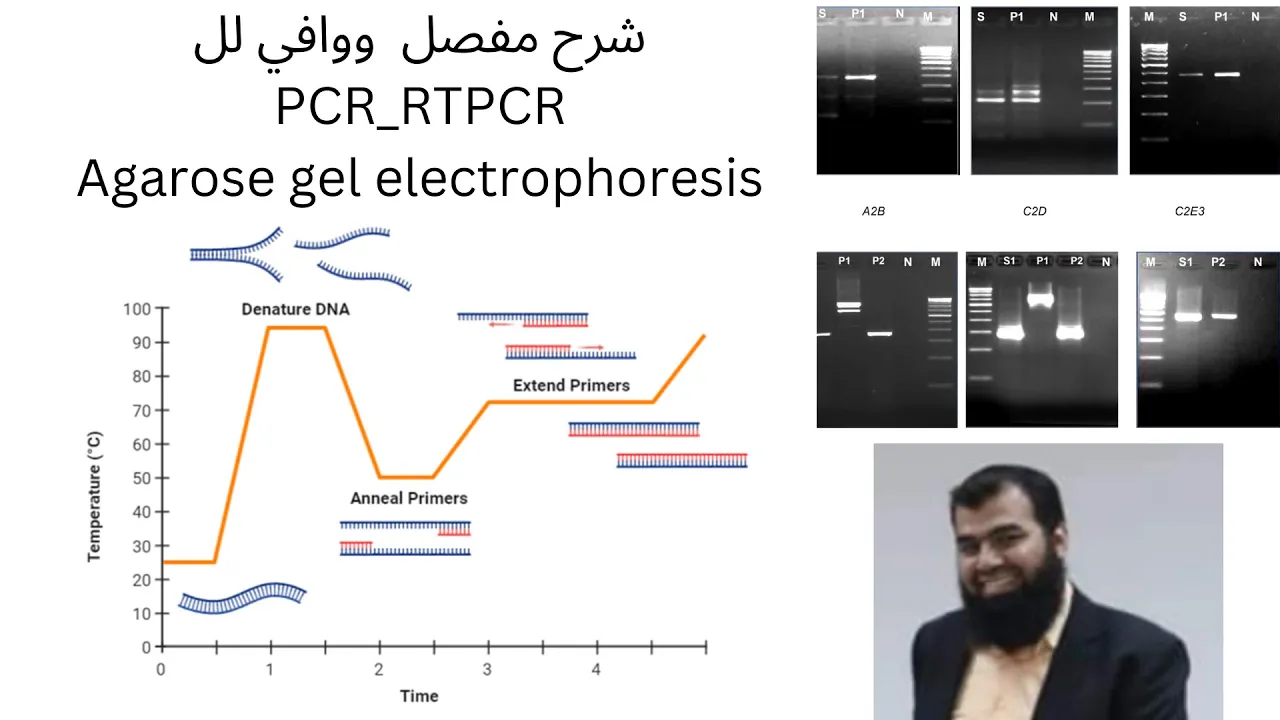
Added:Understanding the theoretical principles of Polymerase Chain Reaction (PCR), including the three main thermal cycles: denaturation, annealing, and extension.
Familiarity with the key molecular components of a PCR reaction, such as DNA templates, forward and reverse primers, dNTPs, and Taq DNA polymerase.
Proficiency in basic laboratory safety and aseptic techniques to prevent DNA or nuclease contamination.
Mastery of micropipetting techniques for accurately measuring and transferring microliter (µL) volumes of liquids.
Analyzing PCR products using Agarose Gel Electrophoresis to verify successful amplification and size determination.
Troubleshooting common PCR issues, such as primer-dimer formation, non-specific amplification, or complete lack of product yield.
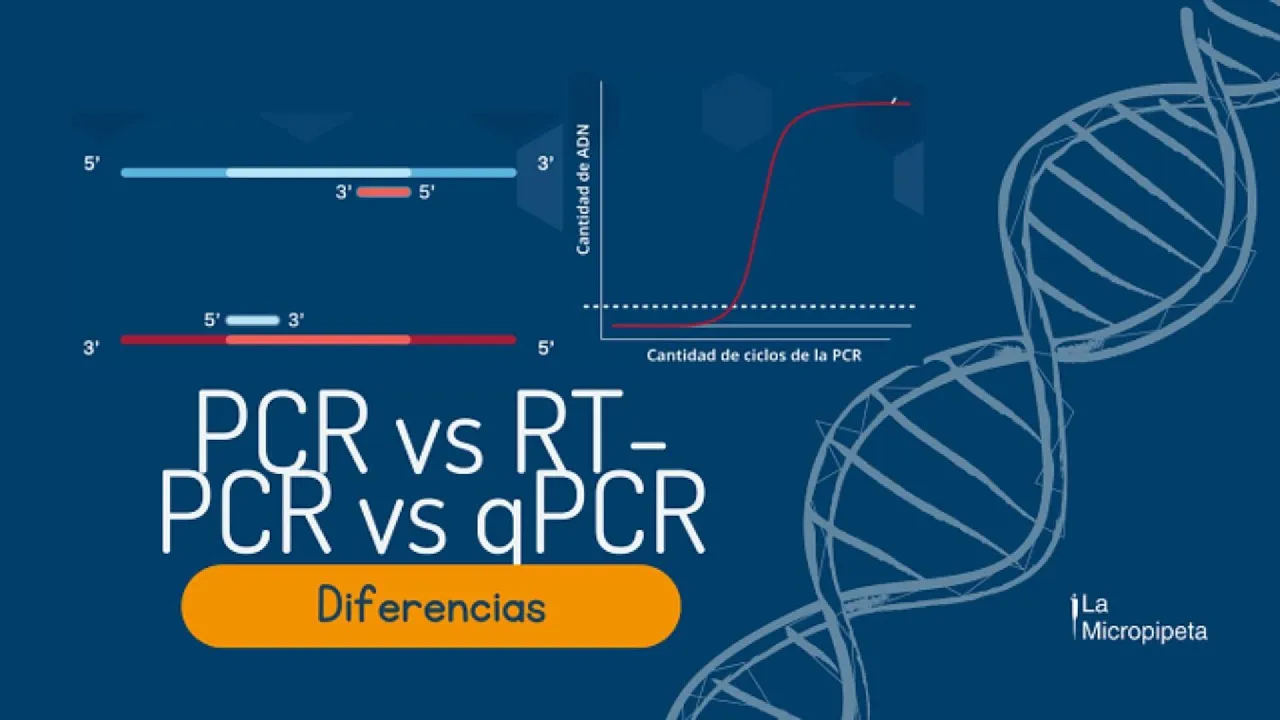
Exploring advanced PCR variations, including Quantitative PCR (qPCR / Real-Time PCR) and Reverse Transcription PCR (RT-PCR) for gene expression analysis.
Understanding downstream applications of purified PCR products, such as Sanger sequencing, molecular cloning, and restriction enzyme digestion.
1.1K views21likes11:00Original Release: 2020-09-26
i'm now going to do a pcr of the samples we extracted together i'm currently working inside the clean bench i've sterilized the camera before i put it in the clean bed so this is an environment that you can flood with uv light to make it completely steer on and between you and me there's an air current pushing any of my cells back out of the clean bench so nothing in this area is being exposed to my dna the first thing i'm going to do is wash my gloves using 70 ethanol because my gloves are not actually sterile and this will get off any bacteria or dna that i've picked up on my gloves while i was preparing my work area or that might have been present in the box of gloves so ethanol will evaporate fairly quickly so i just would give that a minute to do that this is a rack that is used for pcr as you can see it's purple but if i touch the corner here it becomes pink this rack color changes depending on its temperature so when it's in the freezer at -20 it's purple at room temperature it's pink this will allow me to keep my tubes cold while i'm working and then the rack you can see just here is the standard rack that we were using earlier with our dna extractions i've got a range of pipettes to stop screen as well as some tips and i have some tubes and my rubbish disposal as well the liquids that i've got out here i've got our two dna primers so hco and lco these will allow us to determine which section of our genome we amplify in our pcr then i have my tech in this case i'm using gotek which is this green color this is a master mix so in addition to being tack polymerase it contains ndtps magnesium chloride buffer and a loading dye that will become important in a later step this allows us to reduce the number of reagents or separate tubes that we use to go into our mix so it reduces potential sources of contamination and reduces labor but by having something pre-mixed like this we also reduce our options for tailoring our mix to suit our purposes so much like instant cake mix it has some pros for convenience it has some cons for versatility and i also have some pure water so this is very pure water it doesn't contain dna or dna damaging enzymes okay so the first thing i'm going to do is get my pcr tubes so as you've seen with microcentrifuge i'm not putting my hand in the container and i'm putting the lids on them as quickly as i can so that they don't become contaminated these tubes have a maximum volume of 200 microliters so they're very small the microcentrifuge tubes you've seen have a maximum volume of approximately 1.7 ml or 1700 microliters for this extraction i need eight to two i'm just going to label these one through eight my pen is also sterile and was exposed to uv earlier so it stays in the clean bench next i need a microscope this one i'm going to label m for master mix my master mix is enough pcr reagents to do all eight of my tubes i make up one big collection and then i'm going to aliquot out into my smaller chips much in the same way i might make muffins i make one big mixture not 12 individual mixtures so i'm going to add promise the amount that i add is dependent on the number of samples i'm going to do if i need 0.8 microliters per sample i'm going to add 0.8 times 9 into my master mix so that comes to 7.2 i say times 9 instead of times 8 so that i've got a little extra just in case of error here's my hco my pcr primer and i'm going to put this now into the ice the blue ice tray that i've got off screen just to keep it cold and see you can see i've got a very very tiny amount of fluid we're now working in very small amounts now i'm going to add the same volume of my second primer you always need two primers and they have to be a matching set that will amplify the same fragment of dna next i'm going to add my water 48.6 microliters of water so that's 5.4 liters per sample so here to get the decimal i've had to use the little lines that you see here it works much the same way as a ruler finally i need 10 microliters for every sample so 9 19 microliters total of my go tank i'm adding this last because it's the most expensive reagent and i want to make sure that if i make a mistake and have to start again it's before i've committed a large amount of the most expensive product there we go you saw there i mixed by papet just up and down gently with a packet and now we're back to our pre-prepared smaller tubes into each one of these i want the final volume at the end to be 20 microliters but in addition to the master mix we've prepared i'm going to be adding three microliters of dna so i need to deduct that three microliters of dna from my 20 microliters of desired volume that gives me 17.
so i'm going to put in 17 microliters of our green master mix into each of these pcr tubes because these are stair off and this is all coming from the same shoe i don't have to change tips in between as long as i don't accidentally touch the tip we're going to open up all tubes and transfer and go along and add our 17 microliters of dna into each tube i'm going to watch what i'm doing to make sure each aliquot or each portion looks like the correct volume it's hard to be sure when you're first learning if it's the correct volume but over time you become used to seeing how much is in the tube and recognizing um if it's the amount that you think it should be and there we've got a little left over we knew that was going to happen because we put in enough for nine samples but we only have eight samples my master mix leftovers can now go on the end i'm now going to take my cold aliquots of master max out of the clean bench because i need to add my dna and i don't want to introduce dna into this environment in our usual work area i have my dna samples so i have the six dna samples that we extracted as a class plus a sample which i have previously extracted and no works and a sample of water so this is going to be our eight samples that we are going to pci amplify i then have my eight tubes i've recorded which one of these samples is going into tubes one two three four five six seven eight so i don't have to record large amounts of information on these very small lids i'm going to use a yellow pipette but you'll notice this one has a narrow tip where the previous ones you've been using had more of a blunt one this pipette instead of doing 20 to 200 microliters does 2 to 20 microliters which is stated on the top there this pipette when set to 200 you can see the second zero is red so it's actually 20.0 not 200. first adjust this down to three microliters zero three zero and i'm going to add three microliters of our first sample into tube one [Music] as i do this because i'm working with very small amounts of liquid i'm going to check that i've actually managed to get everything out of the tip this is sample number two pcr tube number two since it's a very much smaller tube than our microcentrifuge to the reason i'm keeping these samples cold that the tack polymerase that is part of our gotek master mix is activated by warm temperatures and i want to keep it inactive until beginning of the pcr press i don't want it to start doing anything or any reactions to occur at lower temperatures because the reaction is more accurate at high temperatures if i keep it on ice it'll be completely inactive but if i have it at room temperature something might happen so i've done our six class samples and then i have our seventh which is a mealworm beetle i know will work and a water sample which i know won't work because there's no dna in there and i have my dna plus my master mix and my pcr tubes so these each have a total volume of 20 microliters because we're looking at such small amounts of liquid it's very easy for a tiny tiny amount of liquid on the side of the tube such as this one you see here that tiny spot that can actually be a significant amount of dna or reagent we don't want that to be separate from the rest so i'm going to put these in the mini spin that we've seen earlier to draw everything in the tube down into the bottom i'm going to make sure that this is balanced i've got two sides and i've got two tubes at each corner so lid on i'm going to make sure that i am careful taking these out i don't want to bump them and i have to re-spin them okay okay this is our thermocycler sometimes you'll see it referred to as a pcr machine we've got we've got our plate in the middle with our circular holes and little sort of flowery shaped holes we want to make sure we put our sample into the round holes only not these ones you can tell obviously that's not going to sit very comfortably so the round holes are the way to go okay so i've got my samples in lid goes down select my program just a touch screen i'm gonna go with gotek pcr it's all done now we just put the unicorn on top for good luck
Up Next
4:39
Forensic DNA Analysis Updates and Training | January 2017
@FIUForensics
217 views•2017-01-19
20:08
Hollywood Fantasy Orchestrator RPG Expansion Pack Tutorial Walkthrough
@HighResolutionJapan
1.1K views•2024-03-08

9:49
FastAPI vs Flask vs Django: Choosing the Right Python Web Framework
@TechWithTim
302.5K views•2024-05-26

1:42
Game of Thrones Opening Credits: A Cinematic Analysis
@gameofthrones
46.3M views•2011-04-18
Related Study Plans & Knowledge Roadmaps
Structured learning paths in General & Interdisciplinary Studies
general-studies
Containerization: Evolution, Logistics & Trade
01Ancient Trade & Bulk Cargo: Amphorae to Barrels
02The Industrial Revolution & Cardboard Packaging
03The Containerization Revolution: Malcom McLean
+ 2 more learning modules
12h5 modules
Explore Roadmap
general-studies
Textile Tech: Evolution, Labor & Global Impact
01Pre-Industrial Textiles: Handloom & Cottage Industry
02Mechanization: The Spinning Jenny to the Power Loom
03The Factory System & Global Labor Transformation
+ 2 more learning modules
10h5 modules
Explore Roadmap
general-studies
Pharmacology: Botany, Patents & Biopiracy
01Foundations of Ethnobotany & Traditional Medicine
02The Birth of Synthetic Chemistry: Aspirin & Penicillin
03The Battle Against Malaria: Quinine to Artemisinin
+ 3 more learning modules
12h6 modules
Explore Roadmap
general-studies
Writing Surfaces: Papyrus, Parchment & Paper
01Ancient Foundations: Clay, Stone, and Egyptian Papyrus
02Parchment, Vellum, and the Rise of the Codex
03The Chinese Rag Paper Revolution and the Silk Road
+ 3 more learning modules
9h6 modules
Explore Roadmap