








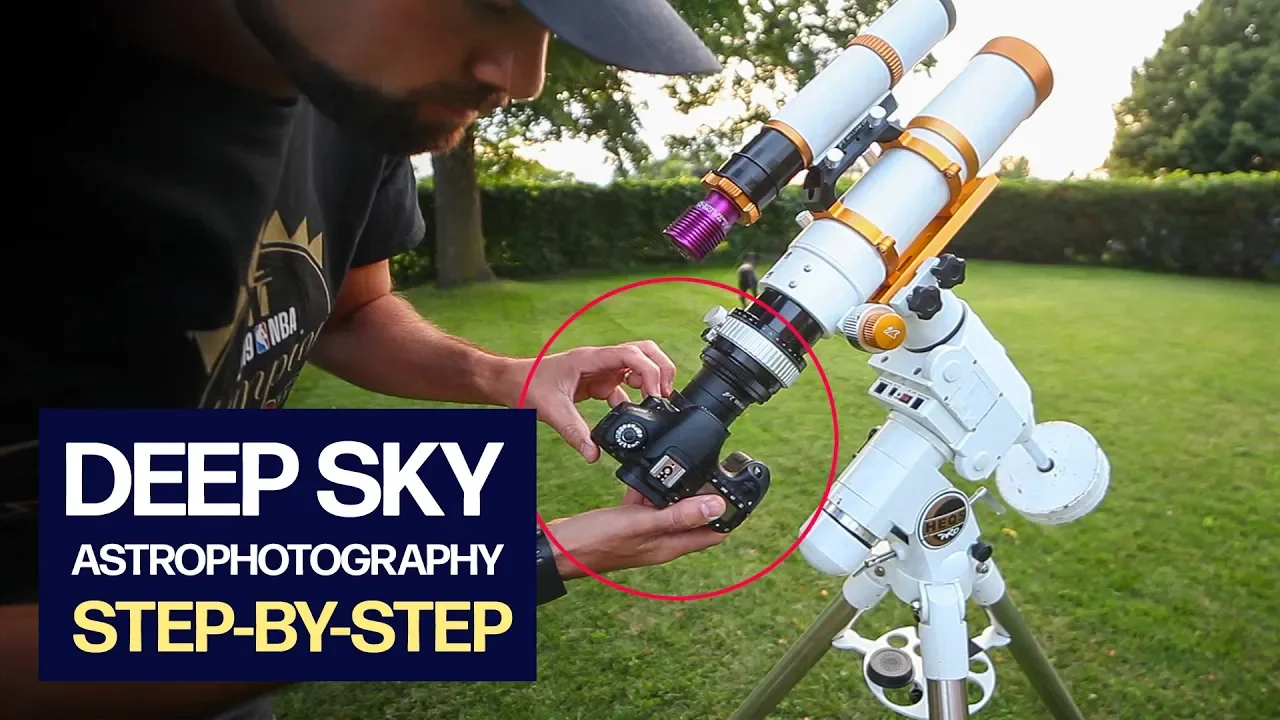



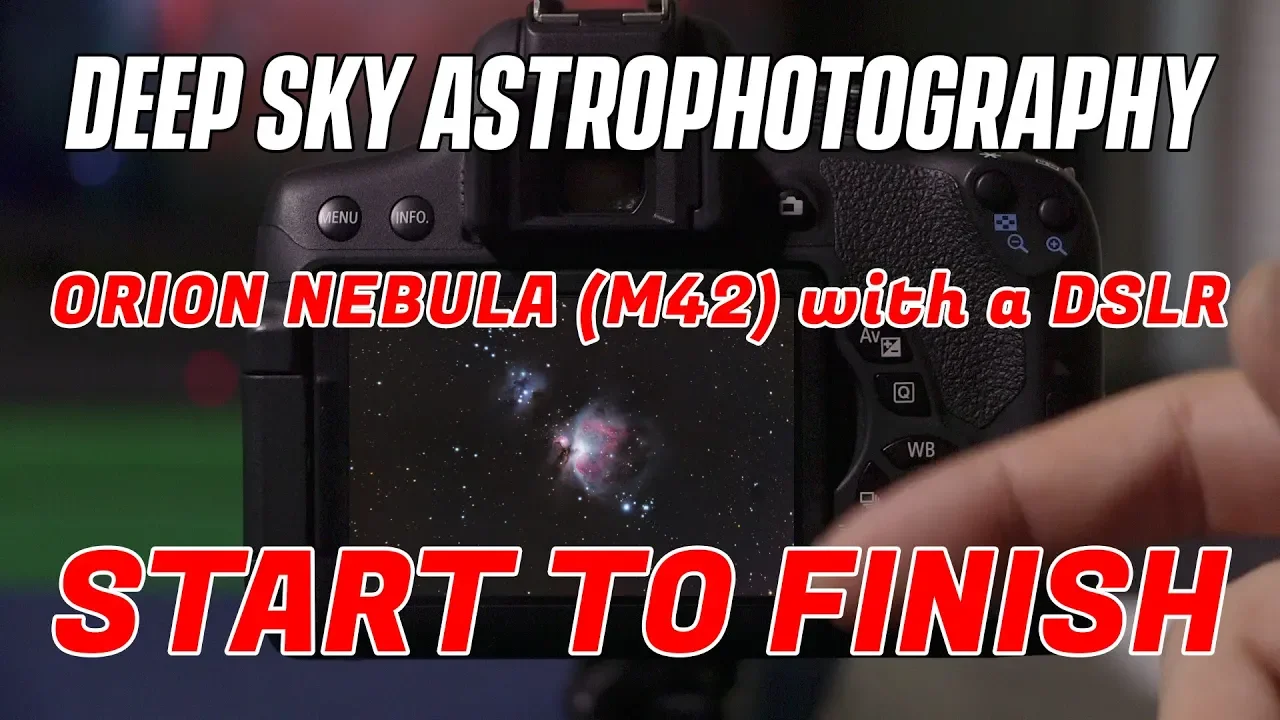










Calibration frames (bias, dark, and flat frames) are essential reference images in astrophotography that remove sensor noise, thermal artifacts, and optical imperfections from final images; bias frames capture the sensor's baseline noise pattern using the shortest exposure, dark frames match light frame exposure times and temperatures to subtract thermal noise, and flat frames correct vignetting and dust spots by capturing uniform illumination patterns under controlled conditions like a white T-shirt diffuser over blue sky.
Astrophotography Calibration Frames: Bias, Dark & Flat
Added:Basic understanding of digital camera sensors (CCD/CMOS) and how they convert photons into electrical signals and digital data.
The concept of signal-to-noise ratio (SNR) and why minimizing noise is critical in low-light long-exposure photography.
Familiarity with standard astrophotography acquisition terminology, specifically exposure time, gain/ISO, and 'light frames' (the target images).
An awareness of common optical imperfections in telescope systems, such as vignetting (light fall-off at the edges) and dust spots on the optics.
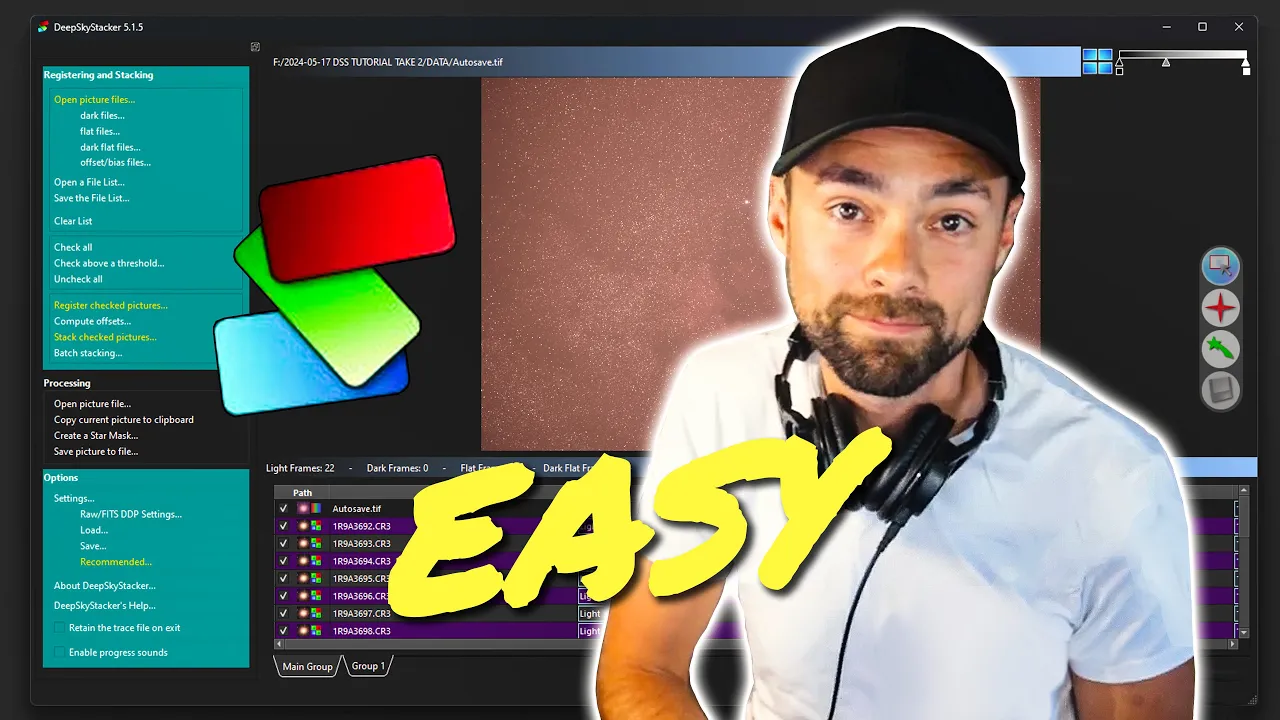
Using specialized astrophotography stacking software (such as DeepSkyStacker, PixInsight, or Siril) to calibrate and integrate light frames.
Understanding when to use advanced calibration frames, such as 'dark flats' (flat darks) to calibrate flat frames for CMOS sensors with amp glow.
Creating and maintaining a reusable 'Master Calibration Library' sorted by sensor temperature, gain, and exposure time to streamline future processing.
Post-stacking image processing workflows, including background extraction, color calibration, and non-linear histogram stretching to reveal hidden details.
9.2K views475likes8:44Original Release: 2022-12-03
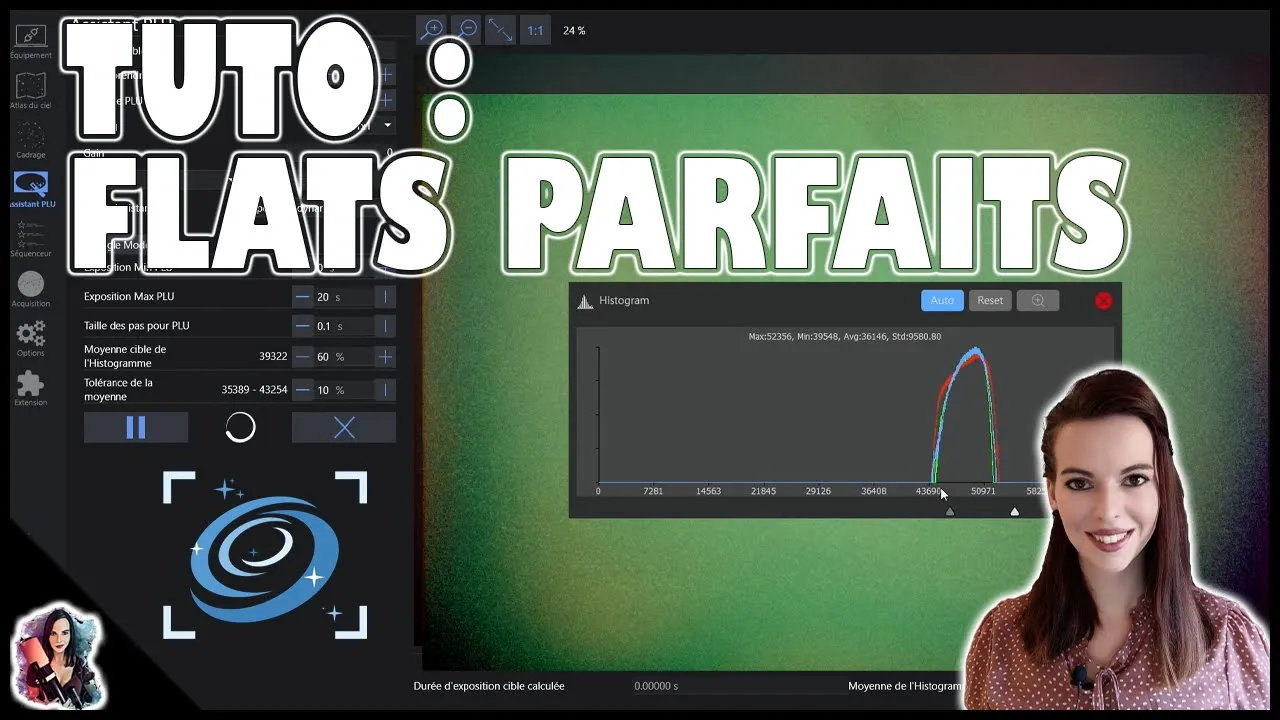
hello everybody and welcome back to the channel today we're inside talking about calibration frames now calibration frames are an important way to improve your images and I'm going to show you exactly how and why you should be taking calibration frames now I feel like calibration frames are one of those things that everybody know they should be doing but not everybody is doing so I'm going to try and break it down and make it as easy as possible so you can use calibration frames every time you process one of your deep space images now if you're not familiar with calibration frames these are additional photos that you take to try and remove noise and artifacts from your final image so these are different from the light frames that you take actually pointed at the Target during the night there are three main types of calibration frames and they are bias frames dark frames and flat frames I'll be showing you examples of all these that I used in my last Imaging session in my last video of the rosette nebula the first and the easiest calibration frame to capture are the bias frames these can be done at any time so they don't even need to be done during an Imaging session bias frames are simple and require two key things one of which is that you use the same gain and offset setting as your light frames if you're using a dedicated astronomy camera or the same ISO settings if you're using a mirrorless or DSLR camera it says be taken at any time you can build up a library of bias frames that cover all of the combinations of iso gain and offset that you typically use when you're Imaging the next key element of bias range is that you use the shortest possible exposure length of your camera so if you're using a DSLR mirrorless camera and you can get them through the LCD screen or potentially a scroll wheel and if you're using a dedicated astronomy camera you might have to look up what that shortest exposure time is in the manual for me with my ASI 2600mc Pro the shortest exposure length is 32 microseconds so that's what I'll be using in my advice right so that's how you take bias frames now we're going to hop over the computer and see what one looks like so we can see why it's important for our images so here I'm using ASI fits viewer which is a free zwo software and I have loaded in one bias one dark and one flat frame for the purpose of this video now I have selected the bias frame and if you've noticed all we can see here on the screen is complete Black so this is expected because we're using the shortest possible exposure length of our camera as well as we have the lens cap on so no light is reaching the sensor so looking at this you might ask yourself why is this important so let's take a look at what happens when we stretch this image so we pull up the histogram you can see that all of the data exists at the very beginning of the histogram which again is to be expected because of how short the exponential length was but let's do an auto stretch and see what this reveals look at all that grainy so what we're looking at here is the Baseline noise pattern of our sensor so if we were to stretch a light frame that was not calibrated with bias frames very aggressively eventually this pattern would start to show itself so ultimately the reason we are taking bias frames is so that when we stretch our final stacked image that this pattern doesn't reveal itself we subtract this pattern from our stacked image the next type of calibration frame are dark frames and these are pretty easy as well and also very important dark frames are similar to bias frames and also have similar restrictions you need to have your lens cap on no light to the sensor same gain offset ISO settings just as before but also have additional restrictions the first key part of a dark frame is that it needs to have the same exposure length as your light frame so if you're taking three minute pictures of the night sky you need to also be taking three minute dark frames the final element we need to consider for dark frames is the temperature of the sensor now this can be kind of tricky depending on whether you're using a dedicated astronomy camera or a DSLR mirrorless camera now if you're using an astronomy camera you can set the temperature of your sensor so you know exactly what it was at the time that you were Imaging the cooling of a dedicated astronomy camera is nice because you can build up a library of dark frames you know the temperature offset and gain settings that you're using so you can take them at any time and have them ready for any Imaging project now if you're using a DSLR mirrorless camera you're kind of at the mercy of the ambient temperature at which you're photographing so best practice is to actually take the dark frames on the same night that you're doing your Imaging now I understand taking dark frames every Imaging session isn't always possible and sometimes you'll be faced with the choice of taking more light frames or taking your dark frames and in those situations I say you should take more light frames what I did when I was using my DSLR was I did create a library of dark frames as best I could based on the ambient temperatures at which I took them so if I did an Imaging session and it was 45 degrees outside a lot of times what I try to do is maybe the next night would be cloudy and also 45 degrees outside so I would take my dark frames then ultimately anytime you take dark frames with a DSLR mirrorless camera I would be saving them in a folder and labeling them with the temperature that they were taking so you might be able to use them in the future if you didn't have the opportunity to take dark frames during your Imaging session DSLR and mirrorless Ash photographers have to get creative with it because you don't want to give up time actually photographing the Target and collecting light frames as for dedicated astronomy camera users it doesn't really matter we can take our dog frames at any time and build up a library to be used with any settings that we use on our light frames frame all right now that we know how to take dark frames let's again pop over to the computer and see what one looks like so here we have a dark frame from my last Imaging session and this is actually a five minute dark frame and again it doesn't really look like much it's mostly black I think there might be one or two hot pixels that are showing up here but other than that you can't really see anything taking a look at the histogram there is actually a little bit more data here when compared to our bias frame and that makes sense considering this is a five minute long exposure so again pretty unimpressive doesn't look like much what does this actually do for my image well let's take a look when we stretch it so this looks very similar to a bias frame at this point but it's actually a little more apparent the noise pattern on the sensor I mean it is very grainy all sorts of colors everywhere and this is the kind of stuff we're trying to remove from our final product so in the end a dark frame is really just an exposure that we're using to subtract out the noise patterns that exist at the same exposure lines at which we're shooting our light frame so it is very important to make sure that those times match up so last but not least we have flat frames and these are probably the most important and also the most difficult to take there's really no way around it you need to be taking flat frames after for every Imaging session the reason for this is because the Imaging train needs to be in the exact same configuration as it was during your Imaging session that means Focus filters equipment everything has to be exactly the same now there are a couple key differences between flat frames and other calibration frames one of them being is we're not going to have the lens cap on now we need some way of diffusing the light that's coming into the sensor to give us a flat field of view now the way I typically do this is with the tried and true white T-shirt method it's very simple I drape a white T-shirt over the objective of my telescope use a couple rubber bands to hold it in place stretch it tight so it's completely flat and then point my telescope at an area of blue sky during the morning when I'm disassembling my equipment what this does is it produces an even White Field that is going to be cast on the sensor which is perfect for flat frames now there are always to do this inside you can use the white T-shirt method against a white computer screen as well but I found that doing it during the daylight produces the best results for me an alternative to the white T-shirt method is to use a flat panel but that requires purchasing a new additional piece of equipment and honestly I haven't seen the need for it for myself yet so you're using the white t-shirt method you're outside you're playing it in the sky what exposure length do you use now that's a tricky question with the other calibration frames it was pretty clear bias frames used the shortest exposure dark ranges the same exposure as your lights but for Flats you really have to play it by ear and look at the histogram for me taking flat frames I like to make sure that my histogram is somewhere between the one-third and one half mark on the histogram which I'll show you in a minute so that's how you take flat frames now let's jump over to the computer again to see why we want to take flat frames this is an important one so we're here on the computer and you can see as I said before that the peak of my histogram is just short of halfway through now looking at the image itself it doesn't really look like much I can barely see some vignetting in the corners but other than that it's basically just a great blob so just like the others let's give it a stretch and see what we found in our flat frames this is absolutely disgusting I mean look at this dust spot that I have here if I were to stack my light frames without flat frames this dust spot would absolutely show up during my post-processing now if you're someone who doesn't take flat frames there's a good chance that you've seen something like this before but other than that you can see all sorts of waves and color there's more green in the middle there's more yellow on the outsides and all of this would be present in my final image if I didn't use flat frames flat frames are incredible they can help you subtract out dust spots vignetting and other Imaging train issues that will be present in your final image if you take nothing else from this video please take flat frames with every one of your Imaging sessions it's extremely important so now that you've taken your calibration frames what do you do with them well you just load them into your stacking software of choice and it will take care of the rest I use deep Sky stacker it takes about five seconds to load them in and then I never have to think about it again once you make a habit of taking your calibration frames it becomes easy almost second nature if you aren't currently taking all of your calibration frames in my opinion this is the single easiest way to improve your images well that about something up for calibration frames a simple easy and effective I hope you found this video useful and if you did hit that like button and consider subscribing to the channel I have lots of great content planned for this channel including image processing tips Gear reviews and of course more ass photography from the backyard thank you all for watching make sure you take those calibration frames and I'll see you in the next one [Music]
Up Next

11:32
Isaac Newton Telescope Tour: La Palma Observatory Insights
@DeepSkyVideos
88.3K views•2012-01-26

12:54
Triumph of Orthodoxy Icon: Byzantine Art & History Explained
@BenCallan
2.1K views•2024-08-06

9:49
FastAPI vs Flask vs Django: Choosing the Right Python Web Framework
@TechWithTim
302.5K views•2024-05-26

1:42
Game of Thrones Opening Credits: A Cinematic Analysis
@gameofthrones
46.3M views•2011-04-18
Related Study Plans & Knowledge Roadmaps
Structured learning paths in General & Interdisciplinary Studies
general-studies
Elevator Engineering: History, Physics & Cities
01From Hoists to Safety Brakes: The Dawn of Vertical Lift
02Hydraulic vs. Traction: The Engineering Physics of Elevators
03Modern Speed, Safety, and Algorithms
+ 2 more learning modules
12h5 modules
Explore Roadmap
general-studies
Rubber: Material Science, History & Geopolitics
01Origins of Natural Rubber & Mesoamerican History
02The Chemistry of Natural Rubber & Vulcanization
03The Geopolitics of the Rubber Boom & Colonization
+ 2 more learning modules
12h5 modules
Explore Roadmap
general-studies
Containerization: Evolution, Logistics & Trade
01Ancient Trade & Bulk Cargo: Amphorae to Barrels
02The Industrial Revolution & Cardboard Packaging
03The Containerization Revolution: Malcom McLean
+ 2 more learning modules
12h5 modules
Explore Roadmap
general-studies
Textile Tech: Evolution, Labor & Global Impact
01Pre-Industrial Textiles: Handloom & Cottage Industry
02Mechanization: The Spinning Jenny to the Power Loom
03The Factory System & Global Labor Transformation
+ 2 more learning modules
10h5 modules
Explore Roadmap