




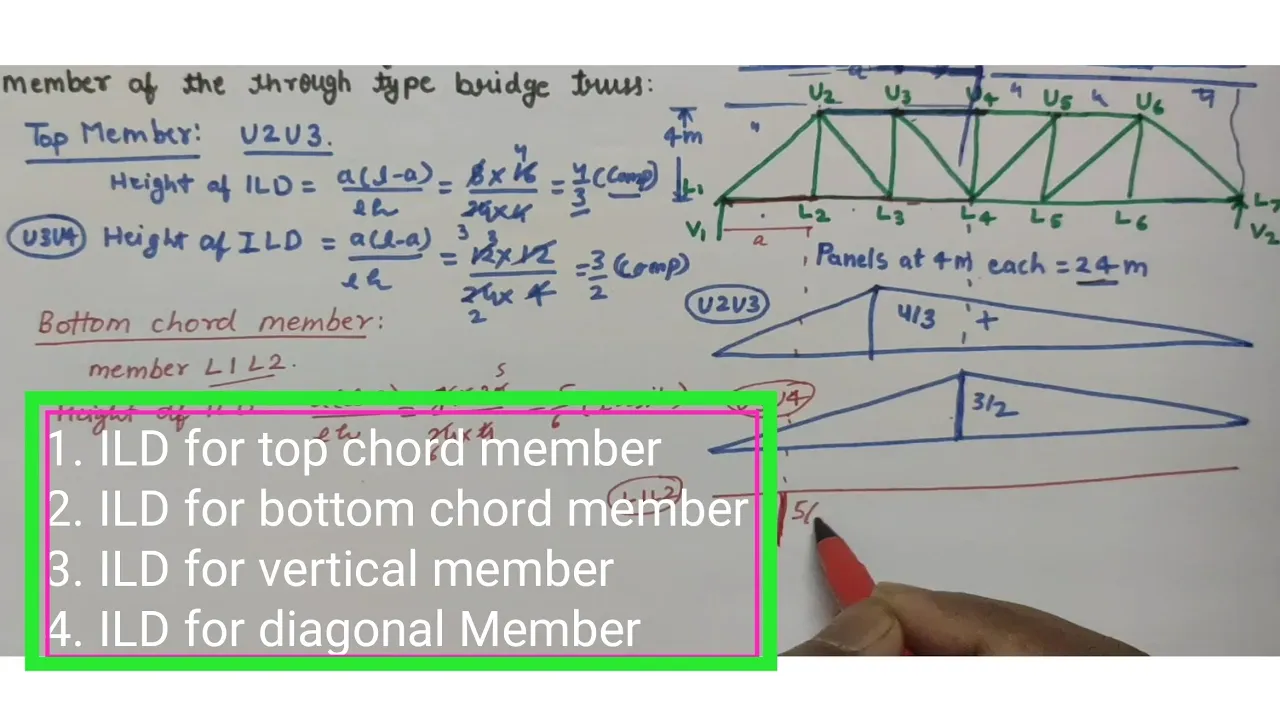
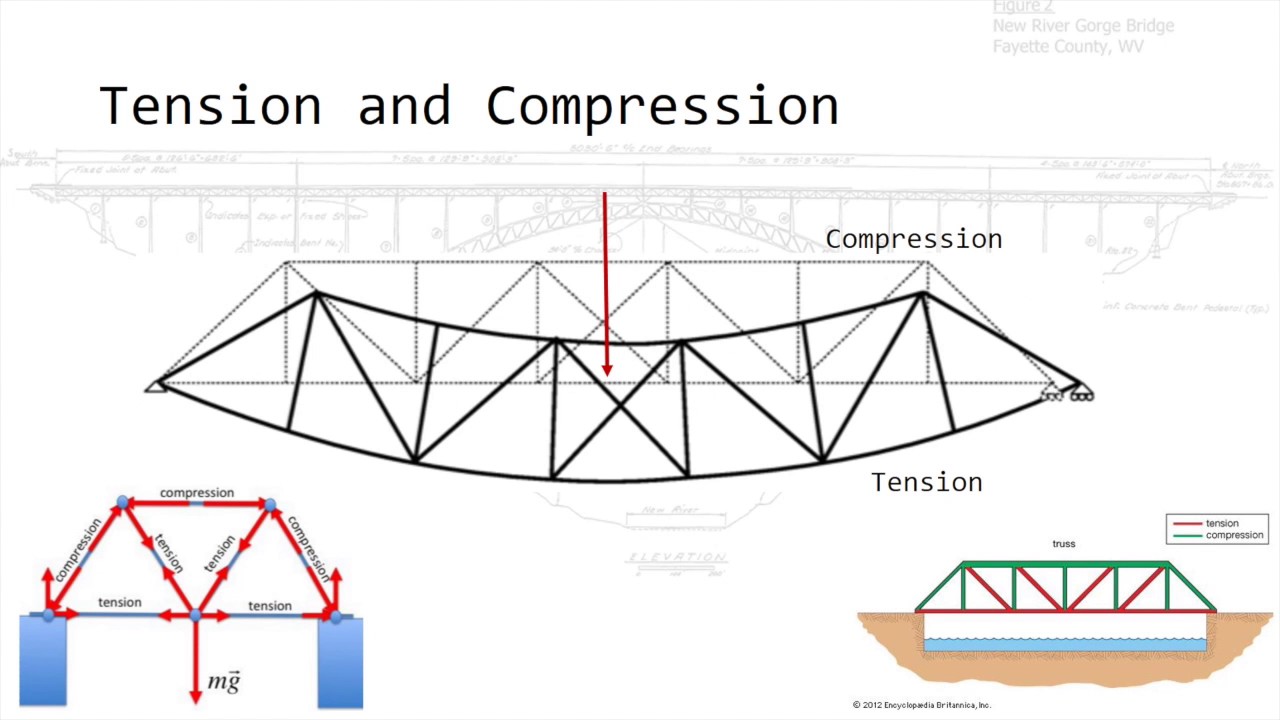
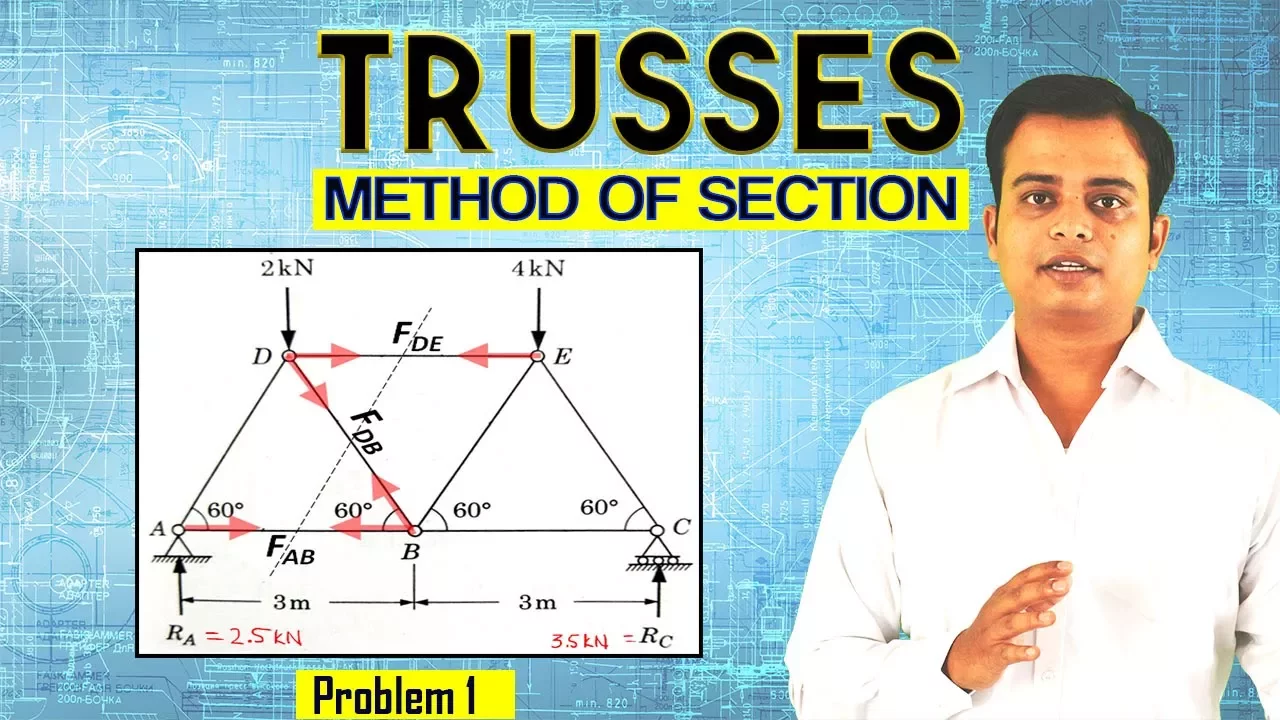
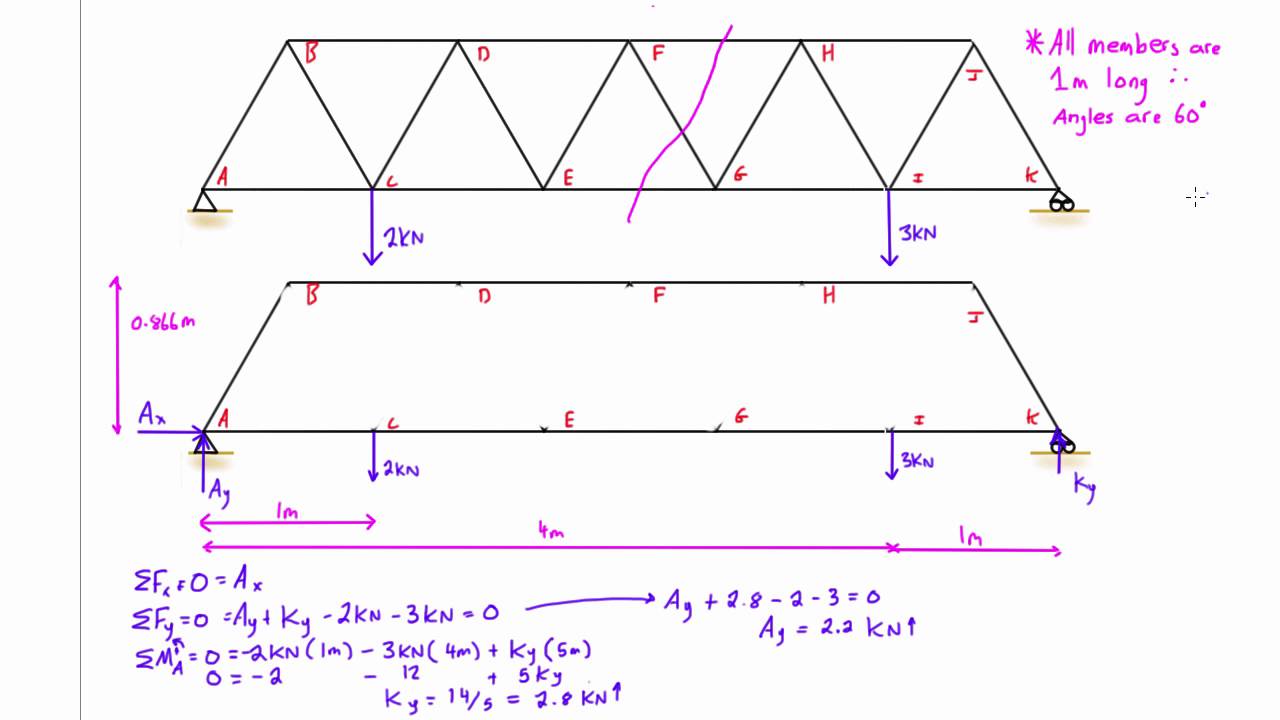
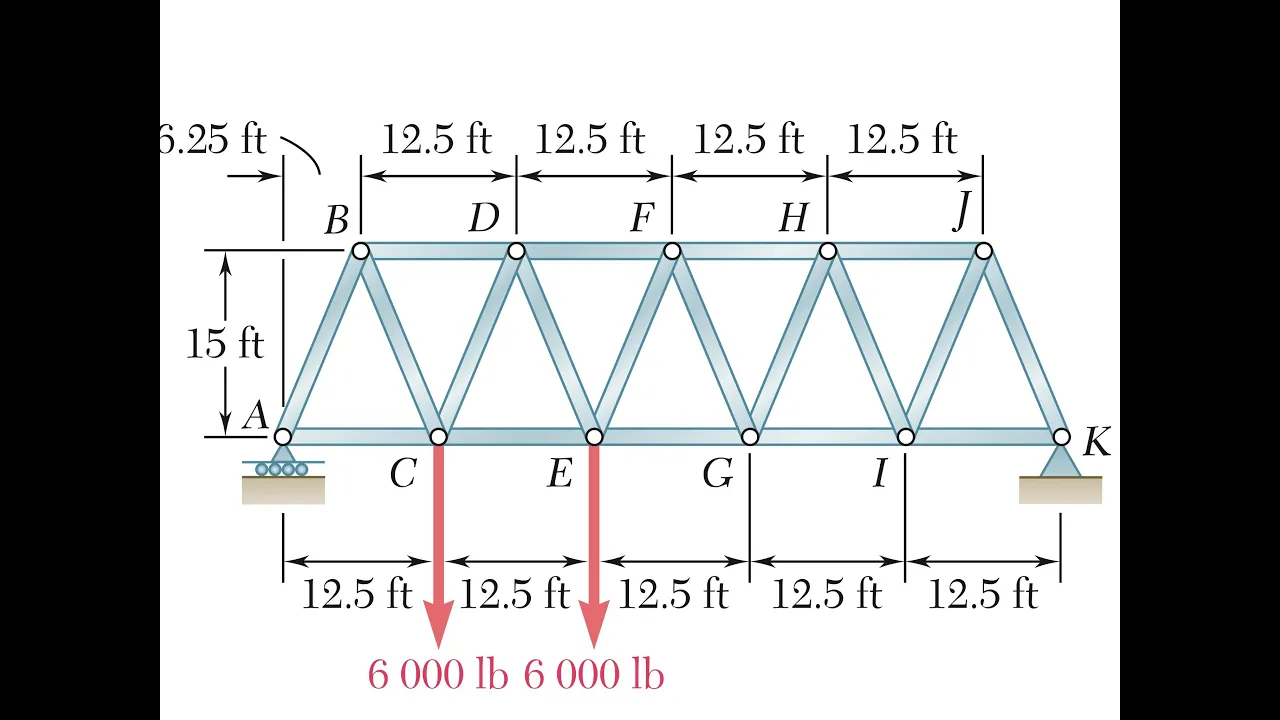

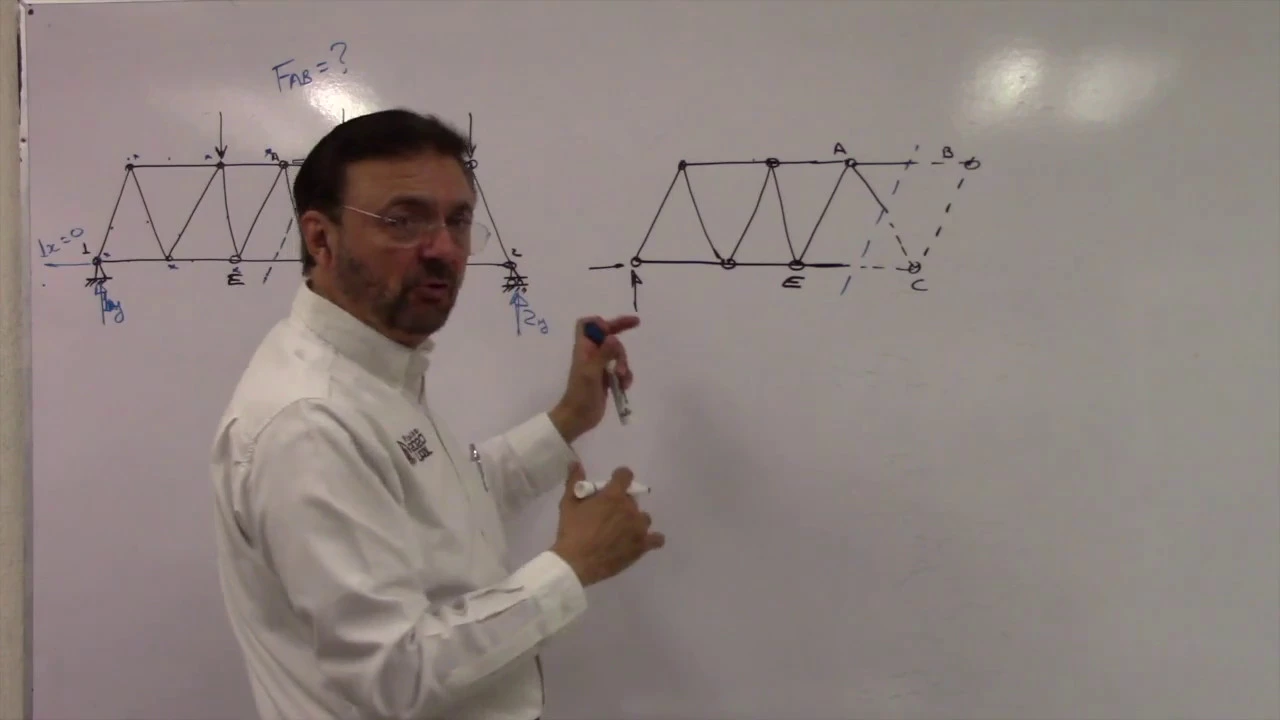




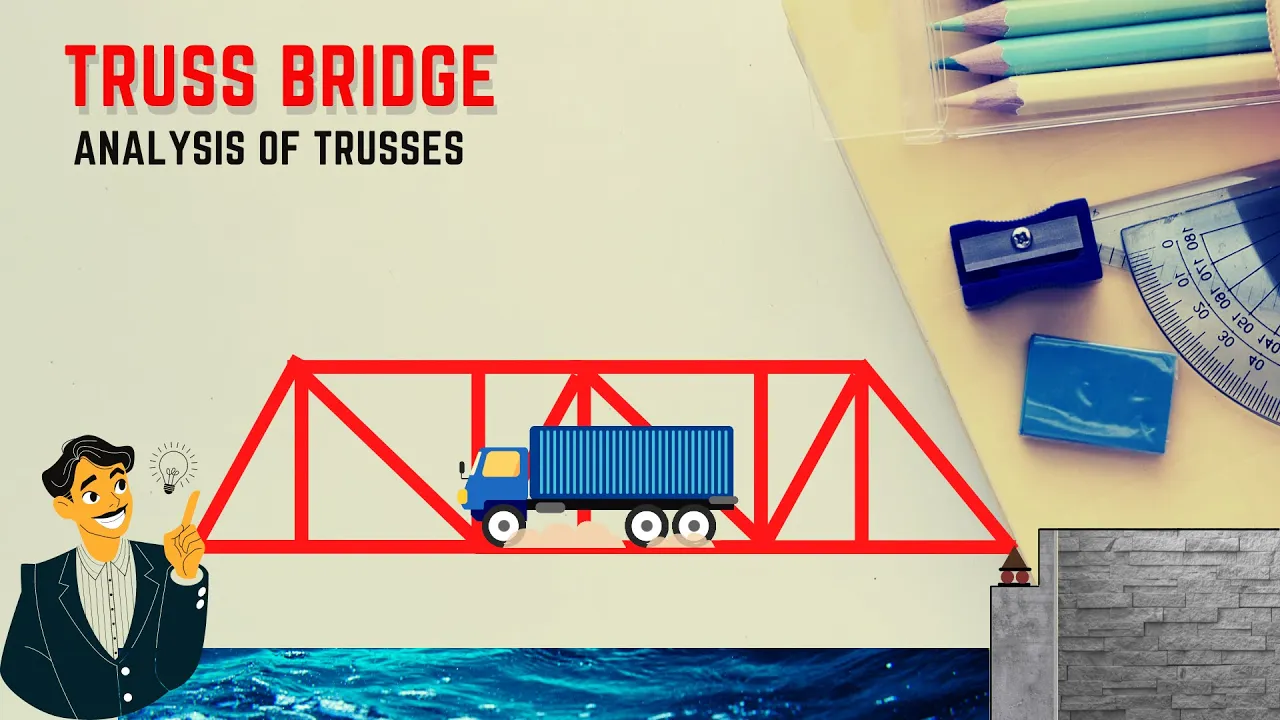





In bridge truss design, the Pratt truss (with diagonals under tension) is more efficient than the Howe truss (with diagonals under compression) because tension members can be made thinner without buckling concerns, while compression members require additional reinforcement to prevent buckling; this topology optimization allows for approximately 33% weight reduction in the Pratt configuration compared to the Howe configuration.
Howe vs Pratt Truss Design: Structural Engineering Lecture
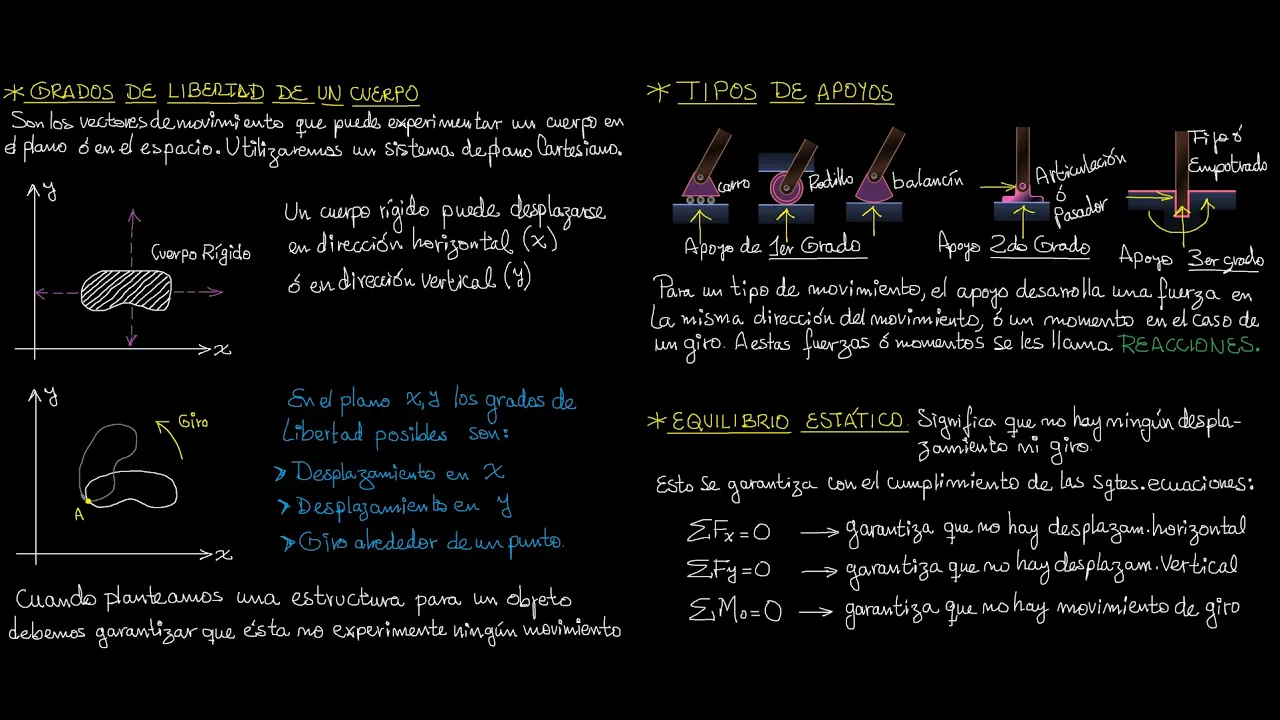
Added:Basic structural statics, including concepts of equilibrium, forces, and moments.
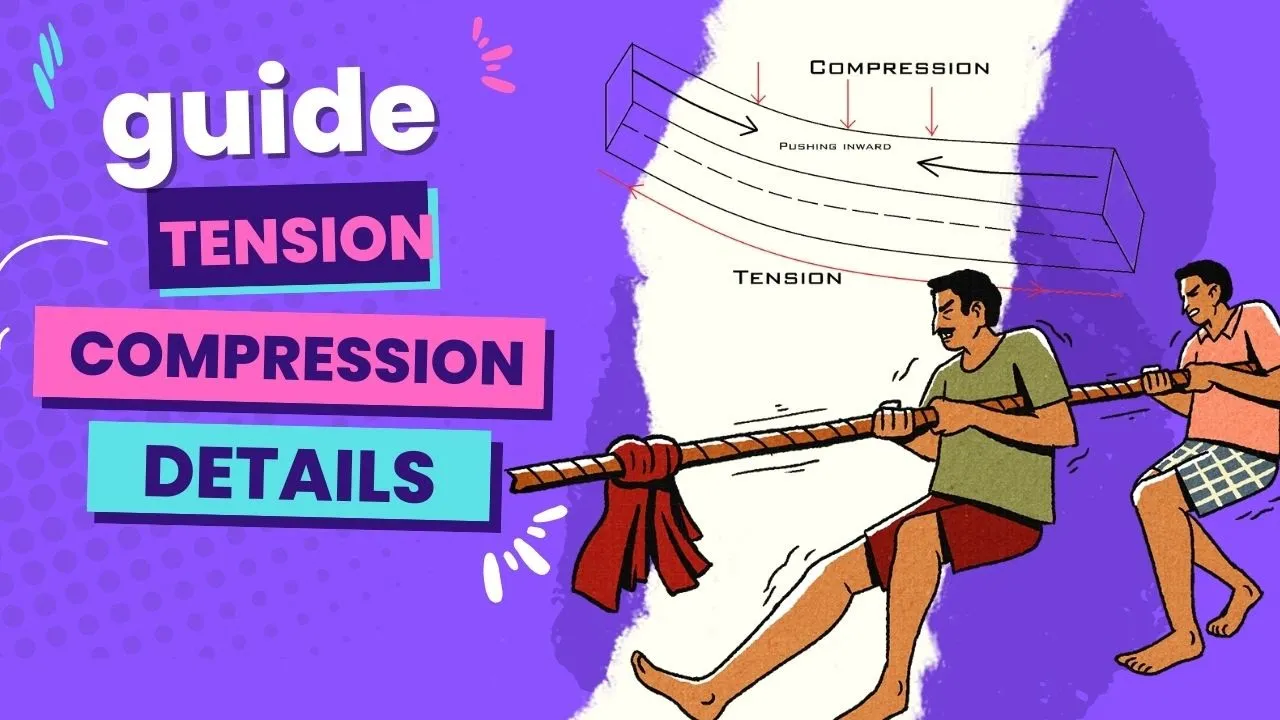
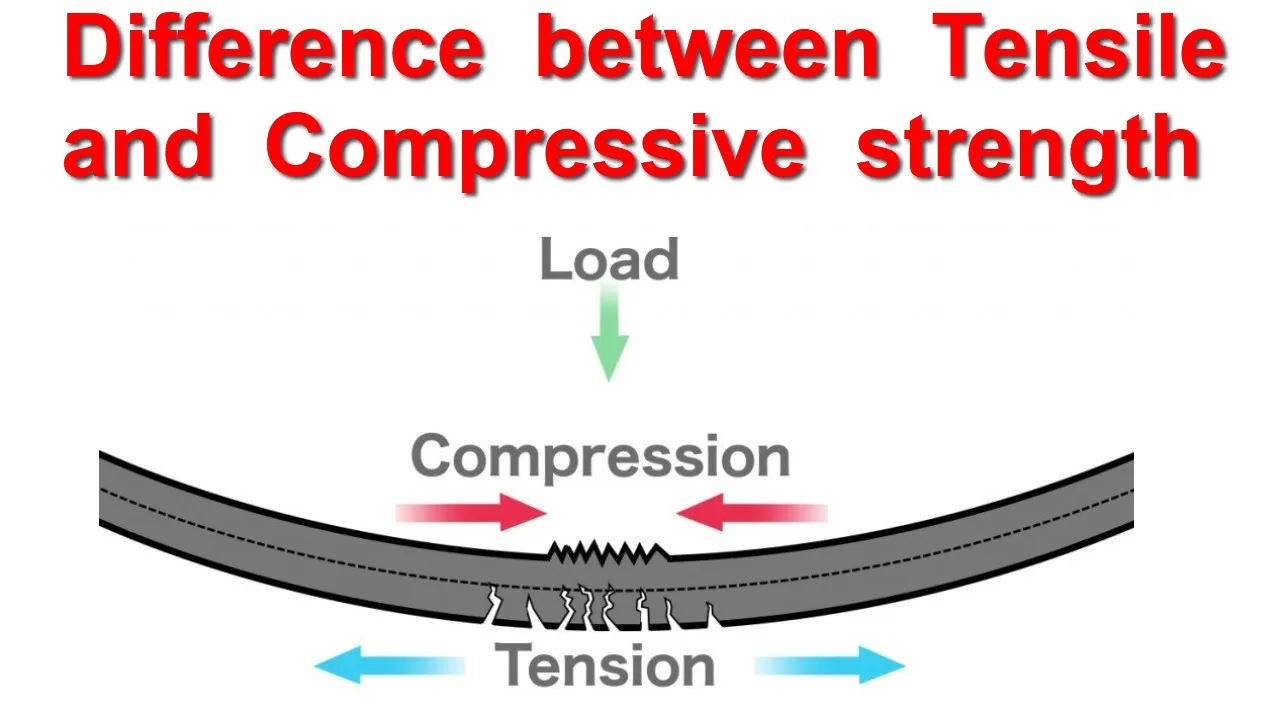
The fundamental difference between tensile (tension) and compressive (compression) forces in structural members.
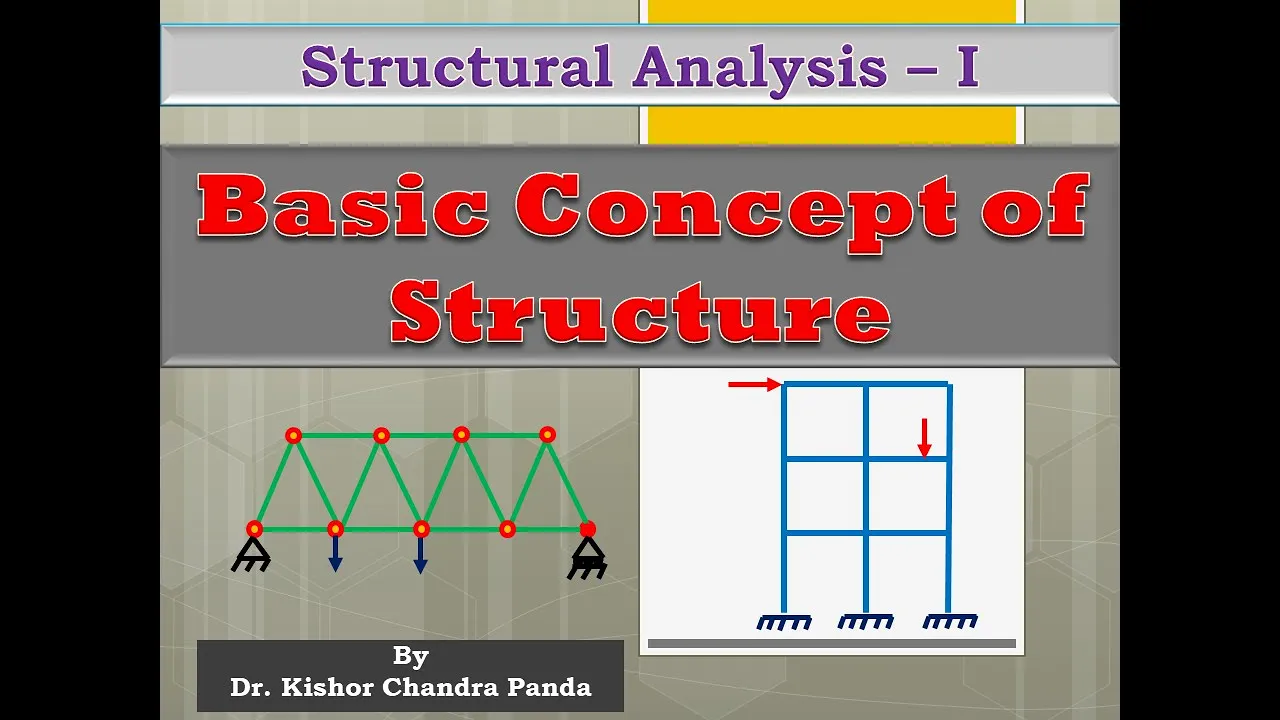
Introduction to truss terminology, including chords, web members (diagonals and verticals), and joints.
The analytical methods used to solve truss forces, specifically the Method of Joints and Method of Sections.
Understanding member buckling and how the slenderness ratio affects compression members in Howe vs. Pratt designs.
Exploration of other advanced truss topologies, such as the Warren, Baltimore, and K-truss configurations.
Application of truss analysis using Finite Element Analysis (FEA) and computer-aided structural design software.
Real-world bridge design considerations, including dynamic loading, structural fatigue, and material selection.
126.4K views752likes5:51Original Release: 2015-01-26
Uh first I'm going to go to the freestyle mode and I I just need some setup. So here you can draw whatever you want. I just started with this setup to to for the sake of time. So you can put your pins, your bars, your rollers, your weights.
So this bar basically has let me activate the oops not the camera.
Five fingers and three removes the camera. All right. So those are all hidden features of the program that I know. So can you see my finger now?
Yeah. So these are this is a pin, this is a roller, this is a weight and we have the bars. Usually in my statics class I give the students a structure and we ask them to compute the forces.
But we already give them the design. So you know that we could design this truss like this to hold the load or we could design this truss like this.
And which one is better or what do you see more often? So more often you see the other way around and I'm going to explain you today why. So I build my structure. So I will hit play.
So let me also remove the the arrows. So we see colors. So we see the stresses.
So in this structure blue means compression, red means tension. The brighter the blue, the higher the compressive stress. The brighter the red, the higher the tensile stress. Okay. So we see we have some bars under tension under compression. So I'm going to start optimizing the bars under tension because we know that they can hold a big load. So let's make these bars lighter. So you see that the red started brighter. So now the weight is 40. So over here we can follow the weight of the structure. So the mass is 40 kilograms.
Uh let's try to optimize a little bit more to see what we can get. 39 probably here. lower 37.
Let me try to do that one.
Now it yields and failed. Okay, so that I went too far. So you see that you have all this iteration process that you can do. You can really test your structure.
Not only see what is going to be under tension and compression to see how to optimize it, but also see when it's going to fail. So this the bottom bars are yielding and they fail. So there I went too much. So I have to make them wider. So we are back to where we were.
So now I'm starting. So all the all the red ones are the thinnest they can be except by these two that are a little bit wider. So now I'm going to optimize the bars under compression. So let's take these top two. The structure works.
So we are down to 33 now. So we are tracking the weight of the structure all the time. So let's try it with these diagonals.
Boom. They back up. So now they don't yield. They back up. Because these diagonals, if you see, they were under compression. So they are under compression. They buckle up. And if I try to do that with any other bar now under compression they are all at their limit. So I I did this problem before.
So you can see if I try those it back.
If I try the top one the backo. So basically with this given topology for the bridge the best I can do for this loading is this 33 kilograms of mass for this bridge. All right. So let's try to see now what happens if we try the other design. Okay. So if we try the other design, we put this again. So the biggest difference is the diagonal bar that originally was under compression, now it's under tension. Okay? So now it's not going to buck on. That's the reason why you see this kind of structure and not the other way around. Okay? So if we make them thinner now, so we went to 25 and it still works. So we went from 33 to 25. And even now the load because it that's another big concept in structural mechanics is as you modify your structure stresses are going to redistribute right. So things are not going to work the way they were before.
You can see that the low at the bottom two bars is lighter now. So there's a lower stress. So we can go down and make them thinner.
And there we have. So we reach again the limit. We know that those underco compressions were at the limit. So we achieved like a 33 percentage weight reduction right just by playing with the topology of the structure. So you can see how much of a big lesson you can do with your students when you allow them to explore whatever configuration they want right and you can explain many other concepts. So for example if we want to make these bars thinner they will buckle. But remember I told you we can prevent buckling in two ways.
We can make the bars beefier which we don't want because it's going to be heavier. And we can we can make them shorter. So how do we make bar shorter?
Well, basically we attach another bar to the to the midpoint. So if I put another pin over there, let's say now I put a bar here. And this is just for support.
So now we went from 23 to 19. So we keep reducing the load. Okay? And it doesn't buckle because now that bar over here became two shorter bars. And also if you see the load on this diagonal bar that we added is almost zero. So that is called a zero force member. Of course I'm trying to reduce a lots of things here in a lecture. These are things that we cover in many lectures. But these are really beautiful concepts because zero force members are in the structure and we never tell the students why they are there. So because they ask why it is there if the force is zero, it's not carrying any load. Well, it's there just to prevent the other guys from buckling.
Okay. So the the job of this little guy here is to preventing to prevent this guy over here from buckling. All right.
So that is kind of like the way I usually do a lecture with my student.
That is the first part, the first way I envision the app
Up Next

54:07
Science Olympiad Boomilever Building Tips: Webinar
@ScienceOlympiadTV
7.1K views•2025-09-29

30:32
Ultrasonic Transducers: Resonant Frequency Measurement and Horn Design
@imajeenyus42
229.9K views•2017-02-22

54:16
Polymer Environmental Degradation: Mechanisms & Stabilization
@iit
1.8K views•2012-07-10

33:39
How a Student's Question Saved a NYC Skyscraper from Collapse
@veritasium
22.8M views•2025-04-26
Related Study Plans & Knowledge Roadmaps
Structured learning paths in Engineering
engineering
Building Acoustic Levitators: Physics & Arduino
01The Physics of Sound and Standing Waves
02Piezoelectric Transducers and H-Bridge Drivers
03Arduino Programming: Generating 40 kHz Signals
+ 2 more learning modules
14h5 modules
Explore Roadmap
engineering
Building Peltier Cloud Chambers: Particle Tracks
01Cosmic Rays & Cloud Chamber Physics
02Thermoelectric Cooling (TEC) Fundamentals
03Custom Liquid-Cooling Loop Design
+ 2 more learning modules
18h5 modules
Explore Roadmap
engineering
Yagi-Uda Antennas: Modeling, Build & VNA Test
01Introduction to RF and Antenna Fundamentals
02Yagi-Uda Antenna Design Principles
03Antenna Modeling and Simulation in 4NEC2
+ 2 more learning modules
18h5 modules
Explore Roadmap
engineering
ECG Monitor Design: Op-Amps, Filters & Noise
01Electronics & Breadboard Basics
02Op-Amps and Instrumentation Amplifiers
03Bioelectricity and ECG Fundamentals
+ 2 more learning modules
18h5 modules
Explore Roadmap