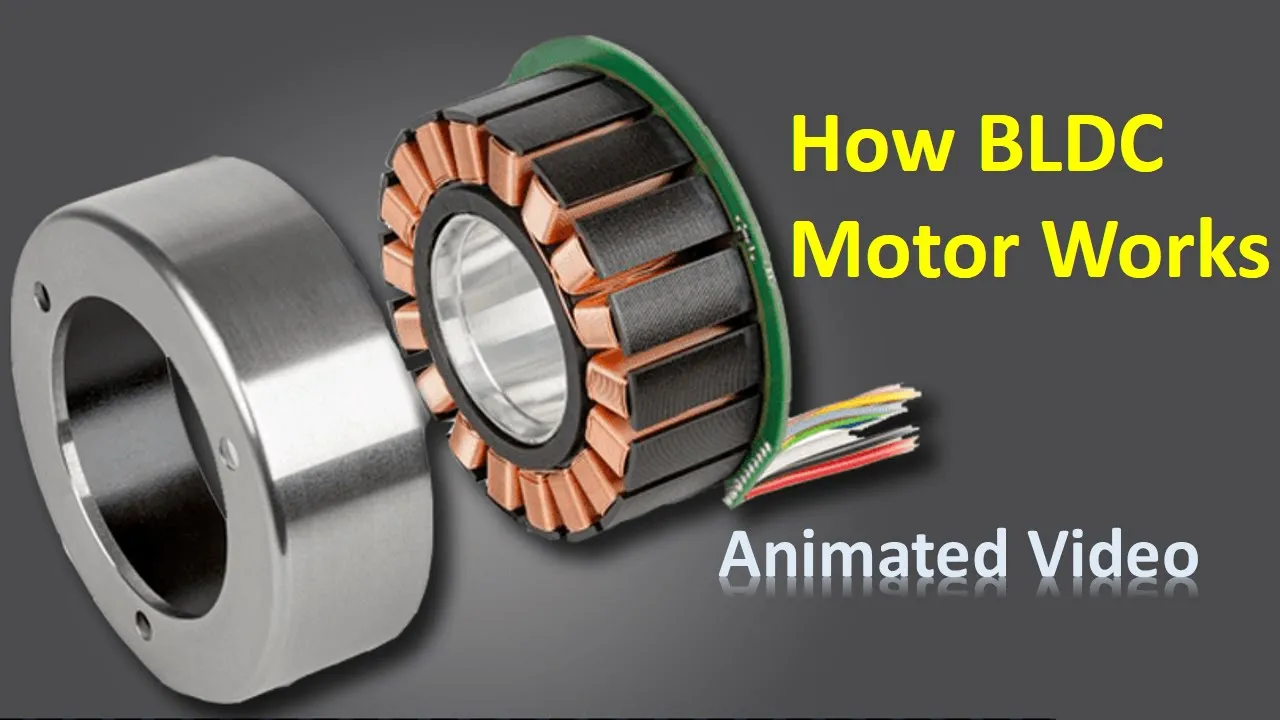


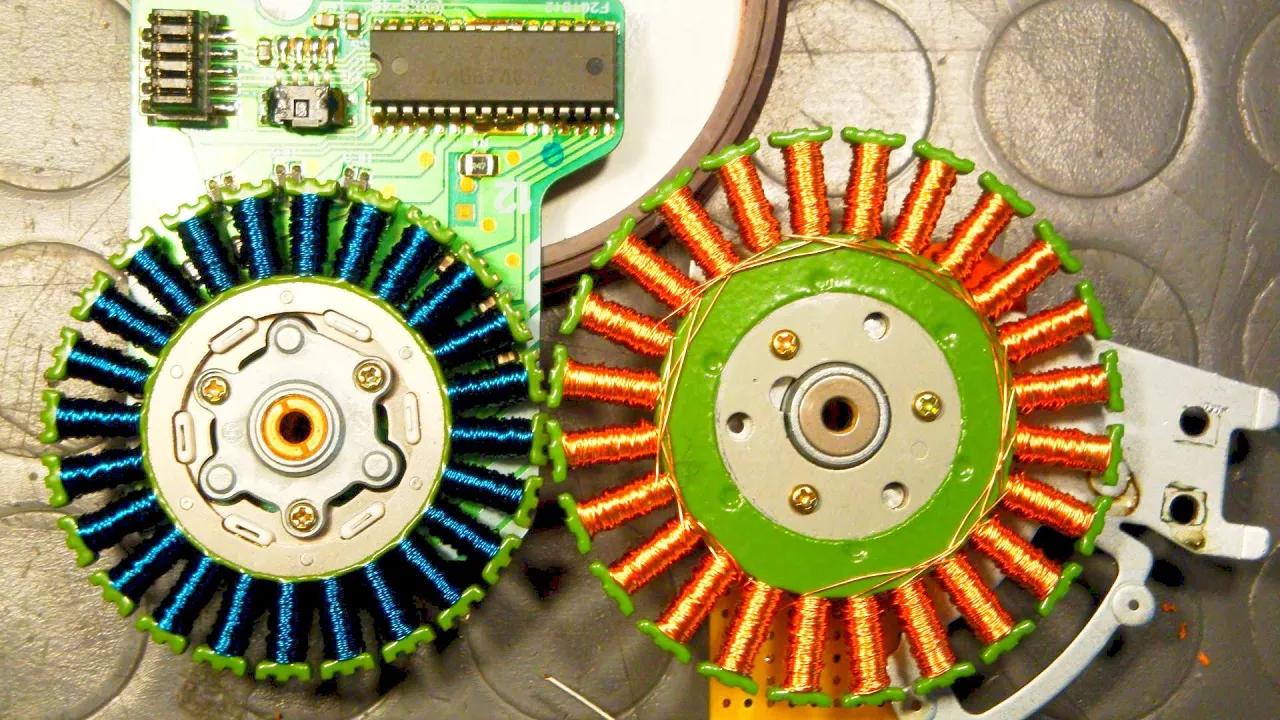















Setting up a Brushless DC Motor (BLDC) with ODrive requires installing Anaconda for Python, configuring motor parameters including pole pairs and encoder resolution (2048 pulses per revolution for AMT-102 encoder), setting brake resistance (0.5 ohm), and enabling closed-loop control mode for position control; proper configuration includes saving settings and rebooting the system, with velocity limits requiring tuning to prevent motor vibration.
CNC Mill Conversion: BLDC Motor Setup with ODrive Guide
Added:Fundamentals of Brushless DC (BLDC) motor operation, including phase configuration, pole pairs, and the differences between BLDC and stepper motors.
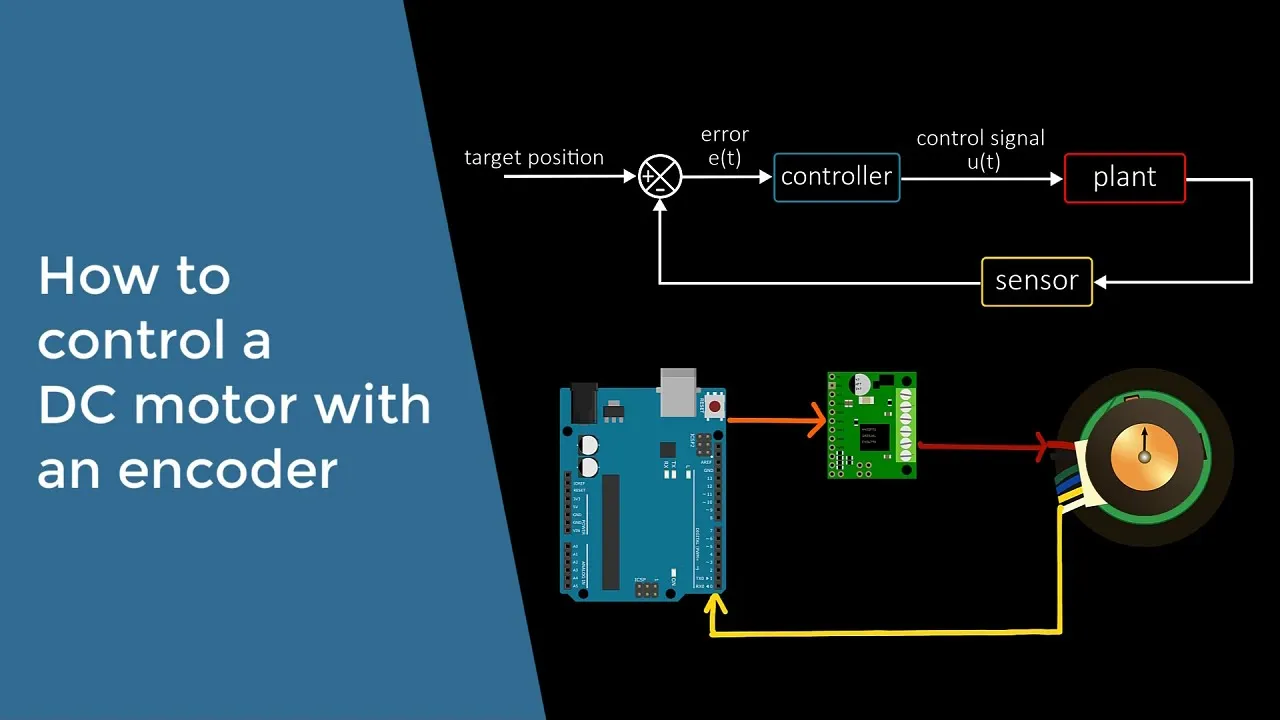
Basic principles of closed-loop control systems, specifically how feedback sensors (such as encoders) monitor motor position and velocity.
The mechanical anatomy of a CNC mill, focusing on how rotational motor movement is translated into linear axis motion via ball screws or lead screws.
Basic command-line interface (CLI) navigation and Python environment setup, as configuration tools like ODrive Tool are terminal-based.
Advanced PID tuning and control theory to minimize overshoot, settle time, and tracking errors under varying cutting loads.
Integrating the ODrive controller with CNC motion control software and hardware, such as LinuxCNC, Mach4, or GRBL, using Step/Dir or CAN bus protocols.
Design and implementation of power management safety systems, including regenerative braking, brake resistors, and over-current protection.
Multi-axis synchronization techniques to ensure precise coordinated linear and circular interpolation during complex machining operations.
4.7K views71likes29:58Original Release: 2019-12-20
hi in this video I'm going to set up the air drive system for the first time and this is the first time I've set it up and it's the first time I've used Python as well so I'll probably make a few mistakes I hope to highlight their mistakes and then overcome the problems I encounter so you can see all the steps I take to install this system I've decided to mount the mt-10 to censor that rotary encoder on the back of the motor but inside the compartment to keep the swarf out so the rotary encoder works the other way around so they're actually faces in the back of the motor as opposed to announcing it this way around on the outside of the enclosure I found this works really well and also if you want me to state the rotary encoder off you don't have to take the collar off first to take the rotary encoder off this way around you can actually set up the collet on the back of there and that simply slots on and that works really well you can turn that back off again and you don't have to disturb the collet so I'll let it run and see what you think feel free to subscribe and like and also comment below or on my projects in the au drug website and I'll try and get back to you thank you for watching so this is the O jog website with its community area and lots of helpful people helping people through their projects they're using the ogive system one of these projects is mine and you probably recognize it it's my milling machine that I'll convert into CNC using the brushless DC motors from Oh Dr so on the main website you've got the drive system itself and the key specs for that for both for 24 volt and the 48 volt versions where mine is the 24 volt version that I'm running at 12 volts so I'm going to run it off a 12 volt battery eventually but the moment I'm going to be running it on a 12 volt power supply so you can buy it directly from their website and as you can see there's plenty of projects that people are working on using this system [Music] so the main reason to come to this site is have a look at the getting started guide which is very comprehensive and steps you through each stage of setting up yo drive and the motors so the first thing I need to do is install anaconda which is a piece of software that allows you to run Python from your PC so download that I just sped up a little bit and once that's downloaded just stick that on to install [Music] there's a few options here I'm just going for the defaults for now [Music] so it takes a little while to install I've actually spit it out [Music] so after installing anaconda you need to get the utility to install the drivers for the O Drive so just start up anaconda first [Music] then install the Oh Drive tool your java tool is where you communicate with the board and set it up then you need this utility to install the drivers for the board so you can actually change the way the computer talks to the board itself either find native USB or USB EC link so you can send it serial commands so install that takes a little odd to install that took me a little while to figure this one [Music] but once installed you can actually choose the board which is Oh dry 3.6 native [Music] replace the driver and we should be good to go so now you want to start the au drive tool on the Anaconda software so in Python then you get this little green command pot [Music] and as you can see it says connected to a drive and it's got my serial number so I'm just gonna check the voltage on it just to make sure that's communicating okay then sticks and parameters in so half an ohm resistor as the brake resistance and then configure the pole pairs for the motor these are the most important parts to put in first there's quite a handy guide on this where you can work out how many pole pairs the motors got just by using a magnet [Music] then topping all the other details [Music] so I'm using the AMT 1:02 so that's got 2048 so I've configured it to 2048 pulses per revolution there's a dip switch on there that you can do that with and with that because it's quadrature information that comes off of it then it's multiplied by four so I've got eight thousand one hundred and ninety two counts per revolution so I'll stick that in there as well well if I can spell it properly missed out a decimal point some reason I've got a bit of a dodgy keyboard that when the motor is switched on the wireless keyboard doesn't work probably it's probably cuz I've got the wires too close to it anyway it's worth saving the configuration every time you change it and then reboot in the system after you've saved it which is a little note there if you can spell reboot layers so just reboot the system and then after a few seconds it should pop up yet reconnected to O Drive and then my serial number again [Music] so I'm just gonna show a quick video of physically putting it together so you can see how I've got it set up [Music] so the vault is on running with his 12 volts I'm just gonna put the pros together and tell the pass fly on so I can set the current limit of 5 amps just [Music] to protect the overdrive and the system while I'm running it if you do forget the resistor and you're running the system under load you can actually damage the power supply and possibly the o drive as well where the braking power tries to go back into the power realm [Music] [Music] just do another one to clarify [Music] so to get any position control you need to put the motor into closed-loop control mode and then you can send commands to it to actually change the position I've just done this at the moment so I can feel how powerful the motor is at holding its position like a stepper motor holes this will be holding the position it feels like a very powerful stepper motor [Music] [Music] [Music] but by doing that I made the current unstable and it wouldn't run any other commands until I'd reset the errors you [Music] [Music] can reset the errors either by typing in the dump error Oh Drive true or rebooting the system for some reason under both I then forgot by using the closed loop control system to run the motor so I got myself into a bit of a spiral have not been out to get it working again whereas completely my fault and didn't read the instructions so it's definitely worth reading the instructions first I'm not putting into closed-loop control mode this obviously it was not working it was quite late at night so to my defense [Music] well once I figured it out put it in closed-loop control mode use the setpoint and everything worked so now I could get on with configuring the rest of it [Music] [Music] [Music] right now I've got that all figured out I'll make it a bit neater so you can see everything that's going on as I'm configuring it it's worth keeping a notepad file as well with all the commands and configuration in so you can just quickly copy and paste out of that [Music] [Music] [Music] [Music] [Music] [Music] so there's a good tuning guide here so once you get it all up and running and working well you can actually step through this tuning guide make sure you've got it as accurate as possible and as powerful as possible I'm just tuning it for now offload but once I get it on the milling machine then I'll set it up again once through this tuning guide and get the motor working at its best in that configuration [Music] [Music] [Music] [Music] [Music] [Music] I think I set the velocity limit a little bit too high there [Music] [Music] [Music] someone's not quite right so I'll just set everything back to normal again and run through the guide [Music] [Music] [Music] [Music] [Music] massively better that's working well [Music] as you see if you step up the velocity game the tape on the motor is twitching Bowser falls to the point where 11 makes it vibrate quite a lot I'll just step that back to 5.5 so half of that value as this is in the guide [Music] [Music] definitely don't sell its us 322 [Music] [Music] so I'll speed this up because it takes a little bit of time to set all this up [Music] [Music] it's an arrow a good point and see if we can speed this up a little bit [Music] yep that's a little bit quicker [Music] that's a nice system and that's only on a small power supply as well [Music] [Music] you know de nada why not under voltage now make sense so it's probably the power supply voltage dropping [Music] if I can get it to stop right so every other way lost as needed she needs to cope with that whole well it's a very noisy system [Music]
Up Next
59:20
Product Liability Claims: An Engineer's Legal Perspective
@matthiesenwickertlehrers.c5627
136 views•2018-01-08

12:54
Triumph of Orthodoxy Icon: Byzantine Art & History Explained
@BenCallan
2.1K views•2024-08-06

9:49
FastAPI vs Flask vs Django: Choosing the Right Python Web Framework
@TechWithTim
302.5K views•2024-05-26

1:42
Game of Thrones Opening Credits: A Cinematic Analysis
@gameofthrones
46.3M views•2011-04-18
Related Study Plans & Knowledge Roadmaps
Structured learning paths in General & Interdisciplinary Studies
general-studies
Elevator Engineering: History, Physics & Cities
01From Hoists to Safety Brakes: The Dawn of Vertical Lift
02Hydraulic vs. Traction: The Engineering Physics of Elevators
03Modern Speed, Safety, and Algorithms
+ 2 more learning modules
12h5 modules
Explore Roadmap
general-studies
Rubber: Material Science, History & Geopolitics
01Origins of Natural Rubber & Mesoamerican History
02The Chemistry of Natural Rubber & Vulcanization
03The Geopolitics of the Rubber Boom & Colonization
+ 2 more learning modules
12h5 modules
Explore Roadmap
general-studies
Containerization: Evolution, Logistics & Trade
01Ancient Trade & Bulk Cargo: Amphorae to Barrels
02The Industrial Revolution & Cardboard Packaging
03The Containerization Revolution: Malcom McLean
+ 2 more learning modules
12h5 modules
Explore Roadmap
general-studies
Textile Tech: Evolution, Labor & Global Impact
01Pre-Industrial Textiles: Handloom & Cottage Industry
02Mechanization: The Spinning Jenny to the Power Loom
03The Factory System & Global Labor Transformation
+ 2 more learning modules
10h5 modules
Explore Roadmap