













![AAVSO How to [Think About Transformation]](https://i.ytimg.com/vi/urgkBDkiUEE/maxresdefault.jpg)







This video tutorial demonstrates how to perform aperture photometry on astronomical images using AstroImageJ software, covering the complete workflow from calibrating images (bias/dark subtraction and flat fielding) to exporting RA/DEC aperture lists for reuse across multiple filters, importing image sequences, placing apertures on reference and target stars, and saving measurements as CSV files for further analysis.
Aperture Photometry in AstroImageJ: A Step-by-Step Tutorial
Added:Basic principles of CCD/CMOS image calibration, specifically the roles of bias, dark, and flat-field frames in astronomical data reduction.
The concept of astronomical magnitudes (instrumental vs. apparent) and how they mathematically relate to measured stellar flux.
FITS (Flexible Image Transport System) file structure and how metadata (such as exposure time and airmass) is stored and read in astronomical image headers.
The fundamental theory of differential photometry, including the selection and use of comparison stars to control for atmospheric fluctuations.
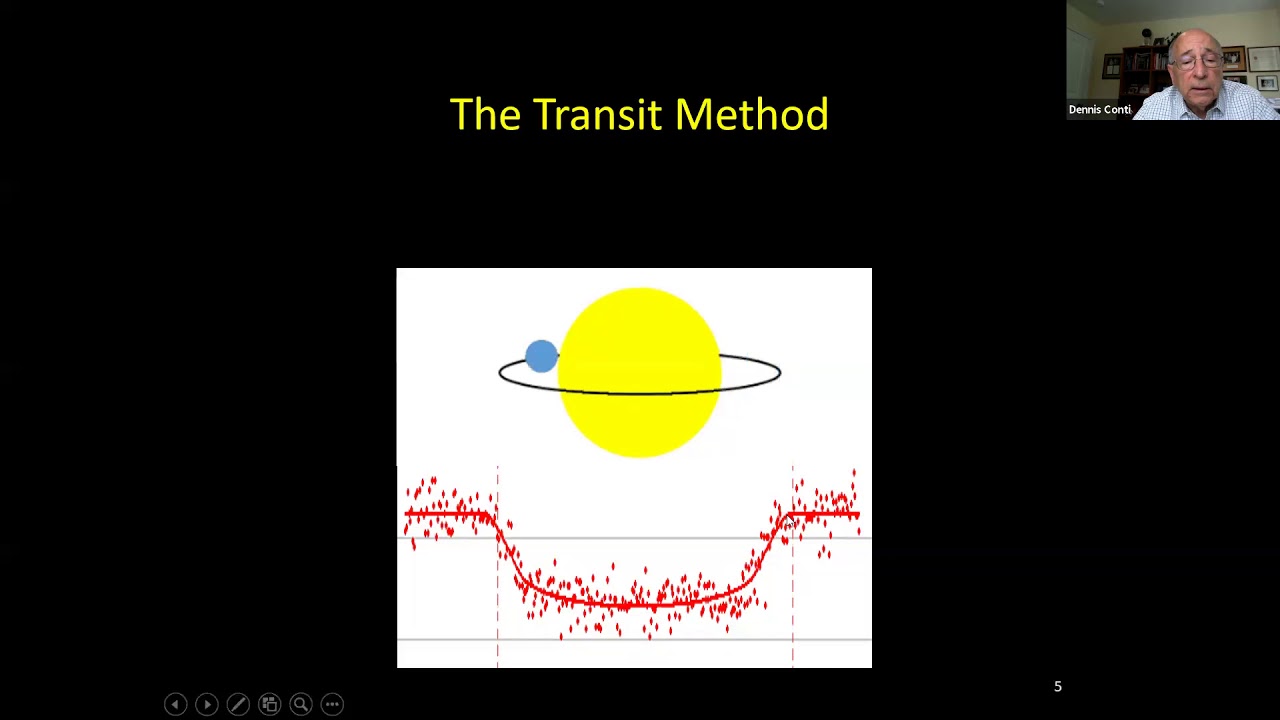
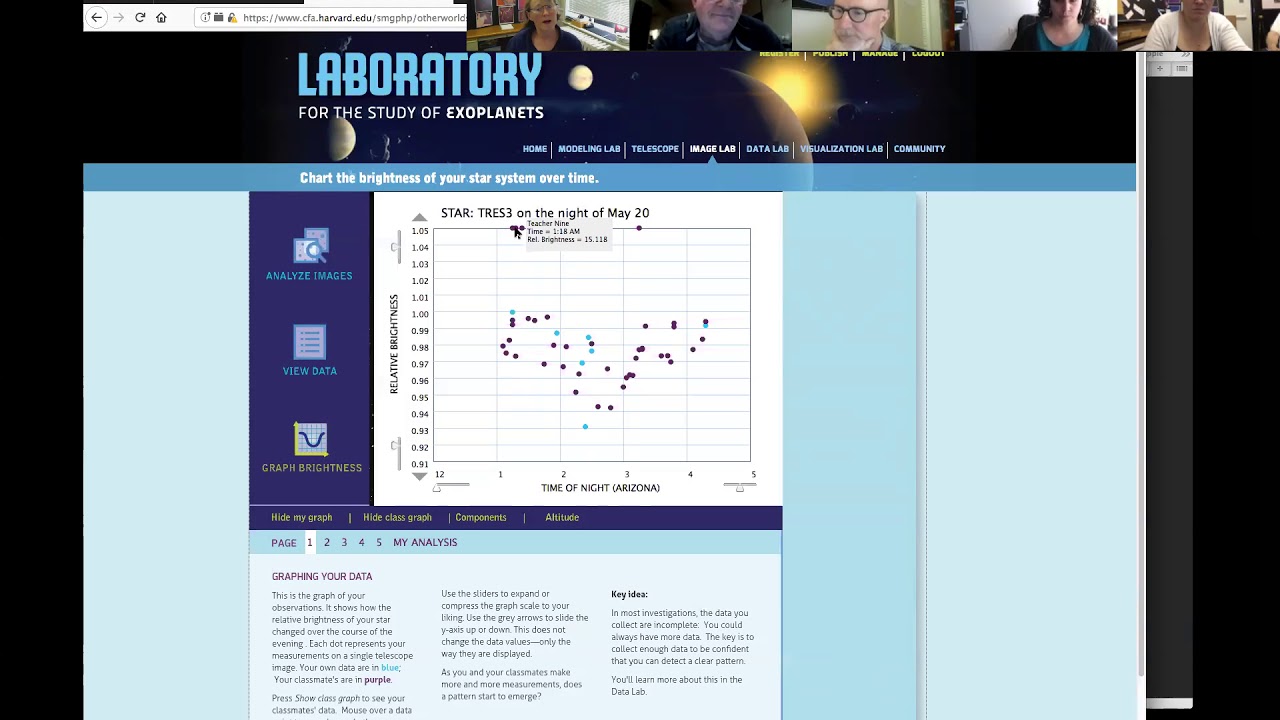
Constructing and analyzing light curves to detect and study transient phenomena, such as exoplanet transits, variable stars, or eclipsing binaries.
Utilizing AstroImageJ's advanced light curve fitting capabilities to model exoplanetary parameters like transit depth, orbital inclination, and planetary radius.
Performing photometric calibration to transform instrumental magnitudes into standardized astronomical photometric systems (e.g., Johnson-Cousins or SDSS filters).
Conducting rigorous error analysis and noise budgeting, including calculating Signal-to-Noise Ratios (SNR) and accounting for scintillation and readout noise.
7.7K views108likes17:37Original Release: 2020-05-27
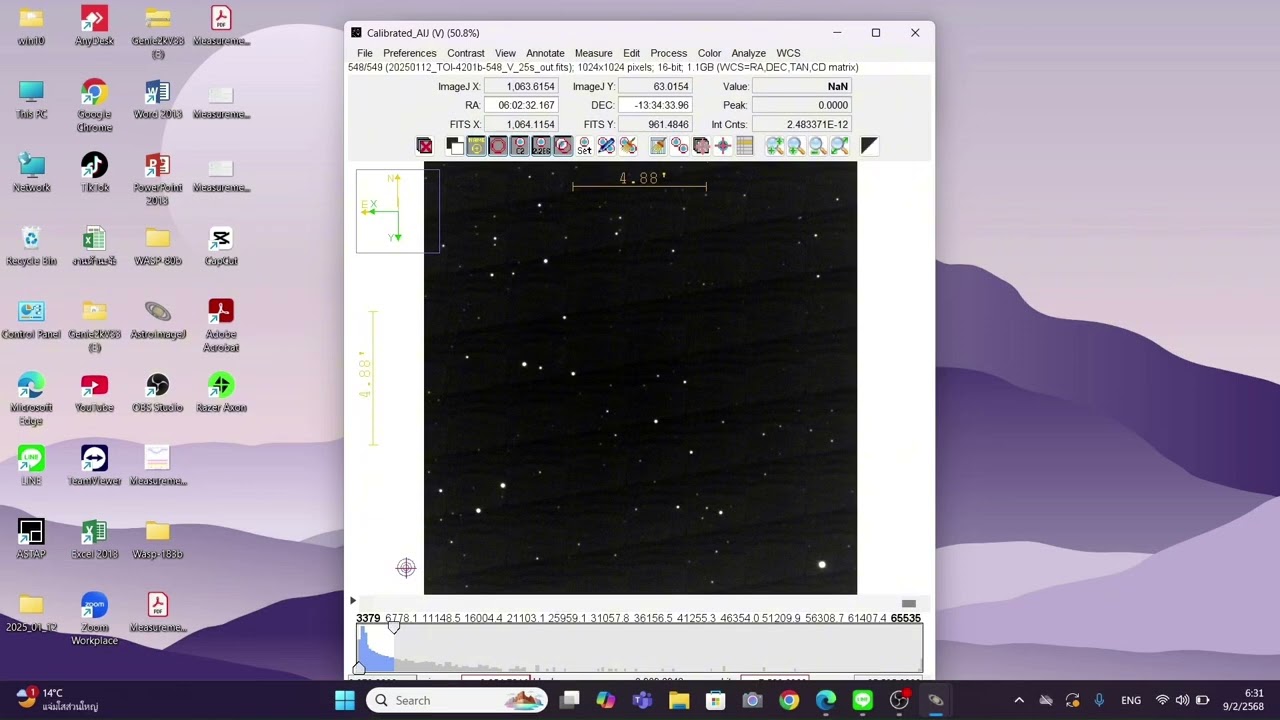
in this video i'm going to show you how to perform aperture photometry using astro image j it's important to note that before performing aperture photometry you will need to have already calibrated the frames i.e perform bias and dark subtraction and flat fielding steps one to three that i'm going to describe only need to be carried out the very first time that you perform photometry on a given star field after that you can skip straight to step four first you'll need to open one of the images in the set on which you wish to perform photometry select file open on the main astra image jpanel go to the folder that contains your calibrated images and then choose one of them it doesn't matter which one now we're going to set some preferences these will be retained so unless you need to update them you can skip this step in the future even if you're doing photometry on other star fields press the set button on the image window this one right here which will bring up the aperture photometry settings dialog box that you can see on the screen now this is also in the document that i shared said everything is shown the ccd gain ccd readout noise and ccd dark current per second settings are those appropriate for our qsi 632 ccd camera next click more settings in this dialog box which brings up the more aperture photometry settings dialog box that you can see now set everything as shown and again this is also in the document that i shared click ok when you're done if this is the first time you're performing photometry on this target and you'll be performing photometry on it again in the future including if you'll be performing photometry on images of the same target acquired through different filters you can mark the target in comparison stars and then export the coordinates of the apertures into a text file that you can then import the next time that you do photometry on this target to save a lot of time and aggravation once you've exported the aperture list you can skip step ones to three in the future whenever you're performing photometry on the same target or targets for images acquired through the same filter and go straight to step four click the button that looks like two apertures side by side on either the main panel or in the image window and that will bring up the dialog box shown below multi-aperture measurements and go ahead and set everything as i have them here and again this is also in the document that i shared when you're ready click place apertures to bring up the multi-aperture help window first mark the reference or comparison star by using the mouse to place the aperture over it and then shift left clicking it i.e hold down the shift key while left clicking on the star in this case the reference star is this one right here guide star catalog 2188 1288 so i'm going to push shift and then the left mouse button and a magnitude entry dialog box will pop up and then this is something you have to have looked up beforehand the b filter magnitude for this star this is a b filter image is 12.57 so i'm going to go ahead and mark or enter 12.57 as its magnitude and you should probably uncheck the open refstar in simbad box right here if it isn't already that's to avoid having a browser tab pop up that looks up the star in the simbad database every time you click on a reference star you probably don't want that to keep happening so then i'll say okay and then you can see on the image it now says that c1 this is then comparison star 1 has a magnitude of 12.57 which is what i told it and that there were 3.8 times 10 to the fifth counts that were accumulated for this star in this exposure after marking the comparison star the multi-aperture help window will change so that now it says that you want to shift-click in order to mark target stars which in astro image js parlance also includes check stars as well so in this case the star right here lo pegasi is my target star and so i'm going to shift left click it and aster image j is now telling me that based on comparing its brightness to that of the reference or comparison star its magnitude in this particular frame through the b filter was 10.513 based on it having 2.5 times 10 to the 6 counts and then in this example my check star is this one right here guide star catalog 2188 0700 i will shift left click that star and learn that its magnitude on this frame through the b filter is 12.636 and that there were 3.6 times 10 to the fifth counts when you're done marking all of your target stars then you can hit enter by first putting the mouse cursor over the image window and now go to the image window and choose file export apertures to r a deck list and then what you want to do is save the file under a name that indicates the filter that you're using this is a b filter image along with the names of the stars that you marked and what you should do is to first put the name of the target star so lopeg in this case and i put an underscore between the filter name b and lo peg followed by the name of the reference star so that in this case is guide star catalog gsc 2188-1288 underscore name of the checkstar gsc 2180 and then i recommend also at the very front of the file name putting 0 0 underscore and the reason for that is that the 0 0 will make the ra dec files come first in file lists so that you can easily find them when you're doing photometry on the star field down the road so you'll see that that's a very useful thing so now you can go ahead and click save and you can also close the measurements window and you can also close the image window so we just did this for the b filter but there's no need to repeat this whole procedure if you have images of the same star field that have been acquired through other filters what you can do is just open the ra dec file with the text editor so wordpad for example is fine on windows and then change the magnitude of the reference star at the end of the first line under the row that says ra dac refstar centroid magnitude so let me show you that i'm going to open up the file browser and go find the file so i'm going into my calibrated images folder and what i will do is open up that file that i just created with the text editor and this is wordpad for example and you can see that there's a line under that ra deck refstar centroid magnitude line that gives the right ascension and declination of the reference star and its magnitude as being 12.57 the other two stars the magnitude is listed as 99.999 but that's just a placeholder that tells um astro image j to actually measure those magnitudes instead of giving them fixed values that the user has told them so what i'm going to do here is i'm first going to save the file under another name because i don't want to accidentally overwrite this and so i'll say save as and i'm going to now create a file for the eye filter images and so i'm going to change the name so that it starts with 0 0 i instead of 0 0 b and then i happen to know i looked up beforehand that the reference star's eye filter magnitude is 9.48 so i simply change 12.57 that i originally had for the b filter into 9.48 and then i can just go ahead and click save the floppy icon up there because i've already changed the name of the file again it's important to first change the name and then edit it so don't accidentally edit it save it under the same name and then you just destroyed your b filter file that you had created before so then i can close this and now i have two files that are ra dec files one for the b filter one for the eye filter and you can produce one of these files for all of the other filters for which you have images on which you're going to perform measurements as well once you've created a dot are a deck file containing the coordinates of all the stars to be marked use the following procedure to perform aperture photometry on the field and again be sure that you use the redec file for the b filter if you're doing photometry on b filter images and so forth only use the ra dec file for the eye filter if you're doing photometry on eye filter images so what i want to do is open an image sequence by going to the main asterisk image jpanel and choosing file import image sequence and then i want to click on one of the image files it doesn't matter what filter it was taken from taken through so i'll click a b image file there and then a sequence options dialog box will pop up so go ahead and check the use virtual stack box if it isn't already checked what that tells astro image j to do is not to load all of the images directly into memory instead just keep pulling them off the disk whenever you want to display them the documentation implies that that slows things down a lot but in practice i find it actually doesn't and in fact you are more likely to slow yourself down if you load a large number of images directly into memory so go ahead and say use virtual stack and i also tell it to sort names numerically do not check the convert to rgb box and then now i have to tell astro image j how to recognize the names of the image files that i actually want to load for doing photometry so i can either use the file names contain box contains box which is what i usually use or you could enter a pattern in the box underneath that where you could use the asterisk wildstar character but i find i can usually use the upper box so let's say i wanted to do photometry on eye filter images then i can note that all the eye filter images start with i underscore and so i can enter i underscore in the file names contains box and then i hit ok and an image window pops up that shows all of the eye filter images as i scroll through it like i'm doing right here so all of the eye filter images in that folder are now available to me in the image window now choose file import apertures from ra decklist from the menu of the image window like so and navigate to the appropriate ra dec file so in this case these are eye filter images and so i want to load in the i filter r a dec file so i select it and click open and then notice what happened it marked the comparison in target stars in pastel colors click the button that has a picture of two apertures on it either in the main astra image jpanel or on the image window that'll bring up the multi-aperture measurements dialog that you see here it's also in the document that i shared set everything as shown except don't change last slice because that depends on the image set that you've loaded and if you lower that value photometry won't be done on some of the images similarly leave first slice as one because otherwise it'll skip some of the first images if you were to change it to some larger value you might have something other than use previous three apertures indicated if you marked a larger number of target stars than were done in this example so that's okay once you're sure that everything is set properly you can hit place apertures after you click place apertures that'll close the dialog and replace it with the multi-aperture help window and you'll also notice that the apertures themselves on the image window change to bright colors instead of pastel colors move the mouse point pointer over the image window and then press enter and now astro image j will start performing photometry on all the images as you can see here it's tracking through them it's moving the apertures to stay on the stars as they drift around from one image to another because uh remember that we stored the right ascension and declination of all the stars and astro image j is moving the apertures to the correct right ascension and declinations on every image so once it finishes we'll get this mess of windows that we don't need that i mentioned earlier so close the one that says main title at the top close this one right here and that will get rid of everything but the measurements window if you've never done so before choose options from the menu of this window and change file extension to dot csv comma separated values which essentially any spreadsheet can read in and it's a text format so you can also look at it with just a text editor if you happen to want to do so so change that to dot csv and that will become the default in the future so you won't have to do that anymore and now you can choose file and you're going to save these measurements and you should give it a name that indicates what filter was used so i'm going to start this with i underscore and then i'll let it say measurements and then i'm going to put in the name of the target star lopeg and i'm also going to include the reference and check stars so underscore gsc 2188-12 88 was the reference star and then underscore gsc 2188-07 was the check star and then i'll put in what the dates were 2018 underscore 0707 underscore 0708 underscore 0709 and then i will hit save in order to save the file and you may be thinking man that was an awfully long file name but use file names like that you'll thank yourself later when all the relevant information is right there in the file name so at this point you're done you'll still need of course to perform photometry on images from other filters if you have other filters that you need to do photometry for but the csv files that you create can then be imported into excel and used for further analysis like making plots and so on and so forth happy measuring
Up Next
128:32
Cosmology Lecture 9: Inflation and the Early Universe (Stanford) 2013
@stanford
227.2K views•2013-03-19
61:17
First Billion Years of the Universe with the Square Kilometre Array
@iaaudc
121 views•2022-05-26

6:25
Kepler's Laws of Planetary Motion Explained (Educational Astronomy Video)
@Peekaboo_Kidz
404.9K views•2023-02-17
6:10
Gamma-Ray Bursts: Cosmic Snipers Explained | Astronomy
@kurzgesagt
15M views•2016-07-31
Related Study Plans & Knowledge Roadmaps
Structured learning paths in Astronomy
astronomy
Reionization: Pop III Stars, IGM & 21cm Line
01Foundations of Cosmology & the Early Universe
02Population III Stars & Cosmic Dawn
03Physical Mechanisms of Reionization
+ 2 more learning modules
17h5 modules
Explore Roadmap
astronomy
Planetary Rings: Dynamics, Roche & Resonances
01Foundations of Gravity and Orbital Mechanics
02Tidal Forces and the Roche Limit
03Structure, Composition, and Collisions
+ 2 more learning modules
10h5 modules
Explore Roadmap
astronomy
Asteroseismology: Stellar Waves, Ages & Cores
01Foundations of Stellar Astrophysics & Wave Mechanics
02Stellar Oscillation Modes: P-modes and G-modes
03Mathematical Framework of Asteroseismology
+ 2 more learning modules
35h5 modules
Explore Roadmap
astronomy
Adaptive Optics: Physics, Engineering & Control
01Foundations of Wave Optics and Wavefronts
02Atmospheric Turbulence & Optical Distortion
03Wavefront Sensing Technologies
+ 3 more learning modules
35h6 modules
Explore Roadmap