















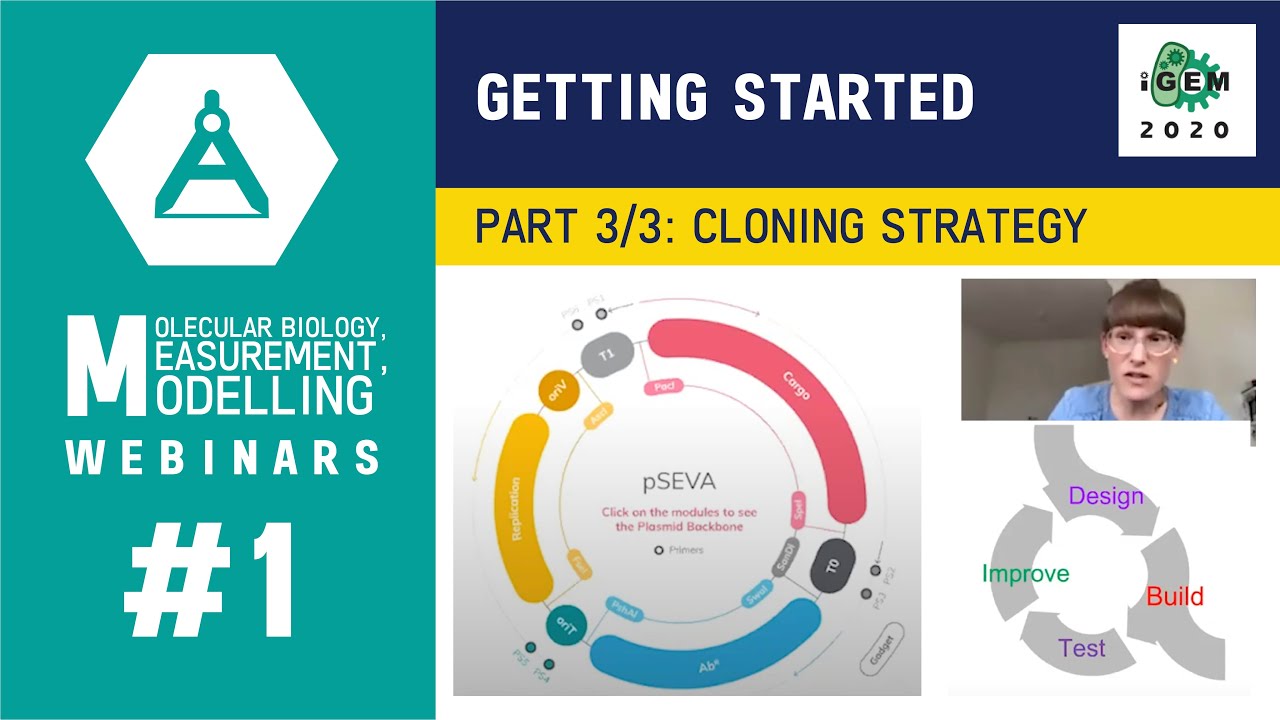


Effective molecular cloning requires systematic planning through creating detailed project outlines in PowerPoint that document starting plasmids, target constructs, PCR templates, primers, and restriction enzymes; building accurate plasmid maps using software like Vector NTI by importing sequences, adding annotated features, and designing primers that incorporate restriction sites with appropriate overhangs for directional cloning.
Cloning Tutorial: Plasmid Mapping & Primer Design in Vector NTI
Added:Fundamental concepts of molecular cloning, including the roles of inserts, plasmid vectors, and host organisms.
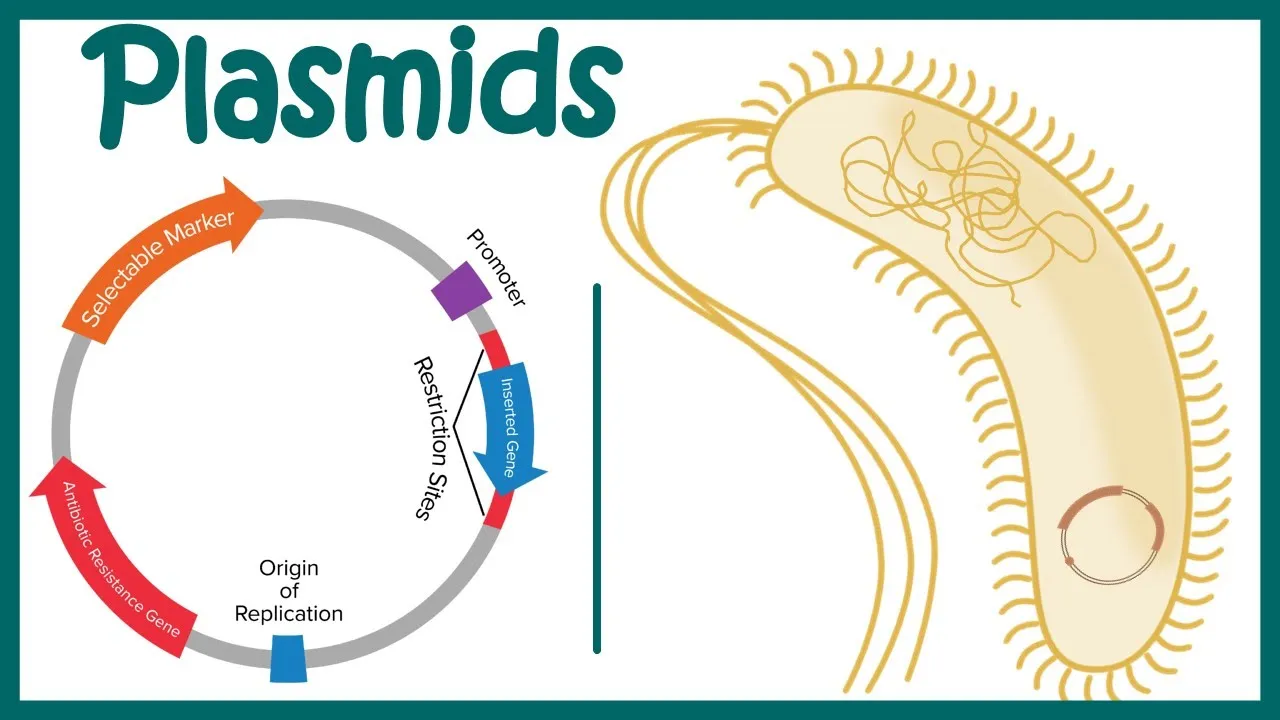
Structure and functional components of a plasmid vector, such as promoters, selectable markers, origins of replication, and multiple cloning sites (MCS).
The mechanism of restriction enzymes (restriction endonucleases) and how they generate compatible cohesive (sticky) or blunt ends for DNA ligation.
Basic principles of Polymerase Chain Reaction (PCR), including the function of forward and reverse primers in DNA amplification.
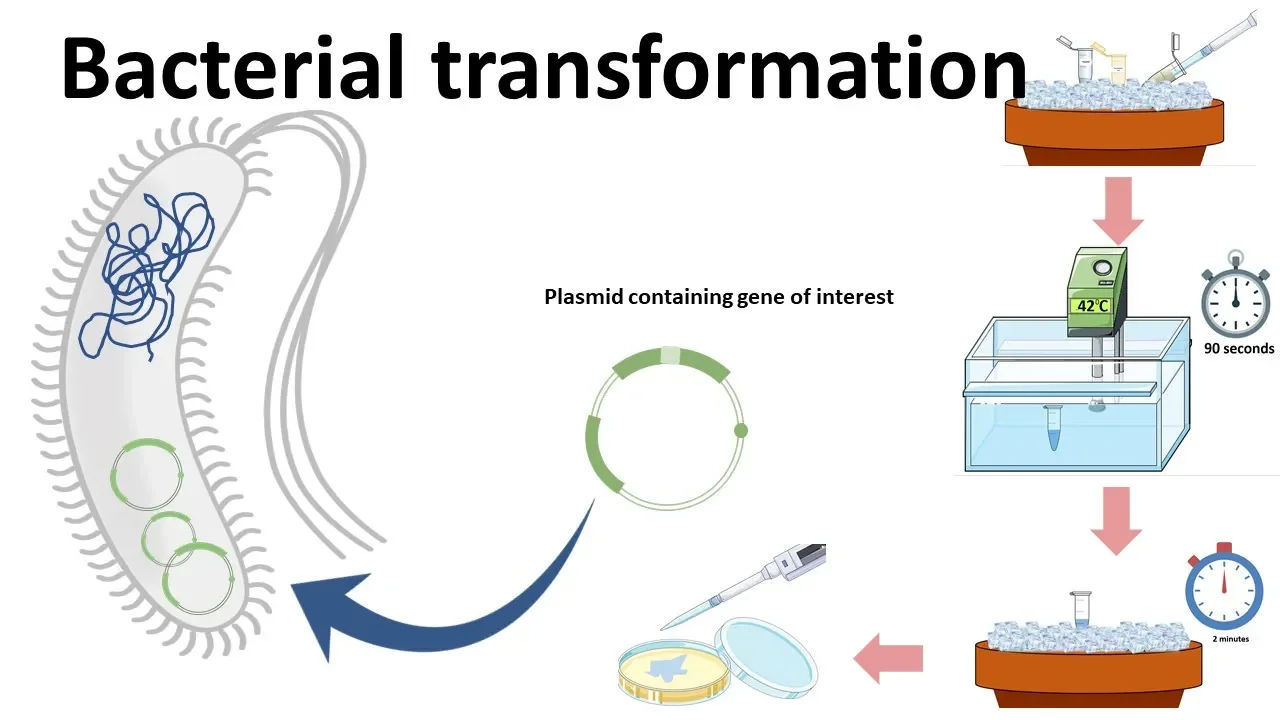
Wet-lab execution of the planned cloning workflow, including restriction digestion, ligation, and bacterial transformation.
Methods for verifying successful constructs in the laboratory, such as colony PCR, restriction digest analysis, and Sanger sequencing alignment.
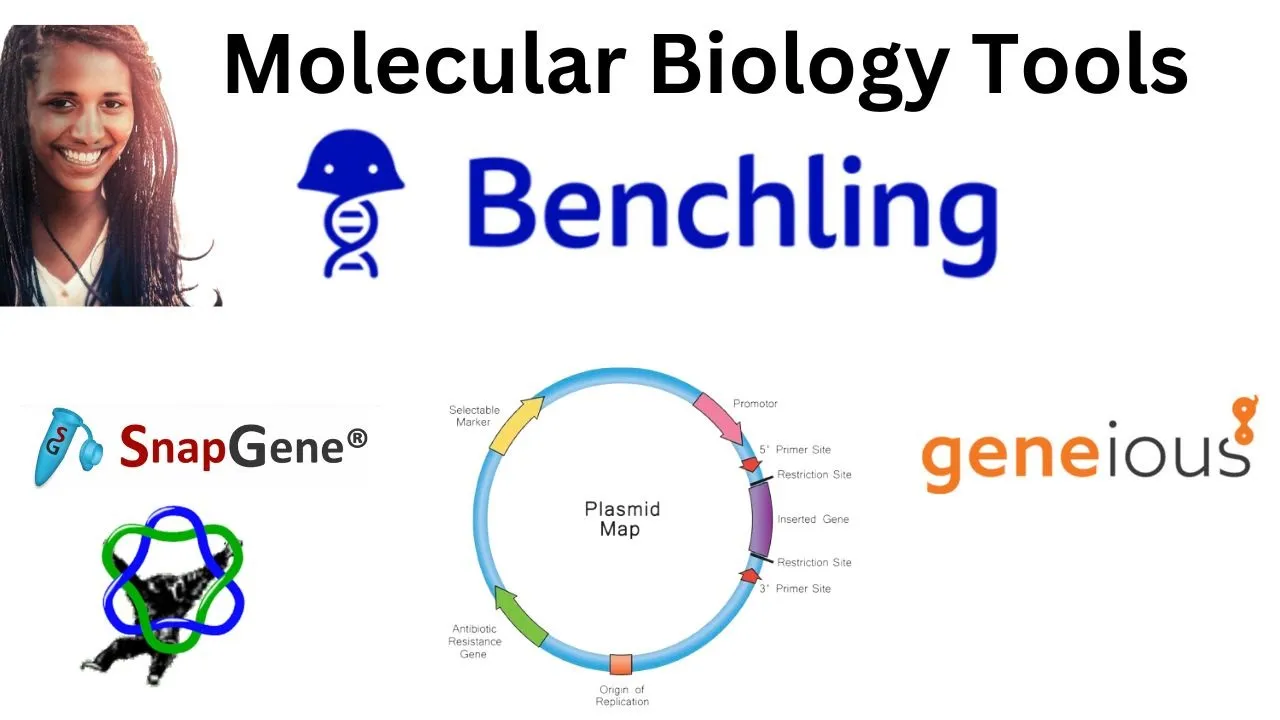
Transitioning to modern, cloud-based molecular biology design suites (e.g., Benchling, SnapGene) for plasmid mapping and primer design.
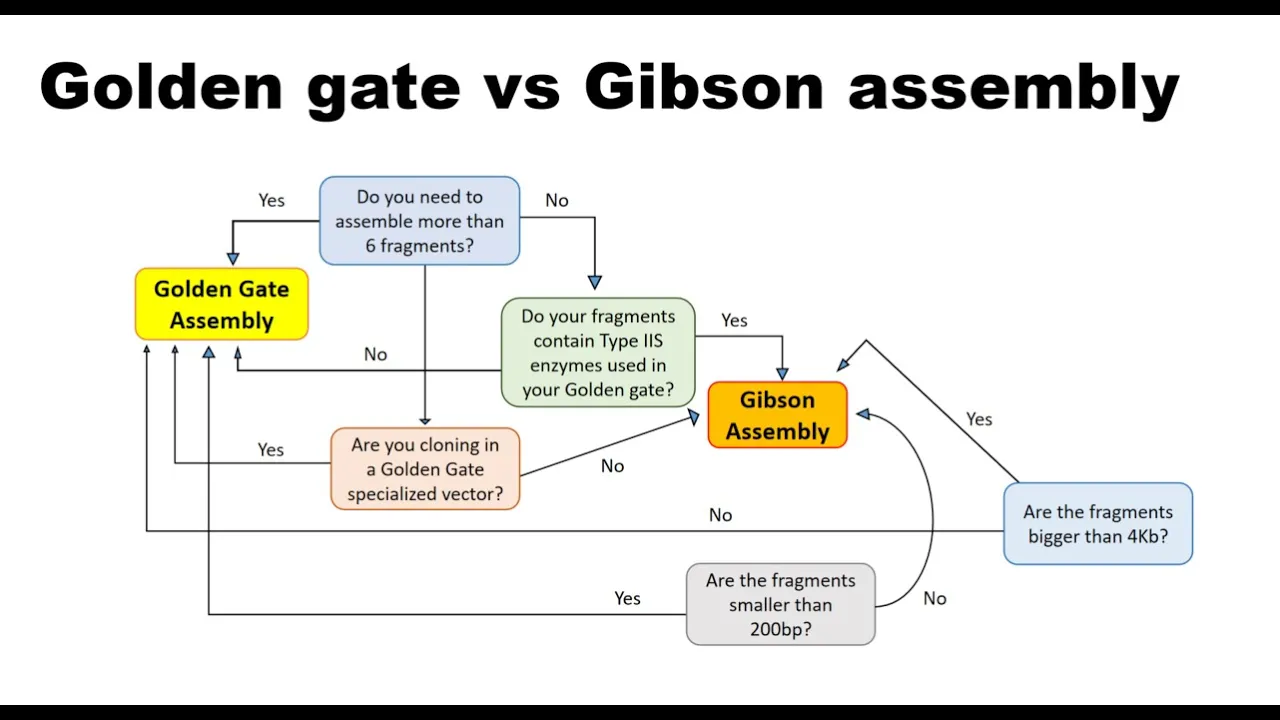
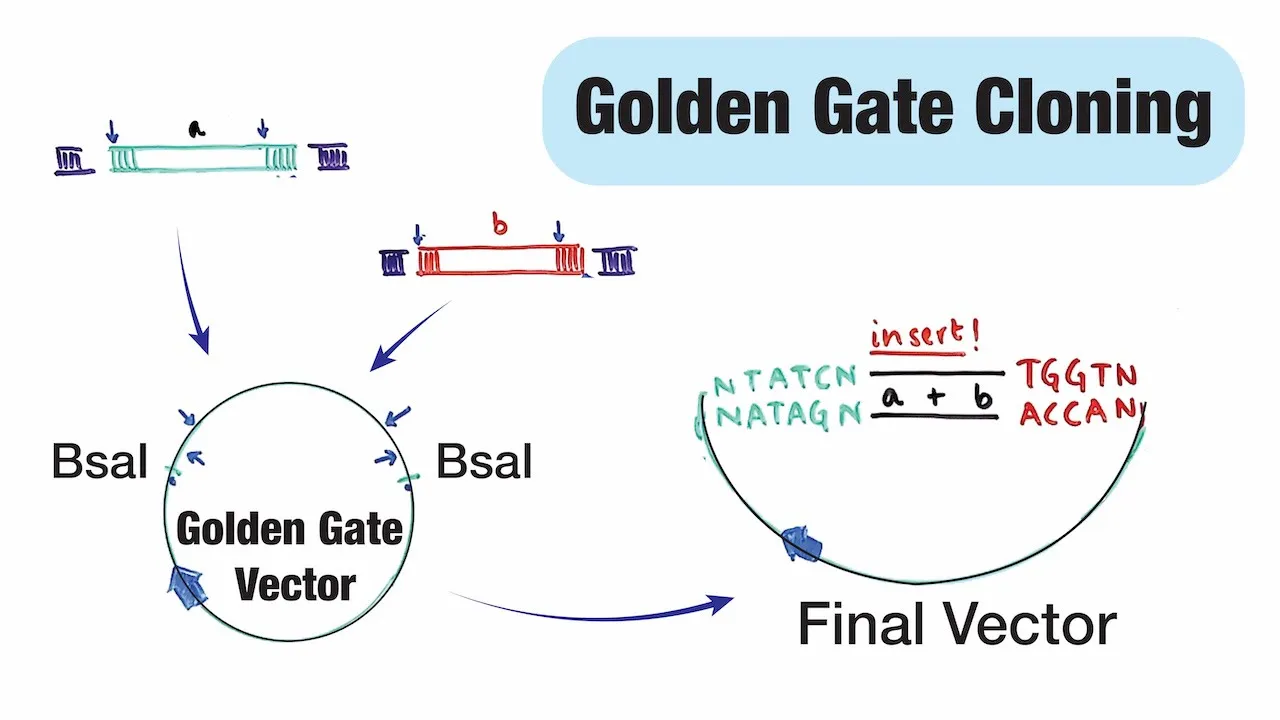
Advanced DNA assembly techniques that bypass traditional restriction-based cloning, such as Gibson Assembly and Golden Gate Assembly.
81.5K views525likes12:27Original Release: 2013-02-21
In this section I am going to demonstrate how to create experiment outline in PowerPoint, build plasmid maps, and design primers for your cloning project.
I begin each of my cloning projects by making a PowerPoint file with a project outline.
For that I open a new PowerPoint file and save it as pSAT6-Bar, which is the project name. I change the layout to my favourite, which is "Title Only". And I put the project name on top.
On this slide I put the name of my starting plasmid, which is pSAT6-MCS. Let's add some style to it. Then I draw a down arrow, add some style to it as well, and put the name of the plasmid I am trying to make, which is going to be pSAT6-Bar. For this one I will use a new style, which is going to be black.
Also on this slide I want to have a name of my PCR template, which is a plasmid called pFGC 5941. Let's give it some style as well. Also I want to have the names of the primers I will be using, which is Bar-XhoI-F and Bar-BamHI-R.
I will draw another arrow indicating that PCR product will be inserted into pSAT6-MCS.
And, finally, I will indicate the restriction enzymes I will be using to cut my Vector and Insert.
A usual cloning project goes for several days and in many cases you will be running several of those projects at a time. That's why I would recommend printing out this page and keeping it somewhere nearby, so when you come to your lab in the morning you know exactly where you left off.
Let's move to the next part of the planning stage, which is building vector maps and designing primers. The software package I will use in this chapter is Vector NTI from Invitrogen.
In Supplement 3, which is at the end of this video, I will demonstrate how to do exactly the same vector map design with a free software pDRAW32.
I start with two browser windows, one displaying the sequence of pSAT6-MCS, another - sequence of pFGC5941. I launch Vector NTI Explorer, which keeps track of all the maps I have in the database. I create a new database subset, label it as Bar, and click on this icon, which says New. I name the molecule as pSAT6-MCS, indicate that it is circular, and open Edit Sequence window. Then I go back to the web browser, select and copy the sequence of pSAT6-MCS, and paste it in the Edit Sequence window.
Let's look at this sequence in Vector NTI. Vector NTI opens with three panes. On the top right you see the map, on the bottom is the sequence, and on the top left is the information about the molecule. If you click on the Restriction/Methylation Folder you will see a list of all restriction enzymes currently displayed on the map. Now, let's add the features of pSAT6-MCS to this map.
For that I click on ADD FEATURE, switch to the web browser window and select Feature View. You can see here a list of all pSAT6 features with their coordinates. Let's transfer them to our map. In the ADD FEATURE menu I am going to enter feature name, which is 2x35S Promoter, and starting and ending point. In the Vector NTI I could also pick different feature types, which reflect how the features are displayed on the map. What I particularly like about VNTI is that as I am adding those features, I can see them both on the map and on the sequence.
Now I will proceed adding the rest of the features, namely Multiple Cloning Site, Terminator and Ampicillin resistance gene. Again, I get all the information about feature locations from the PubMed Nucleotide file.
pSAT6-MCS map is ready, I am going to save it and move onto building pSAT6-Bar.
I will build pSAT6-Bar by pasting the sequence of the bar gene from PubMed Nucleotide.
First, I locate XhoI and BamHI sites on pSAT6-MCS and remove sequence between them.
Then I will go to the PubMed Nucleotide and locate the sequence of the bar gene. When I scroll down and look in the annotations I can see that the bar gene is located on the reverse strand in the positions 373 - 924.
To make life a little simpler, I will use PubMed tool called Change Region Shown. I enter here the boundaries of the bar gene and click on Update View. Now if I scroll all the way down you can see that the sequence of the pFGC5941 reduced to a 500 base pair region, which is the bar gene.
Also, if you have a closer look at it, there are an ATG and a Stop codons on the complimentary strand of this sequence. So, let's copy the bar gene, go back to Vector NTI and paste this sequence between XhoI and BamHI sites in pSAT6-MCS.
Because the bar gene is located on the complimentary strand, I need to reverse the pasted sequence, which can be done by going to File - Molecule Operations - Advanced - Reverse Selection.
Now, once the bar sequence is in place, I can label it as a new Feature, by going to New Feature, typing the feature name, and selecting the feature type, and clicking OK.
Finally, I save this file as pSAT6-Bar.
Now I am going to design PCR primers for cloning the bar gene into pSAT6-MCS.
First, let's find the start of the bar gene. For the Forward primer, I am going to select the first 20 nucleotides of bar. You can see the number of selected nucleotides right here at the bottom of the Vector NTI window.
So, I am going to select the first 20 nucleotides of bar along with XhoI restriction site, and six nucleotides after it: one, two, three, four, five, six. Those six nucleotides are necessary for XhoI cleavage close to the end of a PCR fragment. That's it, this is my forward primer. I am going to copy it and submit it to an oligo synthesis company.
Now I am going to scroll down to the end of bar sequence, locate the last twenty nucleotides, select those twenty nucleotides along with BamHI site. And add additional six nucleotides for BamHI cutting close to a fragment end.
Since this is the reverse primer, I need to invert it. For that I go to Analysis - Oligo Analysis - Thermodynamic Properties and select Complimentary. This is the sequence of my reverse primer. I am going submit it to an oligo synthesis company along with the sequence of the forward primer.
If you never built plasmid maps before, you might feel that it is just a hustle that you would rather avoid. But once you get used to having a clear picture of your construct and access to every little feature on the map, you would never want to walk in the darkness again.
Up Next
42:05
Agrobacterium-Mediated Gene Transfer: Plant Transformation
@biologynotesonline
471 views•2025-05-30
14:12
Quantitative Real-Time PCR (qPCR): Principle, Method & Data Analysis
@animatedbiologywitharpan
129.2K views•2023-09-06
23:33
Microbial Degradation of Plastics: Biodegradation Pathways & Sustainability
@majeedhammad
2.9K views•2021-04-11

16:04
CRISPR and Genetic Engineering: How Gene Editing Works and Why It Matters
@kurzgesagt
30.5M views•2016-08-10
Related Study Plans & Knowledge Roadmaps
Structured learning paths in Biotechnology
biotechnology
AAV Production: Transfection, Prep & qPCR
01Introduction to Gene Therapy and AAV Biology
02Mammalian Cell Culture: Suspension HEK293 Cells
03Upstream Bioprocessing: Triple-Transfection Optimization
+ 2 more learning modules
18h5 modules
Explore Roadmap
biotechnology
Building Gut-on-a-Chip: PDMS, Cells & TEER
01Foundations of Microfluidics and Gut Anatomy
02Cleanroom Fabrication & PDMS Soft Lithography
03Epithelial Cell Culture and On-Chip Seeding
+ 2 more learning modules
26h5 modules
Explore Roadmap
biotechnology
Optimizing CFPS: E. coli Extract & Yield
01Fundamentals of Molecular Biology and Translation
02Introduction to Cell-Free Protein Synthesis (CFPS)
03Preparing E. coli Crude Lysate (The Extract)
+ 2 more learning modules
19h5 modules
Explore Roadmap
biotechnology
Haematococcus PBR: Design, Stress & Astaxanthin
01Biology and Life Cycle of Haematococcus pluvialis
02Bench-Scale Photobioreactor (PBR) Design and Engineering
03Culture Media Formulation and Inoculation
+ 2 more learning modules
15h5 modules
Explore Roadmap