















![[WebGL FR] COLLISIONS 3D ENFIN !!!](https://i.ytimg.com/vi/1BrypVC-3NU/maxresdefault.jpg)
![[3D MAX]- Simulation MassFx (Feat.헤피르)](https://i.ytimg.com/vi/jfr_aig8DVs/hqdefault.jpg?sqp=-oaymwEmCOADEOgC8quKqQMa8AEB-AH-CYAC0AWKAgwIABABGGUgZShlMA8=&rs=AOn4CLAedcjSmdPcZRby_txQPqKyF5_4Lw)

A 3D virtual joystick can be created using p5.js by combining HTML structure with JavaScript code that maps mouse coordinates to joystick movements, using 3D rendering techniques including ambient and directional lighting, surface normals, and object rotation to create an interactive control interface that can send commands to devices like drones via HTTP requests.
Building a 3D Virtual Joystick with p5.js: Code Walkthrough
Added:Fundamental JavaScript syntax and the core p5.js architecture, including the setup() and draw() loop structure.
Basic 3D computer graphics principles in WebGL, such as translation, rotation, and rendering 3D primitives like spheres and cylinders.
Coordinate mapping concepts, specifically how to translate screen-space mouse positions (2D) into logical input values using functions like map().
Introductory vector mathematics (using p5.Vector) to calculate distance, direction, and magnitude of joystick displacement.
Implementing rigid body physics and flight dynamics equations (pitch, roll, yaw, and thrust) to translate joystick values into realistic drone motion.
Designing and coding PID (Proportional-Integral-Derivative) control algorithms to stabilize virtual aircraft during flight simulations.
Integrating Web Serial or Web Bluetooth APIs to bridge the virtual p5.js joystick with physical hardware components like Arduino-based drones.
Building full-scale interactive 3D environments, incorporating terrain generation and collision detection algorithms for simulation gameplay.
1.9K views30likes18:04Original Release: 2018-07-02
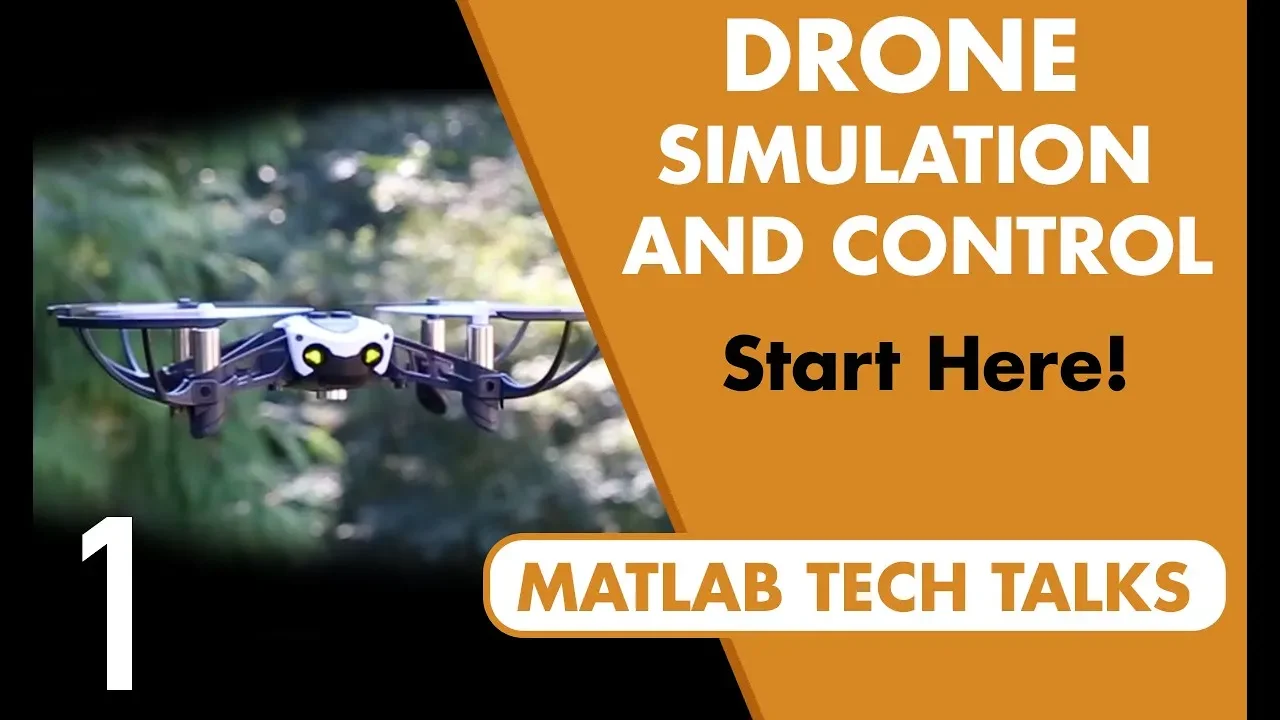
here's a virtual joystick what on earth are we going to do with that we're going to fly my drone with it we're gonna make a web app that has this javascript code that runs operating the virtual joystick and then as you move the joystick it's gonna issue HTTP requests to a web server written in Python that sends commands over Wi-Fi and UDP user Datagram protocol to the drone so let's start with this and how this joystick is made well what do you see here I see a background and a sphere in a cylinder and then some lights a light and then shading and the light is coming from behind us and you see it's very bright on the tip of the joystick a little bit darker on the sides there's some errors though I think maybe there's a better way to do this so that you could see a shadow of the handle on the sphere but because there the sphere and the cylinder appear to be being illuminated independently of each other so I don't know how to solve that but that would be something interesting to do okay let's see how this works there are two files there's the HTML file and there's the JavaScript file and in the HTML file we have we bring in scripts for p5.js and then down here and also for bootstrap bootstrap provides some layout and style assistants and part of that is creating a div with a class of container and then here's the heading for the virtual joystick and then here's the div that were they canvas will be well that's interesting in this typeface these quotes are really weird-looking these are straight quotes but they're drawn as if they were type of graphic quotes I don't like that I think I'm gonna switch that's this one I'm gonna go back to this one and let's see what that looks like that's the way it should be okay after the canvas then we have this div here for the X&Y positions so notice that they go from an X we go from minus 1 to plus 1 and on Y we go from minus 1 to plus 1 a little bit of work involved in mapping the mouse x and y coordinates which go from 0 to the width here minus 1 and 0 to the height minus 1 on the y axis anyway here's this div and initially it's invisible so take a look here if I reload the page you see it's not there also the joystick is not moving and it doesn't move until I bring the mouse pointer up into here now did that deliberately to avoid the situation where let's say you're you bring the mouse to this right edge then immediately the joystick jumps to that and extreme position then it's just a little bit jarring so I'd rather have it be as if you were reaching to grab the joystick and then the joystick responds this is a p5.js program so it has a setup function and a draw function and then I have some other functions that I wrote so why don't we just go through here and see what is what in the setup function we create the canvas it's 400 by 400 you know it's in 3d and then the parent canvas makes it locate itself within this div with the idea of canvas now let's look at draw which is here and the background color 6-3 or 163 I think I want to I went to I like to go to colored adobe.com it's a nice tool for finding colors that you like so that's where I got the numbers for that background here and then the stick length so a cylinder here in p5.js is made by specifying the radius and then the height and I've decided that the stick length is going to be this fraction of the width of the canvas and this is just through an experimentation what seems to fit in there nicely okay so here we are with the ambient light of 255 that's just too much you can barely see the effects of the directional light so let's put this back to being commented out and without the ambient light the difference is that the shading errors are stark and pronounced so I'm using it kind of partly to just smooth out those differences okay so here we are again the directional light is a white light you see these 255 s equal parts red green and blue coming from the center left right and the middle top bottom and behind us so the light shines directly from behind us onto here and the just so you can see what that looks like if I moved it if I wanted it to come from the left I could do this so you see how now the left side is bright the right side is very dark so lots of options there ambient material different kinds of materials is a normal material which is I'll show you that it's kind of unnatural it if you imagine that this cylinder is made up cylinder in the sphere are made up of triangles and those triangles have a normal surface normal vector just imagine a line perpendicular to the plane and then it's that it's that normal vector that's used to determine the color well for a good demonstration and explanation of lights and materials check out the coding train YouTube video so I'm going to put these back now we're looking like this again this draws the sphere and now we have to rotate the cylinder otherwise it'll look like this it'll be like this so that's that's not the way I want to envision the joystick this is supposed to be looking down on the joystick so rotating it by minus PI over 2 PI over 2 is 1/4 the way around and in the negative direction that brings brings it toward us so there it was sort of where it was and here's worth where it is with this rotation I mentioned that and I demonstrated that you can't move the joystick until you sort of grab it and do that the way that works is with this movable variable that's defined up at the top here and that's initially set to false so down here when we're drawing we look to see if that's true or false and if logistic is movable then we rotate the joystick and this is a little bit complicated but it's to be kind of readable I have functions below that give a mouse Y ratio and a mouse X ratio and those are numbers that go from minus one to plus one and with the map function we're mapping those into deflection angles and Max deflect is here and that's PI over eight radians PI over eight is a sixteenth of the circle so we're mapping the mouse positions which are these which I've turned into numbers from minus one to plus one into a maximum negative deflection to a maximum positive deflection so we rotate on X I'll comment out the rotate Z so you can see what this looks like here so now we're only rotating on X can't go this way and we're using the mouse's Y position to rotate the cylinder on the on it on the x axis now I'll do the other axis so now we can't go left we can't go up and down then we can go left and right so here we're rotating on the z axis and that's a little peculiar because you think the z axis is aligned going from behind us to in front of us but since we did this rotate here it changes things putting that back there and then after we've done the rotations we have to do this translation so that the cylinder rotates around the base of it instead of the center of it so check it out if I don't have that translation look what we get a little hard to see I don't know if you can see both ends of it no you can't quite but if I make the stick length bigger let me just double it so as you can clearly see this they did not help because that's so because the radius also increases as a function of that so that hides the well you can see that it's rotating around the center of it there you can see that without doing the translate that I'm talking about now on line 29 the cylinder doesn't rotate around its and rather it rotates around the middle that's why we do this translate then the no stroke is done for this reason if we have stroke turned on then we see how these things are drawn it's kind of interesting to see but not it doesn't look much like a joystick anymore you can see that these objects are made up out of triangles they're made up of triangles okay so that's for that and then here's the here's where the cylinder is drawn and I've just decided that the radius is going to be one-fifth of the length of the stick just works out all right put this back now let's look at some of these other functions Mouse ratio the three that kind of go together the whole point of it is to take these numbers that go from zero to three ninety nine and zero to three ninety nine and turn them into these numbers that go from minus one to plus one and also at the same time to not allow even though the mouse pointer goes off the canvas the mouse why still increases so we need to constrain the values to be within the desired range so let's look at this one first this Mouse ratio so here's the documentation for it that's a little small but I guess you can read it here so does a few things it translates the position to the center and then constrains it within the canvas dimensions and then turns that into a number between minus 1 and 1 so that's what this one does constrain is a p5.js function and then this mouse ratio function is used by these two functions here mouth sex ratio Mouse Y ratio so let's consider the Mouse X ratio that uses the mouse's x position and then it takes half of the width in order to adjust it and constrain it and the mouse Y ratio function is similar except that we reversed the sign of the result because of the fact that the Y values increased those would go down which is not what we want we want them so watch why here we want them to increase as we go up so that's why we have that okay next is this mouse move function Mouse moved so what does it do it updates these values here and it allows the joystick to be moved only after you move it to the near this Center here what does it do it gets these positions against the position of the mouse reshaped into that those minus 1 to plus 1 values and then it considers the activation zone as point 2 of the distance from the center so once you get just show you here see if you can imagine where that point 2 is when it when it when I grab it right there and then here if if it is movable already then we don't need to do these this calculation is a little bit expensive this distance formula there's probably a square root going on in there although with them computer probably isn't worth worrying about but why do it every time the mouse moves if you've already done what you need to do so but if it's not movable then you find out how far away the mouse pointer is from the center if it's less than that activation zone then we turn on moveable and then we remove the invisible class from this X Y the holman here's the X Y element notice it has this invisible class and with the with bootstrap if it has the invisible class its hidden with when we remove that class then it's no longer eaten so watch again reload the page there's nothing there but as soon as I move in watch the digital appear here there they are that's because of this then we look and see if it's movable and then if it is we we grab the x and y elements and those are here these spans and then we've put in these numbers which are the x and y values and then the two fixed makes it so that we only see three decimal places well I think that's the whole program so our next step will be doing the other things as I said this would be the client end of it and we may have may have to I may have two students running this because if you fly a drone the ones the one I have has two joysticks so one is for up and down and rotation kind of Yong rotation about the vertical axis and then the other one is forward back left and right so what we can do is have have have two students each one runs this program but one of the joysticks is hooked up to that one group of functions and the other one is hooked up to the other group so the two students have to coordinate and they're individually controlling different parts of the flying that should be kind of fun to see so that's you might see that coming up okay that is the end of it oh yeah where's the code the code I should put a link to the code on the page but if you go to github.com DC burchett e and then you go to web games and then you go to p5.js then you go to a virtual joystick you'll find it in here so there's the HTML file we looked at and here's the JavaScript file we just looked at okay see you later
Up Next

5:11
Environmental Justice and Climate Change Impacts
@HotMessPBS
68.5K views•2018-05-03

12:54
Triumph of Orthodoxy Icon: Byzantine Art & History Explained
@BenCallan
2.1K views•2024-08-06

9:49
FastAPI vs Flask vs Django: Choosing the Right Python Web Framework
@TechWithTim
302.5K views•2024-05-26

1:42
Game of Thrones Opening Credits: A Cinematic Analysis
@gameofthrones
46.3M views•2011-04-18
Related Study Plans & Knowledge Roadmaps
Structured learning paths in General & Interdisciplinary Studies
general-studies
Elevator Engineering: History, Physics & Cities
01From Hoists to Safety Brakes: The Dawn of Vertical Lift
02Hydraulic vs. Traction: The Engineering Physics of Elevators
03Modern Speed, Safety, and Algorithms
+ 2 more learning modules
12h5 modules
Explore Roadmap
general-studies
Rubber: Material Science, History & Geopolitics
01Origins of Natural Rubber & Mesoamerican History
02The Chemistry of Natural Rubber & Vulcanization
03The Geopolitics of the Rubber Boom & Colonization
+ 2 more learning modules
12h5 modules
Explore Roadmap
general-studies
Containerization: Evolution, Logistics & Trade
01Ancient Trade & Bulk Cargo: Amphorae to Barrels
02The Industrial Revolution & Cardboard Packaging
03The Containerization Revolution: Malcom McLean
+ 2 more learning modules
12h5 modules
Explore Roadmap
general-studies
Textile Tech: Evolution, Labor & Global Impact
01Pre-Industrial Textiles: Handloom & Cottage Industry
02Mechanization: The Spinning Jenny to the Power Loom
03The Factory System & Global Labor Transformation
+ 2 more learning modules
10h5 modules
Explore Roadmap