













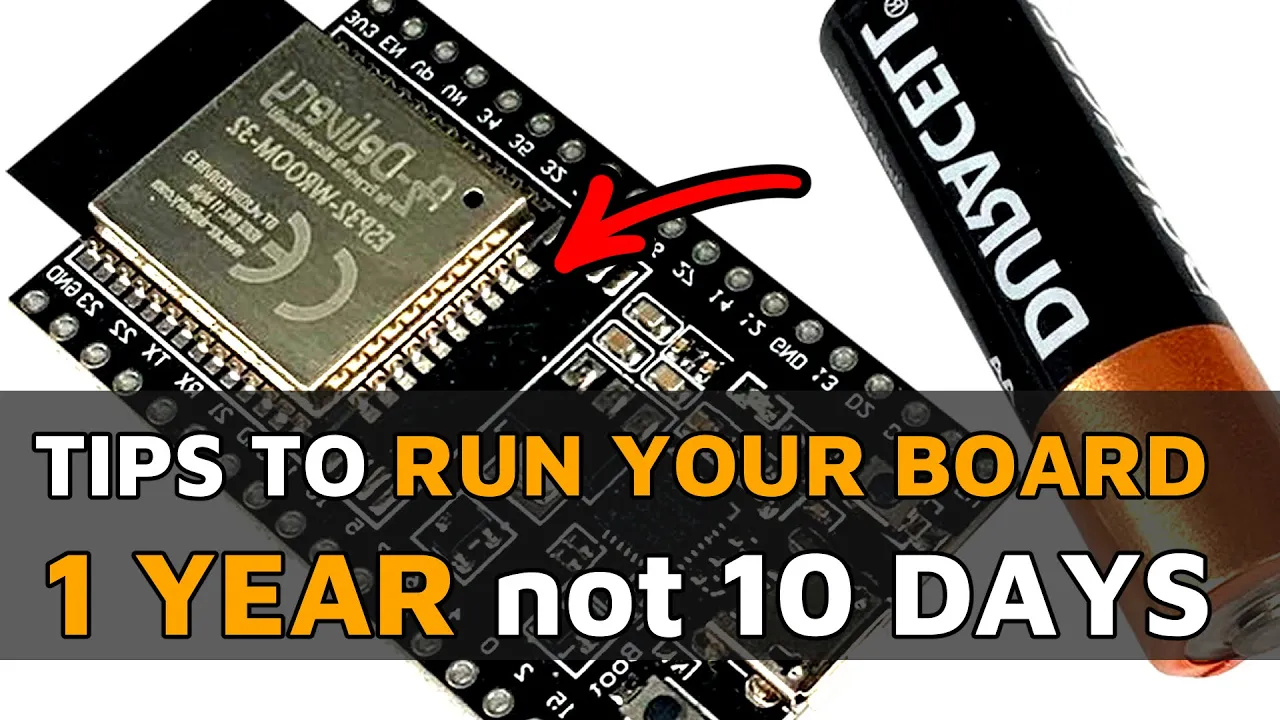


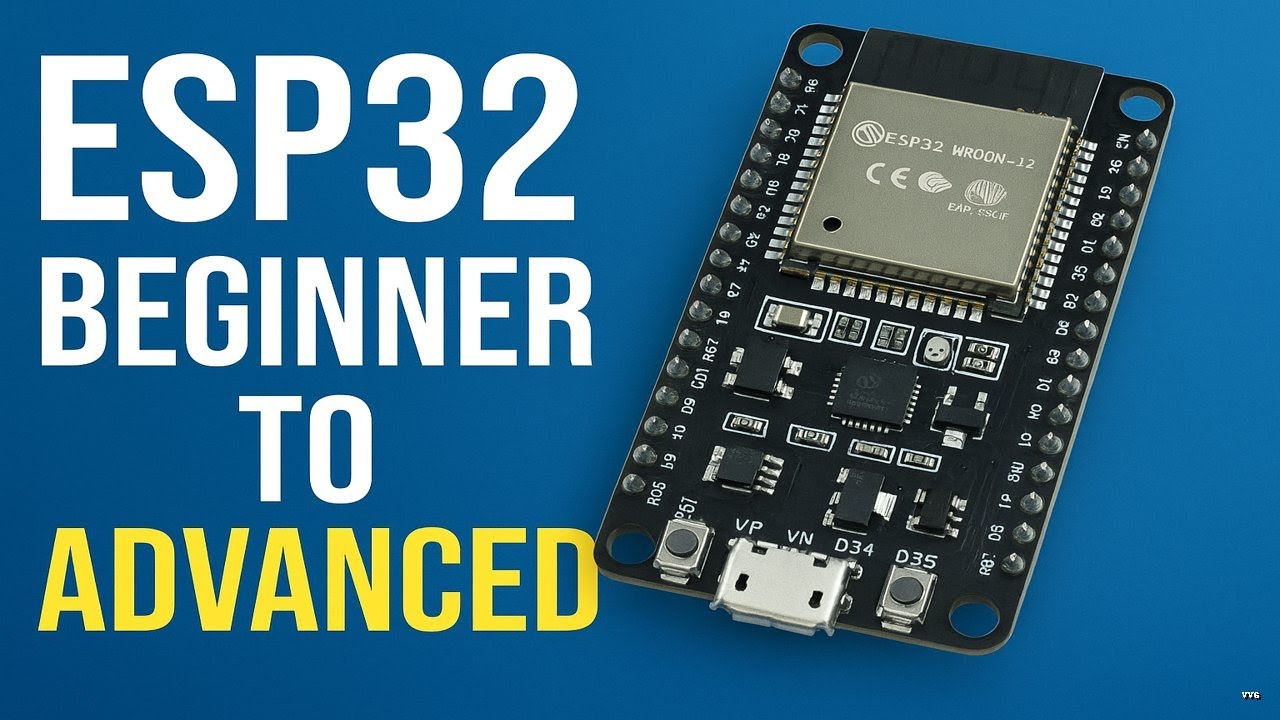


This tutorial demonstrates how to set up an ESP32 development board (NodeMCU-32S) for beginners, covering the complete workflow from installing USB-to-UART drivers (CP210x or CH340) to configuring Visual Studio Code with PlatformIO IDE, creating a new project, writing basic Arduino-style code that blinks an LED and prints messages via serial communication, and deploying the code to the microcontroller using the boot button.
Getting Started with ESP32: A Step-by-Step Tutorial
Added:Basic understanding of C/C++ programming syntax, including variables, loops, and functions.
Fundamental concepts of electronics, such as voltage, current, resistance, and the purpose of GPIO pins.
Familiarity with what a microcontroller is and its general role in embedded systems.
A basic comfort level with using integrated development environments (IDEs) or text editors like Visual Studio Code.
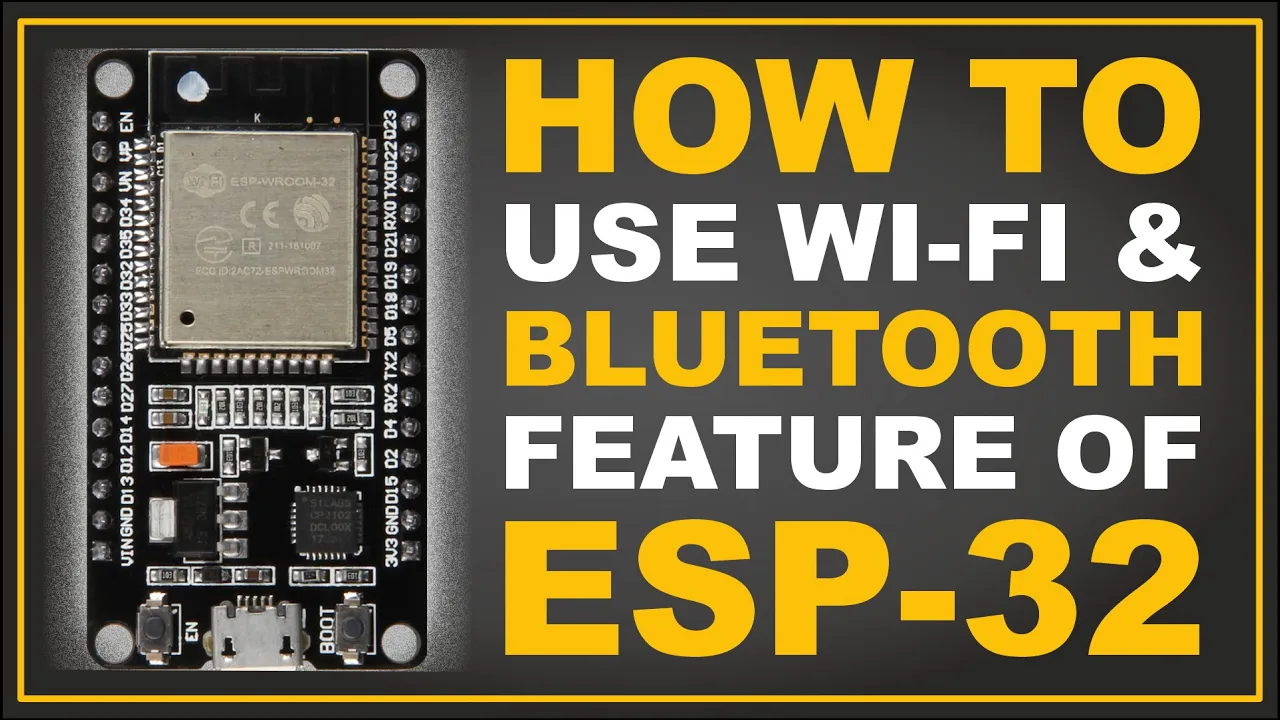
Configuring the ESP32's built-in Wi-Fi and Bluetooth capabilities to connect to local networks.
Learning IoT communication protocols such as MQTT, HTTP, and WebSockets to interact with cloud platforms.
Utilizing ESP32 power management techniques, specifically Deep Sleep modes, to optimize battery life for remote applications.
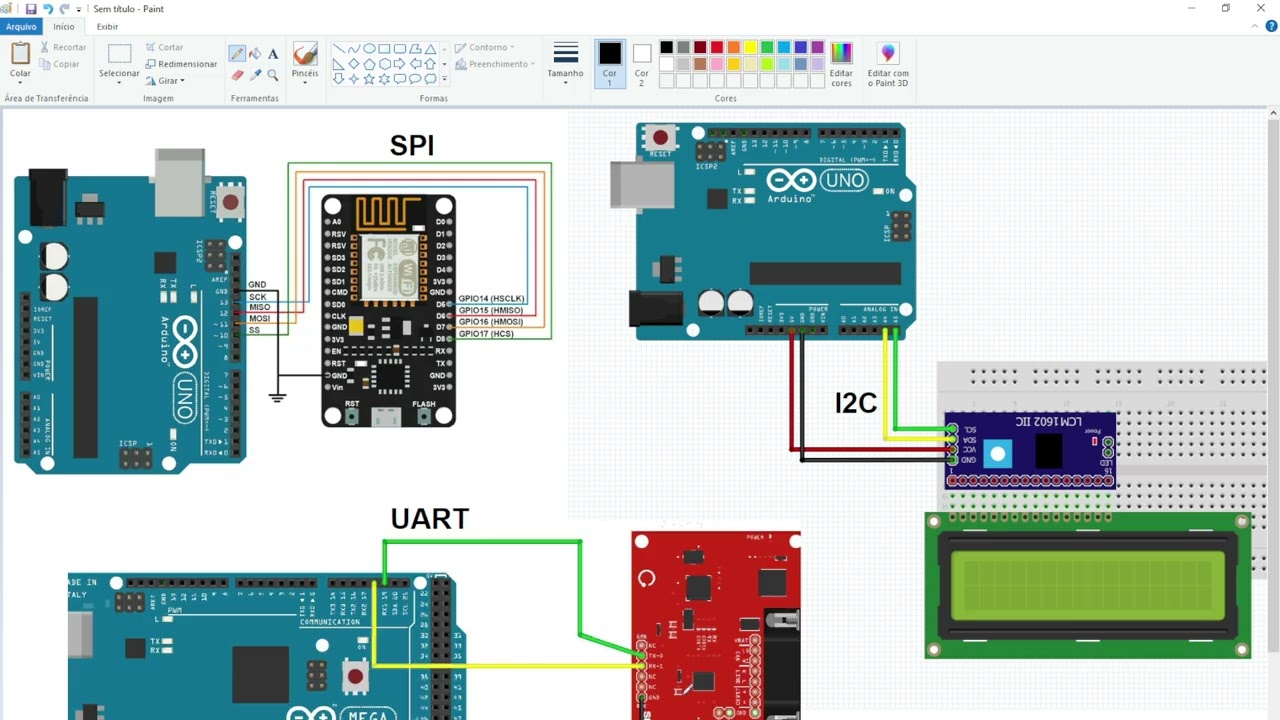
Interfacing with advanced peripheral devices and sensors using protocols like I2C, SPI, and UART.
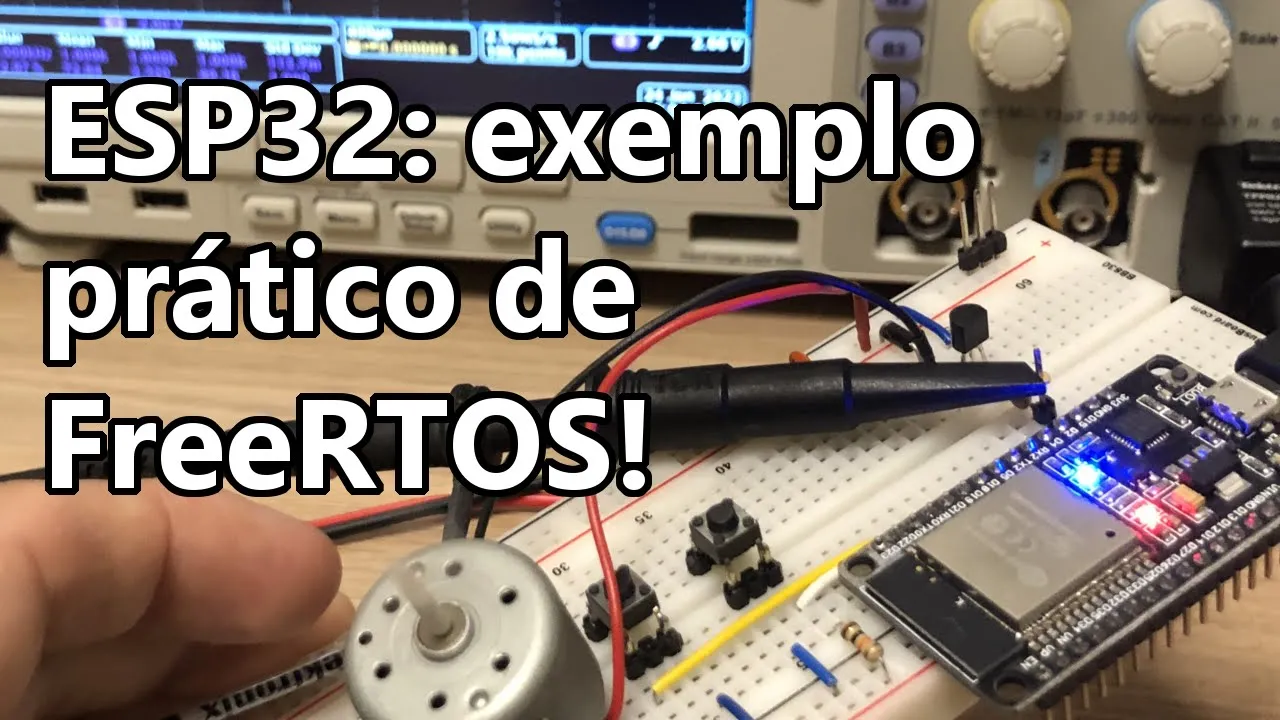
Exploring multi-tasking and real-time operating systems by leveraging FreeRTOS on the ESP32's dual-core processor.
582.1K views11.7Klikes19:49Original Release: 2021-10-28
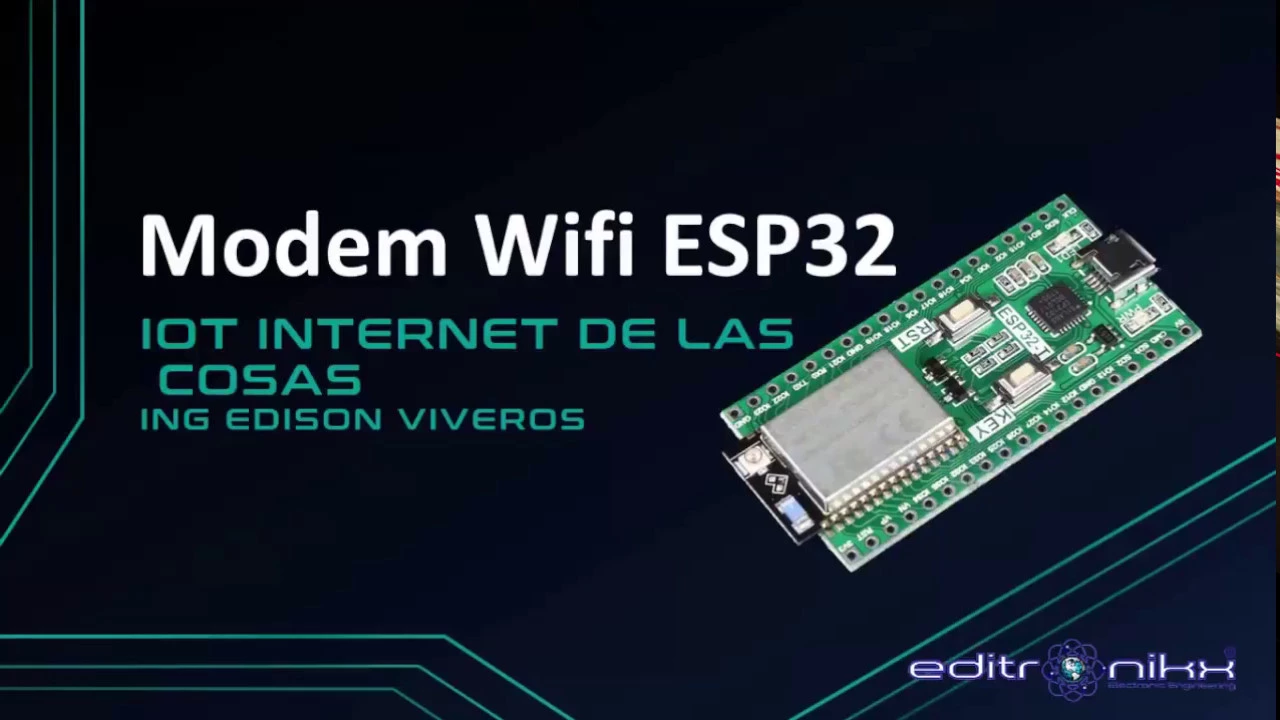
hello everyone i'm thomas and welcome to my education channel where i demonstrate how to build iot web development and serverless projects step by step today in a quick 20 minute video i'm going to show you how to get started with esp32 microcontroller completely from scratch as the first step let's have a look at the hardware so as for the hardware i've got only two elements today and that is esp32 development board and here actually i would like to point out this very important difference between esp32 microcontroller and this development board so the microcontroller is just this element over here this chip and without any extra hardware components we're not really able to connect it to the computer and upload the code from the computer to the controller and this is why we use development boards the one i've got is node mcu-32s one of the most popular ones as you can see it has micro usb port here so you can connect it to the computer in order to do that i've got this usb c to micro usb cable however what type of cable you need might depend on what ports you've got on your computer if you don't have usbc you can go for this one this is a standard usb type a to micro usb obviously because this port is micro usb one important thing about cables some of them just don't work so first of all you want to make sure they support data transfer but also it is recommended for the cables to be a bit short so shorter cables usually work if you want to be 100 sure have a look at the description of my video i left the links to the cables you can get that i tested myself and they guaranteed to work okay right so now that we know what i'm gonna be dealing with let's have a look at today's to-do list so here i'm going to start from a quick esp32 overview then i'm going to move to usb to uart driver installation this is required to be able to send the code from your computer to the microcontroller then next step ide installation and our ide is going to be platform io this is an extension of visual studio codes so i need to install visual studio code first next step creating new projects so i'm going to show you how to create one with platform io and finally i'm going to write some code it's going to be very simple hello world application just sending some text from the device from microcontroller to the computer displaying it on the screen in a serial monitor and i'm gonna make the diode on the development board blinking right and that concludes to-do list let's have a look at the overview now and for the overview i'm not going to go much into details however if you are interested in a full specification have a look at the description of the video there's gonna be a link there i'm here i'm mainly gonna talk about the main feature of esp32 and that is a connectivity right so these two points built in wi-fi and built in bluetooth because connectivity is actually what makes this microcontroller great for iot internet of things applications right or projects or you know prototypes of devices and on top of that we have a very good quality pretty decent one to the cost right the device itself the development board is quite cheap is between six and twelve dollars and you're getting um a decent processor speed memory and power management for that price and also of course compatibility with arduino framework right so you can write a code just like on arduino with this microcontroller this makes it very easy to get started with you just need to write some code use platform io or arduino ide and just upload it using the the built-in features of these ides right so that was for the overview and now let's move to uart to usb driver installation but before i download any software i need to have a look at my development board because there are two main types of these drivers and which one we need to install depends on the breach that you've got installed on your development board right if your bridge is more like a square one and you can read cp 2 1 0 and x where x is a number from 0 to 9 usually it's 2 then the driver you need is cp210x obviously um otherwise if the if this chip this bridge is rectangle it's probably gonna be chf 340 or something similar right so this is a different type of driver once you identify that um go to the description of the video you can find the link to the driver depending on what model you have let's have a look at my nodemcu 32s what kind of bridge i've got installed there so here's my node mcu-32s this is the bridge we're interested in as you can see it is a square shape and if you use magnifying glass you can actually read scp-2102 so that's my model okay as i have cp2102 breach i'm going to install this driver right that's the official website we need to go to downloads and then we can pick the driver depending on the operating system because i'm working on mac i'm gonna go for this one but as you can see you can download windows driver i think there is even linux one right so all the major operating systems let me just download this one and i'm going to download it then unzip and this is the folder with unzipped files i'm just gonna have to double click on dmg file and then this is the actual driver i'm gonna open it and then continue continue agree continue again i need to provide my password um again and i've got some message about blocked extension this is actually quite important so i need to open security preferences and then on the padlock unlock my mac again and that should be okay i need to click on details and then tick this one right cp210x vpc driver click on ok and there we go i can close this window now and as we can see the driver is installed yeah it's probably not going to be looking like this for linux or windows but there might be other security settings that you need to change but you should get an appropriate notification telling you what to do anyway i'm gonna move on so i'm gonna close this and now let's install visual studio code with platform io so i'm gonna close this one and this one and let's paste in code.visualstudio.com url you can find it in the description of the video the installation of vs code is pretty straightforward this is going to detect your operating system automatically so the only thing you need to do is just to click on the download button wait a few seconds then save it on your disk unzip downloaded file if you are on mac this is probably going to be zip on windows and linux this might be a bit different um so for windows for example i think you need to go through the setup right so the so the install the setup wizard on mac the only thing you have to do actually after unzipping this is to drag visual studio code and drop it on applications and that should be it you can actually go to applications now and just double click on visual studio code that is gonna after clicking open on this notification that's gonna just open visual studio code for you right okay so we've got a better installation let's add extensions now so i'm going to go to the extensions here type in platform io then gonna hit install here in the first result and after a few seconds i should have platform io installed okay nice so this is done let's see if cc plus plus extension is also installed okay yeah now it looks like it is installed as a default if it's not for you make sure this is installed as well right um another another useful extension maybe let me show you is c lang format this one right so if you type c lang and this one is very useful for the auto code formatting is going to add the new formatter to visual studio code so now once you've got this one installed you can go to code preferences settings and then type format and here in the default formatter you can change a none to clank format and then tick these options format on paste and format on save and you can also do format on type so you will have this code auto formatted i mean oc plus cc plus plus code auto formatted right okay so we've got installed platform io you see there is a new icon in here i can click on it and that should show me the quick access menu if i click on open here i'm gonna see the home screen of platform io and a button new project this is how you create a new project basically i'm gonna click on it now and here i'm gonna pick the project name let's call it esp32 hello world and now this is important so the board we want to select depends on the development board that we have because i have mcu nodemcu32s i'm gonna pick this one up so let me click on this framework i'm gonna keep arduino and the default location for my project so i just need to go on and hit finish it should take few seconds and there we go we've got our project created let me just quickly go through the directory structure so um a fast folder is the include this one is for the header files you can go through the readme to familiarize yourself with what should be in the body essentially header fires then we have a leap folder this is for any sort of libraries that you want to use your own or external libraries that you can copy in here then we've got src this is the most important one because we've got main cpp this is this is this is the starting point of our programs of our applications that we upload to the board and here this is a good old arduino way of developing here right so we've got a setup setup function and a loop function let me just remind you or if you if you're not familiar with this yet setup function is the one that is executed once at the very beginning when you supply power to the board right so when you connect the power source or usb this code is going to execute first and just once and then what's whatever is in the loop is going to execute continuously right like in the loop and that's going to be executed as fast as possible so as fast as the board can do it right so it can be many times unless you use a delay function that's going to just delay our program a little bit but we're gonna go into this once i start building the first hello world program right next folder here is the test so this is where you put all your unit or integration tests and we've got the git ignore and platform io.ini very important file this is where we keep all the configuration and actually since i've got this file opened i'm gonna set a new setting here called monitor speed i'm going to set it to very specific value what this value is is a baud rate so that's the number beats per second of the data that we can send over the serial right and serial communication in our case goes through the usb right so this is all the data we send from the microcontroller to our computer to this ide and for example this can be just a simple text right like a printing something out that we can read here in ide in a serial monitor that i'm going to show you in a second okay but how to actually print something out in the code let me just show you so first we going to set this up so i'm copy i'm going to copy this value and then in main.cpp i'm going to remove these comments and just type serial begin and i'm going to paste this value over here this initializes a serial communication and now since i've got this initialized with serial begin i can do serial print ln to print out line just a message send it over usb to the computer and then read it in the serial monitor displayed on the screen so yeah let's just do something like a hello from the setup so we will see this will be displayed only once and then i'm gonna do something very similar but this is gonna be hello from the loop so we'll see this message displayed continuously however we don't want this to be displayed too many times it's gonna be you know thousands if we don't restrict it in any way so i'm going to at the very beginning at a function called delay so that stops the execution of the program for one second okay so whenever this loop is called but it's gonna be called continuously we will have a one second delay so sleep for one second something like that right and additionally as i promised at the beginning we're going to have a diode blinking right to blink the diode we need to use two different functions the first one is called pin mode this allows us to set the way we're gonna use a specific microcontroller spin so basically if we want to read a voltage from it or we want to set a voltage on it right in our case we're gonna be setting the voltage so what i'm going to do is to use build in sorry led built in that's a constant for the built-in diode the pin that is connected to it and for the mode we're going to use output because i would like to control the voltage i would like to set it right high or low when i set it to high the diode is going to be on when i set it to low it's going to be off basically right so that's what i'm going to do with the pin mode and now the second function is going to be a digital write right because since i i'm going to be setting the voltage we're going to be writing to that pin right so i'm going to use let's build in again as for the pin and then for the value i'm gonna use another constant called high so that's gonna set the voltage to high it's gonna switch the diode on right then we're gonna print out the message and after that i need another delay so we'll actually see the diode blinking otherwise it's just going to stay on actually i haven't switched it off yet right so that's going to be the next step so we'll have delay and the low right but yeah this delay again is important here because if it was in here then we won't even see the difference it's just gonna be um i think it's gonna be switched off here because it's gonna switch on and off automatically there is no delay here it's gonna happen very fast but with the delay there's gonna be you know one second sleep so we'll see this switching on and off right okay and this is it for the code that's what we need because you know after this line the loop is going to start again so we have another delay then on then delay then off another delay on and off and so on so we should see the diode blinking okay now is the time to upload our sketch our code right in order to do that let me build it first so let's make sure i haven't made any mistakes to build the code i just need to click on this check mark button here that's platform i o built so just clicked on it and we should see in a few seconds a success message right okay so yeah that was successful and now i'm going to deploy the code right send it to the board for this one two important things first you want to make sure your development board is connected to the computer right using the usb cable and secondly you want to find the boot button on the board and keep it pressed when you actually start uploading it right so i've just pressed it holding it i'm clicking on this button the arrow one right and now i see this code deploying i don't need to hold it anymore and that's it the code is deployed you should see the diode blinking the blue one already and now let's have a look at the serial monitor let's see if this information is printed out in order to do that we're gonna need to click on this button over here and then this is gonna ask us what ports we would like to use and what we're interested in is either this one in my case is three or five or sometimes it might be just one so it's gonna just pick it up automatically in my case i need to type this three or five doesn't really matter it should be all good like regardless of which one you pick and there we go we get the messages hello from setup hello from the loop this is happening continuously every two seconds i think so so there we go this is working right now additional thing i can do is to reset the board using the other button so not the boot one the en1 in my case when i press on it this code just starts again right so setup is called once and then the loop is called continuously and this is it for today thanks for watching if you are interested in seeing more content like this don't forget to subscribe to my channel so you will stay up to date with any new videos if there is a project you would like me to build and make a video about this let me know in the comments thanks again and bye
Up Next
32:54
Petoi Bittle Robot Dog Assembly and Servo Calibration Guide
@petoicamp
94.9K views•2021-01-24

12:54
Triumph of Orthodoxy Icon: Byzantine Art & History Explained
@BenCallan
2.1K views•2024-08-06

9:49
FastAPI vs Flask vs Django: Choosing the Right Python Web Framework
@TechWithTim
302.5K views•2024-05-26

1:42
Game of Thrones Opening Credits: A Cinematic Analysis
@gameofthrones
46.3M views•2011-04-18
Related Study Plans & Knowledge Roadmaps
Structured learning paths in General & Interdisciplinary Studies
general-studies
Elevator Engineering: History, Physics & Cities
01From Hoists to Safety Brakes: The Dawn of Vertical Lift
02Hydraulic vs. Traction: The Engineering Physics of Elevators
03Modern Speed, Safety, and Algorithms
+ 2 more learning modules
12h5 modules
Explore Roadmap
general-studies
Rubber: Material Science, History & Geopolitics
01Origins of Natural Rubber & Mesoamerican History
02The Chemistry of Natural Rubber & Vulcanization
03The Geopolitics of the Rubber Boom & Colonization
+ 2 more learning modules
12h5 modules
Explore Roadmap
general-studies
Containerization: Evolution, Logistics & Trade
01Ancient Trade & Bulk Cargo: Amphorae to Barrels
02The Industrial Revolution & Cardboard Packaging
03The Containerization Revolution: Malcom McLean
+ 2 more learning modules
12h5 modules
Explore Roadmap
general-studies
Textile Tech: Evolution, Labor & Global Impact
01Pre-Industrial Textiles: Handloom & Cottage Industry
02Mechanization: The Spinning Jenny to the Power Loom
03The Factory System & Global Labor Transformation
+ 2 more learning modules
10h5 modules
Explore Roadmap