


![المراجعة الأخيرة [ كل الدروس ] الدقيقة 120 🥅](https://i.ytimg.com/vi/Lg330592dto/maxresdefault.jpg)













![GRUA con ARDUINO || PROYECTO con servomotores || Para principiantes [Explicado paso a paso]](https://i.ytimg.com/vi_webp/B2lwaLmHDEI/maxresdefault.webp)

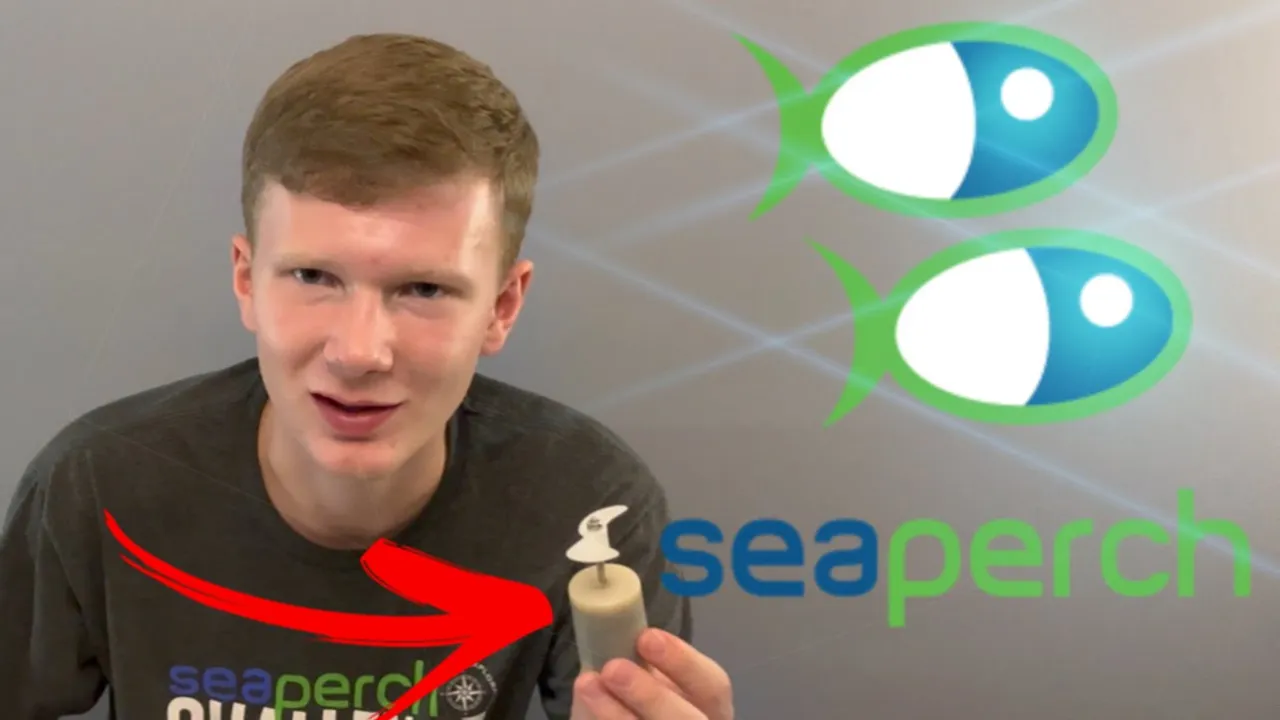
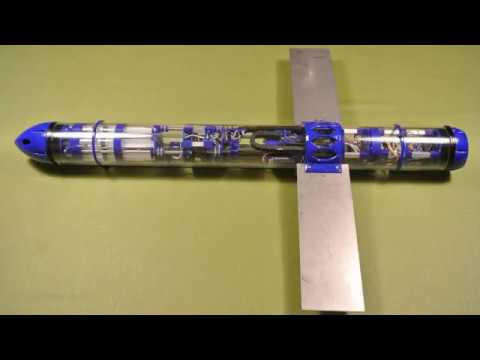
A buoyancy engine uses Archimedes' principle, where the buoyant force equals the weight of displaced water, to enable controlled vertical movement in water; this DIY engine uses cooking oil as a working fluid in a hydraulic system with three interconnected syringes and a ball valve, allowing users to adjust the Seaperch's depth by adding or removing fluid, demonstrating how fluid displacement creates lift and how hydraulic systems transmit force through incompressible fluids.
How to Build a Buoyancy Engine for Seaperch Underwater Gliders
Added:Archimedes' Principle and the physics of buoyancy, specifically how buoyant force, gravity, and displacement dictate whether an object sinks, floats, or achieves neutral buoyancy.
The concept of fluid density, particularly how the densities of immiscible fluids like cooking oil and water differ and interact under pressure.
Basic mechanics of syringes and fluid displacement, including how changing the internal volume of a vessel alters its overall density.
An introductory understanding of the SeaPerch platform and how traditional underwater Remotely Operated Vehicles (ROVs) maneuver.
Automation of the buoyancy engine using microcontrollers (such as Arduino or Raspberry Pi) and servo/stepper motors to mechanically actuate the syringes.
The aerodynamics and hydrodynamics of underwater gliders, specifically how wings translate vertical buoyant forces into forward horizontal motion.
Integration of hydrostatic pressure sensors to design a closed-loop PID control system for automated depth-keeping.
Real-world oceanographic applications of buoyancy engines, such as the mechanism of Argo profiling floats and commercial Autonomous Underwater Vehicles (AUVs).
5K views36likes8:12Original Release: 2013-07-16
going on the Dance Floor does it ever seem like you can't keep your seat perch still in the water while you take your measurements either you're rising or falling trying to maintain elevation while you while you use your vertical motor well I've got a solution for you it's called The Sea Purge buoyancy engine and you can make it yourself out of cheap inexpensive materials that you can find at the local chemistry supply store you can take your measurements at a level elevation and it won't break the bank the engine operates by a principle known as buoyancy which was discovered by Archimedes sometimes during the 12th Century A.D he was a really smart guy Archimedes found out that an object weighs much less under the water than it does out of the water this is because the water will create a buoyant force on the object Archimedes found that this buoyant force was exactly equal to the weight of the water which is displaced by the submerged object in this case an orange basically the water wants to fill in the hole which was created by the object and tries to push it up out of the way so using Archimedes principle we can use the different measurements one in and out of the water to figure out the volume of the orange Archimedes used this in a very famous story where a certain King asked him to figure out if his Golden Crown was entirely made of gold Archimedes weighed the crown in the water and also out of the water and he knew the crown wasn't entirely gold since the numbers didn't quite work out correctly so you might be saying well that's all well and good but how's this helping you with my C perch but what we're going to do is use a fluid lighter than water so when we push it into the sea perch the sea Purge will float like this foreign here's the buoyancy engine using cooking oil as the driving fluid it's similar to hydraulics in this fact that as I pull the syringe on the one side you can see it this one stuck in and if I drive fluid into it then it will move out we can use this to make the three perch go up and down and even flow to different levels in the Water by how much fluid we put into it more fluid will make it flow higher less fluid will make it sink now that we know how it works it's time to build it so let's figure out what we need so to build the engine we need three syringes most likely 60 milliliter syringes are the best since they're big enough but any bigger ones will probably be better we'll need a ball valve this is a quarter inch ball valve this is the on position and then this is the off position so fluid will not be able to flow like that it will be able to flow in like that we'll need a t-junction to uh combine the three together and one long tube a quarter inch tubing in little small sections of quarter inch tubing to connect the different parts together it's time to put it together first we get our t-junction and we hook the bulb out the t-junction like that then we connect one of the syringes to the end of the ball valve which in the other syringe to the end of the T like this now you can't belong to the other side of the t-junction so we have all three and the final syringe is attached to the end of the lung tube so just to show you exactly what it's like take you on a tour first you have the 60 millisecond milliliter syringe which goes into the ball valve which goes into the t-junction we follow this t-junction we have a short tube to the other syringe so these two together are the control of our part now if we continue along this long tube we have the bottom syringe down here at the bottom so here's the total here's the total engine this is what it looks like all right so here's how we fill it with oil remove one of the stoppers and pour oil into the syringe you'll see as it fills up you have to take some time and it will slowly decrease speed things up to the other side and suck air out this other story all right I'm sure that your ball valve is in the on position as you go if it's in the off position release all the stoppers before you go now that I have oil in the cylinders I'd like to try and get as much air out as possible so I'm going to remove one of those ridges even though there's air in this one press this cylinder down it's not to raise the levels near the top somewhere else push it down you can stop doing this close to the top put the sucker in finally do the same thing with this remove it syringe so now finally our last syringe we'll put oil in and there we go this last one is more difficult than the others because it doesn't compress at all now we've got ourselves a hydraulic system between these three syringes here's how we check and see if it's working first push oil into the one cylinder and see if it comes out and then we'll pull it out and make sure it's working while it's under water this cylinder will be able to the water pressure will push it in a little bit harder so we won't have to worry about that quite as much the very last bit is okay that it doesn't compress all the way so this system looks like it's working so here's what it looks like in action here you go all right
Up Next

93:07
RC Submarine Building: Advanced Ballast & 3D Printing Tips
@RCSubGuy
409 views•2022-10-09

30:32
Ultrasonic Transducers: Resonant Frequency Measurement and Horn Design
@imajeenyus42
229.9K views•2017-02-22

54:16
Polymer Environmental Degradation: Mechanisms & Stabilization
@iit
1.8K views•2012-07-10

33:39
How a Student's Question Saved a NYC Skyscraper from Collapse
@veritasium
22.8M views•2025-04-26
Related Study Plans & Knowledge Roadmaps
Structured learning paths in Engineering
engineering
Building Acoustic Levitators: Physics & Arduino
01The Physics of Sound and Standing Waves
02Piezoelectric Transducers and H-Bridge Drivers
03Arduino Programming: Generating 40 kHz Signals
+ 2 more learning modules
14h5 modules
Explore Roadmap
engineering
Building Peltier Cloud Chambers: Particle Tracks
01Cosmic Rays & Cloud Chamber Physics
02Thermoelectric Cooling (TEC) Fundamentals
03Custom Liquid-Cooling Loop Design
+ 2 more learning modules
18h5 modules
Explore Roadmap
engineering
Yagi-Uda Antennas: Modeling, Build & VNA Test
01Introduction to RF and Antenna Fundamentals
02Yagi-Uda Antenna Design Principles
03Antenna Modeling and Simulation in 4NEC2
+ 2 more learning modules
18h5 modules
Explore Roadmap
engineering
ECG Monitor Design: Op-Amps, Filters & Noise
01Electronics & Breadboard Basics
02Op-Amps and Instrumentation Amplifiers
03Bioelectricity and ECG Fundamentals
+ 2 more learning modules
18h5 modules
Explore Roadmap