










![[통합과학] 3단원 2-01. A. 화석과 지질시대](https://i.ytimg.com/vi/ICIqBng3q-A/maxresdefault.jpg)


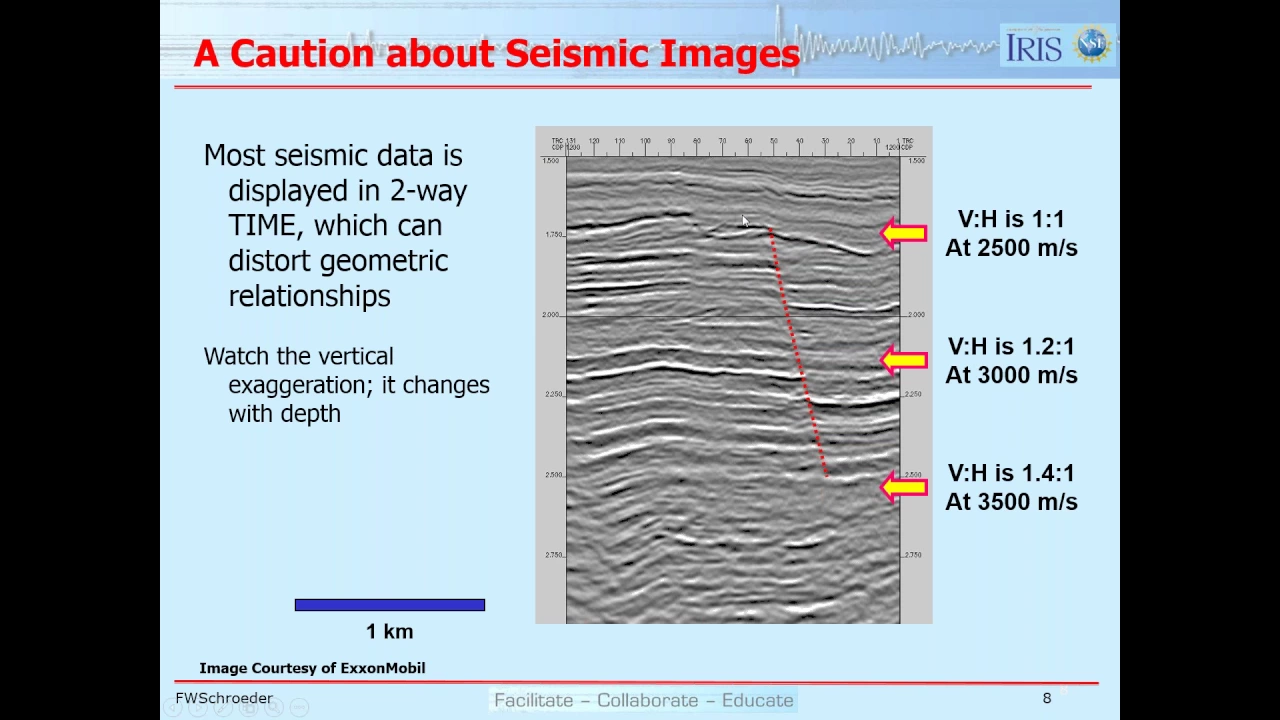


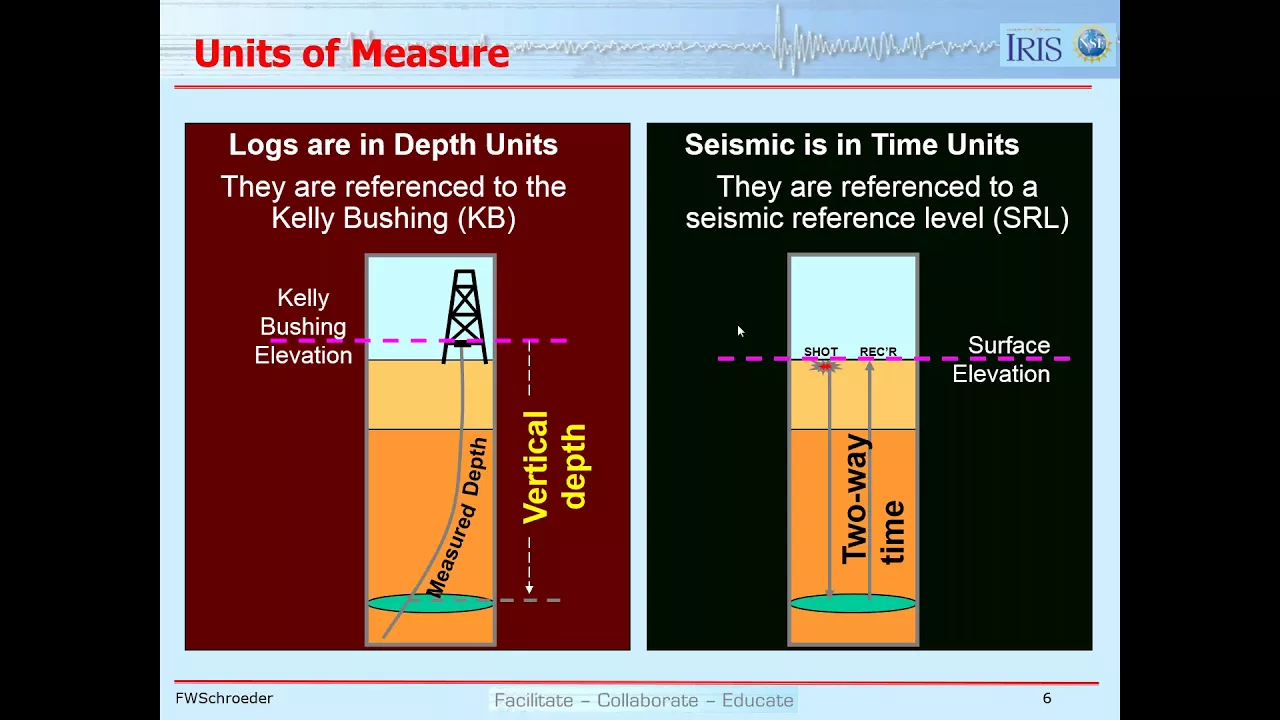




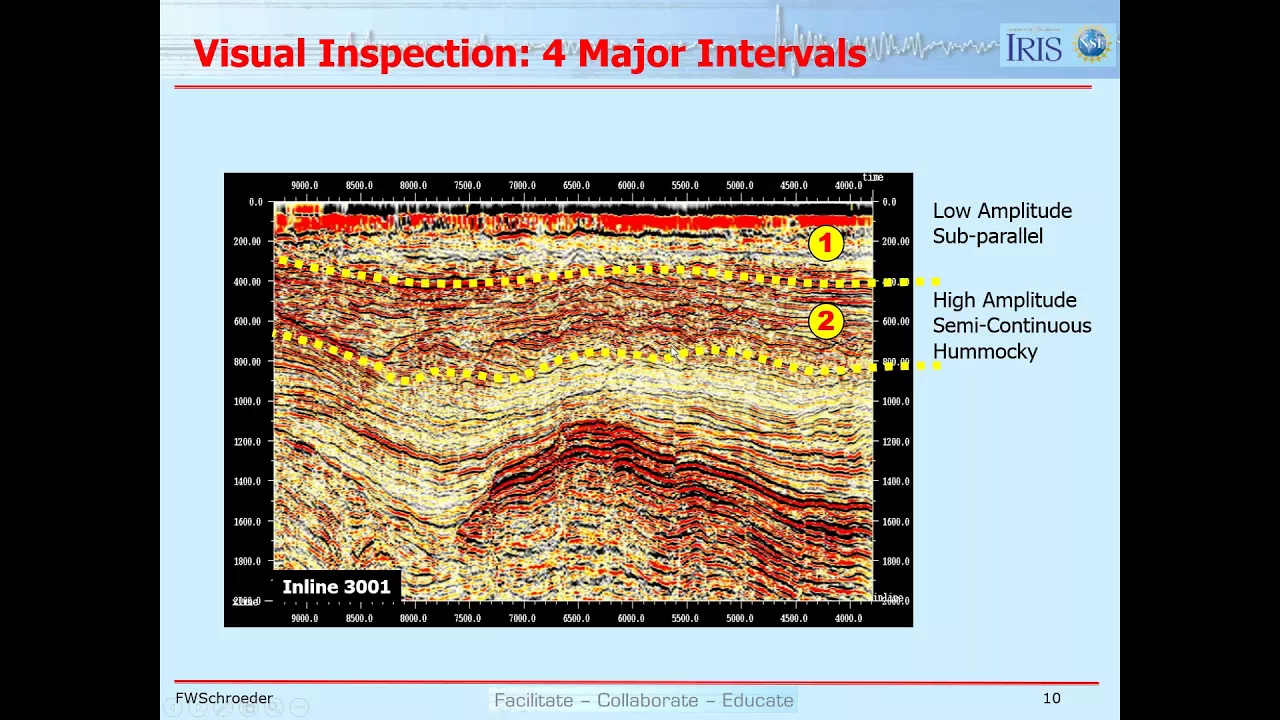






This video demonstrates how to interpret seismic reflection profiles by systematically tracing reflectors from shallow to deep sections, recognizing that higher resolution in shallow areas guides interpretation of deeper, lower-resolution zones; key techniques include identifying discontinuous reflectors as potential faults, analyzing reflector continuity and offset patterns, and using seismic stratigraphy (such as onlap relationships and thickness variations across faults) to reconstruct geological history and structural evolution of sedimentary basins.
Seismic Reflection Interpretation | Inner Moray Firth Basin Analysis
Added:Basic principles of reflection seismology, including acoustic impedance, seismic wave propagation, and how reflectors are generated.
Fundamental concepts of structural geology, particularly fault classification (normal, reverse, strike-slip) and rift basin tectonics.
Principles of stratigraphy, such as the law of superposition, unconformities, and basic depositional systems.
Understanding seismic data representation, including two-way travel time (TWT), seismic traces, and amplitude variations.
Well-to-seismic tie methodologies, using synthetic seismograms and well log data to calibrate seismic reflectors to actual geological depths.
Advanced 3D seismic interpretation techniques and structural restoration to reconstruct basin history over geological time.
Hydrocarbon exploration workflows, specifically evaluating petroleum systems elements (source, reservoir, seal, and trap) within rift basins.
Seismic attribute analysis and seismic inversion techniques for quantitative reservoir characterization.
12.2K views240likes12:39Original Release: 2021-05-07
so this is a seismic profile from the innermore firth and let's describe some of its seismic character starting at the top here we can see that we have a series of discontinuous reflectors that are sub-horizontal generally running across like this but as we come down in the section we can see that these reflectors are far more continuous and can be traced for considerable distances across the profile all this upper part of the profile shows very closely spaced very fine reflectors in other words they're high frequency as we come down in the profile we can see that the frequency decreases so that the resolution down here in the deeper part of the section is significantly reduced compared to that in the shallow this loss of frequency content from shallow down the section is typical of seismic data when interpreting scientific data it's usually best to start shallow and move deep so we can use the higher resolution image to guide us there's a better chance of tracing out the continuity of reflectors so let's try this first of all by starting with the green reflector which is this high amplitude feature running across the profile okay so we're going to just pick this green reflector we're going to stay on this part here coming across and as we get to here we can see that it doesn't quite connect there may be a fault in fact coming through here so that the reflector is slightly offset but we can continue to trace it along now here the same character all the way through here it's wobbled off that a little bit let's try and stay on it all the way across guided by this through that little bit that's a bit bigger and we can keep that running all the way across so there is our green reflector okay now let's move into slightly deeper parts where the continuity is slightly more ambiguous and we'll pick out the blue reflector this time right so let's start here trace it across like this and it wobbles down doesn't it somewhere through here like this coming across and that's gradually rising and gradually rising gradually rising now through here we're just going to be guided by the adjacent reflectors so that it keeps coming up keeps coming up keeps coming up and out so there's our blue reflector so let's turn our attention out to the orange now this is clearly going to be more complicated because we can see that as we trace it across here it continues but then something happens here and if we try and trace it in from this side down there's going to be a mismatch in this area here but nevertheless let's see what we can do and we'll start off picking this area over on the left okay so this isn't too bad to start with we can pick our reflector in like this like wiggle into this area and i'm not going to push it any further than about here now let's come over to the other side okay so let's pick it from here we can trace it along through here like this and i think it then drops down through here something like this okay now now we have a choice does it go up to here or does it go down to here let's think about this a little bit well let's just step out because you can see that just above the orange reflector that we just picked there's another prominent amplitude feature that comes through that's parallel to it that shows the same wiggles as we go along and so in other words there's a package of strata in here of that thickness that we can find to find the orange reflector so if we were to join up to this one in here and go up expecting to find this one well we can't find it there's a different seismic character in here so it's highly likely then that this reflector or this strata dropped down to here so this package is the one on top so with that in mind let's continue our interpretation we're suggesting that it's this package in here that is our orange reflector and it's simply dropped down on a fault coming down through here well before drawing some of these faults in let's try and trace the continuity of the reflector that overlies the orange this amplitude system coming down through in this position and see we can track it across the profile as well so for that i'm going to use a brown color and we'll start over on here and we can trace this in across the profile again to stop about here and we can continue from this side and pick the same feature across something like this like wiggle in here and as we said we think it's this one in here that goes through so we've got a package of rocks that we can trace across the profile let's just color it in okay so i've got some crayons and just color this this package in just lightly like this across our profile picking it up again over just helps us see what's going on as we come across i'm gonna tidy some of this up a little bit more as we go but let's just put that in now to see what we've got next let's put some faults in because the offset of this brown layer that's topped by the brown horizon and based by the orange one clearly offset with a fork through here so let's draw the fault in somewhere through there with that sense of movement and on this side looks like there's a fault that actually comes up somewhere like this again with that sense of movement defining a little grab and structure bounded by two normal faults dropping down like this now we need to tidy up our interpretation and snap our horizons onto the fault so let's bring this all the way up to here this one up to here making sure these offsets are working and we can do the same with the orange so the orange comes up to the fault there snap it snap it okay that's pretty good and then just color in the rest of the layer okay so we go just color that right in against the fault so we've now specified how this unit works across that four normal fault down throwing to the right another normal for here dipping left down throwing to the left and there's our structural interpretation at depth let's push the fault a bit further because you can see there's actually a hint of this fork maybe continuing just up through here which explains that little tiny offset but it's minuscule compared to that so maybe this fault is reactivated somewhat later just to tweak a bit in the shallow section reactivating down its length of course right i'm going to turn my attention now to the unit above i'm going to pick some reflectors out within it to show how it changes thickness you'll notice it's much thicker against this normal fault in the hanging wall compared to the football side and similarly this package of rocks between the brown and the blue reflector thin out towards the right so let's just pick um this reflector here i'm going to put this in black just to come through here to see how this works hits the fault so presumably it's going to come out on this side as we come along like this tapering away like this converging as we come across this side with the brown reflector we can do the same with this reflector here maybe try and trace it through just to get an idea look this one's not really cut by the fault so this full stop moving by then and this continues all the way across here gets really fake doesn't it so we're just going to be guided by the adjacent reflectors to see how this works coming through look how it tapers in to here and so forth so we've got a thickening of this package as we go towards the faults on this side let's just snap these up to the fault in here we can see this other package that banks in over the top difficult to see how these correlate across the fault particularly i've picked it but perhaps something like this with the upper one coming through so the offset is very small there and finally maybe something like this for the other one although that's really vague so this this section in here it's not quite clear how it correlates across the fall but you get an idea of how the stratigraphy thickens and thins as it crosses these fork blocks or we can do a similar exercise between the blue and the brown reflectors up in here for this package and let's just take this across shall we just see where it goes going through here again just guided along across here like this just being guided by the adjacent reflectors whoops just like this coming along like this as it comes and we can see it begins to taper across as it comes and here it looks like it's actually converging with the blue reflector completely so by the time we're here it looks like it's about it and i'm going to show that with a little arrowhead it's not a fault this is a feature we're going to use to show a stratigraphic relationship called onlap on this side presumably the reflector will continue not offset by the faults because it's hardly any fault displacement on this side so it goes off something like that again we can pick out now the thickness changes in this package as we go okay so let's just color that one in through here like this this across that fort but there's the fault barely exists at this stage it's just got that little tweak that goes up so the fault is more or less sealed and it's the main displacement by this light blue package that i'm coloring in through here and as we come across we can see that this light blue package is tapering out wedging against the underlying material so presumably there was a pre-existing tilt here that has simply been banked in by the younger strata that obviously sit on top there we go so let's start from the top and think about the history in here and these strata in the shallow part of the section well they're cut by this little tiny bit of faulting but more or less are railroads straight and they're simply essentially horizontal and overlying all the more complex structure at depth so these are more or less if we ignore this little tiny folds they're more or less post tectonic until down to about here or maybe even this light blue package which just banks in some residual bathymetry uh in the underlying basin structure so all this package in here i'd be tempted to think about as being after the defamation as i say with excluding that little fault there the deeper parts of the section this brown unit has been offset by the faulting so it clearly was there pre-faulting okay the same obviously goes for the rest of the brown whereas this package in here shows radical thickness changes across the faults so presumably is synchronous with the faulting others it's filling little basins as they're growing so we can use the seismic stratigraphy in here to develop a history of faulting in our basin so we've looked at the seismic character and then we've traced some reflectors systematically building up the geological history as revealed on this seismic profile you
Up Next

53:54
Exchange-Correlation Functionals: LDA, GGA, Meta-GGA & Hybrids
@jsifuna
7.7K views•2021-06-25

12:53
21cm Hyperfine Transition in Neutral Hydrogen: Radio Astronomy Basics
@AaronRobertParsons
12.4K views•2011-10-13

32:32
NMR Spin Physics I: Zeeman Effect, Resonance Condition & Larmor Frequency
@nptel-indianinstituteofsci8064
2.3K views•2024-01-17

27:14
Entropy and the Second Law of Thermodynamics Explained
@veritasium
27.5M views•2023-07-01
Related Study Plans & Knowledge Roadmaps
Structured learning paths in Physics
physics
Nuclear Physics (Decay, Fission & Reactors)
01Atomic Structure and the Binding Force
02Radioactive Decay and Half-Life
03Nuclear Fission Mechanics and Chain Reactions
+ 2 more learning modules
12h5 modules
Explore Roadmap
physics
Soft Matter (Polymers, Colloids & Rheology)
01Foundations of Soft Matter & Thermal Forces
02Polymer Physics and Macromolecules
03Colloids, Surfactants, and Self-Assembly
+ 2 more learning modules
38h5 modules
Explore Roadmap
physics
Analytical Mechanics: Lagrangian & Hamiltonian
01Mathematical Foundations: Calculus of Variations
02From Newtonian Mechanics to Constraint Dynamics
03The Principle of Least Action & Lagrangian Mechanics
+ 3 more learning modules
28h6 modules
Explore Roadmap
physics
General Relativity (Spacetime & Cosmology)
01Foundations of Relativity: Special Relativity
02The Geometry of Spacetime: Equivalence Principle & Curvature
03Einstein's Field Equations: The Mathematics of Gravity
+ 2 more learning modules
55h5 modules
Explore Roadmap