





![المراجعة الأخيرة [ كل الدروس ] الدقيقة 120 🥅](https://i.ytimg.com/vi/Lg330592dto/maxresdefault.jpg)












This video tutorial demonstrates how to construct a simple Arduino-powered ROV using a waterproof plastic container, two brushed DC thrusters with mirrored propellers for horizontal steering, a breadboard circuit with an H-bridge controller, and a tethered cardboard joystick controller; the key steps include planning hardware mounting before drilling holes, managing cables with zip ties, waterproofing drilled holes with silicone sealant, and conducting systematic leak testing before water deployment.
Build an Arduino-Powered Underwater ROV: Engineering Project
Added:Basic electronics and circuit design, including voltage regulation, PWM control, and wiring microcontrollers.
Fundamental Arduino programming concepts, such as writing sketches to control motors, read sensor inputs, and manage communication protocols.
Principles of physics and fluid mechanics, specifically buoyancy (Archimedes' principle), center of gravity, and waterproofing techniques.
Understanding motor drivers (like H-bridges or ESCs) and how to safely distribute power to multiple actuators simultaneously.
Implementing closed-loop control systems (like PID controllers) for autonomous stabilization, depth holding, and attitude control.
Advanced sensor fusion using IMUs, pressure sensors, and compasses to map underwater environments and track the ROV's state.
Real-time video transmission and computer vision applications (using OpenCV/Raspberry Pi) for underwater object detection and navigation.
Transitioning from a tethered ROV to an Autonomous Underwater Vehicle (AUV) utilizing path planning algorithms and obstacle avoidance.
98.3K views1.5Klikes13:27Original Release: 2023-05-24
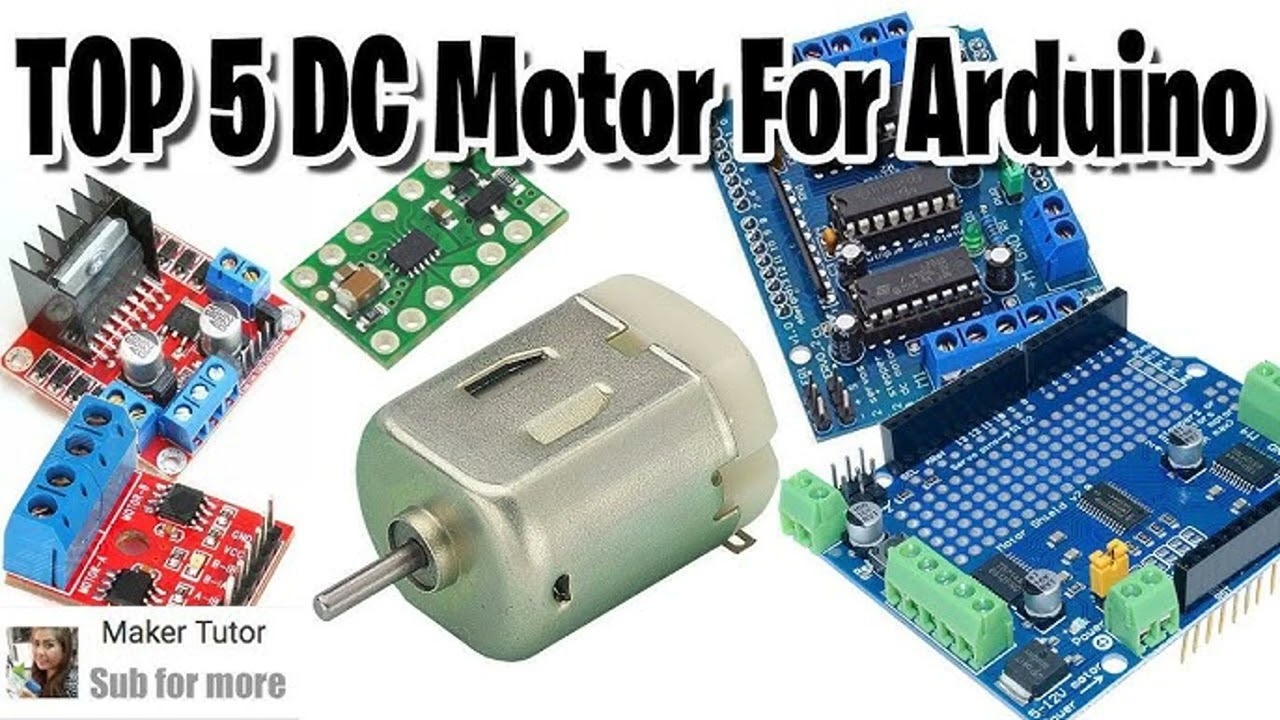
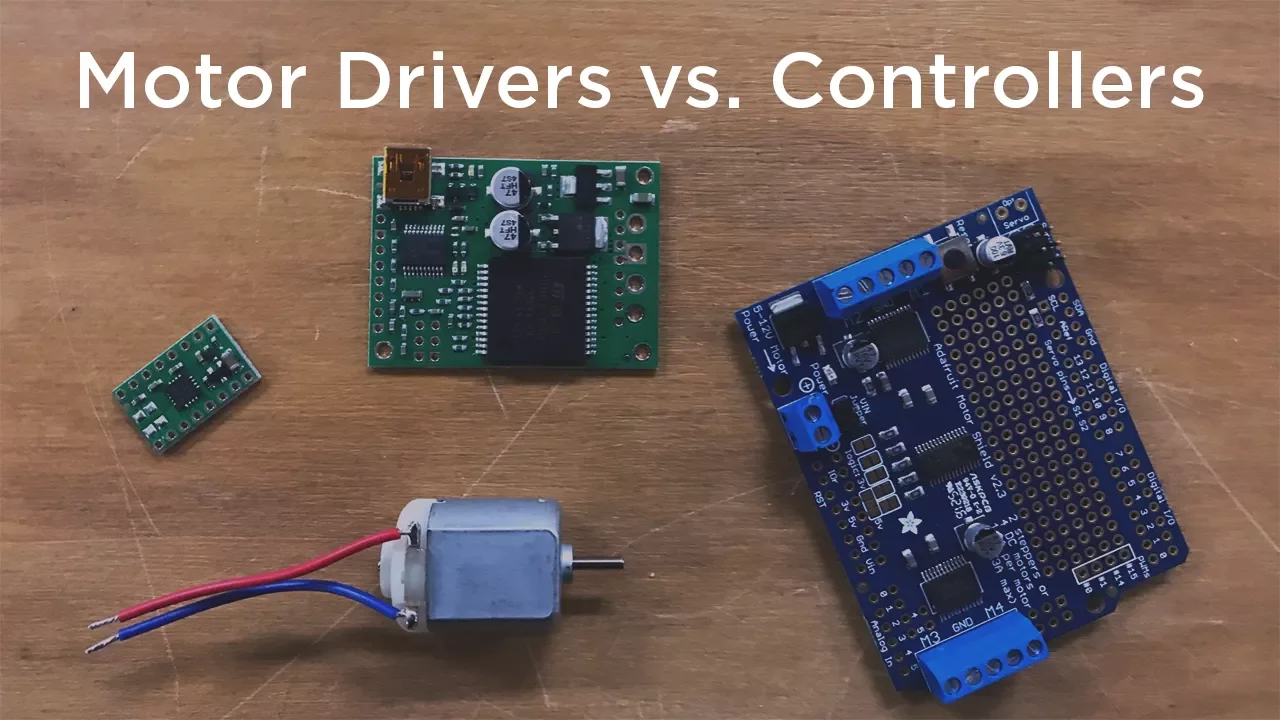
hi I'm Dr benfenio with science buddies and this is an Arduino powered ROV in a moment I'll be launching it into the lake behind me but in the rest of this video I'll show you how you can build your own for a science or engineering project and capture your own awesome underwater footage scientists use rovs or remotely operated vehicles to access underwater locations that are difficult or dangerous for humans to get to they can gather photos videos and a wealth of scientific information about underwater animals and habitats keep watching to learn how to build your own Let's do an overview of this ROV and talk about some things you can consider when designing your own before I show you how I built this one in the rest of this video so as you can see this is a pretty small ROV and all of the electronics are just housed inside a plastic food storage container this is a slightly higher end more expensive container with a really nice airtight seal around the lid because you don't want any water leaking in there and getting your Arduino wet so if you have an old beat up Tupperware drawer and you're just grabbing one out of there you're really going to want to make sure you test it and make sure it's waterproof before you use it for your ROV on the outside of the ROV we have two underwater thrusters these are basically a brushed DC motor with a propeller attached but they're also encased in a waterproof housing this one only has two motors which allows it to steer left and right but not up and down so this ROV is designed so it can either float on the surface of the water and skim around or I can attach weights like these steel bars to decrease its buoyancy make it sink to the bottom and then it could skim along the bottom of something like a bathtub or a pool or if I attach a float to the tether which we'll talk about in a minute and set that to a fixed depth I could have the ROV operate at a fixed depth below the surface so since I mentioned the tether you can see the ROV is Tethered to a very simple controller here I just made out of a sheet of cardboard with two joysticks on a breadboard radio signals don't travel very well underwater so especially if you want to use it underwater or at the bottom of a body of water you're going to need this tether this will also help you retrieve it for example if it gets a little windier gets snagged on something you could go with radio control that's something separate we're not going to cover in this video but again that's not going to work well underwater and for example if you're testing your ROV in a lake on a windy day or something you risk losing it so that sort of covers the basics of just how the ROV operates in steers I have this controller with two joysticks that will allow me to steer it left and right make it go forward and back but you can also think about your scientific payload or what you're going to use your ROV for so I have a mounting point on the front here that I can use to attach an underwater camera so I can record video as I'm driving around but you can imagine attaching other instruments for example sensors to take readings for like things like water quality or amount of light something to collect samples of either water or soil or even a gripper to grab things underwater and bring those samples back to you so the really open-ended part of this project is what you are going to do with your ROV again I'll show you the basics of how to build one and how to steer it but you can decide what exactly you're going to use it for and what else you would want to attach to it here I've taken the circuit out of the case so we can have a closer look we have one breadboard for the two joysticks another breadboard with an H bridge to control the motors connected to the Arduino the entire system is powered by a lithium battery and then we have the two underwater thrusters each Thruster is controlled by one of the joysticks allowing it to go forward and in reverse we have a separate companion video that goes over all the connections in the circuit in more detail and shows you the Arduino code you need to control the thrusters with the joysticks you can find that video Linked In the description of this one the rest of this video will focus on physical construction of the ROV a note about these underwater thrusters there are a variety of them available online for this project you will want to make sure you buy a brushed Thruster not brushless you need a different circuit to control that with the Arduino and ideally you want to find them with one clockwise and one counterclockwise propellers so the propellers will look like mirror images of each other like this due to conservation of angular momentum if both propellers spin in the same direction then your entire ROV can spin in the opposite direction after you have your thrusters and any other accessories you'll want to mount on the outside of your ROV you should plan out where everything will go and where you will Mount them on the container because you will need to drill holes make sure you figure all of this out before you start drilling holes in the container and mark them with a permanent marker so you can drill the holes later carefully drill the holes for any required mounting hardware and then make sure you clean up any Burrs or rough edges on the holes you want these to be as smooth as possible to make waterproofing easier later once you've drilled all the holes you can start mounting hardware to your container you'll want to tighten everything down snugly but not so tight that you crack the container it's also a good idea to use stainless steel Hardware so it doesn't rust since you'll be using this in the water note that some of the thicker wires like those from the motors and the battery will be too big to fit into a typical solderless breadboard so you can use other connectors like these screw terminals or spring clips to connect the thicker wires to 22 gauge jumper wires that will fit into the breadboard I'm using a solderless breadboard to make prototyping easier in this project but of course that is not as permanent or durable as a soldered circuit so if you plan to use your ROV a lot or it might get bounced around in rough water eventually you'll want to solder your connections instead after you've attached your thrusters and other accessories to the outside of your container you can make sure the Arduino breadboard and Battery all fit on the inside but don't attach anything permanently yet because you're going to want to remove this later for leak testing this is just a preliminary check to make sure everything fits nicely and then later on once everything is more permanent you can use double-sided foam tape to stick it to the inside of the container it's never too early to start thinking about Cable Management so you can use zip ties to make sure all the external wires stay neat because you don't want them to get snagged on the propellers or any underwater obstacles you will then need to plan out where to drill holes in the container to pass wires from external Parts like the thrusters and any external sensors inside so they can connect to the breadboard the smart thing to do would be to remove the Arduino before drilling these holes because you don't want to slip and accidentally drill into any of your electronics especially the batteries so don't do what I did here take your Arduino out before you drill these holes again make sure you clean up the holes because you don't want any sharp edges that could cut the insulation on the wires when you push them through you want the holes to be just big enough so that you can slide the wires through but not too big because that will make them more difficult to seal for the tether to connect to the remote you're going to need some very long flexible wire Arduino jumper wires aren't going to be anywhere near long enough you will need four wires one for the analog signal from each joystick one for power and one for ground if you search online you can find a variety of ribbon cables that have four wires in them so this will save you from making your own cable out of four separate wires this wire intended for RGB LED lighting is nice because it's color coded so it makes it very easy to identify which wire is which at the ends of a long cable this wire has silicone insulation which is extremely flexible that's a nice feature for an ROV tether but it's not color coded so you would have to keep track of which wire is which at each end of the cable for the tether I decided to drill a hole in the lid instead of the main container to help keep it away from the propellers I'm also going to use a cable clip to attach the tether so when the tether gets pulled on the stress or the force goes to this clip and not the hole where the cable is going to pass through since that hole will be sealed with some silicone sealant to make it waterproof we don't want to be pulling directly on that point and potentially causing a leak here you can see what that looks like after I finish passing the wire through and have bolted on the cable clip similarly for the other end of the tether you don't want to just plug the wires directly into the breadboard because they will easily get yanked out if you pull on the tether so here I have made a very simple controller just from a piece of cardboard with another cable clip and some screw terminals to attach to the jumper wires for the breadboard again this works as a quick prototype but is not going to be very durable for long-term use especially because the cardboard will get wet if you're using this near water so for longer term you might want to solder the circuit and do something like make a 3D printed case instead of using cardboard once you have drilled all the holes and passed through all the wires it's time to waterproof them because as they are water will just leak right in the moment you submerge this so you are going to want waterproof silicone sealant or caulk which you can find at a hardware store and you can apply directly to the container without any additional tools required to waterproof the holes make sure you read the instructions on your sealant including any safety precautions like wearing gloves or eye protection and pay attention to the drying times and temperatures apply the sealant around each hole on your container from the outside you can also remove the lid and take the Arduino out and seal the holes from the inside just for a little added protection in case the outside seal fails make sure you wait for the sealant to dry completely again read your directions but this could require waiting overnight or 24 hours before you move on to conducting leak testing you do not want to submerge this in water well the sealant is still drying once the sealant has dried completely remove the Arduino and any Electronics then slowly submerge the container without the lid in something like a sink or a bathtub here I am just watching those holes on these side walls of the container for the motor bolts and wires to see if I have any leaks once you've confirmed that you don't have any leaks in the walls of the container you can move on to testing with the lid here you will need to be careful to identify whether any leaks are coming from Holes you drilled in the lid or from the seal between the lid and the container since water pressure increases with depth it's a good idea to test in a deeper container if possible here I've switched from a sink to a bathtub I noticed that I was getting some water in the container after I removed it but I couldn't tell where it was coming from so I went back in for a closer look if you look carefully at the spot I have circled here you can see water slowly dripping in coming from the hole that I had drilled for the tether to the remote I checked and while I had sealed around the wires for the tether I had a gap between the wires that you can see here so I sealed that up with some additional silicone waited for it to dry again and then repeated the leak testing only after you have made sure that you eliminated all the leaks are you ready to put the Arduino and other electronics back in the container seal the lid and test out your ROV in water for the first time you will probably want to start out in something small like a bathtub or a kiddie pool before moving on to larger bodies of water you might also want to make some changes or improvements to your design depending on how your initial testing goes for example I decided that I wanted to get my basic steering controls working before I added a mount for the waterproof camera I also found it inconvenient that I needed to remove the lid to turn the Arduino on and off so I purchased a waterproof switch and drilled another hole in the container so I could turn the ROV on and off without removing the lid after some field testing at a nearby lake I realized that my tether tended to sink and get snagged on rocks or sticks at the bottom so I bought some fishing bobbers and attached them to the tether with zip ties to help it stay afloat this container has enough buoyancy that the entire thing floats so to experiment with making it sink I bought some steel bar stock and attached it to the container with rubber bands for a quick temporary test although for something more permanent you wouldn't want to use something stronger than rubber bands this made the ROV sink so it could skim along the bottom of a smooth surface like a bathtub or a pool you probably wouldn't want to try this on the bottom of a lake or Pond where it could get stuck if you want to steer up and down you'll need to add at least one more motor you'll want to design your ROV adding weights or floats as necessary to make it as close as possible to neutrally buoyant meaning would have the same density as water then you can add a third motor in potential different orientations to allow you to tip the ROV up and down and allow you to change depth for increased maneuverability for example controlling the rov's roll in addition to moving up and down you could add two more Motors like this but it's really up to you if you have questions about our design remember that you can find a link to the parts list circuit diagram and code in the description of this video if you built your own ROV and want to share your design or footage with us please let us know in the comments for many more cool Arduino projects and other projects in all areas of Science and Engineering visit our website www.sciencebuddies.org
Up Next

5:00
The Coin That Predicted Julius Caesar's Death | Pawn Stars
@PawnStars
2.4M views•2018-12-16

12:54
Triumph of Orthodoxy Icon: Byzantine Art & History Explained
@BenCallan
2.1K views•2024-08-06

11:23
NCBI Bioinformatics Tools & Databases: A Beginner's Guide | Genomic Research Tutorial
@Science.Buddies
115.2K views•2021-10-06

1:42
Game of Thrones Opening Credits: A Cinematic Analysis
@gameofthrones
46.3M views•2011-04-18
Related Study Plans & Knowledge Roadmaps
Structured learning paths in General & Interdisciplinary Studies
general-studies
Elevator Engineering: History, Physics & Cities
01From Hoists to Safety Brakes: The Dawn of Vertical Lift
02Hydraulic vs. Traction: The Engineering Physics of Elevators
03Modern Speed, Safety, and Algorithms
+ 2 more learning modules
12h5 modules
Explore Roadmap
general-studies
Rubber: Material Science, History & Geopolitics
01Origins of Natural Rubber & Mesoamerican History
02The Chemistry of Natural Rubber & Vulcanization
03The Geopolitics of the Rubber Boom & Colonization
+ 2 more learning modules
12h5 modules
Explore Roadmap
general-studies
Containerization: Evolution, Logistics & Trade
01Ancient Trade & Bulk Cargo: Amphorae to Barrels
02The Industrial Revolution & Cardboard Packaging
03The Containerization Revolution: Malcom McLean
+ 2 more learning modules
12h5 modules
Explore Roadmap
general-studies
Textile Tech: Evolution, Labor & Global Impact
01Pre-Industrial Textiles: Handloom & Cottage Industry
02Mechanization: The Spinning Jenny to the Power Loom
03The Factory System & Global Labor Transformation
+ 2 more learning modules
10h5 modules
Explore Roadmap