









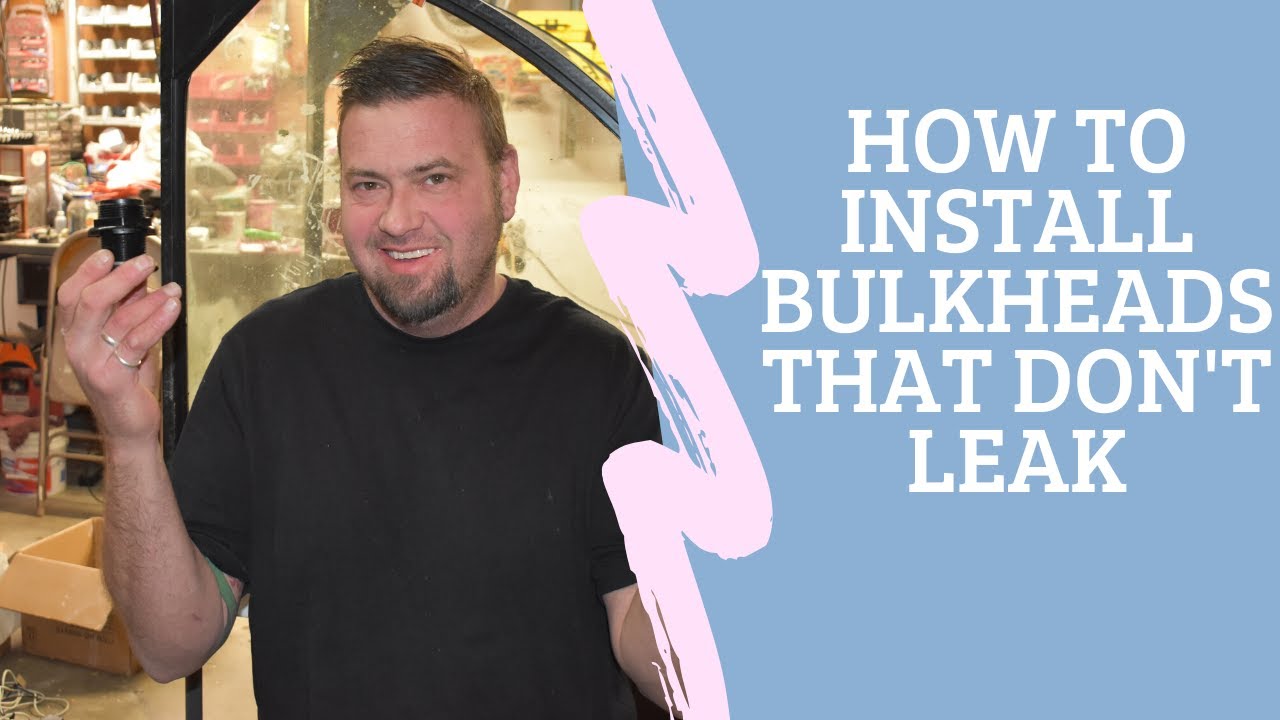















A gravity-fed water filter can be constructed using two stock pots (20-quart capacity) with drilled holes, stainless steel hardware, and appropriate filters; the key steps include removing aluminum rivets to prevent corrosion between dissimilar metals, drilling precise holes for spigots and filters, and using washers and vinyl tubing to ensure proper sealing and prevent leaks.
DIY Gravity-Fed Water Filtration System: Step-by-Step Build Guide
Added:Understanding the distinction between water filtration (removing physical particles and pathogens) and water purification (killing or inactivating viruses and bacteria chemically or thermally).
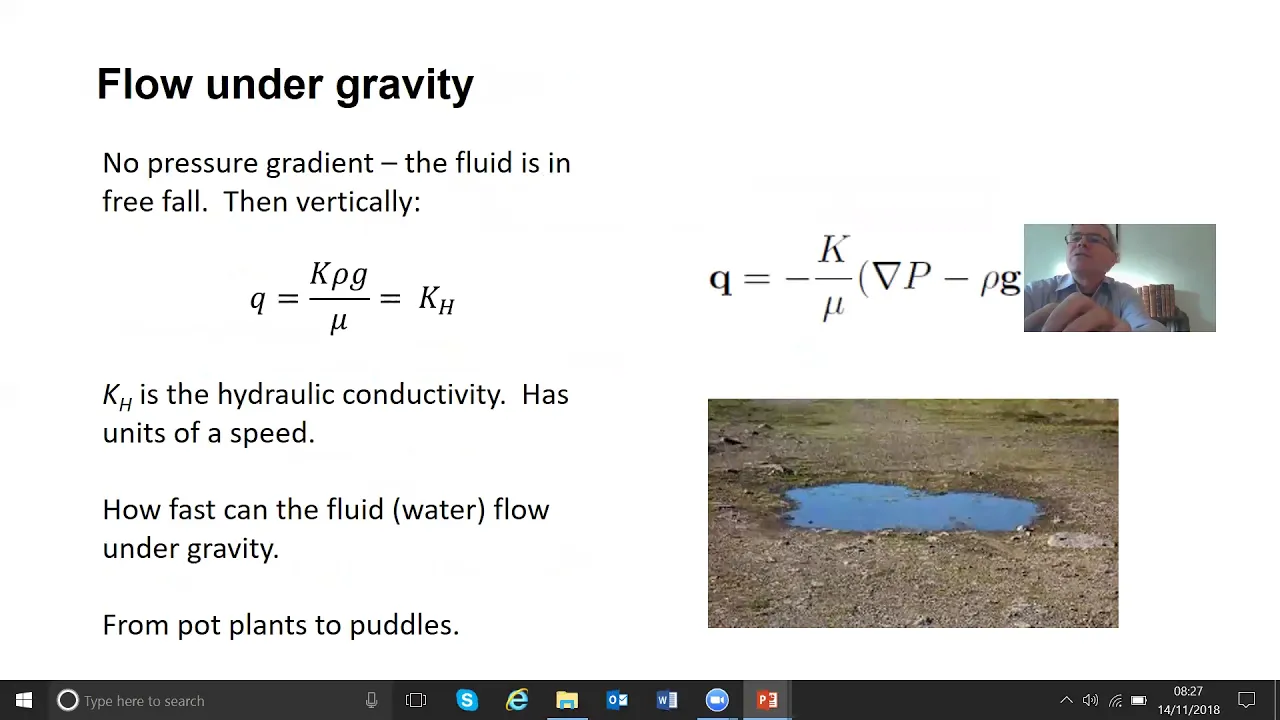
Basic principles of fluid dynamics and hydrostatic pressure, specifically how gravity drives water flow through porous media without external power.
Familiarity with common water contaminants (such as suspended solids, heavy metals, protozoa, and bacteria) and the specific filter media (activated carbon, sand, ceramic) used to target them.
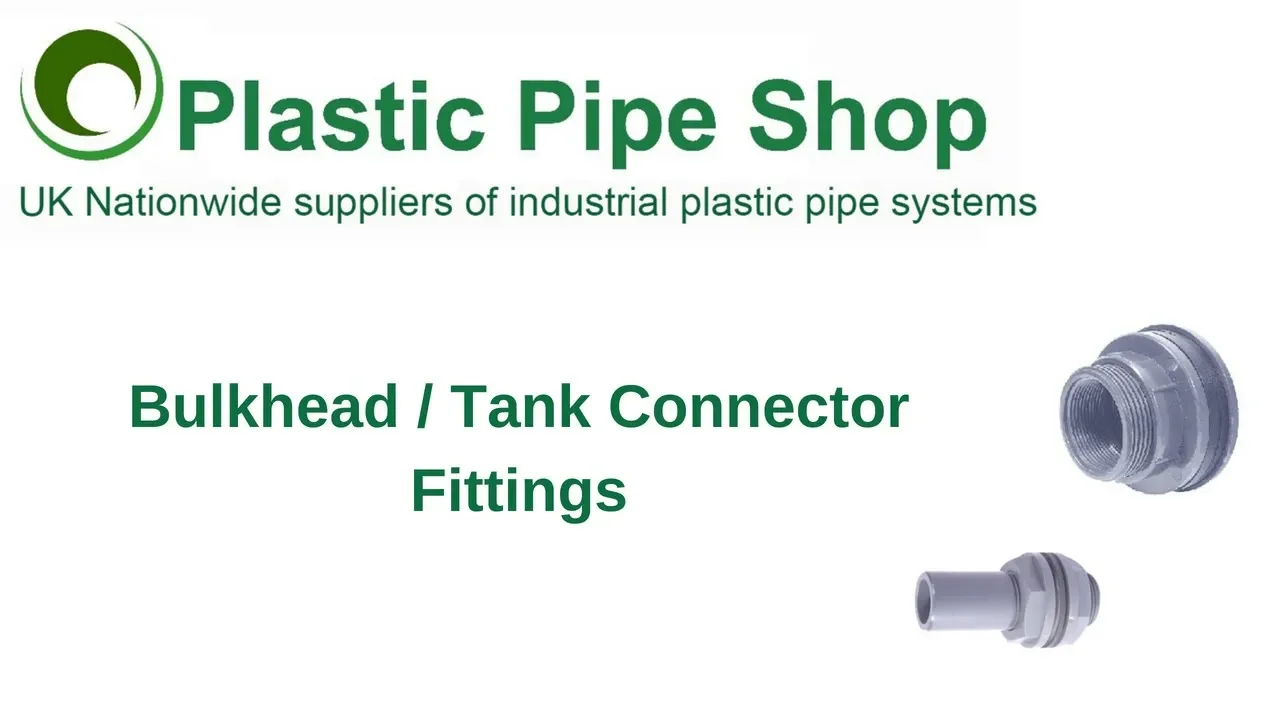
Knowledge of food-safe materials (such as HDPE plastic containers) and basic plumbing connection techniques (using bulkheads, washers, and food-grade sealants).
Methods for testing and validating water quality, including testing for Total Dissolved Solids (TDS), turbidity, and microbiological contaminants using home test kits or laboratory assays.
System maintenance protocols, including backwashing procedures, sanitizing holding reservoirs, and determining the replacement schedule for consumable filter media.
Integration of advanced purification stages, such as ultraviolet (UV) sterilization, chlorination, or solar water disinfection (SODIS) for complete pathogen eradication.
Designing and scaling larger rainwater harvesting and off-grid water storage systems that utilize gravity filtration as a core component.
30.4K views863likes23:48Original Release: 2023-02-20
what's up guys what are we going to do today on this beautiful sunny day in Scottsdale slightly overcast look at that what a day what a day well we're gonna make our very own water filter what I've done well I did this about two years ago I built one of these and since then I've built them for a couple of friends that wanted one too and I looked up on YouTube and found a number of these designs and took what I liked about some and what I didn't about others and did a little bit of a switch on a couple of things I think I ended up with a pretty good system it's fantastic I absolutely love it I was so tired of uh going to the store all the time buying water and whatnot this puts an end to all that and you can really put some pretty awful water through these filters right here and end up with some good drinkable water without further Ado let's show you how I built it you will need two stock pots of your size choice these are 20 quart which is twice the capacity of other systems that are commercially also the other thing you'll need is to choose your filter two here that you can only use I've used this in the past I'm using it currently in this system peekaboo there they are building this one for my buddy so I'm thinking I'm gonna go with these for him to show another option this one comes with your rubber washers tools you're going to need this one comes with the spigot that we're going to use it's a sight glass spigot with the ball in it you're gonna need some small rubber washers these little quarter inch I think they're quarter inch I'll put the right link for you there you've got your choice of stainless steel acorn nuts and you could go with Chrome plated as long as you're using them on the outside not the inside of the pot so they don't rust you may need a uni bit nice high dollar drills that you probably won't need but if you do have it it sure makes it way easier to drill through the stainless 3 8 wrench and just an open open-ended if you have a couple of these they're fine but these are all these are both three eight and then all you need is this perhaps to screw those in quickly with your screw gun you might blow a couple of these trying to pilot hole through the stainless so you might need a couple of uh um let's see which one did I destroy last time um 5 64s five through two somewhere in there but you have to get the stainless started so let's go with a little heavier one we'll play around with that see which one goes through this stainless does not like to be no stainless likes to be drilled through tape measure these are handy because we're going to measure just quickly to Center our spigot you can even eyeball that we're not building the space shuttle here and a couple of Sharpie markers will be handy and clear vinyl tubing quarter inch doesn't have to be absolutely perfect I use this you don't have to to go around your bottom pot and your top pot lids and it can keep a little bit of a gasket if you're in a Dusty environment and it also keeps it quieter if you're traveling down the road with us and even putting the lid on the top all the time that's the tools I think we're gonna need let's get started the main thing we need to do is remove these aluminum rivets because after a while you're going to find that the aluminum is going to have a chemical reaction with the stainless steel and you're going to get white fuzz coming off of these and you're going to get a stain going down the inside of the pot because these are dissimilar Metals okay so we're going to remove these that's really the main thing we're doing we're going to make a couple more holes and we're pretty much done really I did say it was going to be a picnic that's one way to do it that's our pilot hole so we need another one I'm gonna go with a quarter inch see how that does foreign [Music] all right that's how to do it with a regular drill bit next let's try the unibit let's try it without doing a pilot hole and if we find we need to we will a little Pro tip here these are super sharp so if you're doing the old that don't hold it up there because they won't rip your fingers all right let's try without a pilot hole that works pretty good let's try it with just a larger bit 15 64 all by itself no pilot hole the pilot holes were no fun start it off slow the aluminum is soft metal much better with a bigger bit small bits just grab the aluminum too much it really you know a lot of oil on them see if it'll pop off yeah that is the way to go 15 64. don't glance off and go into your hand you really got to be kind of careful when you're first starting these out especially the reason I really didn't want to use this because I don't want to wear this thing out so it's like 70 bucks again you see me doing this too you know you got to aim it toward the center as it's all right also make sure your fingers aren't going to get impaled okay I think that's the hardest part about the whole thing the rest is kind of crazy next we gotta drill out our pot lids do you have to I would because they get gross and corroded we're Masters by now of how to do it I say we use our pot as our holder these are a little bit weirder rivets or a little bit taller but we ain't Karen okay if you want to use a center punch you can trying to prove you don't really need to all right we'll just repeat that let's go straight through oh yep there it goes so you're gonna do that twice and then you're just gonna use the machine screws to do that side too remember one of our pot lids we're going to cut these holes bigger because we're gonna either be placing this in or this and these are two different size threads so we'll cut it to the larger so that both will work no matter what okay so this piece here the lid is going to be the one that sits down here so we have to allow half inch pull so that this will fit through and then this one will for sure fit through because it's smaller so you're only going to use these you know you're not going to have to make these bigger go ahead and make them this size which is more like about I'd say 3 8. so let's drill these out unibits are fantastic for this most people don't have a unit bit why don't we do one with a unit bit one with the half inch crank it down put it in drill mode when you're cutting metal it's better to go slow when you're cutting wood you're going fast this stainless steel hates to be cut beautiful okay that's regular half inch you can use a unibit you got to be careful not to go too far these little um Burrs you can get off with this this really takes the burrs off nice have it going kind of fast [Applause] takes the burrs off nice okay you can do it on the inside but we're not gonna worry about that for now let's do the next one with just the unibit so I'm going to go down to there okay we don't want to go any further than that red mark and if you angle these two it helps as you get going through foreign now the only other holes we need to drill are for our spigot all right when it comes to your spigot you want to have it have it set so it's not gonna be rubbing on the countertop if you do have just sitting on the countertop I set it up high so that I can slide bottles and glasses or whatever um to fill them I just use a milk stand there's ones you can buy they're really expensive but I'll put the link in the description for those putting this on I found that an inch and a half is about perfect that way it's not going to rub and then that also allows for sediment to be collected down here on the bottom and it won't rise up to come out all right so let's cut that this is our toughest hole because this stuff is so slippery so what I did is it just sent just Center these uh that's why these are kind of Handy to use so distance between let's just pick the center of the bottom one yeah outside to the outside is 14. okay so seven I'm eyeballing it down is our seven and then inch and a half up okay so that's where we're going to drill our hole it's better to start with a smaller bit this bit I've just really abused a lot with all the aluminum it's probably dull as a toenail but I like to go worst case scenario say oh he had super sharp bolts I don't always have sharp bits I'm not always the sharpest bit in the drawer either so you don't want to scratch it and Zing off and shoot it right into your finger like I I have done so be careful with this part not over dimpling it I don't want to print it excellent that was beautiful okay what size do we need for this it's looking like I have to go all the way to there and also measure this this is 5 8. but with a unit bit it's kind of fun trying to go until I think it's about right I think it's about right at the red you see it spinning Ready Set remember angle it in it'll kind of and I'm probably gonna run out of battery so we'll see if that happens I love these because kind of deburrs itself drum roll please bark bark bark please perfect okay it comes with a gasket on the inside look at this how fast we can put this together I'm going to clean this before I do but put the gasket on the inside of the pot like so so this pot is done we do not put any holes in the bottom of it now that we have these holes cut our Top Pot also has to have holes under it so that our filters can go through I'm going to go in I'm going to take this sticker off clean the pots alcohol takes the Sharpie marker off if you mark it all up we'll be right back after this airplane broke [Music] where they're going [Music] I'm gonna try to remove this sticker with a heat gun see if it makes it easier I scrubbed no less than a half hour last time that's the way to go I think a hair dryer will work too fail [Applause] if I don't want to scratch it up I'll go wash it off though it's driving me nuts all right so how I do it is just flip it up and over doesn't matter how these holes go into this pot get them lined up with your holes take your Sharpie and make sure it's nice and Center kind of press it down a little bit and then you can align your holes so we got our two holes marked eyeball there eyeball there and now this guy did great last time again we want to go to the left [Music] thank you [Music] oh you wanna see how it goes with um your half inch foreign [Music] [Music] okay half inch will work but it does leave a little bit more of a burr than the other one so let's clean it up [Music] do a little ream from the inside foreign all right nice next we put this on here we're gonna go with this filter it comes with this rubber washer all right when we put our pot lid on the bottom of our Top Pot there's a space between this pot and right here and when we attach our filters we don't want this to get scrunched down so I put a washer between the bottom pot and the top lid so it's in there like that okay the other Pro pure ones come with their own washers and these would be the ones that you can grab more of you can get a few more of these I'll put the link also in the description and you can just uh stack a few of these on top and put them in between it keeps this part tight right here and then it doesn't uh distort your lid too uh too badly okay the spigot is next something we're gonna go like this on the outside much better and this is always going to be a little like this you know you can always kind of move it and you can tighten up you don't want to you don't need to scrunch the washer to death or anything wow look at that now we can go like so so I've washed both of the pots just time to put everything together why don't we put our handles on first so we're going to take our machine screws from the outside if you want these on you don't have to have these on but you can so go like so that's much better acorn nuts on the outside oh that looks sick again you want the uh fancy ones on the outside they look kind of cool water can't leak out if you fill it all the way to the top it's going to get all these started and we'll tighten them all up and you don't want to over tighten them and crush your washers if you want to get cool about it like I do I'm gonna use a screw gun instead put your washer on there much easier okay 3 8 inch or just get yourself uh you know even a pliers is fine and just ever so gently compress the washers on the inside so they don't get too crushed you just want a little bit of pressure on there the water doesn't get out repeat on the next one okay so we're gonna install the filters now we got our holes drilled cream to mouth are nice so they're not going to cut you when you have to clean this someday uh you're going from the inside of our top pots and we'll go like so [Music] that's our assembly that starts off with this filter goes in here okay where's our big fatty washers this goes in between guys kind of screw it on there I'll have to do both of these filters at the same time but that kind of holds it in look at that I like that take our next one that's how they come I'll need this the next washer and put it inside there [Music] let the washer just follow the threads on down go and that is absolutely feeling perfect that is done and voila that's it not too much of a mess only a few drill holes to make traveling along with this thing you can place this vinyl tubing around both uh this rim and your bottom rim and then that'll form a seal I did a separate little video on how to do that one last thing put our new handle on there not pushing too hard if I Zing off I don't want to go through my arms so I'm just taking it easy foreign another thing to do on all of your holes is to uh the Fremont dream it out a little bit to get the burrs off and just use a larger like the largest bit you have kind of go like this higher speed if you don't want to go through just getting the burrs off okay now you can put your uh lid on with two of your last ones washers on the inside let me just get little Burrs so just lean those out a little bit [Music] oh you don't really need that washer but snug is all you need and and it's truly done pretty easy to blast these guys out if you need one make one this will save you a little bit of money you've got a lot more capacity and you will have to fill this much less than you would a Berkey for two people you're gonna probably fill these up every couple of days you can put about four gallons in these I'm trying to figure out a way to incorporate a float valve that will trip this valve to know when to fill but it's tough because the bottom can't overfill the bottom if you got a way to do that you guys please put your idea in the description I'd love to hear it foreign all right well guys that is about it for today's little how I did it tutorial we'll see you next time and don't forget the self-wicking Gardening System with a few of my own tweaks as well nice Arch systems and uh manually rolling Shades that we put together so we'll check that out too in the next video
Up Next

25:40
Arduino Tutorial for Beginners: Blink an LED Step by Step
@paulmcwhorter
1.3M views•2014-06-26

12:54
Triumph of Orthodoxy Icon: Byzantine Art & History Explained
@BenCallan
2.1K views•2024-08-06

9:49
FastAPI vs Flask vs Django: Choosing the Right Python Web Framework
@TechWithTim
302.5K views•2024-05-26

1:42
Game of Thrones Opening Credits: A Cinematic Analysis
@gameofthrones
46.3M views•2011-04-18
Related Study Plans & Knowledge Roadmaps
Structured learning paths in General & Interdisciplinary Studies
general-studies
Elevator Engineering: History, Physics & Cities
01From Hoists to Safety Brakes: The Dawn of Vertical Lift
02Hydraulic vs. Traction: The Engineering Physics of Elevators
03Modern Speed, Safety, and Algorithms
+ 2 more learning modules
12h5 modules
Explore Roadmap
general-studies
Rubber: Material Science, History & Geopolitics
01Origins of Natural Rubber & Mesoamerican History
02The Chemistry of Natural Rubber & Vulcanization
03The Geopolitics of the Rubber Boom & Colonization
+ 2 more learning modules
12h5 modules
Explore Roadmap
general-studies
Containerization: Evolution, Logistics & Trade
01Ancient Trade & Bulk Cargo: Amphorae to Barrels
02The Industrial Revolution & Cardboard Packaging
03The Containerization Revolution: Malcom McLean
+ 2 more learning modules
12h5 modules
Explore Roadmap
general-studies
Textile Tech: Evolution, Labor & Global Impact
01Pre-Industrial Textiles: Handloom & Cottage Industry
02Mechanization: The Spinning Jenny to the Power Loom
03The Factory System & Global Labor Transformation
+ 2 more learning modules
10h5 modules
Explore Roadmap