










An XY plotter can be constructed using an Arduino Uno R3, CNC Motor Shield, two NEMA stepper motors, A4988 motor drivers, 3mm PLA for 3D-printed parts (motor mounts and gondola), 3m tooth belt, 6mm pulleys, and weights for tensioning; the system uses Processing 2.2.1 software to convert images, pixel data, or vector files into G-code for plotting, with vector files providing the smoothest and fastest printing results.
Build a Scalable XY Plotter Polargraph: DIY Guide
Added:Basic Arduino programming and familiarity with the Arduino IDE, including uploading sketches and managing libraries.
Fundamentals of stepper motors and motor drivers (such as the A4988), including wiring, current limiting, and microstepping principles.
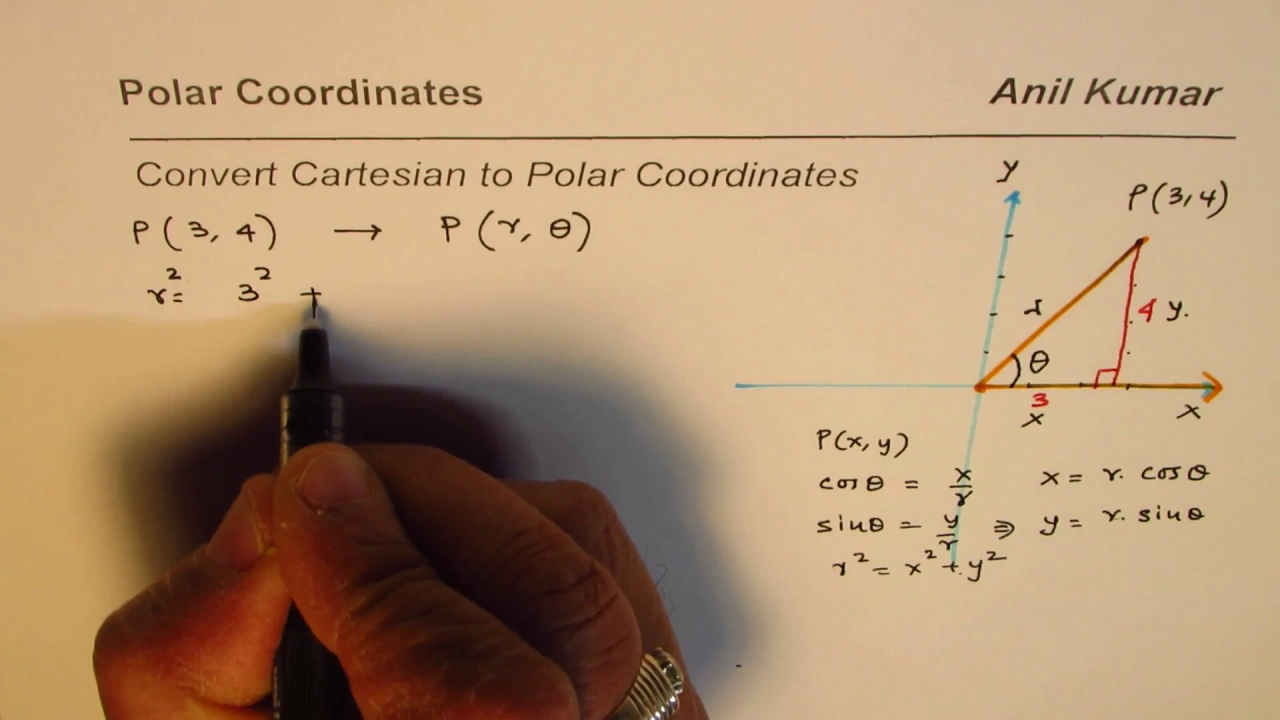
Introductory geometry and trigonometry, specifically understanding how Cartesian (XY) coordinates translate to polar coordinates and suspension line lengths.
Basic mechanical assembly and 3D printing concepts, such as structural rigidity, belt tensioning, and tolerances for moving parts.
Advanced kinematics for cable-driven parallel robots, focusing on dynamics, cable tension limits, and pendulum swing mitigation.
G-code generation and vector graphic processing, learning how to convert SVGs or raster images into coordinates for drawing robots.
Implementing closed-loop feedback systems using rotary encoders to detect and correct positioning errors caused by belt slippage.
Exploring industrial and large-scale applications of cable robots, such as automated camera rigs, crane systems, or architectural-scale wall painters.
27.5K views460likes10:12Original Release: 2020-04-13
thank you for tuning in i'm frank and i represent hackspace from ballarat australia in this video we'll be learning how to make an xy plotter that can scale to effectively infinite size links for everything is in the description first you'll need some required hardware an arduino motor control stepper motors pulleys belts an adjustable power supply or just any 12 dc and some weights as for 3d printing you're going to need to need two motor mounts and a gondola the supplied stl files can be found in our github which is linked down below this is the gondola and this is the motor mount as which you'll need to make sure you get one with the screw holes we're not gonna show you how to 3d print in this video but look up some tutorials it isn't too difficult make sure you have a decent infill as the screw holes need to be threaded and the finished product should look like this mount these to a white board and attach belts at the end of each belt make sure you've got some sort of a weight in our case we're using phishing sinks and as you can see the gondola is all set up and attached to the belts the servo motor being routed around and cable managed to make sure nothing gets in the way while it prints and attached to the cnc shield which requires 12 volts from dc power here we've just got positive and negative on the left there as you can see the servo comes in from the left and attaches for power down the bottom and signal at the top with the two motor drivers x and y to there on the right next up you'll need to attach a computer by usb to the arduino and follow the link in the description for our github download to get the software you'll need to start drawing polygraphs we're assuming you have some software already such as arduino ide just follow what you see on screen to extract everything from the github files and put them in the correct locations the software you're seeing is polar graph drawing robot from mert arduino link in the description to get the raw contents [Music] once you've got that all set up you're going to need processing 2.2.1 which is how you actually run the gui interface for the polar graph software it's worth noting that the software attached here is recompiled software that is meant for this cnc shield if using a more traditional arduino motor shield you shouldn't have any problems with the original again just follow what's on screen to installing it correctly [Music] once everything's good to go it'll detect the serial port you have the arduino connected to and hopefully the gui will load up [Music] then you'll need to configure your software to match your v-plotter itself click on the setup tab up top and then look for machine width and height you'll need millimeters of each [Music] then you'll need to measure the page width and height as shown this is the area in which the plot will actually print within [Music] once you've got that working measure of 13 centimeters from the top and that's going to be your home position for the gondola don't forget to click set home before you can begin printing make sure you put in a texture we're just using a whiteboard marker which slots in like so and the screws underneath the gondola that will hold it in place you can also wrap the texture in some sticky tape for extra support if you save configuration you can load it from any other machine as it's saved directly onto the arduino this is handy so you don't have to measure things in the future if you're having any issues so far just go through the setups and make sure all of these numbers are correct as shown if anything's out of order just change it don't forget to make sure your serial port is connected down the bottom here because nothing obviously will work if it's not connected [Music] the polygraph software offers three main ways of printing the first is image second is pixel rendering and finally vectors if you want to print an image file just follow along what you're seeing now [Music] currently if the image is too large or too detailed you may struggle to get it to scan in the app can crash or freeze so keep that in mind when you're preparing [Music] images [Music] also don't forget to set a frame that's the red border you can see now anything within that will be printed anything without will not make sure it's covering the whole image you might lose some details this panel is effectively turning your image into a vector mess with the configuration as you can see once it's done hit capture and you should be able to print the next method for printing is pixel rendering this is great for having really high quality high resolution images but it can take a very long time to actually print [Music] you'll want to ramp up the detail to really get that effect but if the detail is too high the software can crash or the printhead can mess up and really not look so great the way this works is by printing it with essentially rectangles at an angle and making them more refined and filled in as the printer goes along for darker colors and more space between them for lighter colors [Music] mess with the configuration until you find something you like [Music] when you're done just hit print and don't forget to unpause the cue on the right the final method for printing is also considered the best using a vector image something like an svg file can have the greatest effect for printing as it's very easy for the program to turn a vector image into gcode that can be printed in a very smooth line fashion [Music] this is the quickest way to put something onto paper and has a very low failure [Music] [Applause] thank you for watching if you have any questions feel free to comment down below and we'll get back to you if we can [Music] take [Music] you
Up Next
10:14
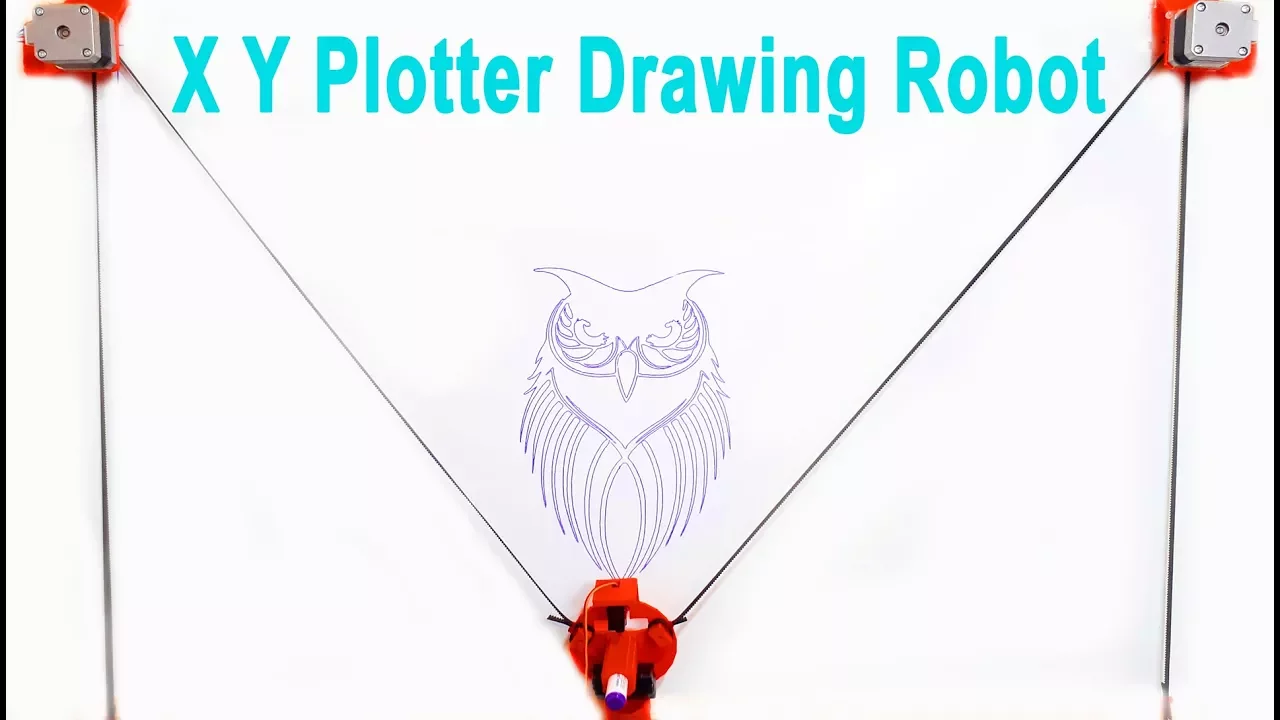
Arduino XY Plotter Drawing Robot: Build & Program Tutorial
@maker101io
592.2K views•2017-11-12

30:32
Ultrasonic Transducers: Resonant Frequency Measurement and Horn Design
@imajeenyus42
229.9K views•2017-02-22

54:16
Polymer Environmental Degradation: Mechanisms & Stabilization
@iit
1.8K views•2012-07-10

33:39
How a Student's Question Saved a NYC Skyscraper from Collapse
@veritasium
22.8M views•2025-04-26
Related Study Plans & Knowledge Roadmaps
Structured learning paths in Engineering
engineering
Building Acoustic Levitators: Physics & Arduino
01The Physics of Sound and Standing Waves
02Piezoelectric Transducers and H-Bridge Drivers
03Arduino Programming: Generating 40 kHz Signals
+ 2 more learning modules
14h5 modules
Explore Roadmap
engineering
Building Peltier Cloud Chambers: Particle Tracks
01Cosmic Rays & Cloud Chamber Physics
02Thermoelectric Cooling (TEC) Fundamentals
03Custom Liquid-Cooling Loop Design
+ 2 more learning modules
18h5 modules
Explore Roadmap
engineering
Yagi-Uda Antennas: Modeling, Build & VNA Test
01Introduction to RF and Antenna Fundamentals
02Yagi-Uda Antenna Design Principles
03Antenna Modeling and Simulation in 4NEC2
+ 2 more learning modules
18h5 modules
Explore Roadmap
engineering
ECG Monitor Design: Op-Amps, Filters & Noise
01Electronics & Breadboard Basics
02Op-Amps and Instrumentation Amplifiers
03Bioelectricity and ECG Fundamentals
+ 2 more learning modules
18h5 modules
Explore Roadmap