

















![Affinity Photo [Raw Process and stacking]](https://i.ytimg.com/vi/gQWYPPFpMHA/sddefault.jpg)


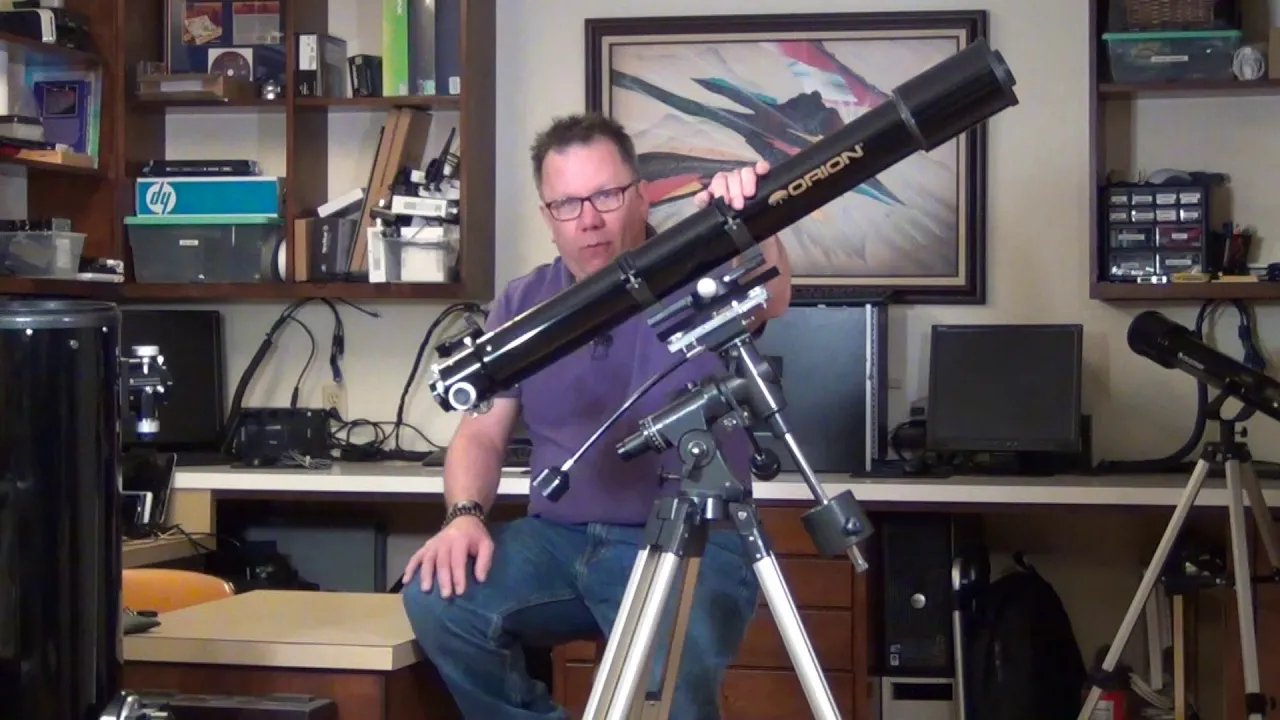


A refractor telescope uses two convex lenses—an objective lens with a longer focal length that collects and focuses light from distant objects, and an eyepiece lens with a shorter focal length that magnifies the image—where the magnification equals the ratio of the objective's focal length to the eyepiece's focal length; when used for astrophotography without an eyepiece, the objective lens alone forms an image by capturing a narrow field of view of the sky, which appears magnified because it projects a small portion of the sky onto a camera sensor.
How to Build a Refractor Telescope for Astrophotography
Added:Basic Geometric Optics: Understanding how light refracts through convex lenses and how focal length determines image magnification.
Fundamental Anatomy of a Refractor Telescope: Familiarity with the roles of the objective lens (front lens) and the eyepiece lens.
Introduction to Camera Settings: Basic knowledge of exposure time (shutter speed), ISO, and focus, which are essential for capturing low-light celestial objects.
Basic Observational Astronomy: Knowing how to identify bright celestial targets like the Moon and prominent nebulae in the night sky.
Chromatic Aberration and Lens Correction: Exploring optical limitations of simple two-lens systems and how achromatic or apochromatic doublets/triplets reduce color fringing.
Equatorial Mounts and Star Tracking: Learning how to track the Earth's rotation to enable long-exposure astrophotography of faint deep-sky objects without star trailing.
Digital Image Stacking and Processing: Mastering software (such as DeepSkyStacker or Siril) to combine multiple exposures and reduce image noise.
Advanced Telescope Designs: Comparing refractor telescopes with reflectors (Newtonian) and catadioptric systems (Schmidt-Cassegrain) for deep-space imaging.
132.8K views2.6Klikes23:04Original Release: 2023-01-05
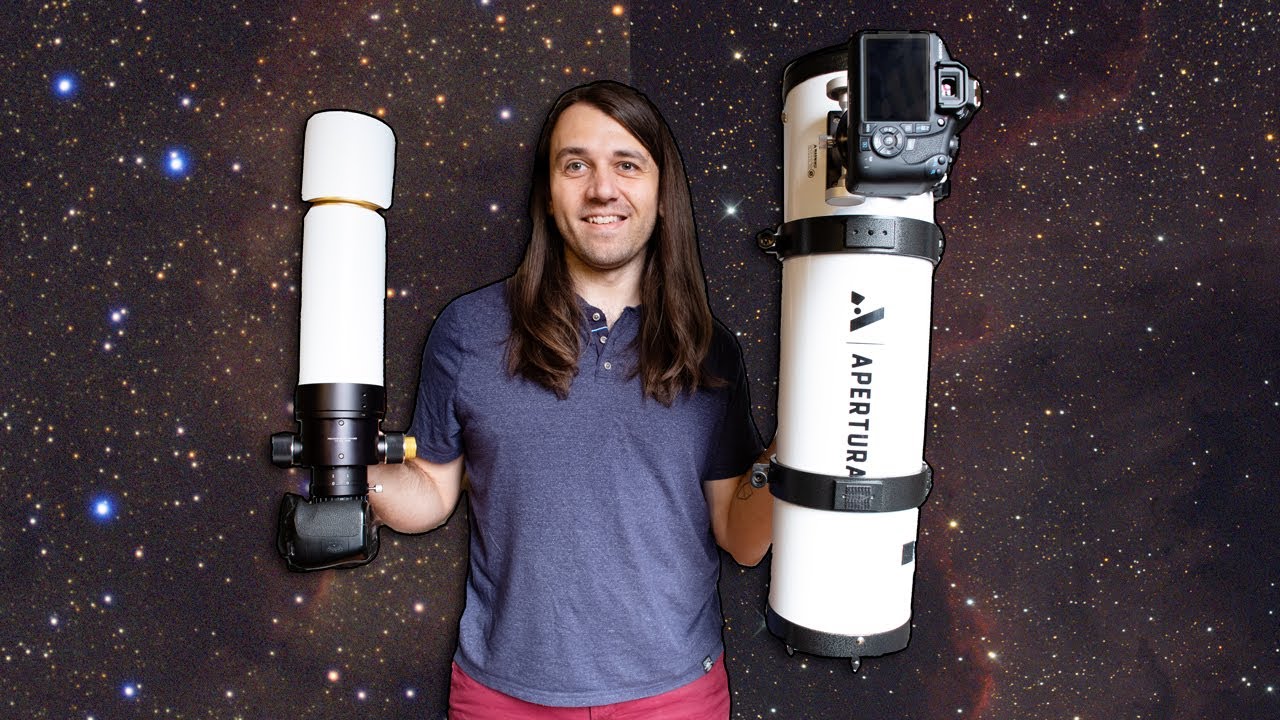
hello YouTube today we're going to build a telescope using nothing but these cheap little lenses that I bought off of Amazon and hopefully fingers crossed we're going to use them to actually take some photos of a nebula from my backyard using just the telescope that I built and kind of a fancy camera but we'll get into that later first I'm going to show you how to build a telescope with two lenses some paper and some tape so for this video what I'm making is a refractor telescope now this is the first telescope that was ever invented and used for astronomy and what it involves are two lenses now what a lens is is a piece of glass that collects and focuses light to a point and we use this to actually collect the light from space to produce an image so what these lenses will do is they will collect the light and they'll focus it at a point called the focal point and the distance from the lens to that point is called the focal length so in order to make the most simplest form of a telescope what you're going to need are two lenses with different focal lengths here you can see I have a pretty shallow one this is 500 millimeters focal length which means it focuses light at a distance of half a meter from the lens and I have a 100 millimeter focal length lens which will focus light 100 millimeters from the lens now this focal length is a super important number for these lenses and building any telescope and it's going to what actually be the thing that enables your telescope to work so if you're picking out lenses to build a telescope here's what you need to keep in mind when you're picking out your lenses so the telescope is going to have two parts the objective lens and the eyepiece lens the objective lens are the one that actually collects the light from space is going to need to be a longer focal length lens than the eyepiece lens what this lens will do is collect the light and focus it to a point to form what's called an image this basically means that it focuses all the light rays down to a spot which means it produces an image that we can view or that we can capture images through using film or a sensor now this other eyepiece is the eyepiece lens and this is what actually allows us to use our eyes to view the image because the human eye has lenses of its own which doesn't allow us to just use the lens to view the image we need this lens to make a more relaxed image for our eyeballs and to actually magnify the image more and what's counterintuitive about this lens is that the shorter the focal length of this lens the more zoom you get and the reason this works is because this lens forms an image and this lens the closer it can gets to that image that you form the higher the magnification will be you can think of this lens a lot like how a magnifying a lens would work the closer you can get to whatever you're trying to read the more magnification you get and that's exactly how it works in a telescope so the closer you can get to the image formed by the objective lens the more magnification you get now the other thing that matters when you're picking out a lens is whether it's a concave or a convex lens I use convex lenses for my telescope and you need a convex lens for the objective or the front of the scope because this is going to collect parallel light rays from space and focus them into a point a concave lens wouldn't do that at all because it doesn't Focus rays in that way so the front one must be convex and then the back one can either be convex or concave if you change whether or not it's convex or concave it changes whether or not the image is flipped upside down or if it's upright my image will be upside down because I'm using a convex lens so all you need to do is go to Amazon buy two lenses here I have a 500 millimeter 50 millimeter diameter convex lens and here I have a 100 millimeter focal length 50 millimeter diameter Plano convex lens and these two lenses together will form a telescope that I can actually use to look at the moon the stars anything I want to in the sky and it's going to have a MAG magnification of five times because again the magnification of our system is the ratio of the focal lengths so with this being 500 this being 100 that's 500 divided by 100 or a 5x Zoom so that's how much zoom we're going to be able to get and I'll show you what the view looks like through this but first we actually have to build a telescope we are going to build a telescope now so what I've got here is a nice roll of construction paper that came I think from wrapping paper I'm pretty sure or I don't know it's just a random piece of trash paper I found but it's going to do perfect for what we need which is a telescope so I've got that I've got some duct tape and I've got both my lenses I've got the eyepiece lens and I've got the objective lens I've also got a pair of scissors now I'm not going to be super fancy with this because you know it's just a paper telescope we're just going to do this as simply as possible now the first thing I want to do is actually measure how long this thing's going to need to be and we know from the focal length of my lenses that I need an overall length of 60 centimeters to bring the light to focus and we're going to need to actually be able to change that around a little bit so I'm going to separate this into two different pieces uh just keeping in mind our total length is 60 and I'm probably going to split it along the 40 centimeter line about here to give us where we need to be able to focus so I'm just gonna start hacking into this if this doesn't work then I'm gonna have to get some more paper but I'm gonna use my Dole scissors to just chop through this tube which is probably a terrible idea if you got an X-Acto Knife it would probably be a lot cleaner but you know like I said this isn't uh this is my first time building a telescope so we're going to find out what works and what doesn't in real time so I've got my two pieces of paper here now the only other thing I want to do is make sure that I can fit these two together because I want to be able to change the length of this overall system to focus things so we're just going to make sure that we can stuff together these two pieces of paper like so so I'm just going to unravel them a little bit I'm going to stick one end in here and now this gives me a system which I can extend in and out to focus I'm going to drop a piece of duct tape in here just so that I can you know lock this together a bit more tightly but this will do the job now I'm just going to duct tape each of the lenses to the ends here and that is going to be our telescope so I'm going to be super janky about this and just slowly tighten this to get it smaller around the front because I want to basically get like a ring of duct tape around the front maybe glue would be the better thing for this but we're learning together don't drop your lens like me so I'm going to get a big piece of duct tape here I'm going to kind of wrap it around the lens just to get a rudimentary fit so here we are in the front of the scope oh no oh I got tape on the objective this was a terrible idea but the lens almost secure on the front now this lens sits on the front like so and I'm just going to secure this off with another layer of tape so now I've got the lens I'm going to lightly wrap my tape around the lens so that it's easier to throw on then I'm going to hold my lens in front and I'm just going to wrap the tape around securing the lens to the paper like so and now you can see I'm holding the lens with the tape and I'm going to drop in another layer of duct tape just to keep this safely attached now this isn't the best design in the world but this is going to work and it's really simple to do so there we've got our front element secured to the scope just the duct tape and now we're going to secure the rear element the eyepiece to the back and then this will give us our whole telescope so we're going to do the same process I'm going to shrink this tube down just by twisting it or twisting the paper inside and then we're going to get it to the right size and then we're going to duct tape our lens in like so and that will give us a complete telescope [Music] thank you [Music] foreign so now just so it's easier to view through I'm going to duct tape it onto this tripod and then we're going to take it outside and see what it looks like now you may be noticing that this has a lot more duct tape than earlier and it's because I accidentally put the wrong lens on and I cut the tube really small because I couldn't hit Focus so make sure you have the right lens if you order a lens kit like I did because otherwise your telescope isn't going to work so with the tripod we'll be able to at least get a slightly more stable View and I'll be able to show you guys what the view looks like through this thing so I took my little paper tube telescope outside and I pointed it up at about a first quarter moon a little bit past first quarter and I got a pretty interesting view now you can tell from the image here that there is quite a bit of chromatic aberration and a tiny bit of astigmatism but I was able to get a nice magnified view of the Moon certainly bigger than what I can see visually with just my naked eye which is a win in my book I pointed this also at Jupiter to try and look at Jupiter's moons but I couldn't quite get enough magnification from it to see the moons of Jupiter but it certainly gave a nice interesting view of the Moon and having the big lens for the eyepiece also made the view pretty interesting as well it's not like a tiny eyepiece that you'd be used to from a normal telescope but now comes the interesting part and the part that you probably won't be able to replicate at home which is we are going to use this as an astrograph it's now an astrograph is simply a telescope that is sole purpose is for taking photographs so we're going to convert this cheap instrument into something that is designed for the use with only cameras now the thing that changes with this Optical system is that we no longer need the eyepiece lens if you recall earlier I mentioned the objective lens the front lens actually does all of the collection of light and it focuses it down to an image now the only way you can view that image with your eye is by using an eyepiece lens to remove the strain off your eyeballs and be able to see the image in a reasonable way if you're a camera sensor that is unnecessary and all you need is the objective lens to focus and form an image now one of the things that racked my brain for a while about this telescope system without an eyepiece lens is that there isn't anything online that tells you how a single lens is able to magnify an image all the explanations online for how a telescope Works includes some discussion about the eyepiece as the thing that does the zoom zooming or the magnification so I got really confused and I had to learn about geometric optics which I'm going to give you a quick 15 second synopsis on right now to show you how the telescope actually works all right it's future Bray here I've got a pen and a paper and I'm going to role play as your high school physics teacher for a moment and give you a lesson about geometric optics in case you forgot what it was from high school in order for you to understand how telescopes work we have to talk about Optics and we have to lay out some ground rules for geometric optics which I'm going to do for you now we're going to get into some ground rules so first we have a lens right so this is our lens this is the double convex lens in our telescope system now this lens has a thing called the principal axis which is anything parallel to the center line of the lens like so now for geometric optics to work which is basically like drawing lines to figure out how Optical systems work we assume that this lens is thin in reality there's some stuff that goes on inside the lens but for a simple approximation like this we're not going to need to talk about that we have the principal act axis and we also have the thing called the focus point or the focal plane whatever you want to call it and the distance between the lens and this Focus point is naturally F or this is the focal length of the system now we're going to start drawing some light rays and the rules about these light rays are that if a light Ray is incoming and it's parallel to the focal plane then it goes to the focus point so let me draw you a light Ray like so we'll have a incoming light Ray from space if it's parallel to the principal axis that means it must go through the focal point so as it goes through our lens it goes in through the focal point like so get it so if it's parallel to this midline it goes through the focus now if a light ray goes through the focus then it comes out parallel so this is true in the converse as well if any light rays go through our focus and they hit the lens they would exit the lens parallel to that's really bad line but you get what I mean it's parallel to the principal axis anything that goes through that goes through the focus alright so for a simple approximation this gives you the groundwork for how the telescope works or how lenses work light that comes in parallel to the midpoint is focused at the focus Point okay and the one other rule we're going to have to keep in mind is that whenever two light rays cross inside this system you form a real focused image which you can use to take a photo of with the camera so we could put a camera here say or a sensor this is a sensor and we can form an image from any light rays that cross down together and focus here at the focal plane so that's another rule to keep in mind now we're going to talk about how the simple telescope works the one that we've designed here because this will kind of help you understand how it works with just a single lens now the simple case of the telescope that we're building we've got two lenses we've got our primary or our objective lens that's our eyepiece lens or sorry no our objective lens that collects the light and then we've got a eyepiece lens here as well this one of a shorter focal length so we'll go ahead and label our principal axis which is the midline thing and then here we've got our eyeball where we look at the image it's kind of a creepy eyeball anyways when light rays come from space they're parallel because they're infinitely far away you can research that more on your own time if you don't agree with that statement but we'll have a light Ray coming in we have parallel light rays coming in from space right like so what happens with these light rays is they'll come to focus at the focus point of our first lens like that you know bang boom Focus now what happens after this in a telescope we look at with our eyeballs is these light rays actually push through the focus into our next lens and our eyepiece lens actually writes them back into parallel rays which our eyeballs can actually focus and view an image from now the distance from the first lens to the focal point that's our focal length of our first line ends which we'll label like that and then for our next lens is the focal length of our second lens like so now this lens is like a magnifying lens which I explained earlier the closer we can get to the image formed by the first lens than the more magnified our image is now the magnification of this whole system is actually given by m equals the focal length the first lens divided by the focal length of the second lens and that's just what it is I could derive it for you but I'm not going to because we're trying to keep this a little beginner friendly you know what I mean that is how the simple case of the telescope works the one we use to take photos of we actually don't use the eyepiece lens at all because again the first lens forms the image and that's all we need but the big question is how does this thing actually magnify the image because of course we're removing F2 how does this actually zoom in is the big question okay so in order to explain how one lens can zoom into an image without an eyepiece we kind of have to break into the second dimension instead of only the First Dimension so let's draw ourselves a lens there's our lens here is our principal axis for the lens and then down here we will have our focal plane which will be a camera sensor and we're just imagining that with a line so in the 1D case of course we have light that ends up in the middle of our sensor we'll go go ahead and draw these long dashed lines to represent the straightforward case where light comes in and it focuses upon the central part of our sensor light rays will come in from space that are parallel and they'll end up at this one spot I will draw another one slightly off to the side here again these parallel light rays will come to focus at our sensor in the very middle but light of course doesn't only hit the middle of our sensor it hits all parts of our sensor because you know as I'm using this camera here there's parts of the image all over the image so again light is being focused more in a 2d sense all over the sensor and this will actually tell us how this lens magnifies and it's not magnifying the literal sense of the word but what it's doing is it's forming an image with the field of view that is narrow and this is what actually makes an object look bigger than what it would to the eye we take a narrow chunk of the sky with one lens and create an image of it which is only including those parts of the sky further describing this we need to think about how light ends up on another part of the sensor and how that impacts our fov so let's just imagine for instance we have light not just coming in in the middle of our frame but there's light coming out from the edge of our field of view and it's going to look something more like uh we'll go ahead and draw solid lines for this let's say our fov is like come out coming off at an angle so we have a light Ray coming in from a very steep angle instead from both ends we're going to show it impacting both ends of the sensor like so so we have light coming in from an angle representing our field of view and this is going to come to focus in a totally different spot but still on the focal plane so here we can see light rays coming off from the bottom end will come to focus at the top of our lens now you can see this forms an angle there's an angle here and this angle is our field of view and it says how big of an image we formed from the light coming in from space and that's how it actually appears to magnify in reality the magnification depends on having something to compare to Something in reference to for the equation to actually work so this just forms an image which subtends an angle of the sky basically and the fov is given by we'll say the area of our field of view is given by the arctan of H by 2 F or our focal length so in this case f of course is this distance spanning the distance of the focal plane and our height of course is this big thing the height of our image is H so H by 2 or half the height is basically we're finding the trig to get the angle of the field of view and that is how a single lens magnifies is that it takes a little chunk of the sky and it kind of paints an image of the sky and this little plane here and then we use either a lens to view it or a sensor to capture the image so what we're going to do is we're going to take our lens here we're going to adapt it to a camera with the filter wheel on a metal bar kind of like an optical bench testing system I'm going to have a secondary scope for auto guiding and we're going to see what kind of images we can shoot with just a single twenty dollar ish lens foreign [Music] thank you foreign [Music] I've got all the Optics set up now I have a little guide scope here to make sure we can get nice sharp long exposures and I've got a relatively rigidly mounted cardboard telescope we're going to take this outside now and try to shoot some images with it I'm going to try for the moon and maybe a nebula if I can do well at all I don't know [Music] thank you [Music] so what you're seeing now are the very first images that I shot of the Moon through just the single lens now this is a 500 millimeter lens with a aperture of 50 millimeters so it's like F10 it's slow it has a lot of Zoom though but single lenses like this that are very cheap suffer from a lot of optical problems this one is really heavily astigmatic and it didn't produce the best image of the world but it was still a fun experiment to try nonetheless now if you think this Moon looks really bad in Focus wait till you see this Orion Nebula so actually I stacked a couple frames of hydrogen Alpha so I try to do the best I possibly could from light pollution and this is how it turned out so pretty funny but overall a pretty fun experiment and I hope this helps you guys learn a little bit about telescopes and maybe even build one yourself at home
Up Next
9:35
Adaptive Optics Explained: How to Remove Atmospheric Distortion
@TheGentlemanPhysicis
19.6K views•2014-07-30

12:53
21cm Hyperfine Transition in Neutral Hydrogen: Radio Astronomy Basics
@AaronRobertParsons
12.4K views•2011-10-13

32:32
NMR Spin Physics I: Zeeman Effect, Resonance Condition & Larmor Frequency
@nptel-indianinstituteofsci8064
2.3K views•2024-01-17

27:14
Entropy and the Second Law of Thermodynamics Explained
@veritasium
27.5M views•2023-07-01
Related Study Plans & Knowledge Roadmaps
Structured learning paths in Physics
physics
Nuclear Physics (Decay, Fission & Reactors)
01Atomic Structure and the Binding Force
02Radioactive Decay and Half-Life
03Nuclear Fission Mechanics and Chain Reactions
+ 2 more learning modules
12h5 modules
Explore Roadmap
physics
Soft Matter (Polymers, Colloids & Rheology)
01Foundations of Soft Matter & Thermal Forces
02Polymer Physics and Macromolecules
03Colloids, Surfactants, and Self-Assembly
+ 2 more learning modules
38h5 modules
Explore Roadmap
physics
Analytical Mechanics: Lagrangian & Hamiltonian
01Mathematical Foundations: Calculus of Variations
02From Newtonian Mechanics to Constraint Dynamics
03The Principle of Least Action & Lagrangian Mechanics
+ 3 more learning modules
28h6 modules
Explore Roadmap
physics
General Relativity (Spacetime & Cosmology)
01Foundations of Relativity: Special Relativity
02The Geometry of Spacetime: Equivalence Principle & Curvature
03Einstein's Field Equations: The Mathematics of Gravity
+ 2 more learning modules
55h5 modules
Explore Roadmap