





![컴활 1,2급 필기🔥1과목 :: 16강_멀티미디어_데이터 핵심요약 기출문제 풀이💯(이미지, 오디오, 동영상)👨💻[균쌤]](https://i.ytimg.com/vi_webp/9WHqer92LWg/maxresdefault.webp)




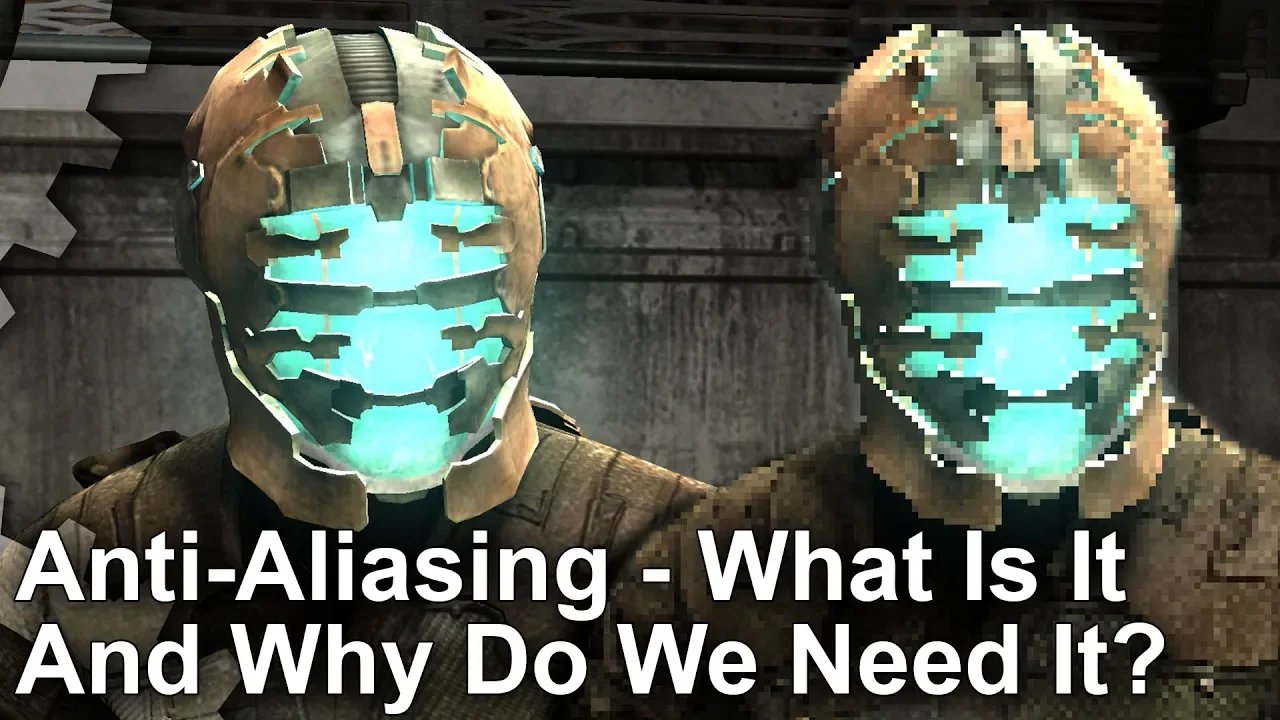







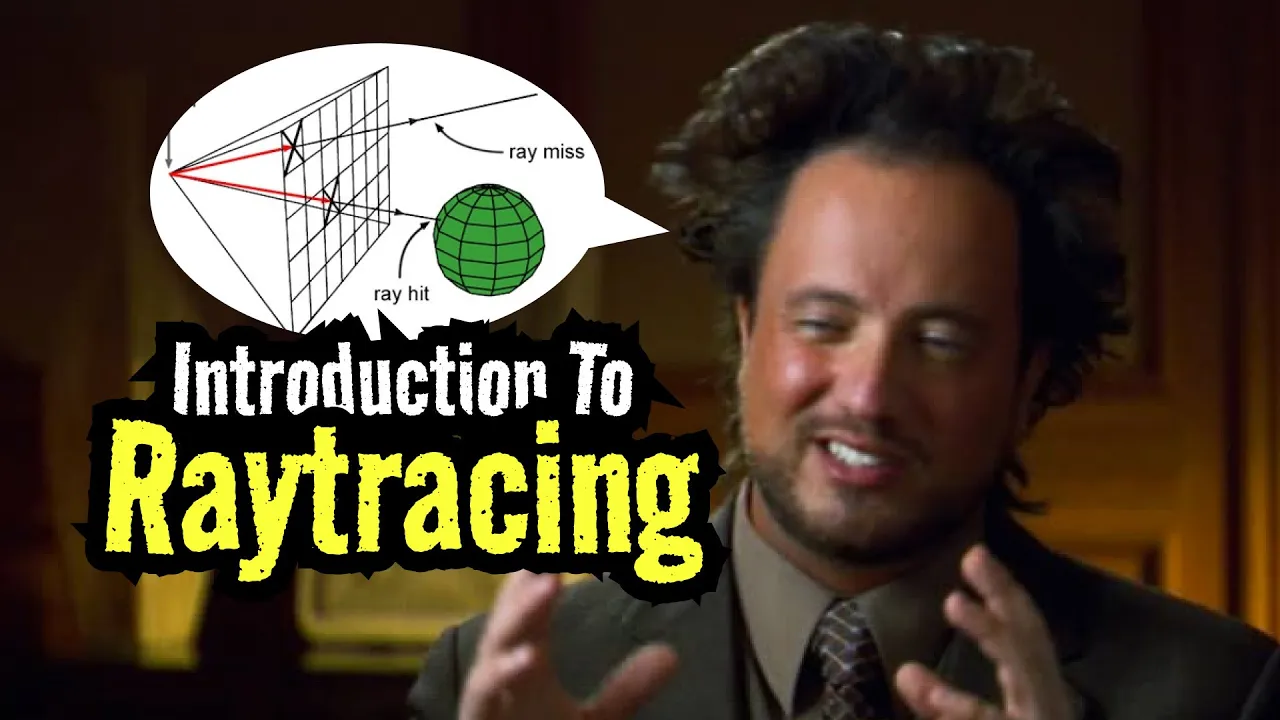
Anti-aliasing in ray tracing works by sampling multiple points around each pixel rather than just the center, then averaging the color values from these samples to smooth out jagged edges and shadows. The implementation involves creating a pixel sample square around the pixel center, shooting rays through random sample points within that square, accumulating the color values, and dividing by the sample count to get the final pixel color. Higher sample counts produce smoother images but increase render time, requiring a trade-off between quality and performance.
C++ Ray Tracing Tutorial: Implementing Anti-Aliasing in Unreal Engine
Added:Basic proficiency in C++ programming, particularly memory management and object-oriented structure as applied in game development.
Fundamental concepts of ray tracing, including ray generation, camera models, and basic ray-scene intersection mathematics.
An understanding of digital imaging fundamentals, specifically how pixels represent spatial data and why aliasing (the 'jaggies') occurs.
Familiarity with the Unreal Engine 5 development environment, including how to set up and compile C++ projects.
Exploring advanced spatial anti-aliasing techniques such as Multisample Anti-Aliasing (MSAA) and Temporal Anti-Aliasing (TAA).
Implementing Monte Carlo integration to handle multi-sample jittering for realistic depth of field and soft shadows.
Optimizing ray-tracing performance in C++ using spatial acceleration structures like Bounding Volume Hierarchies (BVH).
Transitioning from basic Whitted ray tracing to path tracing for global illumination, color bleeding, and caustics within Unreal Engine.
394 views8likes24:20Original Release: 2024-01-08
hey guys welcome back to episode number five but this is more like the continuation for episode number four where we did our first uh diffuse material but however when we come into the render scene we have this mess this low quality low resolution mess um low resolution mesh mesh mes okay we have this low resolution mess um we need to correct this obviously in the last episode I said at the end we need to add some antialiasing so that's what we'll be doing today and you won't believe how how much of a difference it makes when we add anti-aliasing so let's come back I have only 30 minutes recording time in my phone because my storage space is always running out so let's actually be quick here so the first thing we need to do is come into our rate Tracer CVP and let's actually Define a function so let's come down here and say we need a um a square so a position so F vector and I'm going to call this fector pixel pixel sample Square and it's going to return an F Vector so let's create a definition got so there you go and let's create an autox so Min -.5 plus our Ray utility so we need our Ray utilities as well so make sure you have included Ray Utilities in our header file and then come to our instances let's actually create a ray utilities pointer Ray details and then come back to our CB and then let's declare our object or create an object of Ray utilities so Ray utilities is equal to new object and then we'll call that aay utilities right so that's pretty much it let's come down quickly and add Ray utils get random double in range 0o and one so the theory goes like this right so I'm actually going to cover a little bit of theory as well so what happens in antialiasing so this is famous quote um by someone I don't remember their name but it says a pixel is not a square so the computer physical pixel is actually a square but uh when we think about uh the color values of a pixel it's actually not a square so in anti-aliasing what we actually do antialiasing aliasing anti-aliasing what we actually do is for a single physical pixel we don't shoot the ray straight through it and calculate the return point or the return value U use the return value sorry instead we actually take a square around the pixel so we have a square and we have a pixel at the center so this is a pixel we actually take the square around the pixel and then we take samples in that square around the pixel and shoot Rays through those samples and then add the colors on top of it so that's why we say a pixel is not just a square it's the points around the pixel so we add the value so we have that smoothing effect so colors are not now in a range between um 1 and zero for example it'll be all the values around those uh pixel added up so what that means effectively is you won't have sharp edges you'll have smooth dark colors that's what we're trying to do and in our rate Tracer right now we have those shadows as point point point but when we do anti- eling we'll have that smooth out shadows and edges of course so that's what we're doing here we're calculating the points around the pixel we'll actually add the pixel location later so let's do py as well minus 0 U 0.5 plus rate is again if you guys don't understand anything um I'm saying if you guys have doubts and stuff do let me know in the comments below or you can actually read Peter Shirley's book with some brief explanations and diagrams obviously and the last thing we want to do is return uh PX multiplied by pixel Delta U and that's why we actually declared it in the global context py multiplied by pixel Delta so pixel Delta V right so now we have an F vector or the locations around our pixel value so let's come back to our for Loop so our render loop at this point we call it the render Loop and come to and write another loop pretty much in s is equal to zero and S is less than a sample count and s++ right so sample count again we should come back to our header file and Define it as a U property integer so integer U property come down here and just say sample count I'm trying to be quick here because my time is running out I mean the recording time I still have a lot of time uh 10 so let's so now what it means mean for a single Pixel we'll shoot 10 Rays around the pixel and calculate their color and add it up to that single physical pixels value so we get that smoothing effect so we have the sample count ready now what we want to do is actually uh the pixel location I think it's a pixel location I have no idea so the pixel sample I think we'll name it pixel sample is equal to pixel Center plus our um pixel Square sample Square so we have a pixel location so that's what I said about the calculations we did earlier on for just a single Pixel and then we add the samples around the pixel so we get new locations uh around the pixel right so let's do that and we'll also have to change our Direction so let's copy this and instead of that we actually going to put pixel sample minus look from so that's our new Direction and I think that's pretty much it let's actually create a new Vector f vector and let's call it color Vector initialize it to 0 0 0 and that's pretty much it so now we can actually call the ray color function from here so instead of just calling it we'll actually add it right so plus equals sorry plus equals color Ray color and we can copy this and put it here so now instead of just shooting one rer pixel pixel instead of shooting one Raper pixel we are shooting the sample count amount so right now it's default at 10 you could reduce or increase it and I think this is a good point to advise for lowend computers the pixel uh the sample count is actually a big factor in slowing down your render time so if you have a lower pixel count the faster the render is if you have a higher pixel count like 100 it's actually going to take some time and with higher resolutions you're going to it's going to be a long time before you see a image on the screen so in your debagging process it's better to keep your sample countdown and if you have lower low end computers it's better to work with a lower sample count so that's what I like about building your own rate Tracer because you have that uh minute control that lowend control so keep that in mind so now we have our color values and color vectors now if I try to play this you might see that we have a problem is so let me actually quickly build this to see we don't have any errors to make sure we don't have any logical errors as well but it's doing fine so let's actually run this so yeah it's taking quite a lot of time and we get this a big mess and the reason for that is come back to YouTube R Racing is the value we are adding on top and top and top and top so if you have a color Val color vectors set to 0 0 0 and we have 10 sample counts and we like let's say this first Ray returns a color value of 100 100 100 so now we're adding 100 100 100 but the color value is clammed to a range between 0 and 255 so we have to rectify that so when the uh sample count increases we'll eventually break that point of 255 and go into uh 300 400 even thousands so keep that in mind so we have to change that and the way we do that is a little bit um unnecessary or not unnecessary it's necessary but it's kind of um you can just copy paste the code if you're following along because uh it really doesn't hold any real value I should say not I think I'm phrasing all this wrong value I think it calls for automation that's what no ah forget it guys let's just code it by by hand um the point I'm trying to say is you don't have to code it by hand because it's really time consuming and let's just do it guys let's just do it right let's code it by hand um first we need to get the X and Y and Z components so the RGB component so let actually do auto R and get the uh color Vector do X Auto G color Vector um dot y so this is the point I mentioned earlier in the last episode that you could actually return F color instead of doing um yourself and accessing Vector values but it really doesn't have a change because if you have to do RGB then you would simply call RG and B it's all Vector classes so it doesn't matter then we actually need to in size calculate the size of 1 divided over sample count which will be multiplying actually I think it's Floats or integer I don't know let's just put float for now because sample count and one divide I think it's float so now what we want to do is multiply all these values by the size I think this is what I was trying to say there's a lot of repetition okay the code is having a lot of repetition that's what I said you can just copy paste the code it does hold value as you'll see It'll have a lot of changes dni changes to our render repetition is the word okay word of the day repetition so we have RGB calculated the next thing we want to do is actually divide all this again by 255 so R divide equals 255 the reason why I'm doing it because the max range is 255 so we'll do that I'm not entirely sure I remember this part well so I might have to re check with my old code so RGB and after all this is done we actually need to get the power of certain Valu so I think it's R to power of um R to um let me actually quickly check this out R2 power of so um Auto scale okay so just going to copy that rather not but um it's actually one by gamma so 1 / by gamma and Gamma let's actually Define gamma in our area here so let's actually put U property okay not U primitive component okay edit anywhere and then come down and say [Applause] float gamma I'm going to put it at three for now or maybe even two so gamma is going to be the brightness component or the variable that controls brightness so gamma is going to be here and we'll just say the rest power G 1/ gamma bam B power b 1 over okay not multiplication um one over gamma so we're not done yet we just have to add this line of code so we're casting it into int so now we are in our Auto RGB is going to be actually in a double value or float value this actually called scale but I'm going to keep the size here and we're multiplying it within a range of 0 to 1 that's pretty much it so let's copy this and control V control v g g and B so now we can just put this as G if I can click it we also have an alpha value so the transparency but we don't have to worry about it because it's always going to be 1 or 255 so we can actually see the image on the screen so that's pretty much it other than us assigning the color value as r g and P so I think that should work the line of code here actually quite confused at what it does actually so we're actually taking the range between zer and one and multiplying it by 255 I mean that's fine because we dividing it here by 255 so it should be less than the range of 0 to 2555 but I don't know why we're clamping it here maybe it's not in the 0 to one range I'm not sure but let's actually build this check if you have any issues also if you guys have any better solution to do all this I would be actually very happy to know so let me know in the comments below because I think this is just too much code for um I think I'm I'm missing something I think I'm doing one thing twice I'm repeating something and I can't I think it's the division because we already have the vector value between 255 and 0 0 and 255 I don't know why we have to divide it and then multiply it again um so I think it this should be I don't know I have no idea guys so if you guys have a better solution do let me know in the below comments below I was just experimenting and got this solution um so let's come back and check if we have a good response okay so there we have it our first official rate race image so now we can see the Shadows are much more smoothed out and we don't have that jagged lines in the Horizon we still have jagged lines in the mesh as I mentioned earlier this is a side effect of using measures in our line tracing you could do mathematical spere intersections but for now I think this works pretty well so if I put down our gamma value which is two if I put it one we'll see the image get a lot darker so this is what it gets and we can see more pronounced shadows and if I increase the sample count let's say I'll put a 30 we'll see a much smoother image yeah so now we have less splotchy areas and much more cohesive uh coloring so let's just close that and increase our resolution 2,000 so this is going to take some time and my CPU is actually getting hot let me actually see the temperature of my CPU I think it should be quite hot yeah it's okay it's fine it's at 65° right now but it is taking a lot of time to render so let's wait and our temperature is going 66 so the max was about what is the max 66° so it's it's pretty good but we're doing Simple calculations here so we can see we have our first beautiful r r image actually this is our diffus material with anti-aliasing and we have officially created our first R traced sphere now as I mentioned we still have those lines if you have a solution to fix that other than increasing the poly count in a sphere or any model actually uh do let me know in the comments below one thing we can do actually I have little more time in recording so uh the advantage I'm going to show you we have seen the disadvantage of using uh line tracers or Ray cast the advantage however is I could pretty much drag any mesh I want so let me go to programming I no programming um I think it's in yeah I have blender suzan monkey just going to import that so I have suzan here what I can do is come to Blueprints and create another hitable object hitable select and I'm going to call this hitable monkey and come to hitable monkey and add a static mesh and add to the root and I'm going to call it um my suzan monkey there you go redu the size actually is quite big so I have my hatable monkey here so let's actually take the hatable monkey um not the suzan monkey actually go to blueprints hatable monkey and then put it right there and let's see how that works out um also to make sure it's a diffuse let's actually bring down the sample con for this one because I don't think it's necessary and the resolution as well so 500 I think is much fine so let's just renter it out okay so immediately we have a problem um we have a low poly model of suzan monkey and that's because we have uh we're not actually using the complex mesh so let's actually go and fix this really quickly go to your static mesh and in here if you see our Collision say's remove collision and let's do this one apply collision and this Collision is what we are seeing in the rate Tracer so the light hits the Collision rather than the um mesh itself so let's come back to that's one disadvantage actually another disadvantage of using line traces but we can fix this actually come to our collision and then here we can actually use um project default and use complex as simple so this is going to be our Collision now so let's actually save this and come back and try this out yeah so now we have our suzan monkey the complex Calis as simple so that's pretty much it for this episode anazing and complex measures right the next episode we'll be actually implementing uh reflect functions for our metal material and also hopefully refract refract functions for uh glass material so that's pretty much it for this video If you guys enjoy the video make sure to leave a like and consider subscribing and also consider supporting me on patreon you'll get access to project files and Source codes and I'm also planning to put out some extra content so with that said I will see you guys in the next video bye-bye
Up Next

23:23
Lambertian Diffuse Shading in OpenGL | Computer Graphics Tutorial
@ctralie
1.4K views•2021-02-04

87:26
Introduction to Secure Multiparty Computation with Yehuda Lindell
@fhe_org
7.7K views•2021-02-04

4:55
HTTP Requests Explained: GET, POST, PUT, DELETE
@codecademy
103.1K views•2021-10-07

19:25
Enigma Machine Mechanics: WWII Encryption Explained
@JaredOwen
13.2M views•2021-12-11
Related Study Plans & Knowledge Roadmaps
Structured learning paths in Computer Science
computer-science
Container Runtimes: Namespaces, Cgroups & Go
01Linux Systems & Go Programming Foundations
02The Core of Isolation: Chroot and Filesystems
03Linux Namespaces: Process Isolation
+ 3 more learning modules
32h6 modules
Explore Roadmap
computer-science
Building a CHIP-8 Emulator: Rust & CPU Basics
01Computer Architecture Foundations (Bits & Bytes)
02Rust Programming for Systems Development
03CHIP-8 Virtual Hardware Specifications
+ 2 more learning modules
32h5 modules
Explore Roadmap
computer-science
Building BitTorrent: Go, P2P & Concurrency
01Go Fundamentals & Concurrency
02Networking Foundations & P2P Architecture
03Bencode Parsing & Torrent Metadata
+ 3 more learning modules
26h6 modules
Explore Roadmap
computer-science
Actor Models (C++ Concurrency & Lock-Free)
01C++ Multi-Threading Foundations
02Thread Pools and Task Scheduling
03Atomics and Lock-Free Queue Design
+ 3 more learning modules
45h6 modules
Explore Roadmap