



![[ARDUINO] 전자회로 기초](https://i.ytimg.com/vi_webp/VtBB5u85KCw/maxresdefault.webp)









![Human-Robot Interaction (HRI) 2025 Spring [06/14] 2025/05/21.](https://i.ytimg.com/vi_webp/CIhpkrwkuuc/maxresdefault.webp)



![[BJC.4x] Human Computer Interaction Part 4](https://i.ytimg.com/vi/Gad58G1b85k/maxresdefault.jpg)








Electromyography (EMG) is a technique for measuring electrical activity in skeletal muscles during contraction; this video demonstrates how to create a DIY EMG device by interfacing the MyoWare Muscle Sensor with Arduino, which detects the electrical signals generated by muscle fibers when they contract and converts them into measurable voltage outputs that can be displayed as waveforms or numeric values.
DIY Electromyography with MyoWare Sensor and Arduino
Added:Basic understanding of human muscle physiology, specifically how muscle fibers generate electrical action potentials during contraction.
Fundamental concepts of electronics, including voltage, current, analog-to-digital conversion (ADC), and electrical safety when connecting devices to the human body.
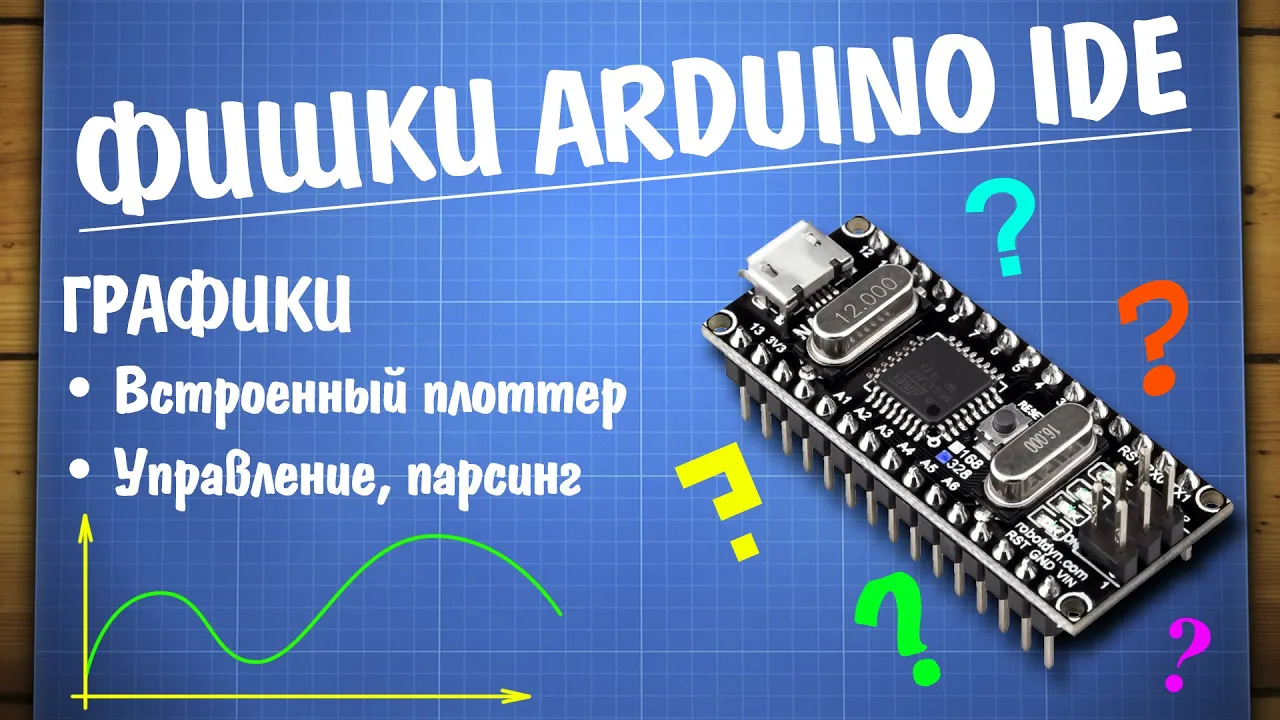
Basic Arduino programming skills, such as reading analog sensor inputs, writing control loops, and using the Serial Plotter for visualization.
Digital signal processing (DSP) techniques to filter noise (such as 50/60 Hz power line interference) and smooth raw EMG data.
Design and integration of biomechatronic systems, such as using EMG inputs to control robotic prostheses or assistive exoskeletons.
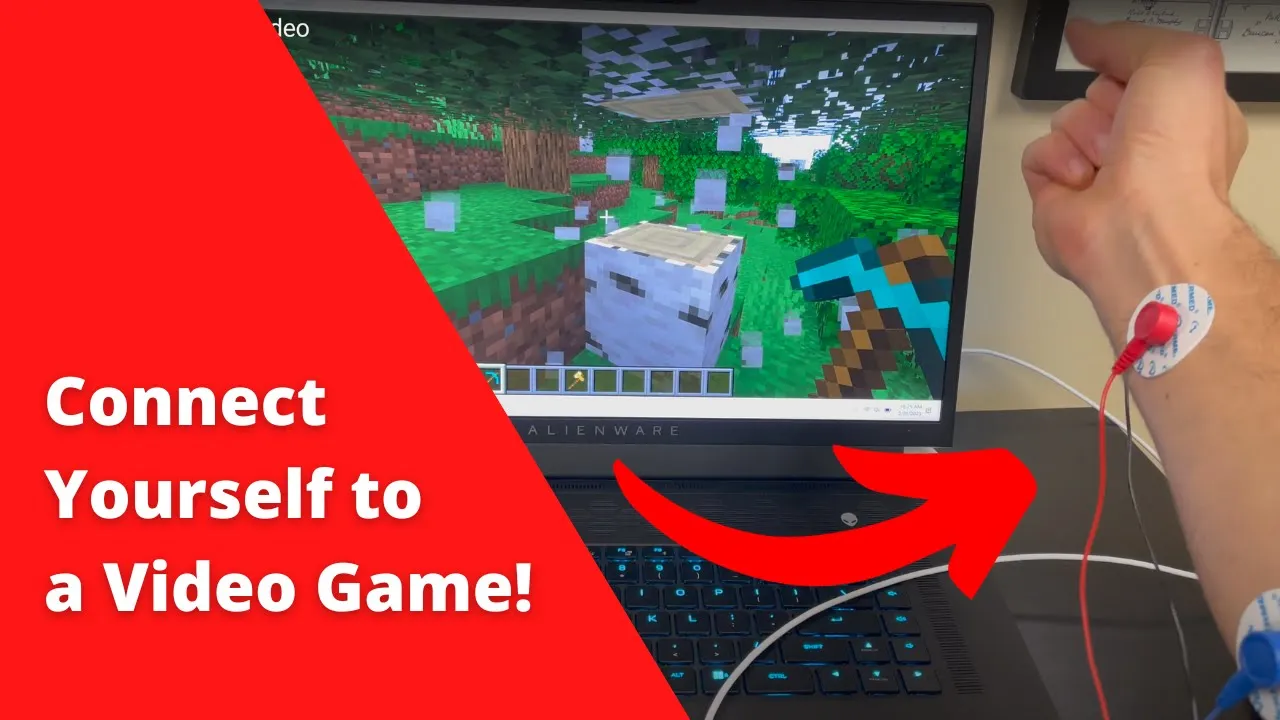
Developing Human-Computer Interfaces (HCIs) that map specific muscle contraction patterns to software actions or game controls.
Applying machine learning algorithms to classify complex multi-channel EMG patterns for gesture recognition.
80.1K views1.5Klikes10:20Original Release: 2020-11-26
hi everyone it's me shraddha from how to electronics in this video we will learn about electromyography we will interface the maywear muscle sensor with arduino and make our own electromyography device electromychy is an electrodiagnostic missing technique for evaluating and recording the electrical activity produced by skeletal muscles emg is performed using an instrument called an electromyograph to produce a record called an electromyogram most of the standard emg measurement systems are expensive and not visible for personal applications for personal hobbies like me the malware muscle sensor offers a good starting point for learning about the muscular movement or electromyography the malware muscle sensor just cost lesser than forty dollar beside the main sensor board there is also a complete development kit that cost around eighty dollar with more accompanying components for researchers and beginners this sensor can be easily interfaced with any microcontrollers and using the simple code we can make our own emg device the code measures the analog voltage generated by expansion and contraction of muscles and displays the waveform on serial plotter you can also display a numeric value both on serial monitor or on any generic display device thus from the graph we can learn about the health condition of muscles and nerve shelves that control them so without getting any delayed let's get started this video is sponsored by nxp let's cheers for the thanksgiving day and the coming christmas day as the holiday is all around us next pcb prepares massive gift for you cheers for the christmas part if you place the order on the next bcp website you can get the following free gift gift a is the dollar ten coupon gift b is dollar twenty cash plus ten points gift c is dollar sixty guest plus ten points and they can be used to deduct your specific order and you can check details here for pc orders they give fifteen percent off for pcp assembly order ten percent off there is also a lucky draw for you everyone will get three chances to participate in the lucky draw you can get up to dollar fifty of four components and other gift you can check here how to get the three chances to participate in the lucky job welcome back friends so what is an electromyography electromyography is the method of measuring the electrical activity within muscle fibers during activation each time when your muscle moves your muscle fibers are activated with the signals passed down from the brain through the central nervous system and motor neurons to the muscle fibers there are normally more negative charges inside the muscle cell than the outside but a positive action potential travels along the length of the muscle fiber when a muscle contracts emg involves measuring this action potential traveling down the muscle fiber at a speed of 2-6 meter per second such momentary differences in the electric charges can be detected with two or more electrodes placed along this route emg sensor also known as electromyography sensor is one that measures small electrical signals generated by your muscles when you move them this includes lifting your arm up clenching your fist or even the simplest moment like moving a finger but before starting i want to tell you i am not a doctor neither a medical personal so i won't recommend you to use this sensor for medical applications i've just made this video for understanding and learning the concept behind the electromyography first let's see the myoware emg muscle sensor kit that i recently purchased from amazon so here are the multiple packets containing the main sensor board along with the expander board and different kits we will see all the packets separately and learn what is inside and how to use them so this is the first board called malware muscle sensor or the embedded electrode connectors the malware muscle sensor is an all-in-one electromyography sensor from advanced technologies the malware board acts by measuring the filtered and rectified electrical activity of a muscle it gives output from zero to v in fold depending on the amount of activity in the selected muscle there are a few audio amplifier i see on the board an audio amplifier is used so the activity can be heard amg measures the electrical activity of muscle during rest slight contraction and forceful contraction muscle tissue does not normally produce electrical signals during rest when an electrode is placed a brief period of activity can be seen on the oscilloscope you can see it has 9 pins as r e and double pins on the right it has a signal minus and plus pins on the left it has ground as such id or power pin and drop in which is also a signal pin there is also a small potentiometer for controlling the gain well on the back side there are connectors for two electrode pads so as explained earlier the r e and pins are the mid muscle end muscle and reference electrode pin to learn more about these bold parts visit the link in the description now let's see this packet so this is a myoware cable shield that comes along with this kit it is optional and there is no need to purchase it if you don't want to as you can see here it is having a 3.5 mm audio jack instead of attaching the sensor pads directly to the myobar muscle sensor they can be attached to the sales 3.5 mm trs jack connector this is how you can connect the muscle sensor with this field now let's see this packet again this is a malware power shield the malware power shield is designed to take two coin cell batteries such as some standard cr2032s they are connected in parallel for extended capacity at a nominal 3.0 volt this field also fit directly to the malware muscle sensor and inside this packet there is an electrode cable the cable has three electrodes both sets of contacts will be connected together so make sure to only use one pad for each reference r end e and middle and pin just insert the 3.5 mm audio jack to this connector these are the pads that come along with this kit i have a total of six pads here that i got inside the kit each pad has a plastic layer covered on the daily tab 0.
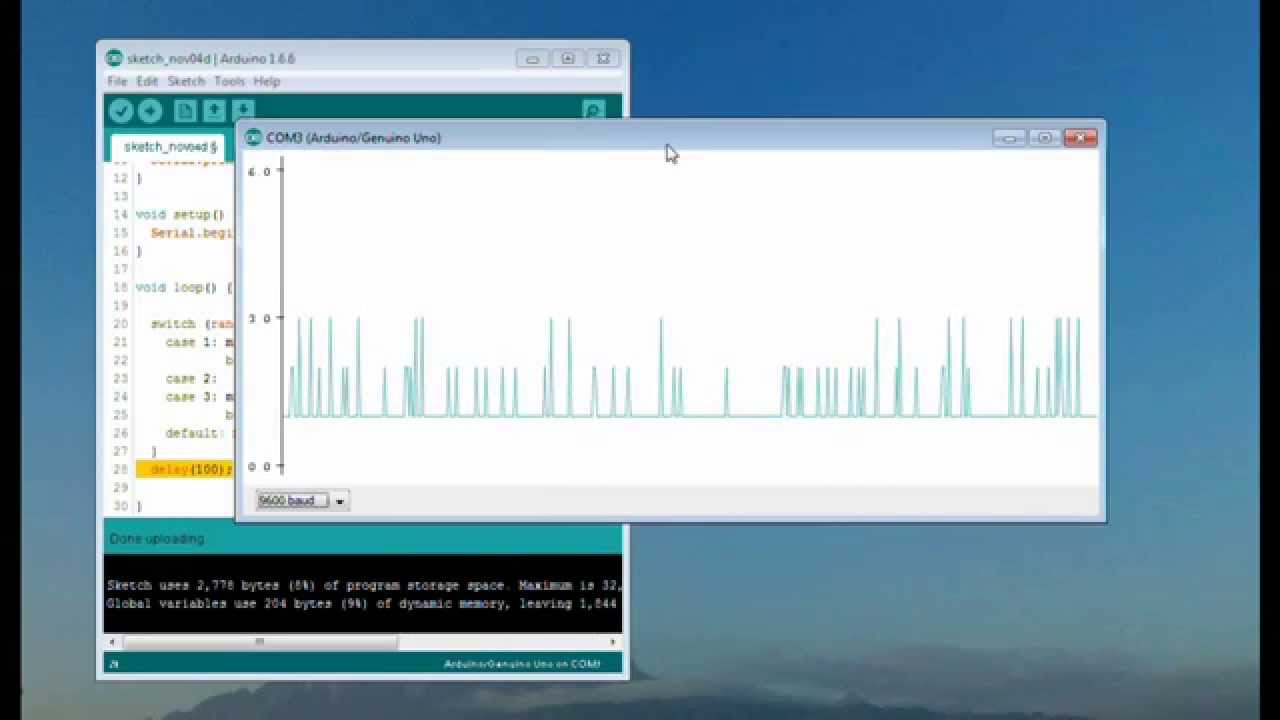
you have to remove these plastic stickers while adding the sensor to the body part now let's begin with our project called diy electromyography so here is the connection between arduino and myware muscle sensor connect the vcc pin to 5 volt connect the cnd pin to cnd and then connect the output analog pin to any analog pin of arduino either a nut or a1 now let's prepare ourselves for measuring the body emg so first you need to clean your body part so that the dirt and oil will be removed in my case i am using the sanitizer to clean my arms part you can use soap or any washing cream to make the skin surface dark and oil free after that remove the plastic from the pads the plastic is sticky and can remove it when removed paste it on your muscle part where you want to measure the muscle activity place two pads parallel as soon as and third pair as a reference electrode now here is the malware muscle sensor and the malware cable sealed connect it off of them like this then insert the 3.5 mm audio jack into the connector after that attach the three electrodes to the pads and then connect the arduino board as per the circuit diagram but there is another method of using the sensor too for that you don't need any cable sealed you can directly connect the sensor with the pad as shown here this is what you can do for the testing purpose and out of these two ways you can follow any whatever you think is best for you now let's move to the programming part the programming here is simple and best under the setup we are initializing the serial bin and setting the baud rate like 9600 in the loop part we are measuring the sensor value by reading the analog data from the a1 pin then using this line we are converting the sensor value to voltage then we are printing the sensor value and also the voltage value on the serial monitor you need to use a delay of one millisecond here so select the arduino board and the port click on top load so that the code will be uploaded open the serial monitor the serial monitor will display the sensor value along with the voltage now to check the working of the sensor you can expand or contract your muscle as you want simply stretch the muscle as shown here so you will see a lot of variation in voltage depending upon the bending of the arm now if you want to display the data in the graphical format then you can open the serial plotter from the tools section so here you see the graph generated because of the contraction and expansion of the muscle such a great device isn't it you can directly monitor the movement of your muscle here i say you must write this project at your home okay apart from the waveform part you can also display the sensor value in oled screen i have accessed the code in the website article in some other videos we will be controlling the server motor or we will be making x-men hand till then stay tuned thank you so much for watching
Up Next

6:43
Muscle Activity Monitoring with Arduino EMG Sensor | Electromyography Tutorial
@SaravananAL
129.4K views•2023-03-24

12:54
Triumph of Orthodoxy Icon: Byzantine Art & History Explained
@BenCallan
2.1K views•2024-08-06

9:49
FastAPI vs Flask vs Django: Choosing the Right Python Web Framework
@TechWithTim
302.5K views•2024-05-26

1:42
Game of Thrones Opening Credits: A Cinematic Analysis
@gameofthrones
46.3M views•2011-04-18
Related Study Plans & Knowledge Roadmaps
Structured learning paths in General & Interdisciplinary Studies
general-studies
Elevator Engineering: History, Physics & Cities
01From Hoists to Safety Brakes: The Dawn of Vertical Lift
02Hydraulic vs. Traction: The Engineering Physics of Elevators
03Modern Speed, Safety, and Algorithms
+ 2 more learning modules
12h5 modules
Explore Roadmap
general-studies
Rubber: Material Science, History & Geopolitics
01Origins of Natural Rubber & Mesoamerican History
02The Chemistry of Natural Rubber & Vulcanization
03The Geopolitics of the Rubber Boom & Colonization
+ 2 more learning modules
12h5 modules
Explore Roadmap
general-studies
Containerization: Evolution, Logistics & Trade
01Ancient Trade & Bulk Cargo: Amphorae to Barrels
02The Industrial Revolution & Cardboard Packaging
03The Containerization Revolution: Malcom McLean
+ 2 more learning modules
12h5 modules
Explore Roadmap
general-studies
Textile Tech: Evolution, Labor & Global Impact
01Pre-Industrial Textiles: Handloom & Cottage Industry
02Mechanization: The Spinning Jenny to the Power Loom
03The Factory System & Global Labor Transformation
+ 2 more learning modules
10h5 modules
Explore Roadmap