

![리지드바디 동역학 [6.1] 리지드바디의 운동 방정식](https://i.ytimg.com/vi_webp/JBKiHhPtTs0/maxresdefault.webp)

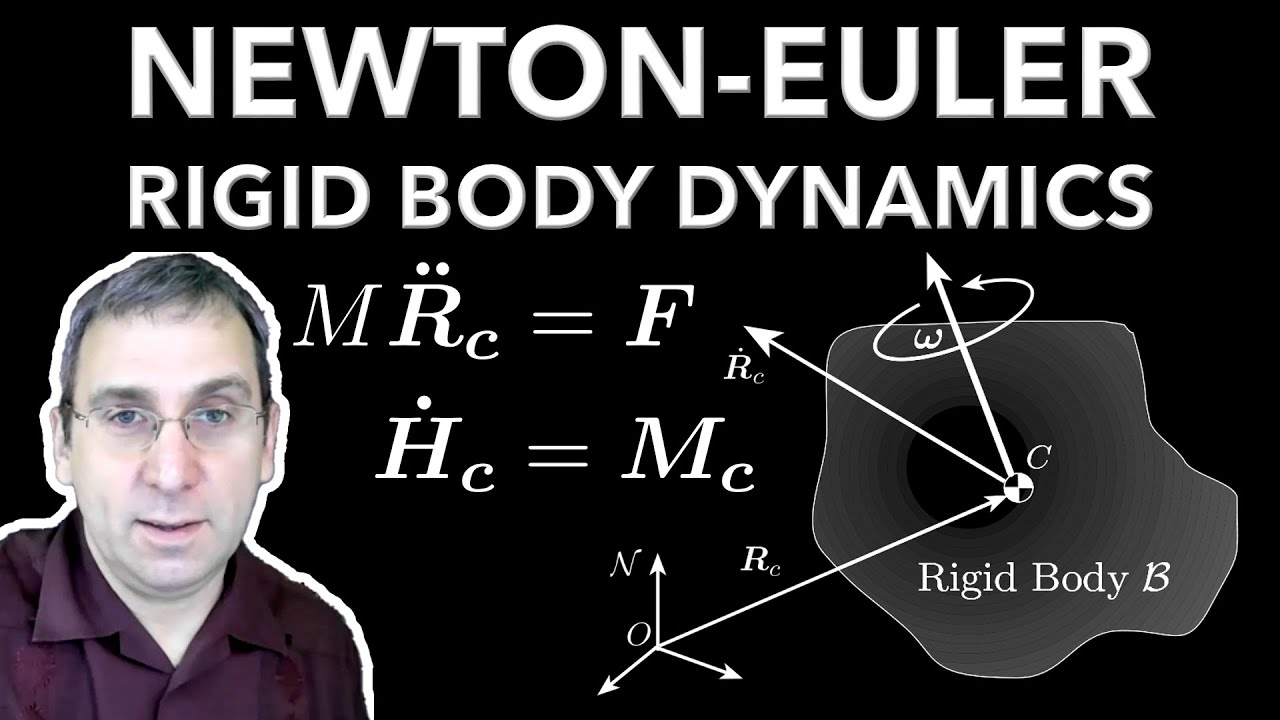


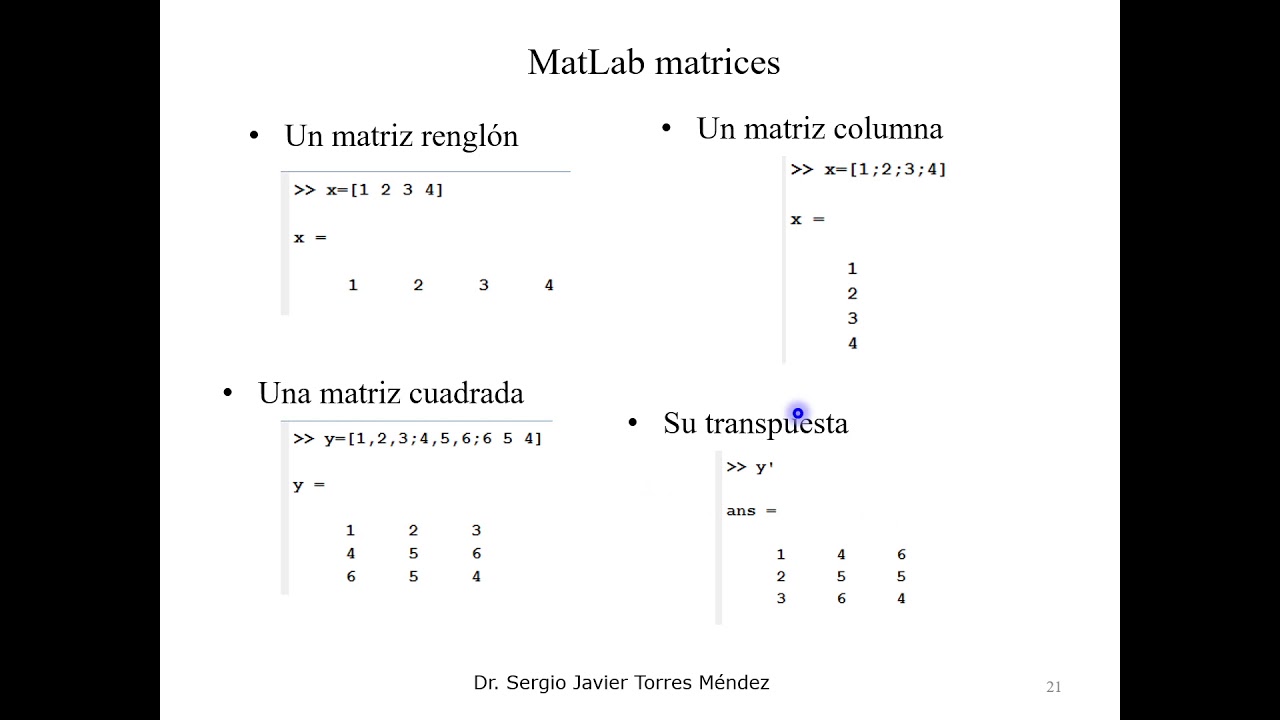
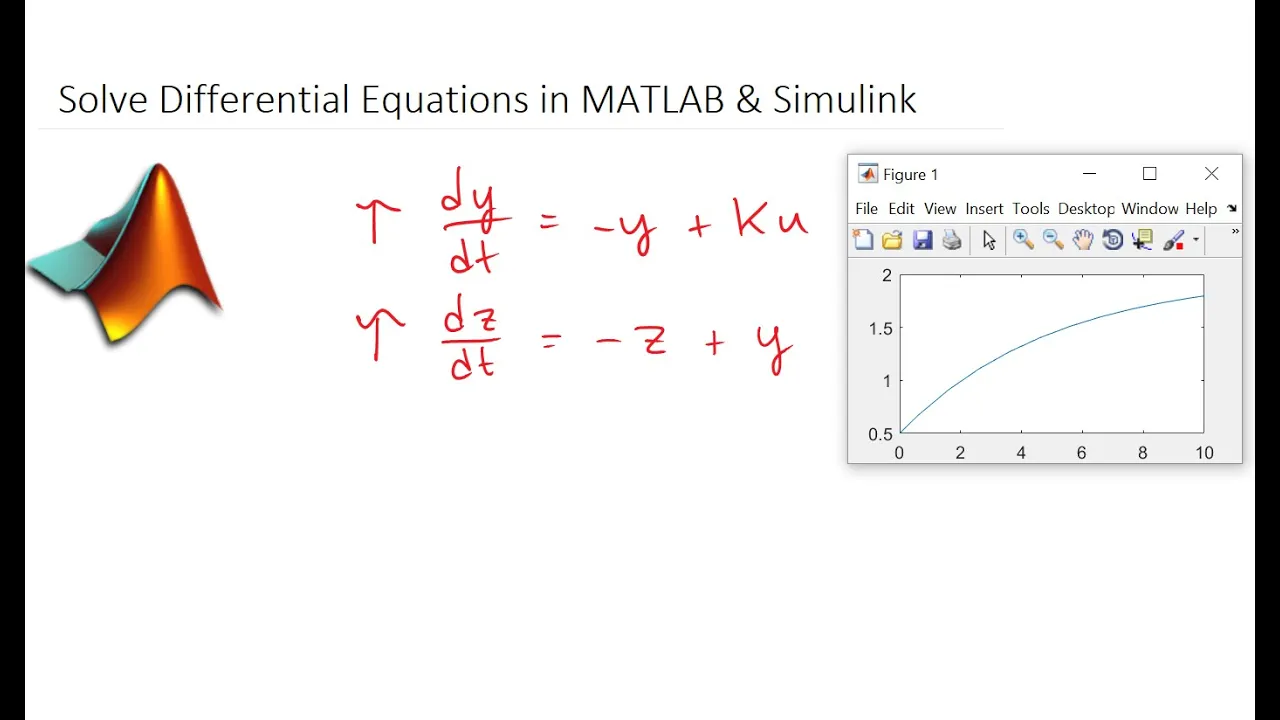
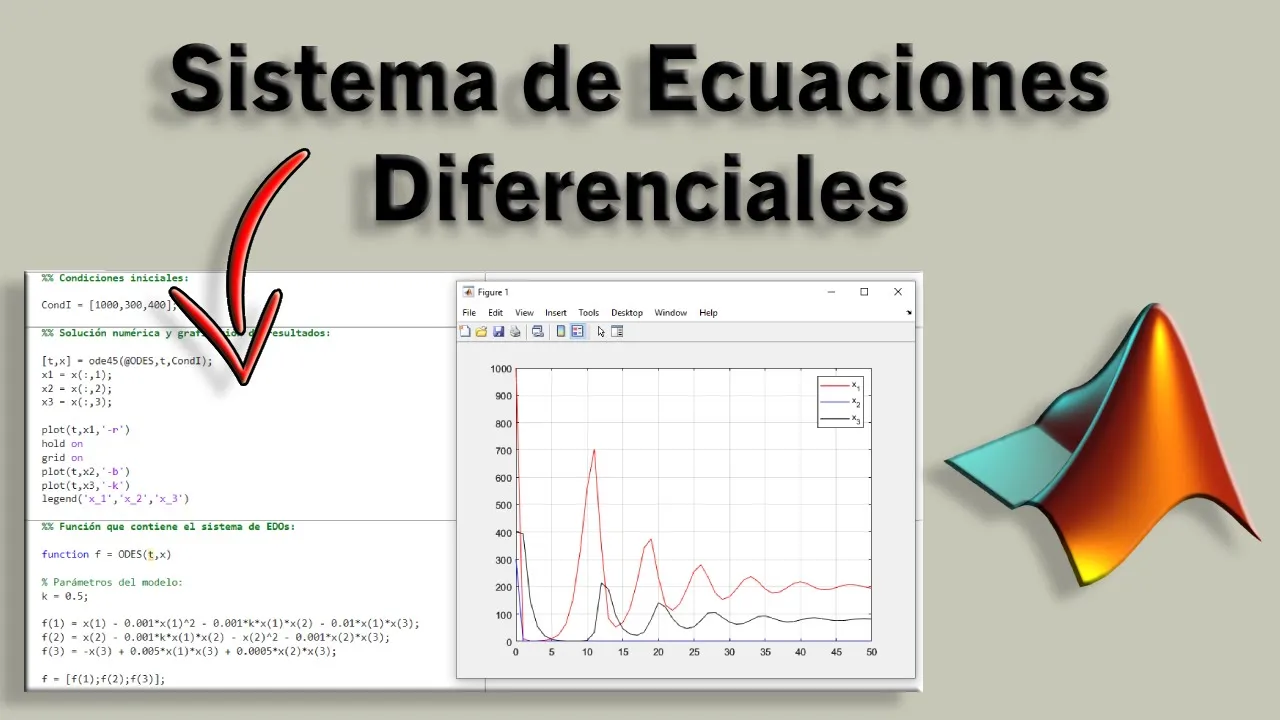
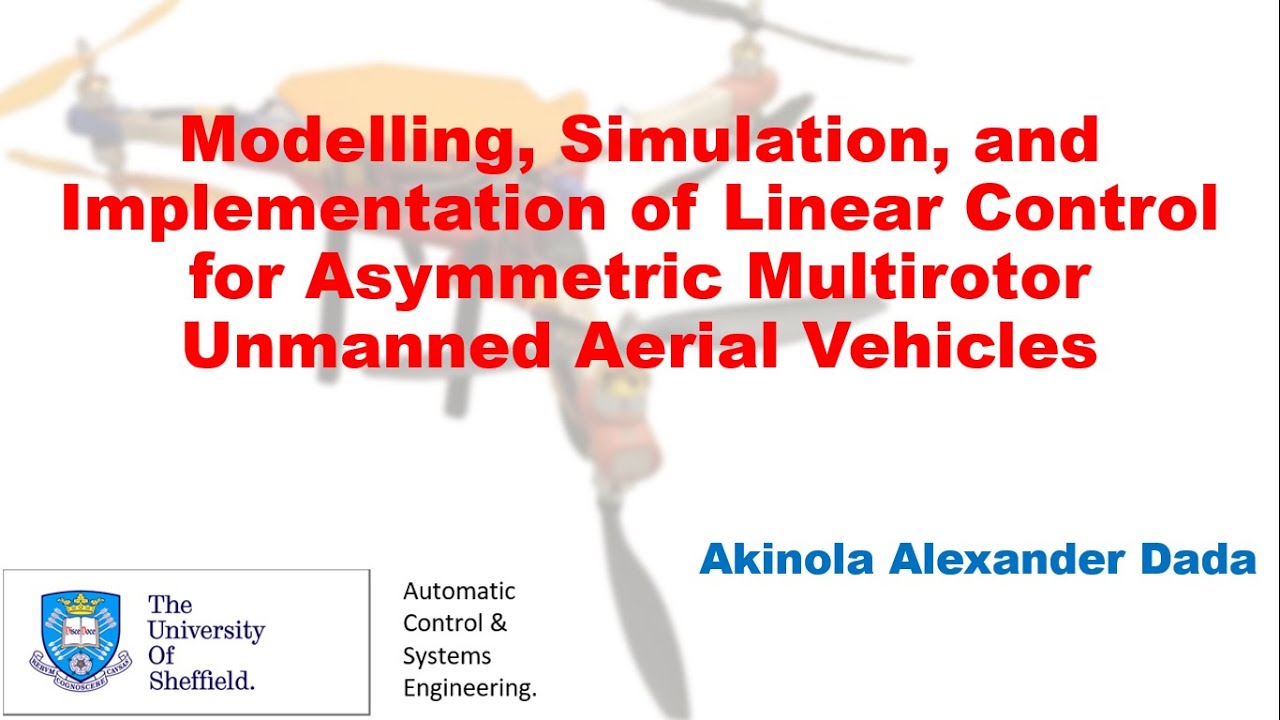



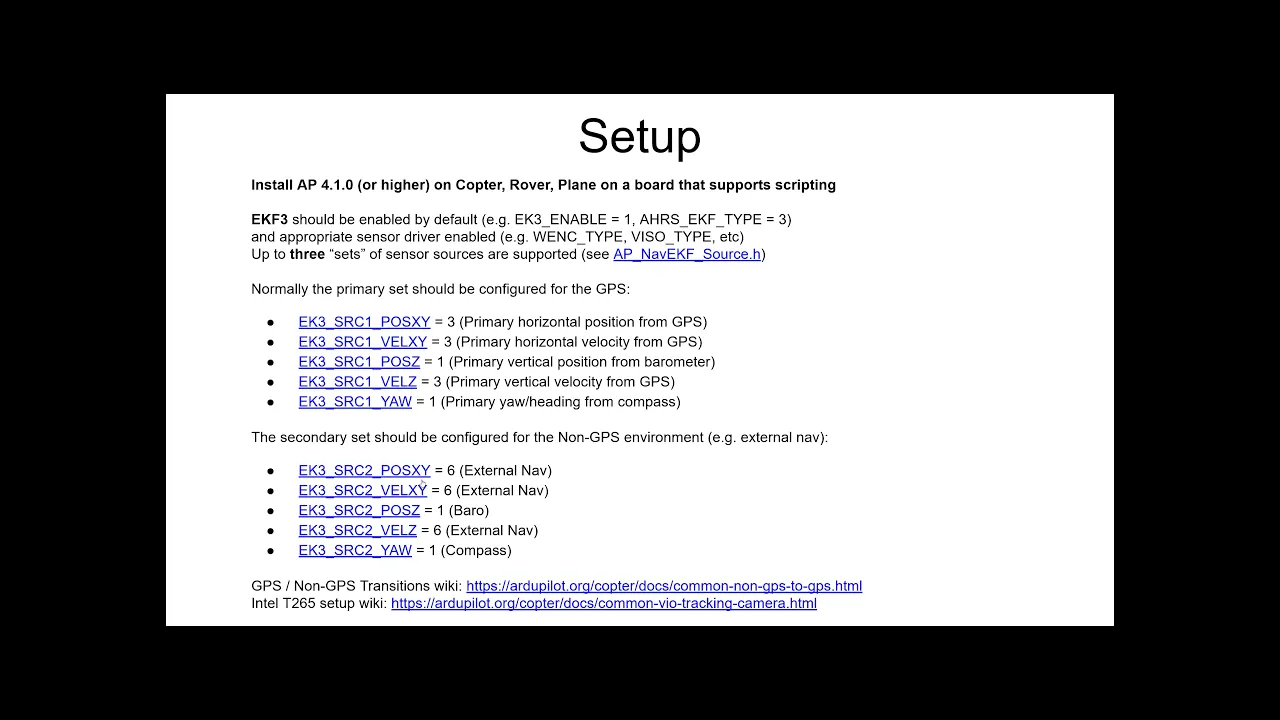





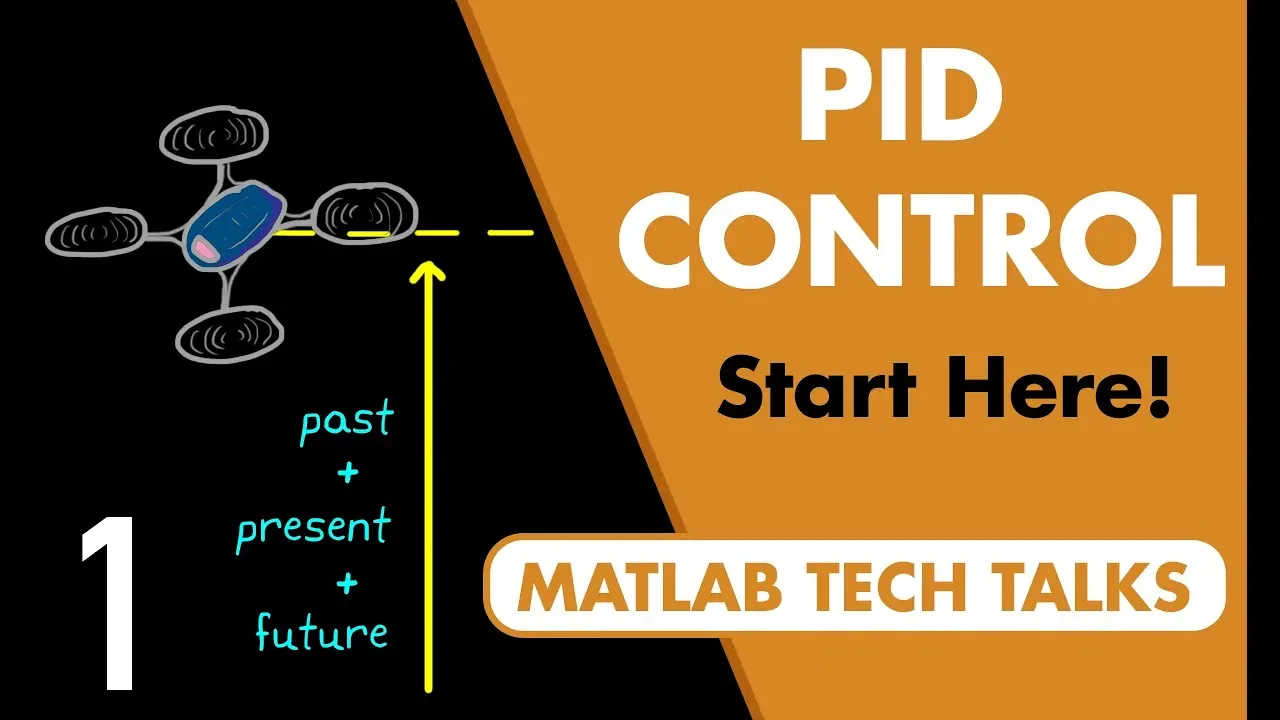
This video demonstrates how to build a quadrotor UAV simulation in MATLAB using object-oriented programming, covering the complete workflow from defining physical parameters (mass, arm lengths, moments of inertia) and state variables (position, velocity, Euler angles, angular rates) to implementing nonlinear equations of motion with Euler's method integration, and finally designing a hierarchical PID controller architecture with inner-loop attitude control and outer-loop position/altitude control for autonomous flight.
Quadrotor UAV Dynamics and Control: MATLAB PID Simulation (AE450)
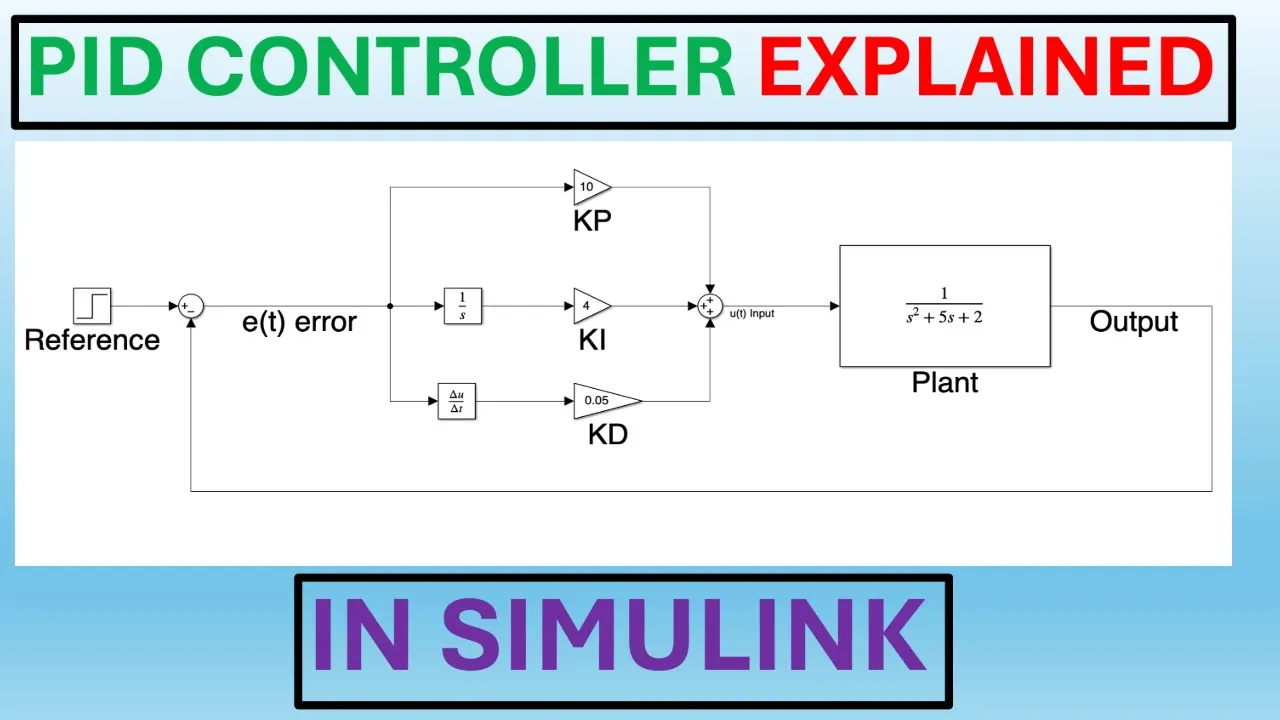
Added:Fundamental understanding of PID control theory, including feedback loops, error tracking, and manual gain tuning (Kp, Ki, Kd).
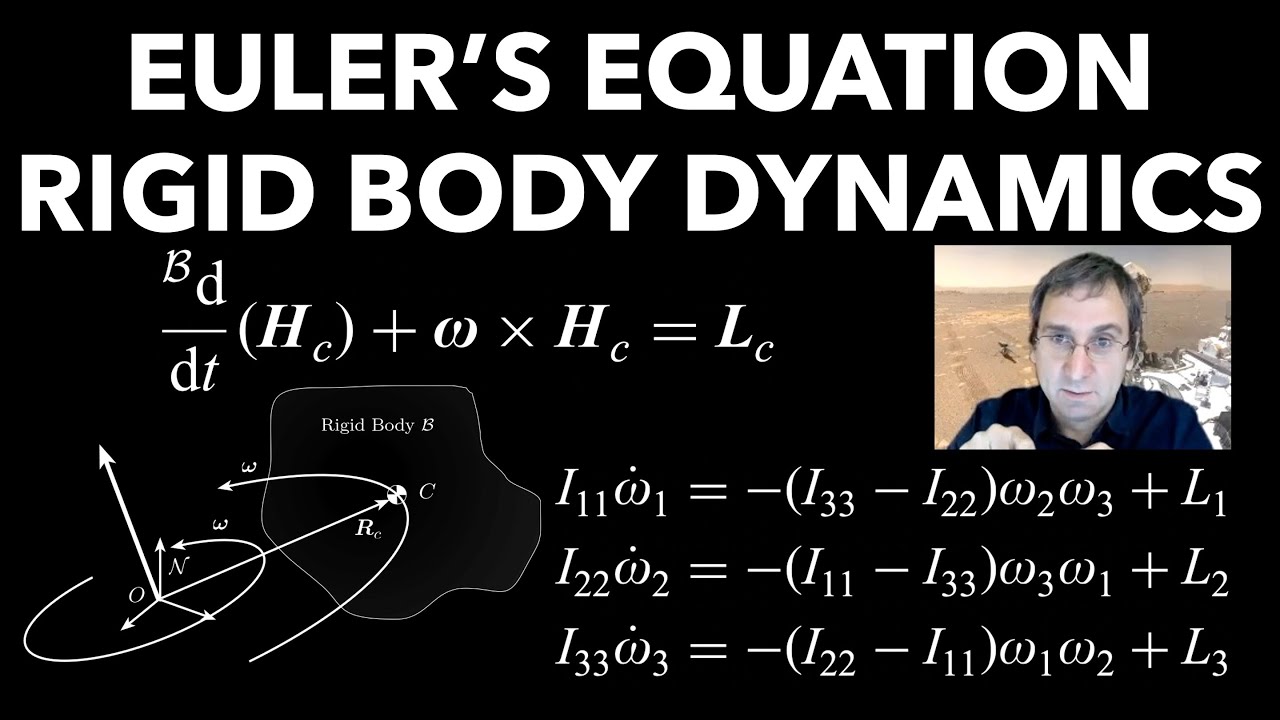
Basics of rigid-body flight dynamics, including Newton-Euler equations of motion, thrust-to-weight ratio, and aerodynamic forces.
Familiarity with coordinate systems and kinematics, specifically translating between the inertial frame and the body-fixed frame using Euler angles (roll, pitch, yaw).
Intermediate proficiency in MATLAB programming, including writing scripts, solving ordinary differential equations (ODEs), and creating 2D/3D plots.
Implementation of advanced control architectures for UAVs, such as Linear Quadratic Regulator (LQR), Model Predictive Control (MPC), or Sliding Mode Control.
Development of state estimation and sensor fusion algorithms, such as Extended Kalman Filters (EKF), to handle noisy IMU and GPS data.
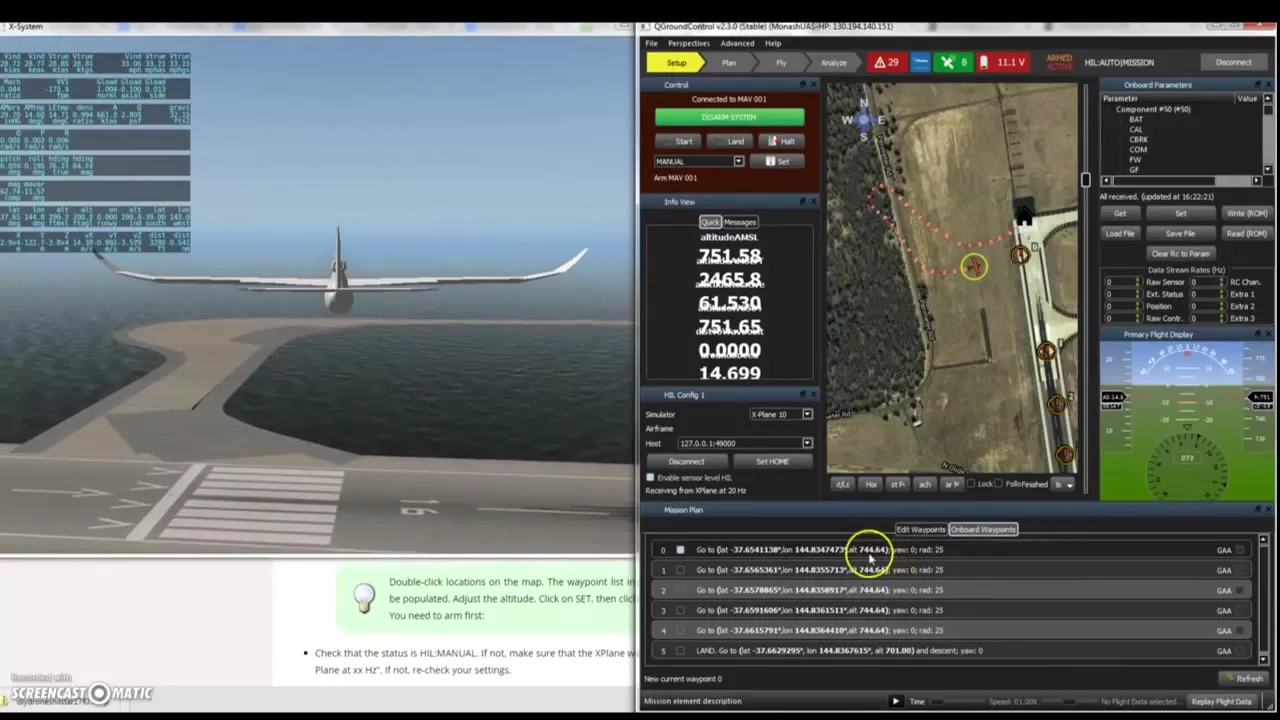
Transitioning from simulation to physical implementation via Hardware-in-the-Loop (HIL) testing and deploying code to flight controllers like Pixhawk.
Path planning and trajectory generation, enabling the quadrotor to autonomously navigate complex environments and avoid obstacles.
54.9K views1.4Klikes2:01:23Original Release: 2019-12-19
[Music] so now we're gonna build a quadrotor simulation using MATLAB regarding this project final project I prefer you to use simile but for those who are not familiar with how to use this Simulink I I'm going to you know program this corridor simulator using MATLAB so if you are not able to get the proper license then I suggest you to use octave as a substitute okay so let's get started mmm so let's make a new folder first let's say a 450 and inside of this workspace I'm gonna build a new script let's name it as main write say I'll see a clear and we're gonna build another path called a library okay sorry I'm just gonna [Music] increase this font size much better right okay and let's define some variables like actually constants and and this converters like radians to degree 189 divided by pi or degree 2 Radian okay and let's begin with initializing our parameters regarding the drone let's say drone number one we have a we have a mess in arm lengths well actually I'm using this side note you know this PDF file that I uploaded to a calc LMS so here I have already covered all bunch of variables parameters regarding our drone you can see this all constants and captions also right so here I'm gonna use this mess arm lengths and inertia's etc from this connection that okay so we have ixx iyy and arms easy right and there's values just noting the 1.25 0.265 0.023 - same for the iyy and i GG 4 6 8 well this is something that a dictionary in in Python right so I just set all the parameters using the containers and we can define our initial state based on this lecture note again here you see our drone actually sorry our drone is actually starting from this initial point this local entity frame origin of the local any D frame okay so I'll just put all drawn first at 0 0 0 which is nothing that a X Y J position then 0 0 0 again which is our velocities then we use three Euler angles right sorry this is nothing but our Euler angles which is PI theta sine and finally this angular rates okay sorry this is PQ more and keep in mind that I just put a transpose sign here because it is nothing that a vector right so as we have done in section 2.1 we defined our state variables as this inertia position XY g and velocities or attitude has all the angles and PQR nothing better angular rates right mm-hm and also we have this control variables right so i'm gonna have to find our initial input vector as 0 0 0 0 this is not in that a no u 1 u 2 u 3 u 4 in our case t sigma and m1 m2 and entry now i'm gonna define our drum body okay this can be seen from section actually it's in nomenclature nomenclature here we have our trunk configuration right i'm gonna define our bodies with respect to the body frame here okay so our first arm is actually pointing 0.2 six-five which is nothing but our omelets and y 0 G 0 and 1 1 should be there because I'm gonna plot this body in 3d plot of the MATLAB and I'm gonna multiply homogeneous matrix which we will see soon after that requires this force value okay you can just put one there okay and for the second arm here here we defined X zero Y zero point two six five Z and one again let me just rearrange the values for your convenience and once again our number three is rotated here and finally horror number four should be okay to eat yeah right easy okay and I'll just put another body let's say a pay right okay this is a center of our drone zero zero zero and I'm gonna add some body I'll say I pay Road okay like a batteries or flight control computers or receivers or something like that as yes okay zero zero minus 0.15 okay so these are our initial parameters and constants and actually we can also define some games for our controller okay actually we have to build a attitude controller and position controller and trajectory planner also to complete our you know project right in this project you require to fly your drone from this initial position to fire this X 1 and X 2 right so actually you need a proper trajectory planner also right but well actually I'm gonna cover this attitude controller only because you know you know why you know why yes if I program everything that then it is it is not a project right so here I'm gonna state only PID gains for attitudes only okay for example this is a PID game - CID games horror or what PI angle PI Euler angle and let's say I'll just copy and paste okay mm-hmm we also require PID gains for Sita and sign right what else actually we're gonna control the G dot which is a a which is here we also have to consider the T Sigma right I'm gonna generate this T Sigma value actually it is coming from the position controller but I'm gonna put it here to control our elk at altitude right yeah these are the PID gains that we are going to use and so far you're not gonna we don't know actually which values are correct for our drone okay so I'm just gonna put zeros - all values right there cool hmm well the reason why I put all these parameters like that and named as drone one number one it's because actually I'm gonna I'm gonna use this old P which is object-oriented programming method in that step okay so I'm gonna build a class named as a drone so that you can utilize this basic kind of you know sorry I'm just gonna add a folder named library and save this drone into this folder okay so inside of this library folder I place this drone don't M and here we have our drone class okay so basically this drone class can be utilized with other parameters other constants other control gains right you can place multiple drones and then well then to do whatever you want like like like kinesins missions or suam missions whatever so that's why i'm gonna to find our drone s class and this class actually requires members and something called methods okay members is kind of properties inside this is nothing but a variables saved in this whole drum class okay it's nothing better data inside and this method is nothing but a collection of functions okay these functions are interacting with properties inside okay did I misspell something Pro / T well I guess requires an yeah okay for example here you can place a what gravitational acceleration is your simulation time delta T which is a step or final simulation time maybe your drone can have your own mass on lengths and what what else yeah the I metrics and we can also define our state variable state vector and the change of the state vector which is X dot right in in this nonlinear dynamics right yeah I just define this exponent as DX because we cannot do the continuous simulation right and your control vector here you so this is not in the data inside of your drone okay your methods the function collection of the functions will interact with this properties king or or the outside world like this main okay so you generate a drone in this main door M and then well call these functions the method inside of the drone - you know calculate the things mmm let's just specify our okay state vector which is a a position vector velocity vector and Euler angles and and what Omega is our R or defined in this state vector right so for example okay here this is your state vector X 1 Z DX dy DZ all angles PI sit and sigh and PQ R right here you have X Y Z okay I just separated these vectors to you know to simplify our calculations later on because let's yeah for example hear your questions emotions are all separated in into you know velocity vectors Euler angles and angle rates etc right so I'm just gonna separate this chunk into four different vector r dr over there and omegas okay and this DX let's leave it that way and you also contains what T in M right so actually your you this consists of T Sigma m1 m2 and m3 right so here T is just T right your total thrust is some and indicates a vector consists of M 1 M 2 and M 3 okay and well these properties are all for this dynamics okay dynamics part however here I'm gonna play some other properties like desired pie angles and error of the pie angle and and some variable named as previous pie error because we have to make a decontrol the ramp and and some for you know I control there and I'll do the same or obviously like Sita and slide right I miss the cheetah right [Applause] so these properties are just for you know controllers right so yeah we need to gain also KP by ki 9k k pi k pc yeah yeah that's just copy and paste it should be size and here energy dots okay I think I think this is all for the properties okay and this is time to define some functions okay put it wrong hmm okay actually in the object orientation oriented programming am i speaking right yeah object-oriented programming you normally have a constructor this this is not like that a initializer okay so when you call this drone from this main dot M site then for example life drone number one drum then this will you know build your room number one okay cool stuff huh and actually I require some input to this drone to build jury you know your own drone with with all these you know initial parameters in other states in parameters and inputs and all these gains this trend should contain parameters initial States initial input and control gains right and we can we can also define a simulation time okay so if you build your drone number one by passing thrown one Perrins from one initial States drawn one initial inputs and from one gains and then let's say at the simulation time mmm let's say two seconds for now okay emulation time so if you just pass these values okay to the drone then this will make a drone okay this will build a drone based on all these values now you can initialize all these values okay based on this you know arguments given from the main to them but but also you can do something like this actually well this is some kind of values fixed to the environment so I'll just type in the values but for example this final simulation time you can use the values that just passed from the maned of em right and we have the mass defined in this params as a map as you can see here right we define the mass as one point two pi so this is not in bed at one point two five and we can define our omelets our drone take AI x x value and iyy and I'm Z Z value just like this I just constructed a I metrics right much easier to see right and what we have yes acts we initialize our state vector using in nature states right and just let's just split over X state variable into write our R and D are over there and Omega right so this is not anybody a obviously tax from 1 to 3 this from four to six angles are from 7 8 9 and 10 to 12 and we didn't know this the axe from now right because we haven't we haven't turned our equations of motions yet right so I just put 12 zeroes there and you is coming from initial inputs and I just split this you into T and M right didn't Issus pretty much it right oh yes we have adders also well let me just copy and paste all these properties to our constructor here we should put Oh Vijay dots in front of all variables well this is not in there they sell dot in pison okay it is highly recommended to initialize all variables this properties inside so here well let's just put all let's put zeros all the way to get up error some okay and this control games aren't coming from games here gained arguments here right and this K in arguments is actually have this map here okay so we define this gayness for P PI right this song SST this is P theta this PID sighs and finally PID zeidel done right and let's just run this main door em okay main so that our yeah John is working funny or not but it is not absolutely actually error in drone class see line number 73 params mess guess these prompts mess does not exist oh yeah here I just place this capital M there so once again well I just run this main well nothing comes out which I guess we all success we build our drone number one okay let's get into then let's get into the dirty works okay so I'll just define a function called get state okay actually you can access to the data directly okay from the outside this drone but it is not recommended okay it is not recommended to do is something called encapsulation okay you can Google all the object-oriented programming once again okay this is some properties you can achieve actually some features you can get from object-oriented programming there lots of good properties okay yeah so just googled him okay I'm not gonna explain this object-oriented programming okay actually another profession I don't have you know another professional to death hmm okay what I was about to do I was like yeah I was like building this kind of silly function okay so that you can indirectly access to this X States okay our to access our state's okay I just made this silly kind of looking function okay cat state because Hopi is prohibiting you know to access prohibiting accessing this your properties directly okay and another function we need to build is now our equation of motion okay well this will not return any values to the house sign okay yet this will update your DX here okay X dot actually based on the equations operations alright so your DX one two three there's nothing that X values okay actually it's D are right which is you know this is X values from one two three four five six okay we just separated this x value into four different variables right and number four to six requires some equation here you see right and be dot equals to mg blah blah blah I'm just gonna replace this M to the right-hand side okay so I'm gonna divide this M and you have what 0 0 M times G okay let me show you here again is this mg part okay a 3 is nothing but a 0 0 1 pointing downwards okay and plus rotation matrix all times your trust and 1 0 0 minus 1 this time yeah your trusts are pointing upwards right so based on our reference frame which is pointing front right and down or any D you should place - on here okay oh by the way we forgot to build our our metrics okay and his our matrix is actually converting any factors in inertial reference frame into what sorry any vectors in body-fixed frame into an inertial reference frame right so during director during the lecture I explained how to build these are metrics which transforms your ana factors and in an inertial reference frame to the body fixed frame okay so this is not invalid transpose of it and what is Bri matrix then I guess we need to define a function okay like row pgo - rotation matrix let's call it like that and it requires your Euler angles right so okay and what I'm actually looking at is once again this lecture note ok is containing old mathematical backgrounds behind of this program okay here okay I'm gonna I'm gonna build this you know are matrices into this function okay our rpy roll pco2 rotation matrix okay so it is returning our IB matrix let's say angles so the first angle was what pyrite second was Sita the last one was the side right so are its free which is you know we're gonna use this three two one conversion okay three two one or GX Gy ax order to build our direction cosine matrix or rotation matrix so we need to y cosine Phi sine sine 0 minus sine sine cosine psi is 0 0 0 1 for our 3 matrix and the second rotation matrix looks like cosine theta 0 minus sine theta 0 1 0 C time and finally this r1 matrix should be 1 0 0 0 cosine PI sine PI 0 minus sine PI cosine PI and your rotation matrix from inertia to her body is nothing but R 3 times R 2 times R 1 okay let's put it the library okay done so now we defined our rotation matrix okay so now let's get back to ya rotational motions so once again here is your rotational motions right as I mentioned earlier I really like to integrate these two you know equations above but I'm gonna show you this Euler parameterization because you guys are all familiar with dis methods okay so before that we need PI and C 2 value to build this matrix here huh education should be object dot DX DX seven to nine should be 1 and sine pi x tangent theta cosine pi times tangent to see time 0 cosine pi minus sine pi 0 sine pi secant sitter cosine pi seek a seat this is multiplied by what this matrix multiplied by Omega will give you the next time step actually the the change of Euler angles okay and you also need angular accelerations right this is once again I'm gonna invert this I matrix okay to remove this I in front of this Omega dot so it will be like VJ that I backslash vegeta m- cross-product your Omega vector which I Omega free mm okay I guess this is all for these for our translational motions and rotational motions okay I just finished this equations of motion part and now well actually we have two we can actually update our state based on this equations of motions okay what I mean by update is like building another function update state like like propagating to the next time step okay so first you first you run this function to figure out the Delta X and then you can figure out the next state - based on simply multiplying DX with DT okay this is a very basic kind of integration right method named olders Euler's method okay so - to get your next time steps state vector you just multiply your you know X talk with this DT okay it just a tiny bit time step okay you can also use other methods such as rk4 which is going to could force other methods or something similar other methods to increase the accuracy okay of your simulator actually that is why I'm suggesting you guys to use a simile as the tool to complete this you know project because you can choose whatever you want okay I mean the integrators inside of the Simulink okay here we are we are just using MATLAB case I just use this basic Euler integration method to propagate it to the next state so now you can also get the next step Rd are older and W based on this X one two three four to six seven to nine ten to twelve right okay I guess we've we've done pretty much of it okay now I'm gonna build a basic kind of controller I mean the the innermost loop of our controller the attitude controller well actually you require some reference signal from the outside well okay let me do this thing in this way okay I'll just go with zeros I mean I mean there's no controller okay so now I think I should check if our dynamics works perfectly and then I guess we can move on to the controller part okay so I'm not gonna control the drone for now but here control number one yes should be mg okay to balance your drone at the initial inertia initial state okay I mean without any kind of moments your drone should be stay input okay at this origin the initial initial position okay so let's go back to our main and and see if our drone is our drone drone dynamics is working perfectly or not okay to do that I need to define some figures okay I'm gonna plot two figures one is 3d figure the other would be data figure so I'm gonna put this first figure on the screen like hey zero zero and everything and rest maybe fee sorry figure yeah seems okay and let's define a handle I'm gonna show it has a 3d figure something like this now actually we have to flip the detraction here okay this is showing G upwards but we need G downwards right so G direction should be reversed okay okay cool and it seems like this well it seems like we have to check it that's labeled right we have to check whether this XYZ axis are all pointing hard right directions so something went wrong when max label oh sorry so this is our X right pointing no struction I guess we also flip the y-axis right to get to do okay let's check it once again yeah seems right okay front right and down okay now let's make it accessible great on let's put some limits sorry my spine well actually how we don't need above zero because you know yes because zero is our ground okay when G gets higher than zero then the drone must be placed into the underground right okay okay so mmm now I'm gonna now I'm gonna draw I'm gonna draw our drone okay as I mentioned earlier we do not directly access to this drones parameters inside the K the the the properties inside whether we call a function okay to protect our data inside so from one has this method called get state here okay so if you call this function then this get state method will spit out this data inside okay all states and we're gonna build a Virginia's transformation matrix this is a four by four matrix consists of rotation matrix and its position oh wait zero zero zero one okay so this homogeneous matrix is nothing but a R which is a three by three matrix contains your rotation let's say attitude okay and and one right sorry your your position there are metrics and your 3 by 3 matrix once again this is your our matrix okay there are metrics and this is your small R okay so this contains position okay this R contains your attitude well you can put your zero one at this final row of these homogeneous matrix to express this position and attitude of your own but this is not a factor factors containing perspective and global scale so well you can just place your 0:01 at the last row okay so what I'm gonna do is like it's like multiplying this homogeneous matrix which will which will move our drone body into the word inertial frame okay so here is our drone one body okay which is our drone defined on your body fixed frame okay your body fixed frame here but now it should be expressed in what the inertial reference frame with a certain attitude and position right so this homogeneous matrix will move your drone with a proper attitude okay so inside of this drum word turn one and about word matrix you can get this attitude from first to the third rows okay pay for more information for the homogeneous metrics well you can always cool them right quite a mess so for example this values are all can be used in this 3d plot something like this something like this so what I'm just typing in it's like drawing you're drawing a arm number one and three okay inside this plot okay so this is actually connecting our a to this is actually connecting these two points one and three okay this is exposition this is your Y position and your G position let's give some colors and the shape let's see why [Applause] here for example I want to connect the number two and four right so there should be two four two four two four let's put another color and here for the payload we define the payload as number line number five and six right so if you connect this two points and you will see a payload on top of your drone see right looks really cute oh where are you going yeah did I just want you mean lit it's not working okay anyway you can see drone okay sitting at one zero zero zero with English in English your attitudes okay and I'm gonna put something called a shadow here okay to express your choice shadow actually okay well I just placed this shadow because for example if you change this initial position like maybe minus 6 then your drum will fly up there right you can see there like here sometimes you want to see this ground position of it right so I just place the shadow a little bit okay yes hold and for the data well if you are using a simile you just plug in some kind of scope okay Scott block to draw all these figures well since we are using a MATLAB I should type in all these stupid things okay let's just well I'm actually building six subplots okay to plot your attitudes like three Euler angles PI sorry what see it it sign and XYZ positions let's put it up here because actually we have to tune our control gains okay then we need this pie setup sigh attitudes and what Dida right because we are about to control the G dot not the G directly so yes let's put some grits and hold down and see if it's work fine okay let's just reduce size 500 400 right oops yeah right well [Music] well we were about to do is actually was was actually actually checking in flower simulation actually the dynamics of our simulator works perfectly or not right so I'm gonna get to rate this you know evaluations and state update to propagate our drone from our initial state okay so our drone is not actually equipped with this attitude controller but all this I'll just put this attitude controller for later and and you update state ok so when your controller spit outs and control inputs like trusts and total trust and M 1 M 2 M 3 moments then your drone can update it States based on the all these forces ok force and moments and you just update the state and this state can be seen from this that state function ok ok let's check if our drone is moving as we have intended ok once again this homogeneous matrix can be build up and [Music] sorry this WH be homogeneous matrix and you can get this attitudes okay by multiplying this homogeneous matrix and now we can set so we can move our m13 into into this new x value or and this y and z values and you just do the same for all number two for and your pay road and and this what shadow right for the shadow we just require this x-value for our throne where's patron state yeah drama stick we just require this CG position right x position Y and G should be zero right let's check it what is happening what is happening maybe we need trim down whoo Wow don't forget to close it okay yeah see well since we don't have any controls right we didn't put any controls yeah oh we do have ah yeah we do have but we didn't update this signal into what our T right and m33 what you have just seen it's like it's a 3/4 of our drone right will matrix - Mangin must away yeah oh sorry 2:00 to 4:00 see ya so this is nothing but a three-fer of our drone okay why don't you put this why don't we put this message like if our drone hits the ground we just kill the simulator state number three is greater than zero - Paul yeah Christ yeah now let's complete however a figure number two okay you go number two contains six different values oh sorry six different subplots namely pie one two three five six seven seven is this Radian right as you know it is not a fancy way to plot some data like this because it will accumulate your data into the plot which will slow down your simulation as peak but well this is just a short tutorial for simulation building so there's [Music] let's - lets go really easy way okay yes so your g-dog is increasing right looks like this slope is what nine point eight right Ward into that not sure yes it is 9.8 right and actually I simulated this for what two seconds but it is it is you know crashed right it crashed on the ground so assimilations just stopped okay so I guess our dynamics is working fine okay except except this attitudes okay so let's check tatak let's check that also okay so forward - is to is to use our gas I just put the mg to the total thrust okay which is pretty obvious right your joint should be stay your drone should be hovering right now let's change this YouTube value a little bit like zero point 1 this is M one moment so you're John's what role right okay is it this is doing roll motion doors right yeah see you know now it's flipped it is going to right and let's check the pitch yes it is you should pitch up right which means your exposition should be now negative yes right all right now I'm gonna check this young moment m3 okay so I just put 0.1 there so you should turned it into 10 it the choice you turn it's heading to the right nice jacket size increasing which means your drones should rotate clockwise yes right so what's left is like building a attitude controller right so if I complete this PID attitude controller what you should do is like build this outer loop okay where's the controller part okay so I'm gonna show you today like a cue controller along with this T Sigma the GIDA control okay what you should do what you should do is actually a feedback some sensor measurements like your your petitions okay in this attitude controller I'm gonna feedback this attitudes only which you have to feedback what positions okay then you should spit out proper roll pitch and your commands okay I'm gonna I'm gonna simulate this commands today okay as zeros or 1010 or minus 10 whatever may you should speed up proper values from the position controller which is out to loop okay and finally actually what you should have to do is build another thing called as trajectory planner okay in the end too complete your project something like this so now let's begin the controller oh absolutely this is salt pan folder so you don't require this you on to you for because it weighs just for the test you get this these reference signals from where in this main function before this for loop I actually placed this numbers right T Sigma three one oh sorry so this is a go degree and goals defined in degrees okay so I'm gonna put t2 are there good this force left hand signal is my bet Agito desired okay so you you now put a actually G that desired must be coming from here but yeah like PI set aside desired are all coming from this position controller or now I'm just putting the arbitrary numbers okay and these desired values can make adder signors right based on your sensor measurements and actually we didn't modeled our sensors right we are just using a clean state values here if you want to add some noises or whatever then you can just put London very values or other models - you know simulate your sensors okay oh sorry pi is it I'm sorry okay so now you have error signals we're stepping qualities on okay so did for example here you you can say this is a PI error okay this is PI error well this is small-angle approximations okay and well yeah actually you can use PI T or ya PI the command and PI dot here but for by using a small angle approximation you can also use P command minus P here what I was about to do is building a controller right this is M m1 m1 so you just multiply the P gang and with this error and I guess you guys are only the type Dean dis at or some and error previous values friend well this is actually for you know integration and differentiation I'll explain them later [Music] depart right so here I'm just accumulating these adders okay to build our icon folder okay actually it should be integration we are using what micro processors for example area such as DSP in taking a digital signal processor or a RM okay - to control our drones in real life so so we differentiate ever by using DF over DT which is not very recommended because it sometimes gets unstable with sensor noises and highly depends on the time step or computing powers accumulate Evers in a discreet way as a substitute for continuous integration now which is copy and paste them to complete theater and side control spa in changing their names you sorry I haven't noticed there's an audio problem okay now I'm back okay so finally we defined this G dot controller also PID okay done okay so let's play with this YouTube which is m1 first okay hmm let's movie to ten degrees okay P PI unrecognized oh it is all lowercase K sorry and by the way actually differentiation is not recommended in digital signal processors learning that micro processors and not just micro processors like discrete-time analysis so what we do in normal life is kind of multiplying this 0 minus obj that Omega 1 which is a what did the p-value can you can also you can actually measure the angular rates of your drone right so this is coming from your sensor then 0 is like what PI error signal a dot so if you are planning to build a entity controller well the derivative of it is normally zero right but in many cases well it has a value right if you have a proper a proper predictive planner or ought to live like position controller then yeah you might have one but for now I'll just put 0 here because what we are going to do is knowing that putting an arbitrary number in it ok well just for now we're gonna use this derivative okay so let's check it out what um KD pi is not recognized at all some Perkins well sorry for that still ah KP k 2e k kt kt alright okay yeah wine oh okay so actually he we didn't put any PID values we're here right we don't have any gains for the controller so that was the problem and before we do that let's just say obviously that you one should be mg and I don't want my throne goes down to the ground while I'm tuning this values [Music] well actually we can we can chill the jitta first well well sorry sorry for death let's first start with this pie first okay yeah it is moving and seems like it is oscillating or yeah it is so so lady so you can do it's like decrease the gain or decrease the P gain no should I stop right well what we can do is like decrease the the P game okay 0.2 maybe and see the response well still it seems like overshooting or or oscillating but what you can do for now is like what increase the D gain to you know reduce this overshoot or something looks much better welcome to voiceover voiceover speaks descript sorry for that yeah maybe even better well actually this is not a a tutorial for how to tune the PID right so I'm just move just move on so basically this drone is this drone has symmetry right so I'm gonna copy and paste this value to Sita also and beside well well actually he it has what has doubled moment of inertia's and then I'll just double the bellies and last check whether our attitude control rod works nicely you well it goes somewhere right all right anyway it is you know he tries to convert to 10 degrees in situ 30 degrees right well fine tuning is your works to do and I'll just show you how this G dot controller works okay now let me just remove this give some value here like one meter per seconds of altitude decreasing one maybe and alright for now I'll just I'll just kill the controls from two to three okay two two four zero zero zero okay ooh seems like it does not work my place did you don't yes one but there is keep decreasing the altitude oh yeah actually for orcas jitter control we yeah normally put mg we just compensate these gravitational acceleration and yeah what is minus sign indicates is what right indicates that your G is pointing downward right G+ is pointing downward so this value is is positive when when G command is higher than G da right so yeah you do the math you can do you can do the math right so well without this minus sign your PID values should be all negative right due to this G values are actually pointing downward when it is positive okay so this is why I placed a negative sign before it is bracket okay and this mg for compensation gravity compensation yeah sorry just mg must be of the j2m okay shade up G still nothing okay could you stop oh I've made the big mistake right I didn't defined sheetal error in the first place it is dr number three now now it should work yeah seems like the gain is too small [Music] yeah too small maybe maybe 10 yeah much better cool yeah right then now let's check all controllers let's just check the old control it's our work as I intended yep right they're doing great cool well I think there's no studies to each other between this one maybe you can put some bellies here to you know decrease this error well [Music] now he looks kind of decreasing I'm not sure every will go to this exactly variable converge to one note little still well actually this is not my shop to do the fine tuning okay so what's left is like fine tuning of PID controller controller gains and and you should definitely build a Alto loop which is a position control there you should also design what trajectory when air to finish your project and oh yeah actually I haven't considered any motor saturations I mean for example you have to define a function named S clip which will retain maximum value between your input and the world value and then the minimum value of what between this and upper value and I'm just saving to a library so what this function will do is like in the in the problem set you can see this condition your motor cannot exceed 10,000 rpm so in this you know tutorial I haven't considered any aerodynamic considerations okay so basically what I have done is like building this T Sigma 2 M 3 from your PID controller ok so what you have to do from now on is like consider all the aerodynamic forces and you can figure out the proper KT and KQ values right and then you just you just do the maths and figure out the rotational speed of your motor and if your motor does not meet this criteria like 10,000 rpm maximum rotation speed I mean if your motor exceeds this rpm then what you have to do is like clip the value and and redo the maths okay redo substitute the proper value there and then figure out the property Sigma M 1 M 2 M 3 values okay so yes so I think I have done pretty much of it all right so good luck on your final project and Merry Christmas and also Happy New Year thank you you
Up Next

10:33
Tail-Sitter VTOL Transition: Flight Controller Tuning Explained
@NicholasRehm
105.3K views•2023-10-04

30:32
Ultrasonic Transducers: Resonant Frequency Measurement and Horn Design
@imajeenyus42
229.9K views•2017-02-22

54:16
Polymer Environmental Degradation: Mechanisms & Stabilization
@iit
1.8K views•2012-07-10

33:39
How a Student's Question Saved a NYC Skyscraper from Collapse
@veritasium
22.8M views•2025-04-26
Related Study Plans & Knowledge Roadmaps
Structured learning paths in Engineering
engineering
Building Acoustic Levitators: Physics & Arduino
01The Physics of Sound and Standing Waves
02Piezoelectric Transducers and H-Bridge Drivers
03Arduino Programming: Generating 40 kHz Signals
+ 2 more learning modules
14h5 modules
Explore Roadmap
engineering
Building Peltier Cloud Chambers: Particle Tracks
01Cosmic Rays & Cloud Chamber Physics
02Thermoelectric Cooling (TEC) Fundamentals
03Custom Liquid-Cooling Loop Design
+ 2 more learning modules
18h5 modules
Explore Roadmap
engineering
Yagi-Uda Antennas: Modeling, Build & VNA Test
01Introduction to RF and Antenna Fundamentals
02Yagi-Uda Antenna Design Principles
03Antenna Modeling and Simulation in 4NEC2
+ 2 more learning modules
18h5 modules
Explore Roadmap
engineering
ECG Monitor Design: Op-Amps, Filters & Noise
01Electronics & Breadboard Basics
02Op-Amps and Instrumentation Amplifiers
03Bioelectricity and ECG Fundamentals
+ 2 more learning modules
18h5 modules
Explore Roadmap