






![[2020 Fall] IEEE at UCI - PCB Workshop](https://i.ytimg.com/vi/sMcjAlfV3B4/maxresdefault.jpg)















This lecture covers essential PCB design principles for micromouse robots, including component sourcing through Digi-Key with proper filtering techniques, interpreting datasheets to understand pin functions and specifications, selecting appropriate microcontroller pins for IR sensors, motor drivers, and encoders while ensuring each encoder has its own timer channel, and implementing best practices such as maintaining adequate spacing between components (at least 30 mils), keeping analog traces at least 16 mils thick, avoiding unnecessary ground plane cuts, and using separate ground planes for motor circuits to minimize electromagnetic interference.
PCB Design for Micromouse: Sourcing Parts & Layout
Added:Basic understanding of circuit design principles, including schematic reading, passive components (resistors, capacitors), and active components (microcontrollers, motor drivers).
Familiarity with standard Electronic Design Automation (EDA) software, such as KiCad, Altium Designer, or EasyEDA, for schematic capture.
Fundamental concepts of Micromouse robotics, including the typical sensors (infrared, encoders) and actuators (DC motors) used.
Basic knowledge of electronic component specifications, such as voltage ratings, footprint sizes, and package types (SMD vs. through-hole).
Generating fabrication files (Gerber files, Bill of Materials, and Centroid files) for PCB manufacturing and assembly.
Practical soldering and assembly techniques, specifically dealing with surface-mount technology (SMT) components and reflow soldering.
Advanced PCB design concepts such as signal integrity, electromagnetic interference (EMI) shielding, and optimal power distribution network (PDN) routing.
Hardware debugging and testing procedures using laboratory equipment like multimeters, oscilloscopes, and logic analyzers to validate the physical board.
Developing low-level firmware and control algorithms (such as PID control and maze-solving algorithms) to run on the custom-designed hardware.
1.1K views22likes28:16Original Release: 2024-01-10
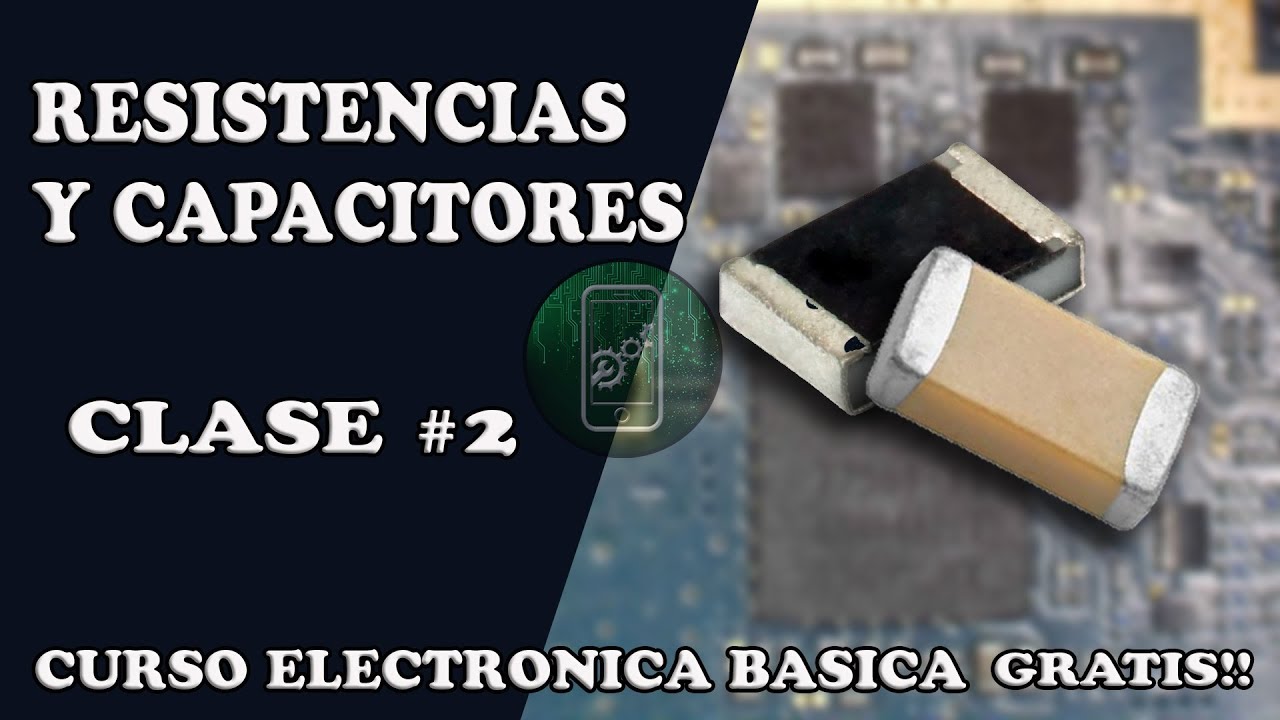
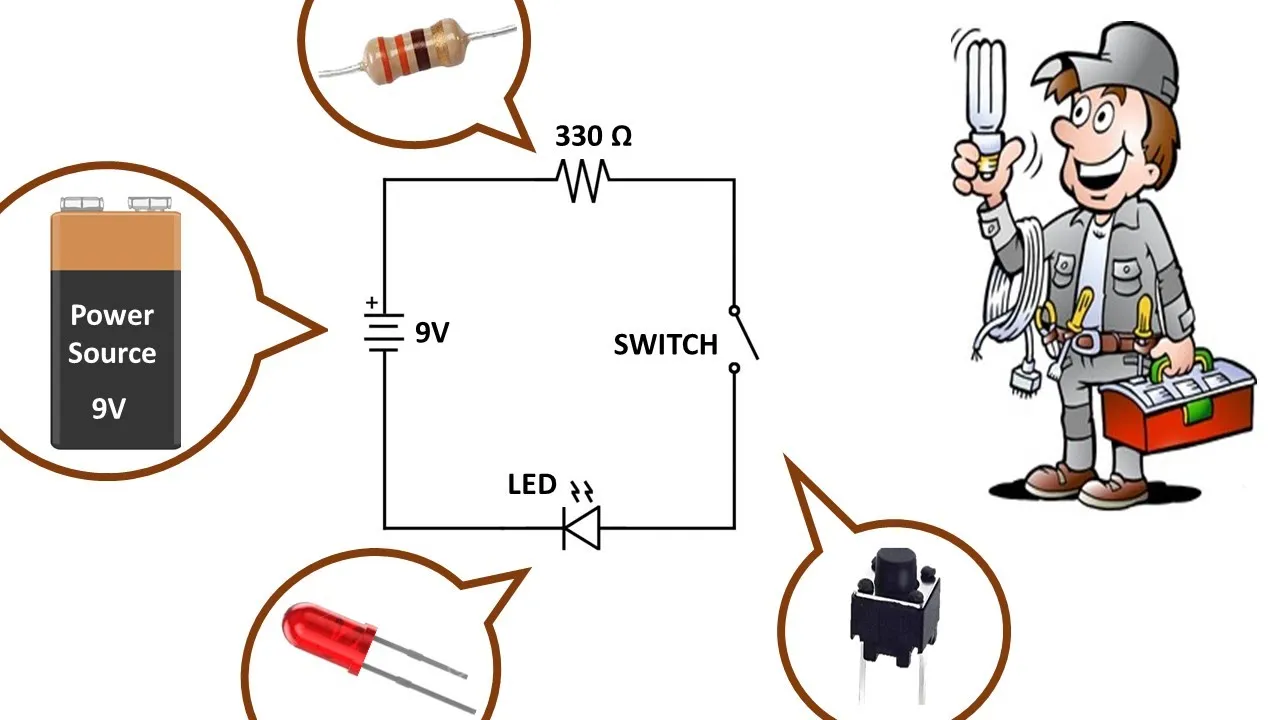
yeah today's lecture is just about so today's lecture is about teaching you guys uh how to put together how to find the parts necessary for your mouse designs and also start working on your mouse designs so the schematic and the PCB so first uh how do we find the parts and what's the building materials and what is dig ke so we use we primarily use Digi key uh as you guys have probably found out by now through the B assignments from last quarter to find the parts you need such as the passives uh the IRS and more and we will give you a recommended parts list uh of like for example parts that we used from previous years and also you can just access the w b materials if you want to for recommended Parts but you'll also have to find some of your own as that's the whole point of learning about how to do this um and so there are plenty of filters that you can use uh on your search results when you go to uh search for your parts uh don't worry we will do a tutorial later uh just just as a recap so you guys remember how to do this stuff but um for for the passes so primarily the capacitors and resistors there are a lot of filters that you can use to narrow down the results to exactly what you want for example the packaging size so like if you want 0603 uh 0805 or even bigger if you want uh so that's is basically the size of the component or you can just also filter based on um the the the value that you need for example like 100 ohms whatever like that uh so make sure you use and use the proper filters and all the filters because using all the filters would practically make the a part impossible to find so just use only the appropriate filters that we recommend which we will show you in a little bit and also uh on the so you find a component and you want to and you want to find something similar to that you can see the you can see like the filter specs uh below the component so you can see for example like what the voltage rating is uh and like so each of these on the left hand column is itself a filter which is uh one of these filter options that you see here so you can also you can if you want to find a similar component you can literally just copy the most of these um these options into your search when Digi key to find a similar part but of course you probably want to change something so that way you can find uh a different component are there any questions so far about this this is basically just recap of what you guys did with IGN the V assignments last quarter okay all right and there are also other sites uh that you all can use um and the most common ones are we've listed here but of course you can use anything more just please run it by us because we do have to go to these websites to actually order the parts so for the logistics sake of having to go order them please let us know before using another website but for like everything and most likely everything that you'll be doing in micromouse these will be these websites should have everything that you'll ever need all right so now we're going to be going over how to navigate your data sheets okay so first does everyone here know what a dat sheet is or is there anyone who would like me to explain what a data sheet is okay so a data sheet is essentially a massive PDF document that explains all the specifications for any given part that you're going to be using like for example a gyroscope or like the microcontroller unit or literally just any part so in the data sheet you can find a lot of things but the main things that you want to look for are whatever on the first page now this will usually include things like the voltage rating or like the size of the component that you're trying to use you want to go for the pin descriptions and functions this is specifically for like the microcontroller pin and the H Bridge because for the MCU and hridge they have a lot of pins and you don't have to utilize all of them so I would recommend just like going through the microcontroller pins and picking out which pins you specifically want to use this can be really advantageous later on when you're laying things out on your PC because um it could be better or you want to pick pins that are closer to the actual component just to make routing a lot easier and thein will go over this more in detail later on and um if you are using like let's say a gyroscope and it's just the gyroscope without the breakout board things like the recommended circuit setups can be very useful and you'll find those on the um data sheets as well now what this is is it'll literally just be like a circuit schematic of exactly how to use the special part that you're trying to use for your mouse and uh finally you want to look for the package description which is literally just like the actual part itself or like the dimensions for the part itself so now let's just I'll just we'll just walk through uh going over a gyroscop data sheet adjust the volume here they need a filter and then um so this is what you might see if you go for or if you like try to search up data sheets if you're wondering where you can find data sheets usually you will find them like on the parts page itself when you're searching it up on Digi key but if you can't find it there just like copy P the of the part into your browser and you should be able to find the data sheet so uh some on the first page you will see like the main specifications and features of the gyroscope that we're looking at here as an example as you can see uh it's it operates at a voltage from between 2.7 to 3.6 which is perfect for us because we have a 3.3 volt out in our micr Mouse and then there's like a couple of other things that you can go through yourself as well um other main things for the micro or for the gyroscope itself are the pin description right here since the gyroscope has a bunch of pins on it and they're not labeled on the gyroscope itself this is super useful um like when you designing your own um PCB so that you know what each pin does so you could just like like the pins are labeled here but they'll also be labeled with the exact same numbers in Fusion 360 so when you're actually using this for you should just be able to look at this and then if you scroll down a bit you should be able to just like see what each of the pins do based off of the number so like for example in this case pin one would be bdd and so on and so forth for the rest of them and then let's see oh another thing that you could look at is the example circuit setup and if you go back to the table of contents it would I think it's in package information I before that before that you're just going to have to like scroll around until you find it but as you can see here's the like the recommended setup for this specific gyroscope and like you can implement this Yourself by like finding the 10km resistors the capacitors and like whatever else is needed for this specific gyroscope and then going back to the slides uh this is what I just showed you guys like the example circuit set up setup and the P up for the gyroscope and then when you actually implement the circuit itself it would look something similar to this does anyone have any questions for the gyroscope okay um just a quick little caveat here you don't have to use the gyroscope that like we have in the slides in fact it's probably going to be a lot easier for you to just use a gyroscope breakout board and you could just like find this by searching up like um microcontroller gyroscope break out for and the reason why it's a lot simpler to use one of those is because they just have like six pins that you can corre connect directly to your MCU without having to worry about messing up any of the passive because all of that is just on the board itself um the one downside of that is that it is a little bit bigger than the actual SMD G scope so if you're like tight on space I would recommend just using the SMD one and you guys don't even have use the gyroscope but it is a nice addition to your micromouse and then the second data sheet that we want to walk through is the microcontroller units data sheet now this one is actually really really important and I would recommend that all of you would go through this with your own teams because you're going to need this a lot when you're picking the pins for the microcontroller the main thing that you want to look for in this data sheet is if you scroll down a lot you there's going to be a mass table with all of the pins and exactly what functionality each of the pins have this is really useful especially when you have like multiple more than four IR emitters and receivers for example and you want to figure out which pins you can allocate to each of the receivers and emitters yeah have question oh s uh I just comment um Pro tip you can use qid and just like oh I want two SBI boxes and like an i2c and it'll lay it out for you like you mean like go and manually select them or you can Auto oh I didn't know that existed but um I don't know if that works like specifically for like picking what side of the microcontroller you want the oh no but like you can see oh you can just see all of them ioc oh you can see like a okay I didn't know that existed but in it might have been in the new update I don't know yeah because we've never seen that but this is like the other way that you could do it where um this data sheet is for a bunch of different types of microcontrollers we're going to be using the 64 pin one so if you scroll down a little bit more here's all the different types of pins you just want to make sure that first of all there's a pin in the 64 or the lqfp64 column like for example here and what this means is like the pin one for our microcontroller is the vbat pin and so on and so forth for example if you want let's say an analog to digital converter pin for your receivers you can use pin8 as one of your receiver pins and you could just like go through to see all the functionality that each of these have does anyone or you could just go to the cube ID if that exists I I can show people yeah Alo it's a quick add-on uh it's so basically if there a dash that means that pin does not exist for that specific MCU so please do not use pf10 because that really does not exist on the MCU that we'll be giving you guys any questions all right that's basically all you need to know for the microcontrollers data sheet there is a lot of information on there so if you want any specifics you could probably find it somewhere in the data sheet and again for choosing your own pins you want to look for ABC for the special functionality for your receivers another thing to keep in mind is time timer Channel pins for your Motors and encoders and just note that each of the encoders need its own like entire time timer Channel or the two encoders need to be on different timer channels from each other and then if you just want like pins for like LEDs or buttons you could just look for Pins that have IO in them for examp this column if the pin time is IO then you could use that PIN for things like LEDs or buttons because those are just general purpose out yeah all right any questions on what we've went over so far before we move on okay so now moving on to the overall layout so this is just the uh so these are just the main components to have a basic working micromouse just basically just translating from your W design um so the MCU of course is the brain the central uh the central node and then you have the IR receivers and emitters for detecting walls the voltage regulator for providing the con constant 3.3 voltage output the batteries of course to supply part of the whole thing H rdge motor driver to actually power the motors uh using the battery supply directly um and the encoders to measure how much the mouse has moved so it's pretty simple and then for the design choices so uh some general tips uh please please uh go to the Past lectures past assignments or even past workshops uh to if you need to like Refresh on any of these Concepts or also please just ask part than me uh if you need any help with anything and uh please make sure uh so when you're choosing the pins from the data sheet please make sure that those pins actually do exist and that they do actually have the functionality that you want them to have uh so what that means is going to going to Q byde making a new project and setting up all the pins um setting up all the pins uh already so that way you don't accidentally make a mistake and realize oh no this pin doesn't have the function that I wanted um because I made that mistake last year and I had to fix it using a like a scuff method so please don't make the mistake that I did um and yeah pay attention to the functionality modes especially in COD mode because that's that's what I messed up actually something quick to add on to this there are certain uh modes for the pins that are only available like once for the entire uh MCU like for example I think it's like every pin that ends in a certain number can only have like you you can only have one of those set to a certain um type of pin I forgot exactly which one it was but just like make sure like a r set by actually setting it up in the ID um sorry and then uh one one thing to remember I it should be in the assignment but I'll just say it all loud just in case it isn't there I'll I'll definitely make sure to double check that it is there but for the for the for the motors the the two channels for each motor can be under the same timer so you can have just have one timer for both Motors but for the encoders the encoders require two separate timers so so each encoder requires its own timer so that's very very important please remember that and then for picking pins um so yeah just again be very careful uh when you're picking pins because you will because if you mess up and you choose the wrong PIN or with the wrong functionality you'll end up having to do something like this which is something that I had to do similar to where I had a literally route a wire manually to some other place or a past president actually you said I E this is this is their board um yeah don't worry about it yeah just make sure that you uh yeah basically I think I think what happened is they had I I think what happened they put the PC the the mic controller pin wrong mic controller in wrong right I forg I forgot what actually happened but this is the aftermath of what happened so be careful I think we still I think we still have it uh stored just for um so this is like for the part of your design when you're actually laying out all of your components and routing them together uh instead of the schematic so this is like what you did similar to the breakout board assignment basically there's a couple things you need to keep in mind first and foremost um you need to make sure that you have enough space between each of your components because like even though it might not like you're actually designing you're designing with parts that are incredibly small like the microcontroller itself is like probably smaller than like your pinky like the top of your pinky so you need to make sure that you're leaving at least 30 MS of space between each of the parts I would go for a lot more than that like a 100 or 200 between each part because it's going to be really really difficult to solder if you don't give it enough space another thing to keep in mind is that like when you're using Vas make sure that or like any other component make sure that it's not too close to the microcontroller unit because you will short it if you if it's like really close or it would just be incredibly hard to solder another thing to another tip that might help you is that when you're first starting out and like just when you're first starting out what you'll see is like you'll see all of your components to the left side and like the board itself to the right side and like they're not really organized in any way so what you can do is set your grid to 50 Ms and Ms is just like a for like a unit of measurement which is a thousandth of a of an inch but basically you just set it the 50 Ms and like try to move all of your parts to like the general vicinity of where you want them to be and then you can like decrease the uh grid size to like one or any number that you want and like really um like finalize the location of each of those parts and then another thing to keep in mind is that when you have analog traces just make sure that they're at least 16 Ms thick and you'll just have this option when you're routing and have even thicker traces for quers so at least 75 M now I know that this isn't always possible so like you will have to decrease the uh Trace sizes like especially when you're really close to passives because passives themselves are like less than 75 Ms in width so like wherever possible try to keep them as big as possible for power the assignment will go uh or will go more detail about this so but if you have any questions please to ask us and then some more tips continued is that you'll see this later on but try not to have too many Cuts in your ground plane and what this means is like on your PCB itself you're going to have like one massive plane for ground which just like connects everything that has ground now what you might notice is that due to like the different traces that go over the board the ground train the ground plane will be cut up into like multiple smaller planes that you just have to connect manually with Vias and traces so like when possible try not to cut up the ground plane into like 50 different smaller pieces because that kind of just defeats the entire purpose of a ground plane now this could be like kind of hard to do because when you start off you don't actually just like immediately put the grounde down and then start routing most people will just start routing first and then at the very end they're going to put the ground plane down but just like keep this in mind and then um another thing to keep in mind is to have a separate ground plane for the motors themselves versus like the actual main ground plane now this will be connected to the actual ground plane as well but it's basically just kept separate so that the motors themselves or like the noise from the motors doesn't interfere with the um IR receivers and then for this bullet point it it should be done by default but try to avoid 90° turns in your traces just because it like saves um space for the trace like you don't use as much copper and then also um this this is something that I actually forgot but make sure that you start off with your battery holders you will find in the Google drive or in the assignment itself like the actual um part that you need to import for the battery holders and um motor holders but make sure you start off with those as well because if you forget you're just going to need to place two holes in like very random places at the very end and does the concept of like separate planes make sense or should one of us go over it again okay and then let's go over an example of what a bad PCD board looks like so before I get into it does does do any of you want to give any suggestions to this person yeah they super long traces for when you can just like rotate components yeah uh that's a good observation like for example for this one you could have just rotate you could have just rotated the component to make this Trace really close to BCC same for the resistor and probably for a bunch of other components as well any other suggestion yeah uncessary right yeah there's a 90° turn there where it could have just been shortened anything else it's a in the bottom left they should turn there's a whatever comp oh this one yeah so this is just like and the resistor because like I don't know if it's no it's a capacitor sorry but yeah it is shorted like the two traces are connected which they shouldn't be now like one way to solve it is to just rotate it but you could also just make the traces smaller so that they don't connect yeah as it is like on the screen there is no ground connection and so it does not work assum you don't do a ground yeah okay uh we'll go over some more um another thing that those were all really good and another thing that I noticed was that like it is unnecessarily spread out like for example this could have just been like all the way over there and all of it could have been a lot more compacted and then also like someone else already said you could have routed it a lot better so that you didn't need to go on the other side of the board with Vias and yeah do you have anything else to add yeah I on the topic of Vias uh this is mentioned in the assignment again in more detail but it's about to have Vias because it effects with the signal Integrity so it's better to have uh few vas uh so yeah the assignment goes into a lot of detail about these so please if you have any questions do ask us okay some quality of life improvements that you can have on your own Mouse designs or on your own mic first of all make sure that you have an easy to access programming header now this is like you probably remember this but like on your rat you need to put in the four pins really painstakingly just try to make sure that it's in a really easy to access area so that you don't have to do that on your actual Mouse another thing is that you can add test points to uh check your battery voltage and to check connections like 3.3 volts and ground uh test points are basically just like a part that you can search up in Fusion 360 and it'll just add it for you um you can always add more switches and buttons and LEDs that you can use to interface with the mouse now this can add a lot of additional functionality like having different modes to solve the maze in different ways or like a button to make the mouse go a lot faster or something like that and then finally you can have status LEDs in like a buzzer or like you can go really crazy with this like you can even have like an LCD display on it so and LED strip whatever you want so here's some sample prev years as you can see there's an amongus PCB which is still currently in use um yeah you can also add like your own designs to The Backs or to the fronts of the PCB with the sil screen for examp there's like a random rabbit there andb but yeah so you can do a lot of creative stuff with your pcbs for example these are some of the previous finished Design This one specifically is the um is the amongest PCB from previous slide and then also like a really cool one was this p which had um like music plan but I don't think it's working I turned [Music] off is the music that they're referring to you guys can just like come up afterwards and we can show you yeah do change so go as you can see you can do a lot oh so yeah that's it from us does anyone have any questions yeah no there's going to be five for each team anyone else also after this is done uh I'll go over some like examples like that I uh like what I did from coming design from my mouse so if you guys want to stay for that uh please do feel free to but before anyone leaves uh so the these deadlines are very strict uh unlike last quarter uh so please finish the everything on the on the due date there because because on these dates we have to like put everything into the parts order so we can buy buy all the parts for you guys otherwise you will have to buy the parts yourselves which I don't think you guys want to do so um yeah so please get started on these ASAP they take much longer than you guys think and also finish assignments 1 a through 4 A and 1 through 4B is not and again I'll be going over um how to like how I my offer like 5 hours
Up Next

7:57
Yagi-Uda Antenna Design: A Basic Tutorial for Engineers
@nipunharitash
120.4K views•2017-09-23

30:32
Ultrasonic Transducers: Resonant Frequency Measurement and Horn Design
@imajeenyus42
229.9K views•2017-02-22

54:16
Polymer Environmental Degradation: Mechanisms & Stabilization
@iit
1.8K views•2012-07-10

33:39
How a Student's Question Saved a NYC Skyscraper from Collapse
@veritasium
22.8M views•2025-04-26
Related Study Plans & Knowledge Roadmaps
Structured learning paths in Engineering
engineering
Building Acoustic Levitators: Physics & Arduino
01The Physics of Sound and Standing Waves
02Piezoelectric Transducers and H-Bridge Drivers
03Arduino Programming: Generating 40 kHz Signals
+ 2 more learning modules
14h5 modules
Explore Roadmap
engineering
Building Peltier Cloud Chambers: Particle Tracks
01Cosmic Rays & Cloud Chamber Physics
02Thermoelectric Cooling (TEC) Fundamentals
03Custom Liquid-Cooling Loop Design
+ 2 more learning modules
18h5 modules
Explore Roadmap
engineering
Yagi-Uda Antennas: Modeling, Build & VNA Test
01Introduction to RF and Antenna Fundamentals
02Yagi-Uda Antenna Design Principles
03Antenna Modeling and Simulation in 4NEC2
+ 2 more learning modules
18h5 modules
Explore Roadmap
engineering
ECG Monitor Design: Op-Amps, Filters & Noise
01Electronics & Breadboard Basics
02Op-Amps and Instrumentation Amplifiers
03Bioelectricity and ECG Fundamentals
+ 2 more learning modules
18h5 modules
Explore Roadmap