


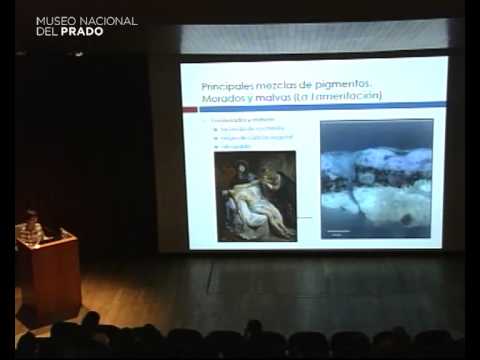

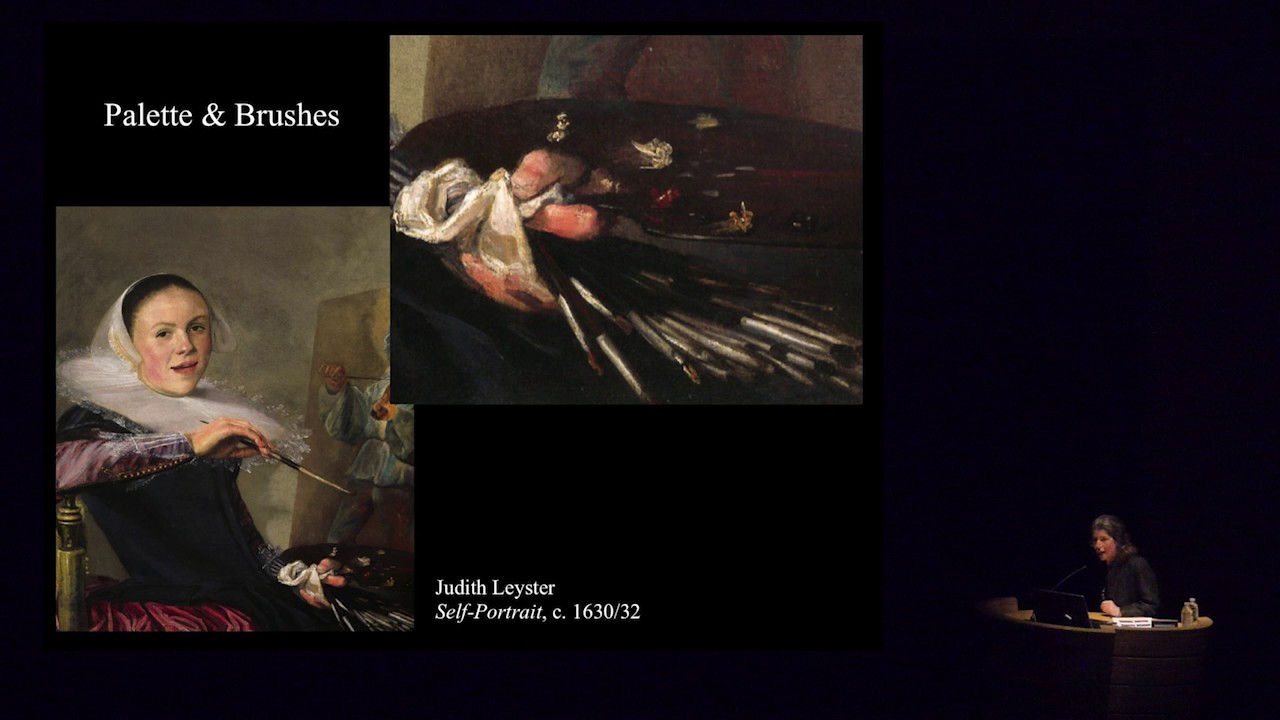


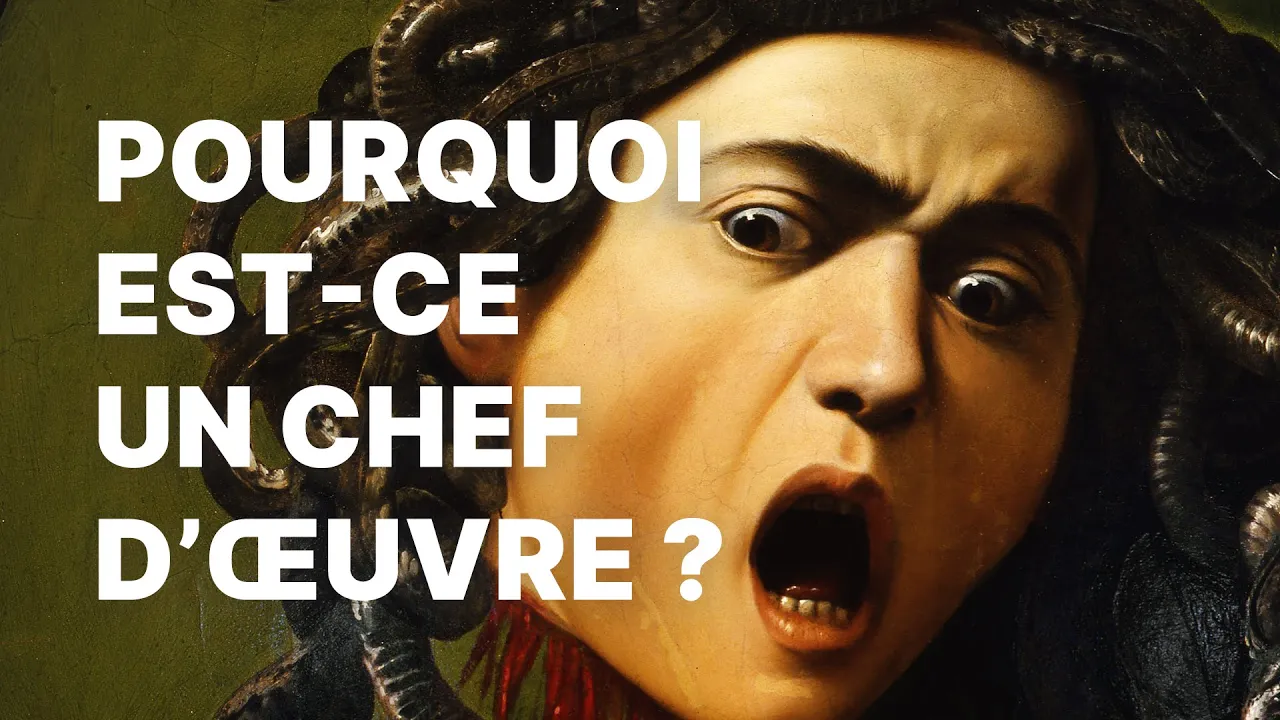
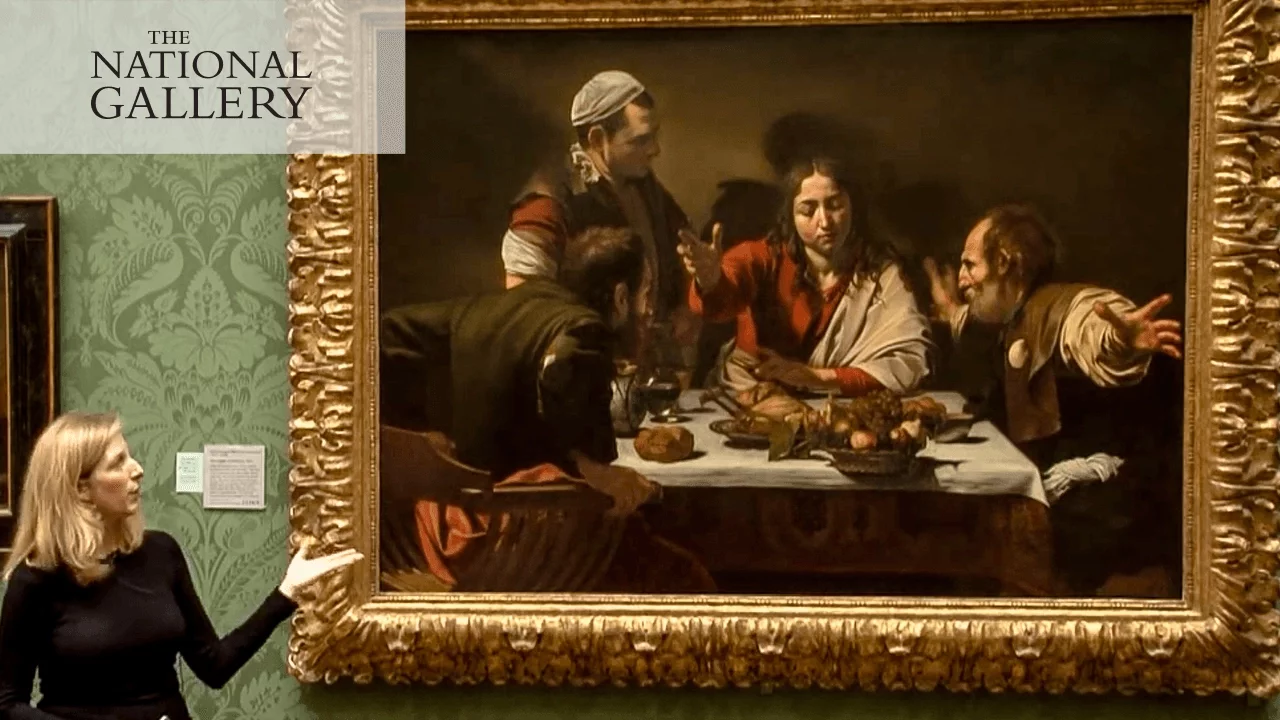


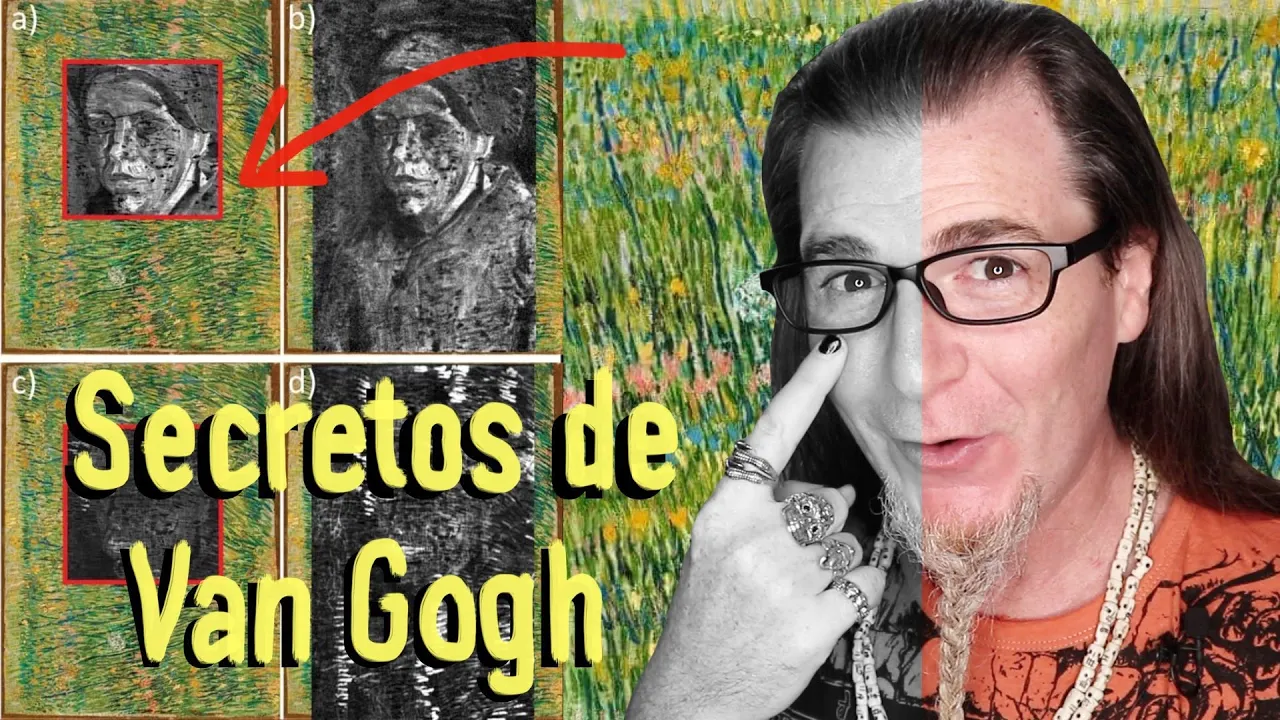





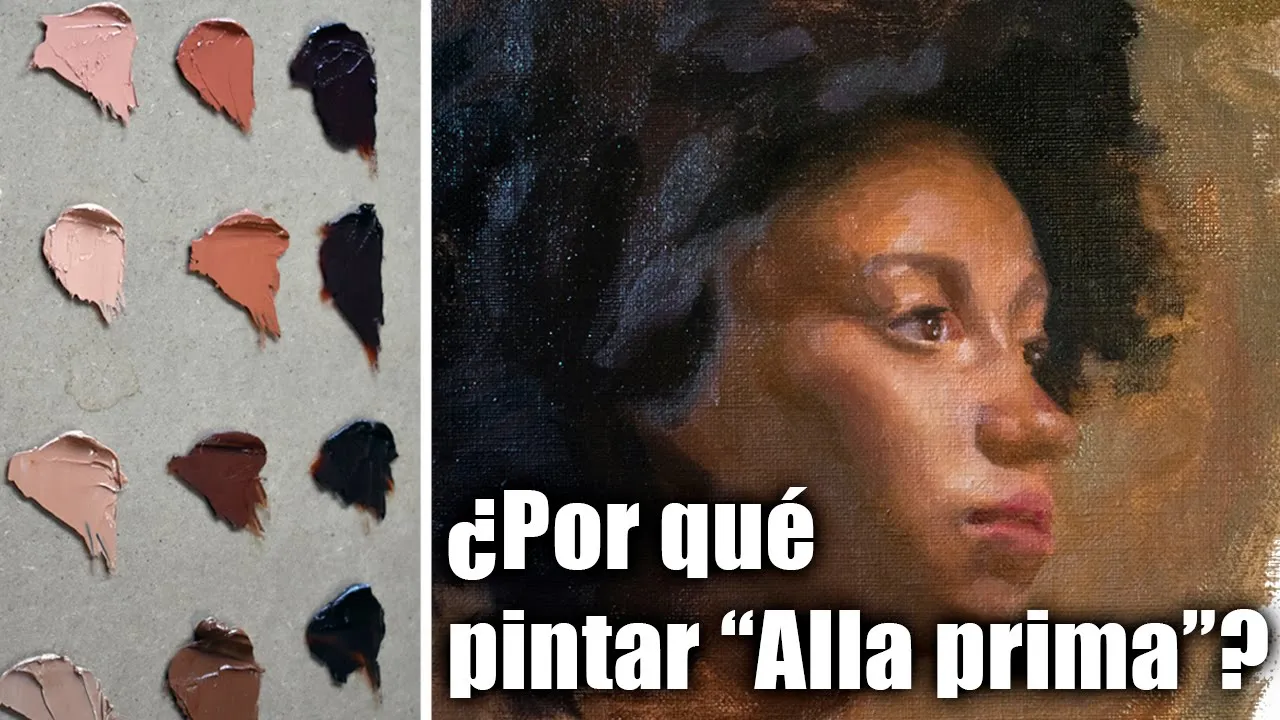





Caravaggio employed a diverse range of colored grounds throughout his career, including brown, gray, cream, orange, and chocolate tones, rather than consistently using a single dark ground; he applied paint through multiple techniques including impasto (thick, textured brushstrokes), glazing (transparent translucent layers), and scumbling (soft, broken brushwork), often leaving portions of the ground exposed to create contrast and luminosity, particularly using the turbid medium effect where thin white paint dragged over dark grounds creates optical gray tones.
Caravaggio's Technique: Grounds & Paint Application
Added:Understanding of 'chiaroscuro' and 'tenebrism' as defining aesthetic characteristics of Baroque painting.
Basic knowledge of oil painting materials, specifically the distinction between the support, the ground (priming layer), and the paint layers.
Familiarity with Caravaggio's artistic trajectory, transitioning from early light-filled works to his characteristically dark, dramatic mature style.
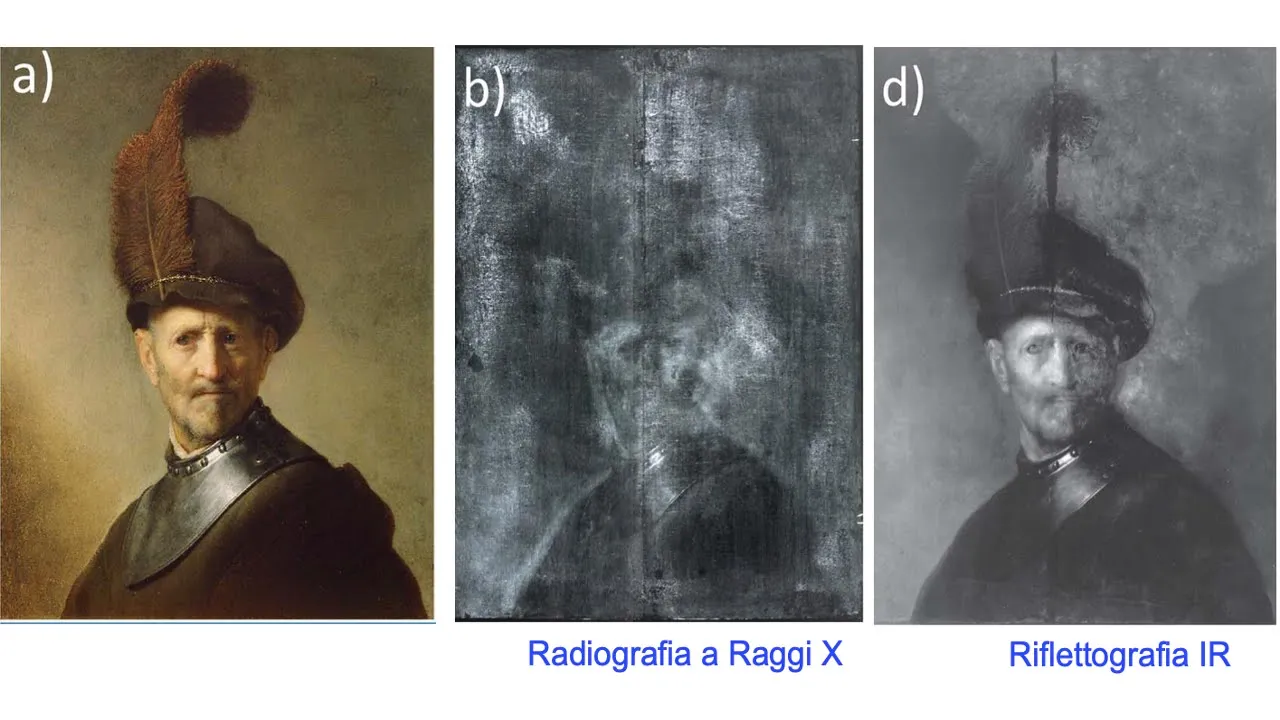
Introductory awareness of scientific imaging in art history, such as X-ray and infrared reflectography, which reveal hidden layers beneath the surface.
Analysis of how Caravaggio's technical innovations influenced the 'Caravaggisti' (followers like Artemisia Gentileschi, Jusepe de Ribera, and Rembrandt).
Deep dive into the chemical degradation and conservation challenges unique to Caravaggio's dark grounds, such as the formation of metal soaps.
Comparative study of Caravaggio's direct painting method (working 'alla prima' or without extensive underdrawing) versus the traditional Florentine preparatory drawing method ('disegno').
Practical studio application, experimenting with historical paint recipes to recreate 17th-century earth-toned grounds and observing how they affect pigment luminosity.
28.1K views1Klikes53:00Original Release: 2022-04-09
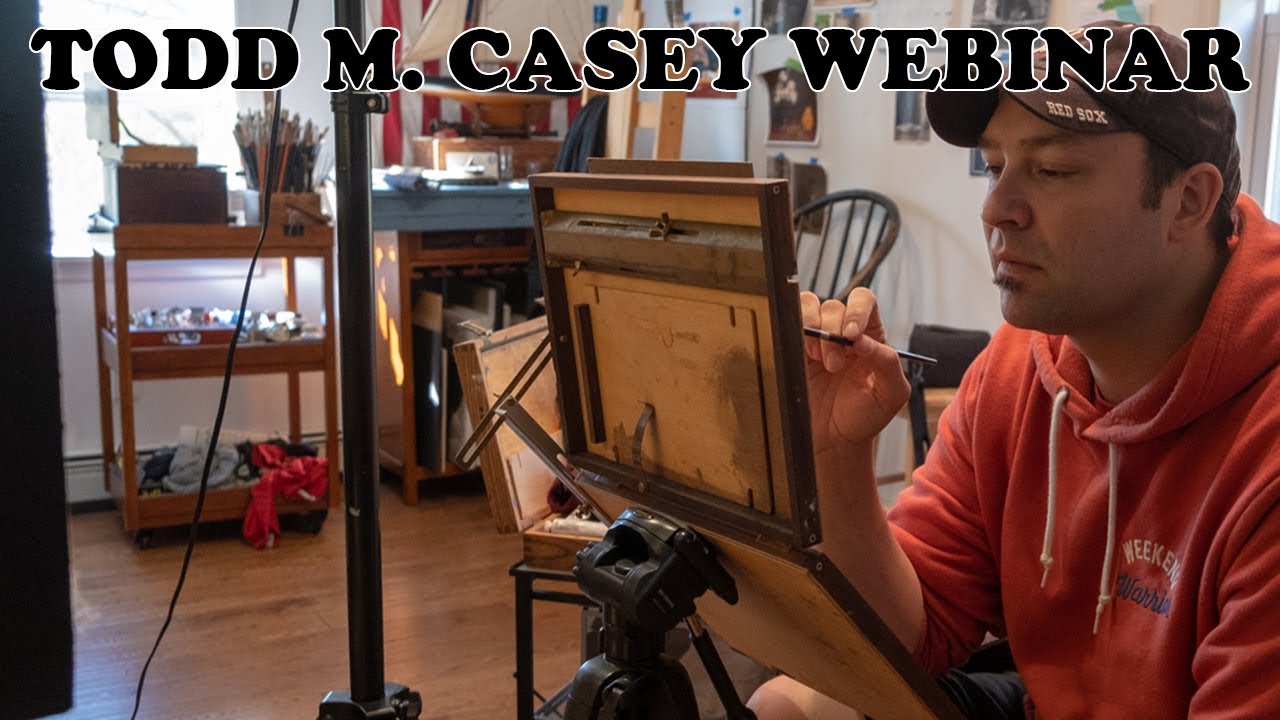
hello everyone and welcome to another live edition here on my channel i want to apologize for a delay today uh we've had technical difficulties with the sound it's never easy to do live presentations I want to start by acknowledging a person that i really admire here on youtube and for inviting me recently to his channel and we did an interview together his name is Cesar Cordova and i want to thank him for uh having me his channel we we did a video about Caravaggio which this is sort of the follow-up uh version of that video uh he has an amazing following on here on youtube and i've had a lot of his subscribers coming by the channel and thanking me for the content that we're sharing here on the channel and also asking a lot of interesting questions so i'm doing this live in part because i wanted to do a collaboration about Caravaggio. Cesar is a wonderful painter and he's been doing research on Caravaggio for many years and he recently shared some amazing insights and also some research that he has gathered so i want to acknowledge uh all his help and his great friendship i really appreciate what he's been doing in his channel if you haven't checked out his channel make sure to find in the description below his channel so you can check out this series of videos he did i believe it's four or five videos uh where we talk about Caravaggio and Rembrandt and other techniques that i've been discussing here on the channel and also common interests that we have so and we have we share so that's a really a wonderful thing about youtube that i've discovered that you know just being able to get together with other painters other artists and shared the knowledge so and we're both committed to uh referencing materials and doing you know extensive research so i want to acknowledge uh his his wonderful help so yeah so today i want to explore a little bit of Caravaggio's techniques we're going to be sharing some videos of some reconstructions of the grounds i have some images of some of my recent trips to Italy that i was able to gather some exhibitions that i checked out of Caravaggio's paintings in Naples back in 2019 and just there's a wealth of information that i've gathered over the years is certainly a lot of information that i i i don't dare share all of it in one video just be too too too long so we're just going to do a series of videos on Caravaggio's techniques so today i just want to focus on Caravaggio's grounds this is a issue that i've been covering for the last months and we've talked about Spanish painters that were influenced by Caravaggio such as Murillo we've talked about Velasquez Zurbaran rivera and today i want to talk about some of the materials and techniques that Caravaggio will have been using there is a big or i guess a growing consensus that Caravaggio used a very dark ground with the grisaille there's a lot of videos here on youtube that describe that process and indeed he uses that process but that's not the only process that he uses to create his paintings uh as my research uh you know has revealed uh there's uh an evolution as well which is to be expected a lot of artists such as Velazquez and Rubens and a lot of great painters go through an evolutionary stage where they're trying out new things and this is the same with Caravaggio so um i want to share with you guys um an interview that i did just an observed of the interview that we did with Cesar Cordova where we're talking a little bit about uh his use of uh underpaint or a dead color stage and i wanna let's just take a look at that video now so recently and this is just to recap Cesar and i talked about the idea of an underpaint or a dead color and this dead color being used in the preliminary stages and we talked about um how Caravaggio might been using velaturas or scumbles to create some of these beautiful complex flesh tones that's something that a lot of artists are aware of and if you're not aware of it well check out this great interview we sort of examined a few paintings and we talked about using this amazing website that you could find in the description below it's called halta definizione which says i was so gracious to share with me and i was able to go in and and you know take a look at some of these very high detailed images of Caravaggio this is such an amazing tool for artists that are wanting to just get a closer look for a lot of us you know it's very difficult to you know to take a look at these paintings uh even when you're at the museum you can't get very close with them so you know because of restrictions so with this technology now you could see the very minute uh details you know the the laying of the paint how the paint is applied so um in this interview that he uh shared in his channel we talked about um this you know this uh techniques and how he's using an underpaint or dead color similar to what i've done in with other artists such as Vermeer and this is important because this sort of has a relationship to verdaccioo painting of the early renaissance and later on there's an evolution to uh grisaille painting and Caravaggio does grisaille painting which is black and white but it's not just he doesn't just do grisaille there's a gamma of um of under under color excuse me of dead color layers uh that range perhaps from a grass eye to you know a sort of a greenish tint and you see that in other artists as well that are you working on a tender breast style so it's not necessarily always a grisaille that they're doing so i want to share some images with you guys um let's see so um i think or i think well the first thing what we're going to do is we're going to uh share um a video uh of the preparation of the ground so Caravaggio was using a brown ground Cesar shared with me uh in and by the way if any of you that are joining uh and thank you for coming by i have any questions you could at some point during the live presentation ask questions i know a lot of you that speak Spanish i'm just going back and forth because i do i do have a lot of audience here that speak Spanish so that's how we're going to work the multi-language uh situation so um i'll you could ask the questions in Spanish and i could answer the questions in english and then translate them or answer them in Spanish and translate them in english that'll work so um yeah so in terms of the ground uh i've created a chart here with that i want to share with you guys with the grounds the just the diversity of ground colors these are reconstructions these are gray grounds as you can see here in this area there's a gray ground and also cream color grounds there's orange grounds chocolate grounds right here and then the more traditional radish grounds so these are i just took the um the national gallery technical bulletin they have three images or three paintings that they've studied and i've shared that link in the description below for the national gallery they published this article years ago and they did a survey of three paintings and in the three paintings there's three different grounds so that in itself shows you that Caravaggio was not just using one technique throughout his life i mean he's using a very dark ground towards the end of his life he's using a more orange colored ground such as the ground that we prepare last time and i have it right here this is more of the orange colored ground that i've shared last time so these grounds have a significant impact on the way that you apply paint and the formula of these grounds is really important as well you could get the oil to the ground too oily if you don't put chalk or enough chalk so what is the right proportion well that is open to experimentation um and i want to share with everyone recently uh we've decided to do a panel and painting support uh canvas support preparation class or workshop that is coming up i'm going to be sharing that information at the end of the live presentation and in this present excuse me in this workshop we're going to study the proportions of these materials it's important to get these these proportions just right because the ground could get too oily not hold enough paint uh it could peel off i mean it's it could be a real mess so um just finding out the the materials in these um scientific studies is not enough it's important to experiment and to have a sound procedure on how to prepare these materials so and that's what i've been doing i've sort of i take this scientific information and i start reconstructing by using exactly the same materials usually earth pigments linseed oil or walnut oil in this case mostly linseed oil since it's stronger and more flexible they find mostly linseed oil in Caravaggio's grounds but in the upper layers they find walnut oil the use of calcium carbonate is really important and um recently uh with this uh pdf that Cesar shared i was able to reconstruct a brown on the ground this image right here this ground which is umber and lead white crown it's a double brown ground which is uh documented by a pdf that he shared with me and i will be sharing that description as well in the i will be sharing that link in the description below so um let's just take a look at this uh video that i put together with you guys or let's see let's take a look at the image yes so this is an image from a double brown ground this is the first layer has calcium carbonate and a brown pigment earth pigments such as umber or even perhaps a brown ochre this is telling because usually the brown pigments such as umber or raw umber could be burnt umber or brown ochre they have a content of manganese and uh this is what they find and uh in the first layer and then there's a second layer that has uh lead white and umber and that's essentially what they find and uh what i did is i just reconstructed this ground and using the traditional you know knife to apply just to see what kind of surface you get so let's just go ahead and take a look at that video so i started with one one first layer okay let it dry thoroughly and with the knife i scraped this layer smooth okay this is umber and calcium carbonate okay this is this knife i recently uh had made and it's just amazing you could scrape this uh this painting smooth and then on the second layer i added let white the stack process light white makes this really beautiful paint with the umber and i was applying it with the same knife and it comes out very very smooth it's a very smooth priming and with this knife you could apply it you know very smoothly very evenly this is the traditional method i've had a lot of people ask me how do you get the canvas smooth and this is essentially the way to do that it comes out very smooth it will eliminate the canvas weave and then with this bristle brush i'm going in one direction this is just to smooth it out and make it more um more even essentially and then i'm going on the opposite direction there's instructions on how to do this by Spanish manuscripts and that's where i got um well essentially the procedure to use both knife and brush so this is it just a typical way of preparing a surface from the 17th century and i've had a lot of you ask me well uh at double ground i think i had a subscriber of mine uh tell me well uh why would the painter use a double ground isn't isn't that just a monochromatic uh if it's bla umber and white isn't just a monochromatic uh you know under painting like a grisaille right on top of that first initial layer and uh unfortunately that's a theory that a lot of you uh fall back on but that's not the case it's a homogenous uh you know thick layer that is very even and it's you know exist all over the the painting surface so essentially um that is you know a ground is part of the ground so and uh lead white and umber is a mixture that is used by a lot of artists Jusepe de Rivera caravaggio murillo so and even Pacheco mentions the use of adding a little bit of lead white to give the the priming the paste a little bit of body um this makes it a lot smoother it evens out and it makes it less absorbent so um yeah it's a really pretty standard procedure so um there's a lot of artists that did variations of this uh primings sometimes they would use raw sienna and red ochre sometimes there's yellow ochre and red ochre there's just a whole array as you saw in the chart that i i shared with you guys um actually let's take a look at those uh that chart so i'm going to share with you some of the pigments here so in this one for example this is one from the supper at Emmaus um and that's this one has uh earth pigments it has a little bit of lead white and calcite okay that's a that's a pretty standard and you see that in a lot even Tiepolo about in the 18th century he's using sort of an orange ground in this one there's red ochre okay red ochre calcite and a little bit of lead white this one has umber black this one they find in Salome um and i believe is the head of Salome or it may be a i'm not sure of the title but so in the this is from the national gallery technical bulletin and this has black umber lead white and a little bit of calcite okay these have lead white okay uh i believe it's buying black a little bit of umber this one has just umber this is a double ground this is the one that i just showed you and then this one has lead white black and a little bit of calcite and a little bit of umber so you see there the very different variations so just to try to put Caravaggio on a you know in a box and say Caravaggio's use just uses a uh a chocolate ground all over throughout his whole life it's just not really doing the research uh correctly so it's important this is something that i like to do here in my channel i like to explore the evolution of artists and how they're using their materials so that's an important aspect so um i want to take a look at some images now let's take a look at this painting of uh Cavalieri di Malta and this is a painting at the uh palazzo Piti in uh in Florence i took this photo myself years ago and this painting has a sort of a red ocherish ground uh it's it's more of an on the cooler red side and let me just bring this back up it it's probably more similar to this ground here okay and let's take a look at that a close-up okay and that's the next image i believe we have the next image let's see there it is so there's uh portions of the ground that are being that are being used in the face there's also uh the use of uh impasto he's dragging the brush in areas to create the turret you know to if to achieve a turbid medium effect which is something that we're going to see in a little bit in another analysis that i have prepared for you guys uh you could see that this technique is very loose uh he's sort of it's very economical he's just dragging the the brush in areas uh some areas are painted very solidly some other areas are just left uh you know where the ground is left exposed so and this sort of becomes his standard technique later on in his early days he's painting more opaquely where he's covering the whole entire ground and this is typical i mean you see this in Velazquez and in the early days they're using a very uh polished technique and as they get older they you know loosen up the technique a little bit and they become more economical i have another image here and it's um this is the use of the ground so this is the perfect a perfect example of the turbid medium effect so if you take the lead white and you apply it thickly in areas then you have impostor but if you drag you keep dragging that lead white and putting it you know almost with no medium or you could use medium or no medium by just dragging over the red ground he's using that as sort of a half tone and it has a beautiful this has a beautiful effect um this red color is mixing with the white and creating an optical gray and this is a standard technique that Caravaggio and a lot of painters from the 17th century used they didn't paint everything opaquely as a lot of us believe you know um they use the ground it's that's you know it's a big part of their technique and it's really a gorgeous effect so let's just move on to the next image so here we have a technique that is more typical of his slate style where he's using the chocolate colored ground and dragging the light lead white right over that brown ground and uh he's i i don't believe he's using a grisaille or you know or anything of of similar to a grisaille in this painting i think it's just mostly direct with color and in his earlier period he's using more of the grisaille technique but by this time he sort of abandons it i mean there in the ear you could see that's just essentially the ground with perhaps some retouching and this reminds me a lot of rivera rivera was a painter that was influenced by Caravaggio he's he was working in Naples and precisely this exhibition i saw in Naples uh in 2019 where he had the paintings that Caravaggio does and executes while he was on the run in Naples and by the time that he gets to Naples he seems to be in a rush i mean of course he's on the run um his paintings become a lot more looser he's using cheaper materials and their the paintings are executed very rapidly and you could see that an artist like rivera would have used that technique that's what he was seeing Caravaggio used so he would have been influenced more from this style of Caravaggio than perhaps his earlier style so let's move on to the next image so here's another amazing uh passage from one of Caravaggio's paintings and this these all these photos i took um in i believe is the exhibition was Caravaggio in Naples it was at the capo de monte museum in 2019 and i just happened to be there and i was able to take these amazing photos close-ups and there was no one around this you know capo de monte is not a museum that is well transited by you know travelers so it's a real treat to go there if you have not checked it out make sure to uh you know visit this amazing museum in the city of Naples so there you see how he's for the lights he's using a lot of impasto so it's a fully loaded brush and he's dragging i mean in there's areas that are you know very opaque and then in the half tones in the turns when he wants to turn a form he sort of lets the brush stroke break and that break really creates a beautiful contrast in a beautiful turning of the form this is something that Rembrandt uses uh you know uh later on in his life as well it's a method that is employed by a lot of artists not just Caravaggio or Rembrandt a lot of artists uh is probably one of the main engineers of this style of using the broken brush stroke to turn form and this is probably one of the my most favorite techniques in painting so it's almost like a what i call in Spanish a mag it's a it's like a half drag so it's something that you could do with a soft brush uh if you're using bristle brushes you could achieve this effect but uh these very subtle dragging effects you you're able to achieve more uh more uh successfully with a sable brush or a squirrel hair brush or even a pole cat hair brush so uh something that it you know brush out is soft and there you can see where he leaves the ground exposed and then he retouches with the dark perhaps a glaze here and there as well so these are painters are using the whole gamma of effects they're not just painting smoothly although Caravaggio in some paintings does paint very smoothly as well so let's just go ahead and move on to the next image so another great detail here um this this is a painting technique that is more much more polished uh he's painting more much more opaquely impassable in the lights and some glazing in the darks right over the ground so it's not just full you know full light and then just ground there's intervention there i mean he's going back into the darks and retouching the darks right over the ground with veil with perhaps you know very little white um there's that's something that's really interesting when you look at the x-rays you see very little use of white in the in the uh in the dark areas and it makes sense today we use white everywhere and a painter like Caravaggio would have been lightening the dark colors with perhaps a yellow ochre color so or even a red ochre color so there was no use of light colors like such as light white in the dark masses so real really beautiful um detail here of the impasto and there's areas that are softened very beautifully so that's something that i was discussing with Cesar uh we were talking in the painting that we uh i believe the painting is true to the whole offenders a lot for niece and um the painting is very painted very with a polished style and that's very smooth every brush stroke is accounted for he does retouch on top but these paintings that i'm showing you are a lot looser and here you can see that Caravaggio's sort of more you know it's maturing in his style and he's much more confident with his brush work uh he's able to achieve a lot more without you know with the economy of means essentially he's just you know picking out the light areas and just leaving the dark ground to do you know most of the work so let's just move on so another beautiful detail here and here you can see that this is a very very very solidly painted head he's supplying there i mean when you look at this it has the whole gamma it has glazes it has impastos it has smooth painting it has you know opaque painting transparent paintings so it's not just one i wouldn't just say this is all painted opaquely and that's what it is and end of story there's a lot of there's a lot of knowledge here there's a whole gamma of knowledge and the whole plethora of painting techniques and that's something that i keep going off about in here in the channel because these painters didn't just paint with one single method such as you know academic painters from the 19th century where they're just filling the canvas with you know just a very very smooth opaque layer and that's it and just letting it dry and maybe retouching it this this is an artist that knows the gam the whole gamma of techniques and that's something that i really admire about Caravaggio he really understands the idea of saturation you know light saturation by painting the lights very very opaquely and uh you know veiling the shadows so when there were other followers of Caravaggio in this exhibition and the sheer solidity of the light mass in his paintings versus his followers was uncanny to me you could just see that he was just very very aware of how that dark round will darken your paintings if if the lights are not painted very solid and and he does that i mean he's this is a painting that is very solidly painted you know it's it's very opaque in the lights so let's just move on to the next image uh i i believe that's those are the images that we have so let's just go ahead and i did an analysis here now what i what we've done uh in Cesar's videos we logged on to halta definition which is the website that you can find in the description below and we did an analysis and what i did is i pre-recorded uh some details from the martyrdom of saint Matthew which is the reconstruction of the ground that you saw so the martin of sam Matthew has a double ground that is brown uh ochre or excuse me some sort of umber color mixed with calcite and then a second layer that has umber and lead white over this Caravaggio applies one or two layers perhaps three layers in some areas there is pentimento in a lot of this painting so i want to you know remind you about that so what i want to do is i want to just show you some images some close-up images that i pre-recorded so let's just take a look at that video of the martyrdom of saint Matthew so this is halta definizione you could get very very very close to these paintings and analyze the way that they're painted you know by just getting close so the first thing that i wanted to do is i wanted to find that the color of the ground and i started just getting really really close to the different areas and you could usually find it in the in the borders in between the figures this is an area where a lot of artists use the ground so there's the brown ground okay and it's just sort of like a dark reddish color sort of like a chocolate color um and this is something that is typical i mean when you're painting uh images on this dark grounds you don't have to be so aware of the negative space there's the dead color okay that we keep talking about in this case it's sort of like a grayish green color uh usually you know my experiments with a lot of these painters is that they use some sort of ochre or sienna mixed with black and perhaps even a red color but very limited red color because you want to keep the dead color you know in a very sort of neutral cool color so the warm colors go on top and there you can see the retouching uh perhaps with the vermilion or the red ochre lead white and yellow ochre that goes on top of this greenish color or this green green dead color that's something that's very typical and he just leaves it exposed in areas so he does the modeling with this dead color just like you know we've done in a lot of other videos and then he'll retouch the areas of warmth with the bright colors such as the vermilion or red ochre so another amazing use of paint is the turbid medium effect which is essentially dragging that light uh white lead right over the dark ground and you can see where he gets by just thinning the paint with the brush very smooth brush he gets this beautiful effect and there he's doing it once again if you take a light color such as lead white and you put it over a dark color very thinly you get this sort of grayish optical gray and i used the chemical analysis and the cross sections to from this very area to sort of dissect a lot of the way that this painting would have been executed you could see that by thinning you know by painting areas thicker Caravaggio's just accentuating the sense of light and getting just you know really beautiful luminous effect over this dark ground this is a you know a amazing painting i was able to see this painting in Rome and uh it's on although it's darkly lit it's very hard you know to to get close to this painting but with this technology you're able to get you know uh very close and you're able to see exactly the whole plethora of effects that Caravaggio would have been using it's not just painted smooth with you know um with with blended passages it's there's passages that are dragged uh some areas are painted smooth some there's you know dark glazing there's scumbling some colors are transparent some colors are opaque so there's a whole gamma of effects here and you can see how he sort of omits details as well some areas i mean you don't you really can't see the detail inside the eyes so he's willing to let areas go and uh and fall into sort of a graphic shape to create that unity in his paintings that's you know telling of his technique and there you can see the under painting as well the the dead color and he's retouching on top with um perhaps you know glazes now in what some of the chemical analysis and the cross sections they find layers of lead white right over the the brown ground and then they'll find a dark glaze and then light again and then dark again which is really interesting Cesar and i talked about that in one of his videos they find that in some areas he's you know he's applying this translucent glaciers right over the light and that makes sense i mean he's probably glazing down the light so he could push the dark once again and then regain the light in sort of a form so to achieve the turbid medium effect this area that i'm showing you right here has two layers of lead white uh with a glaze in between and a glaze on top so it's interesting to see that because most likely he he puts a final veil it could be that he puts a final veil in uh in a transition to a shadow or something like that so it's very difficult to sort of narrow down and say Caravaggio painted this exact way there's many techniques going on all at once and there is just you know uh it's very confusing so it's uh my suggestions for a lot of you that are doing this type of analysis take each part as a as an individual case study and you know really analyze what's going on there it's important to analyze if the paint was applied dry or if it was applied with uh you know with a medium applied to the surface such as wet into wet medium so yeah so that's probably my my conclusion about a lot of Caravaggio's techniques and in the future i'm going to be doing a recreation by doing perhaps a painting recreation from this i love this painting i mean look at this self-portrait the way that he's applying the glazes uh you know in some of the the transition planes and then in the lights he's just dragging you know he's just using full impasto so a lot of information could be gathered from these um these websites that you could you know log on and visit you know and just spend hours just you could even do copies directly from the this website that Cesar has been sharing with us so i have some questions here let's see um i have yeah i'm going to take a look at some of these questions so first of all i want to welcome everyone for coming by um i have a few questions here in Spanish and uh i wanted uh bienvenidos uh so i'm being asked are these linen fabrics where they wet or wet it before they were prepared with rabbit skin glue and the question it's it's let's just give context to that question so a lot of linens prior to the 19th century were not wet spun linen meaning that there was not a commercial process where they would spin the linen with water so they would deform the water excuse me that the linen could deform so if you take a linen that is not wet spun and you apply rabbit skin glue to this uh the linen will deform okay you will get the you know buckling on the in and it will dry that way uh right today we have high quality linens that are wet spun and this will not happen let me go back to Spanish okay so we're going to and there's different methods and these methods are not easy i've had a lot of my students be very frustrated depending their with their linens that are prepared the old-fashioned way and if you are not sure uh if your linen's wet spun do not take the risk because if you're preparing a very large canvas you could quite literally you know put rabbit skin glue and deform your linen and not have a way back so um it's it's important to so as a general rule you know you could just stretch a canvas give it you know a couple layers of water and just let it dry and if it's deformed then you stretch it again and then you rabbits can glue it so um so excellent question and yes uh you could i've experienced that myself i bought some cheap linen years ago and you know that it was not wet spun and i spend hours trying to correct already uh rapid skin glued canvas so you could you could really have a headache in your hands if you if you don't take this precaution i have another question here um so yeah a lot of questions and we have uh amazing crowd here from latin America that's wonderful thank you for coming by uh by the way a lot of the videos are translated in Spanish if you go to the subtitles you could essentially find the subtitles in Spanish i have another question here and again thank you for your amazing questions this is great um let's see um tt i have a question tt thank you for coming by uh which medium would you suggest for multiple glazing especially if you want them very translucent so um the glazing so let's see my glazing medium that i usually recommend if you could if you have access in the case of Caravaggio let's just talk about Caravaggio first so for glazing a painter like Caravaggio and a painter like rivera or even Velazquez they're using some sort of oil that has been prepared with heat sunlight has been bodied somehow so if you cook oil with heat and some sort of dryer the oil gets thicker and then you could thin this oil with some sort of solvent such as spike oil of lavender or turpentine i usually recommend spike of lavender because the turpentine could be toxic especially if you're working indoors if you're using sun thicken oil or sun wash thickened oil this is an excellent medium for glazing but a lot of us do not have the time to make these oils i've recommended these oils in the channel for you know for many many videos and a lot of us just do not have access so another modern equivalent medium that is excellent is liquid you could take liquid mix it with a couple drops of regular oil and be on your way glazing and it will dry perfect and then let that dry and then you know layer on top so yeah so there's a lot of um uh you know a lot of mediums that you could use and there's a lot of commercial mediums that they're selling nowadays but i like to keep it simple some artists use resins i don't i they don't really find a lot of resins in painters such as Caravaggio or Velazquez and their paintings are fair fairly well painters that have used a lot of resins during the 19th century especially their paintings are in horrible conditions so i like to stay away from the resins i've had a lot of people tell me well you know i they find resins and resins you know are important well if you want to use resins that's fine but the research points that resins become brittle and they crack uh a lot faster than you know embodied oil so um that is my my take on it so um now there's a small detail that i want to share and unfortunately i'm not going to get to it during this live presentation because Caravaggio is just too big i've done a lot of research and there's a lot of other details that i want to go into such as engraving the drawing into the wet ground which in the next video i'm going to cover uh i'm going to be talking about the under drawing in the next video uh you know so i'm doing a whole series of videos about Caravaggio uh and usually i do a recreation as well so i like to take my time and talk about things that are very detailed um but there's also a detailed um that has come up and it's the use of emulsions by some of my other uh subscribers they have mentioned the use of of you know egg tempera mixed with oil and Caravaggio does use this medium to retouch a lot of his paintings and i'm going to be recreating that medium in the next videos so that's going to be in the future um so again this is a wonderful crowd i want to thank everyone for joining uh i've been traveling for the last couple of weeks i think a lot of you saw the video about Rgh paints i want to thank rolf from Rgh paints such an amazing person we had an amazing visit in Albany, new york that's a wonderful video for a lot of you i've had a lot of you asking me about lead white how to make lead white listen this is a great lead white that you could you know purchase ready-made as a matter of fact he has a a walnut oil with glass uh lead white that is very similar to something that Caravaggio would have been using it's decently priced it's great quality is well made so for a lot of you that are looking for you know for lead white that's a great alternative i myself usually use the historical lead white but that's a much more expensive much more involved much more toxic process so i you know i've had a lot of you sort of write to me and and tell me Luis i need lead white where could i find that white and i know a lot of you are having a hard time finding it so that's a great source so make sure to check out that video and also i also have a amazing workshop coming up about the whole technology of preparation of grounds we're going to be learning how to prepare a oil ground with the formulas we're going to be i'm going to be sharing the whole process the formulas with you guys what types of oils i use the drying time that whole thing and also i'm going to be sharing the preparation of panels wooden supports how to make the traditional gesso how to scrape it how to you know sharpen the knife which is such a pain uh sharpening the knife to scrape a gesso panel is a science you know so there's a lot of details that i cannot possibly share here on the live presentations that's why i do a lot of my live online classes i also have a summer workshop remember that most of these lives presentations are meant to sort of spotlight the technique of a particular artist and by no means do we learn how to paint here or any any of the that is mostly designed to talk about the mechanics of technique for a lot of you that are looking for instruction and critique my classes that are hosted on atelier san juan meet once a week we have a small group that meets every Saturday we develop different projects and i do the critiques online i'm getting ready to launch a promotion for my summer intensive program that will begin in June this is a great opportunity for a lot of you to you know get a nice chunk of classes i believe that we have a very reasonable price so check it out i'll log on to atelier71.org and check out the listing of classes that we have available so there's a lot of information and a lot of you please i'm going to make a plea here for a lot of you i get questions that have already been answered on a lot of my videos so there's a whole library of videos and is sit back enjoy all the videos about the different aspects of oil how to prepare the oils how to make the grounds you know um the different techniques of the different artists so take you know give yourself the time to check out the library it's a very extensive library i'm very proud of all the work that has been going on and you know it's it's important for you to have context every single life that i do here is meant to give you context from something that i've covered or something that i will be covering and if you just talk about mediums without the context of how these mediums are being employed you're really really at a loss you know because there's those mediums have a purpose so really important and by the way i want to thank everyone we've reached 10 000 subscribers i started with 13 subscribers on this channel two years ago and a lot of you have stayed stuck around have stuck around uh have supported the channel have shared the channel on instagram uh by the way if you have not logged on to my instagram check out my instagram page uh luis Borrero art also my ateliers and one uh instagram page a lot of you that speak so a lot of information there's videos in facebook there's videos here i have my Udemy servers with classes so there's a you know a lot of information for you guys to enjoy again i want to thank everyone for supporting my channel 10 000 of you are subscribed subscribe to my channel i never thought we would even reach a hundred these are very old-fashioned techniques uh a lot of you know outdated uh information so i thought but there's a lot of interest and a lot of artists are genuinely interested in their materials and that's you know that's just a wonderful thing to see for me as an artist as a creator here on youtube that a lot of you are paying attention to the content that are enjoying the content and that are supporting the channel so again i want to thank you for your wonderful support i'm going to say goodbye for now so until next time when we will come back with more techniques about Caravaggio's process have a good one you
Up Next
5:06
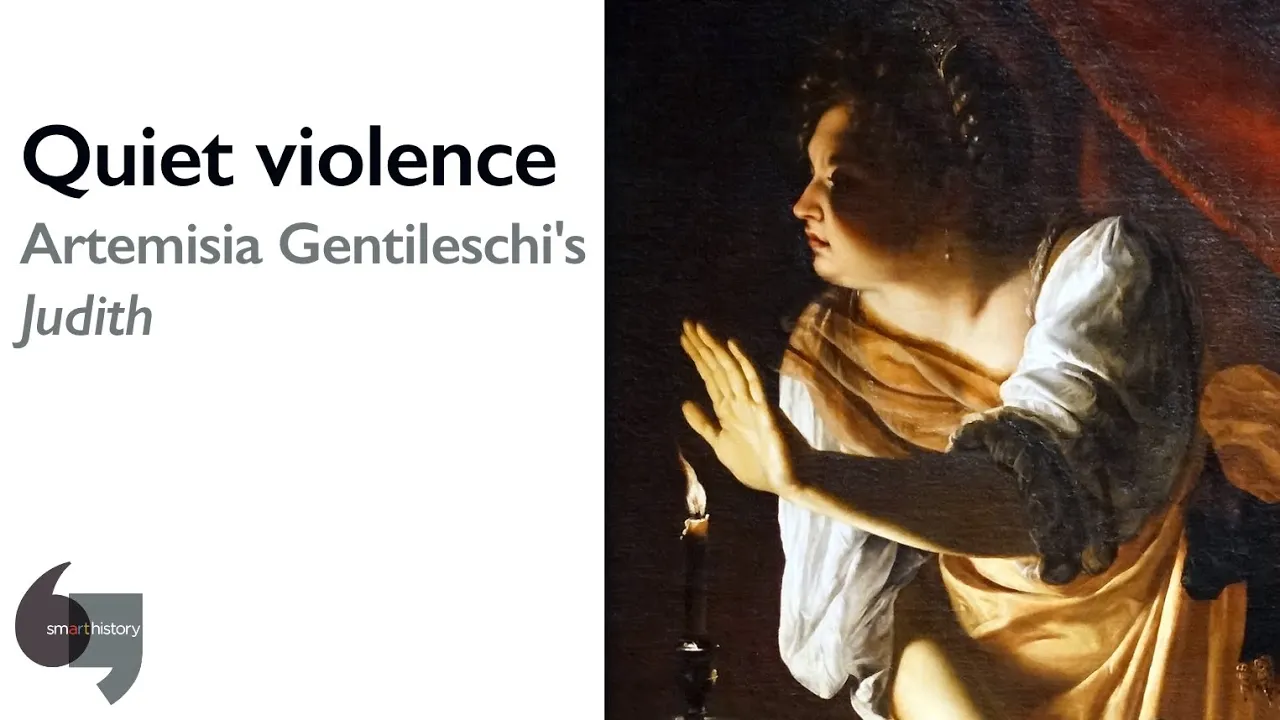
Artemisia Gentileschi, Judith and Her Maidservant: A Baroque Masterpiece
@smarthistory-art-history
24.4K views•2021-02-09

114:18
Christian Iconography: History, Theology, and Meaning | Fr. Panayiotis Papageorgiou
@Trisagionfilms
58.8K views•2020-02-21
7:48
Ukiyo-e Art: History, Woodblock Printing & Influence
@japanathand
6.3K views•2023-06-08

16:34
Earliest Depictions of Jesus in Art: 10 Ancient Images Explained
@UsefulCharts
5.9M views•2022-06-03
Related Study Plans & Knowledge Roadmaps
Structured learning paths in Art History
art-history
Gothic Cathedrals: Engineering, Light & Society
01The Birth of the Gothic: Romanesque to Suger's Vision
02The Structural Triad: Pointed Arches, Ribbed Vaults, and Flying Buttresses
03Theology of Light: Lux Nova and Sacred Geometry
+ 2 more learning modules
14h5 modules
Explore Roadmap
art-history
Pre-Raphaelites: Realism, Symbolism & Critique
01The Victorian Art Establishment and Academic Formula
02The Founding of the PRB and Radical Realism
03Medieval Revivalism and Literary Symbolism
+ 1 more learning modules
8h4 modules
Explore Roadmap
art-history
Street Art: From Subways to Art Market
01Subcultural Origins in Philadelphia and New York (1970s)
02The Subway Era and Style Wars (Late 1970s - 1980s)
03The East Village Scene and Early Gallery Crossover
+ 2 more learning modules
10h5 modules
Explore Roadmap
art-history
Classic Maya Art: Iconography, Glyphs & Ritual
01Foundations of Classic Maya Visual Culture
02Deciphering Maya Hieroglyphs & Text-Image Integration
03Sacred Geography and Cosmological Architecture
+ 2 more learning modules
14h5 modules
Explore Roadmap