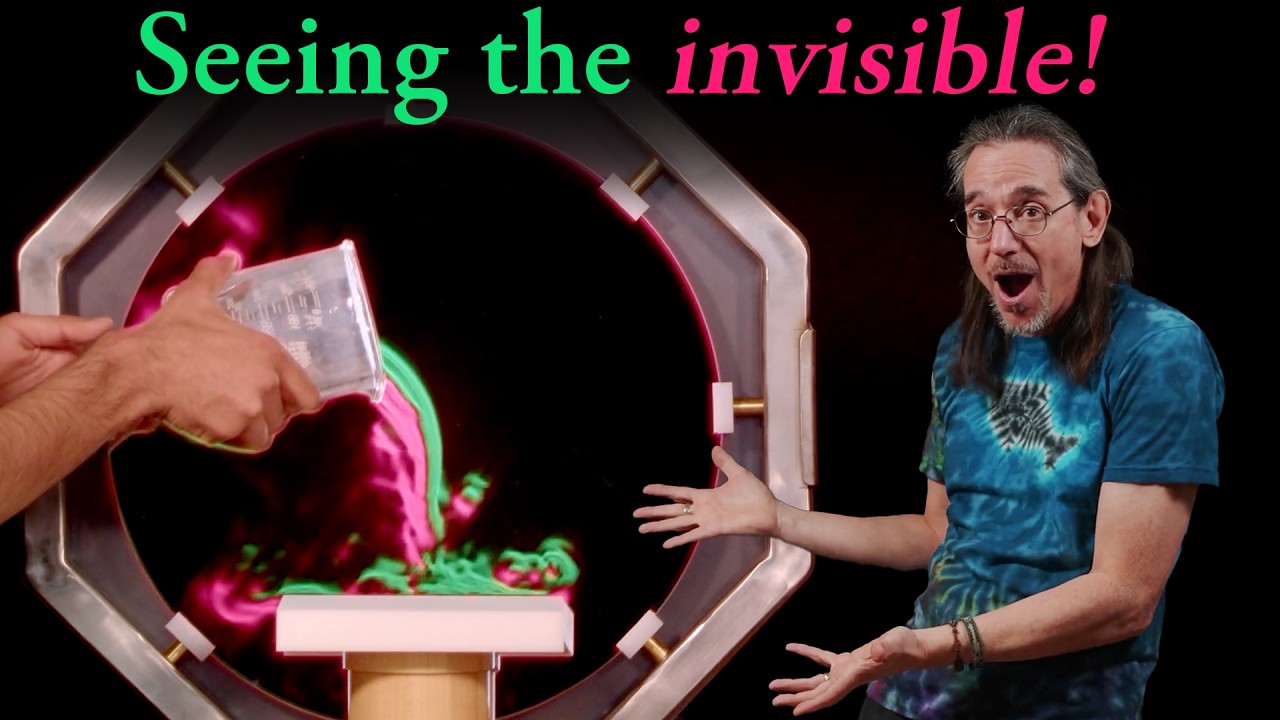
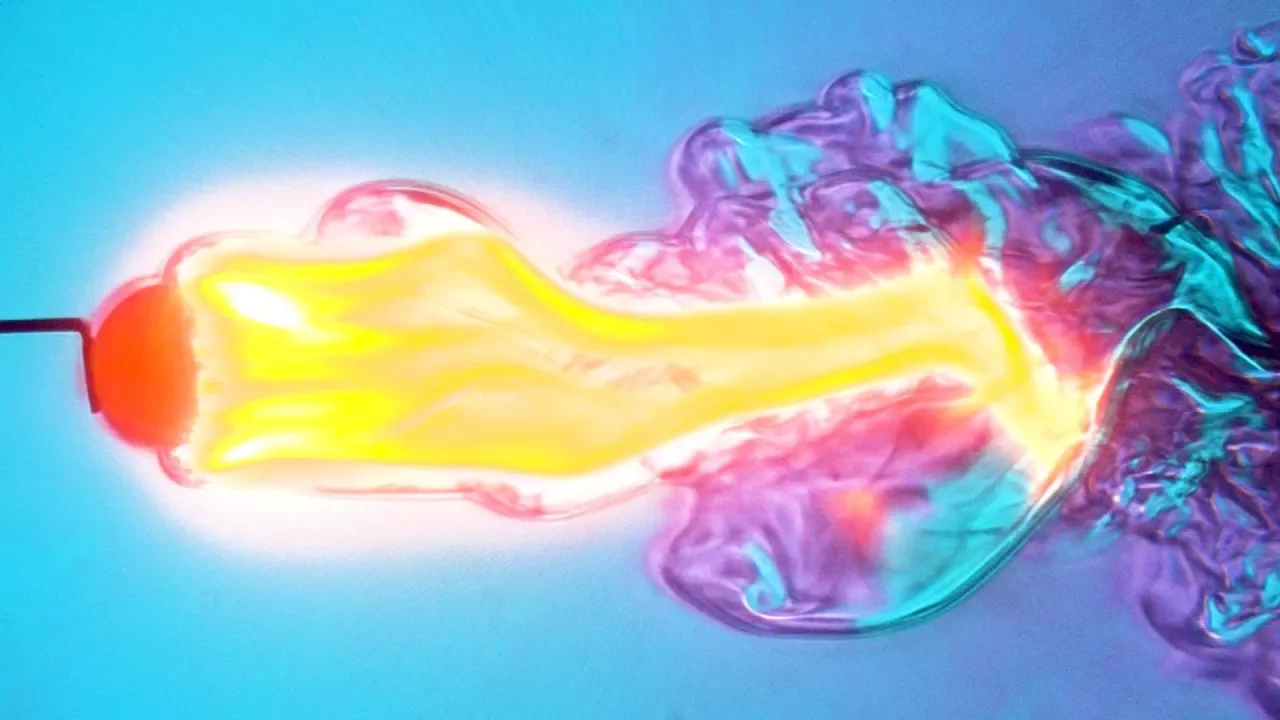
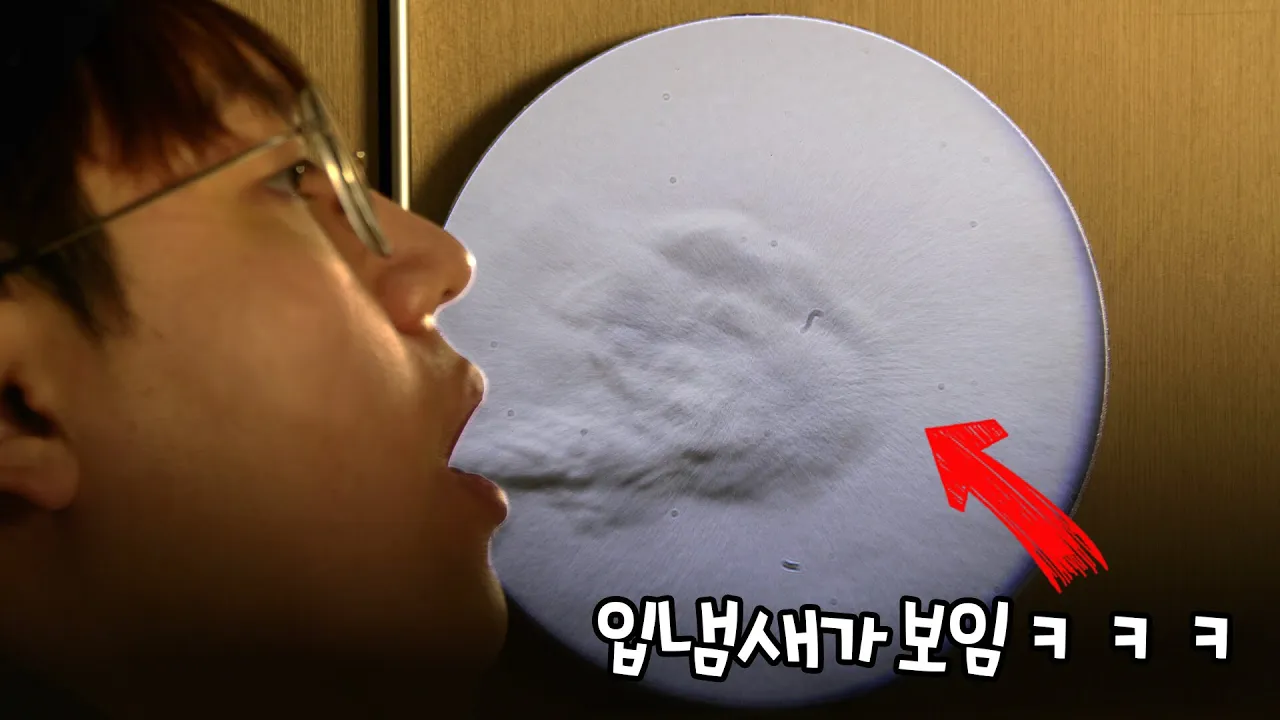














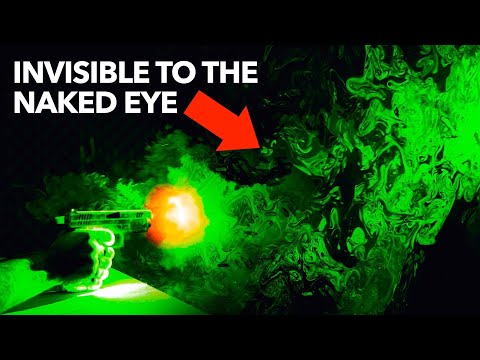
A digital focusing schlieren system uses a digital display, an optical s2 component, and specialized software to visualize invisible density variations; the setup involves calibrating the system by first focusing the back lens using a checkerboard pattern to achieve even focus across the field of view, then focusing the front lens using a center mark, followed by running a calibration grid to establish mapping between camera and display coordinate systems, with optional distortion correction for wide-angle lenses and background subtraction with clearing amplification to enhance visualization of heat sources and airflow patterns.
Digital Focusing Schlieren Setup with sTube and SchlierenView
Added:Fundamentals of classical Schlieren imaging, including refractive index gradients, light deflection, and the role of the knife-edge filter.
Basic optical engineering principles, such as focal lengths, lens alignment, and spatial filtering.
Core digital image processing concepts, specifically background subtraction, pixel calibration, and contrast/gain adjustment.
Introductory fluid mechanics, particularly how temperature, pressure, and density variations influence fluid flow behavior.
Quantitative Schlieren techniques (such as Background Oriented Schlieren - BOS) to extract numerical density or temperature fields from intensity data.
Advanced flow diagnostic applications, including the analysis of supersonic wind tunnel flows, high-speed combustion, and thermal plumes.
Integration of high-speed cameras with focusing Schlieren systems to capture highly transient phenomena like shock waves and acoustic waves.
Three-dimensional flow reconstruction using tomographic Schlieren imaging methods and computer vision algorithms.
995 views15likes6:33Original Release: 2019-02-13
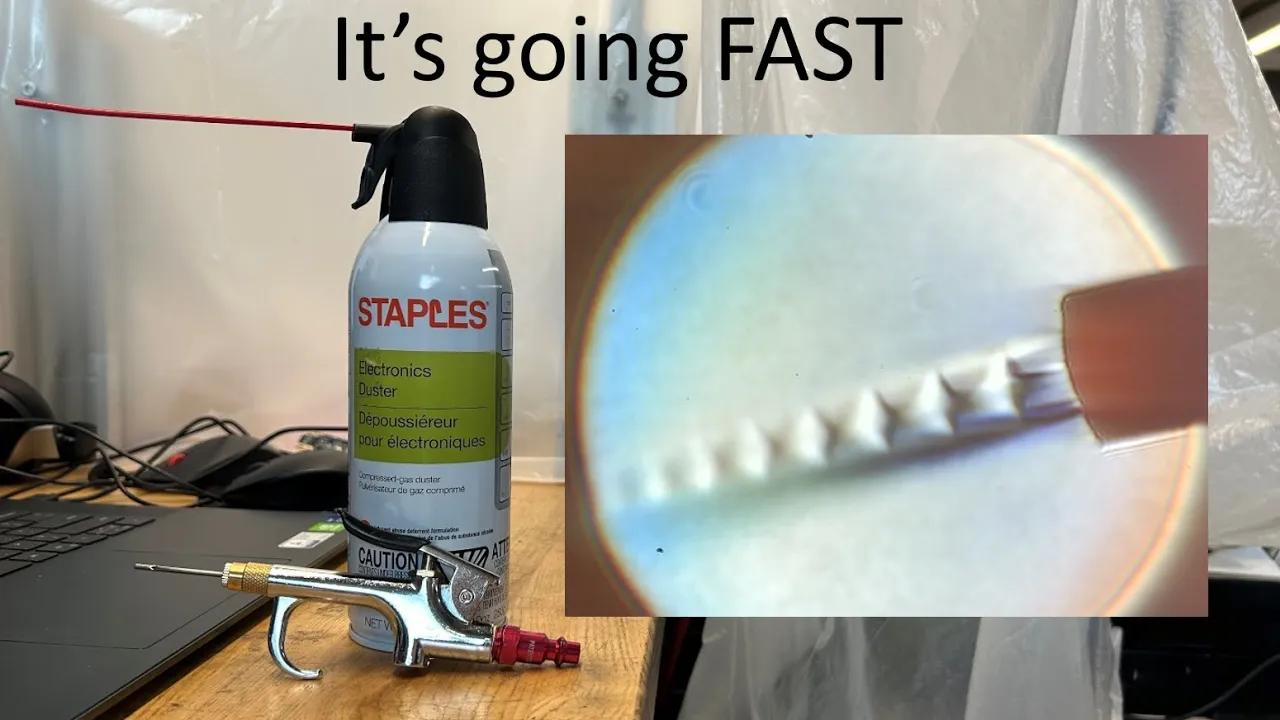
hi I'm going to do a quick video introduction to specta bits digital schlieren technology there are three major components this system the first is a digital display which you can see back here and this is just a conventional digital television icon you can get at any consumer electronics store this one happens to be an ultra high-def model but you can do with standard high-def or even standard definition it tends to work better at higher resolutions but it's a pretty flexible system the second component is the optical system which we call the s2 and these both connect to a computer running our sewer and view software main things you need to do to set this oppertunity cables and then point the s2 at the digital display making sure that most of the image of the digital display screen is seen by the camera and at this point I'm going to go through the software and show you how to calibrate the system the first thing after you have been clear in views go up to the camera menu and select the camera you want to select the camera that's attached the s2 but not any other cameras that have to be attached to the system then you'll go up here to this little triangle up on the upper left and start the video stream then Gators clear and display open the checkerboard and then we'll start focusing the back lens of the S tube not the front lines but the back lens now you want to get the lines on top of the checkerboard into focus not the checkerboard itself and you try to get these roughly evenly focused across the whole field of view and once you get these focused and this looks decent it can go up here to the schlieren display menu and open the center mark now you'll now focus the front lens try to get the center mark in focus you'll try to get the outer crosses in the inner cross all focused and you want to see this general kind of pattern where you have these lines across the the center mark features and focus and the lines should be sure now once you've got this focused you go up to calibrate grid and it'll run this for a few seconds and at this point that's developing a mapping between the camera coordinate system and the display coordinate system so it'll put some images up here and it figures out where they are does a bunch of math and anyway it's about done now and once this is done you'll have your first cut at a clear and background now you notice there's some fringes here and because this is a fairly wide angle lens there's some distortion in this so we have a calibrate distortion feature that will actually fix these up this is something we just introduced in the last year so and it improves the situation a lot with these wider angle lenses if you have a longer lens like an 85 millimeter or 120 millimeter you might not need this but if it helps in a lot of cases now this is almost done and at the end of it you don't see that the field is much smoother than it used to be and I'll turn off the correction here first I can just show you how much difference it makes and then I'll turn it back on and you see it's it's it really improves a situation a lot now we're actually going to start doing this we're in imaging now you put a feature out here in the field of view and you're going to use the back lens not the front lines but the back lens focus on this and you can already see some clearing coming off of this even without any background subtraction again so this is pretty strong now we're going to do this with a canned air artifact and you can there's useful because it's pretty reproducible and it's strong so it makes a good thing to test with and that looked pretty good so now we're going to turn on the background subtraction the first thing you do is get a blank background and snap the shot of it with grab background image and then you turn on the background subtraction with BG - and at this point it's actually doing background subtraction with clearing amplification and you can see the heat off of the hand is much stronger at this point you know this is actually a really sensitive shading system and when you put the canned air in here the contrast and you norm it's a completely saturating system and you can see usually or not with a finger but so anyway we have some processing options that you can set I'm gonna go over a few the basic ones the scale factors essential is FLIR and gain so at this point multiplies thus we're in effect by about a factor of seven we had the grid blur turned on and I'm gonna turn it off now because it's not really necessary at this point it's useful on some systems and it depends exactly on the exact working dust and spit in this case we don't see too much of a background features as it eliminates its K only useful with blurring out some of the graininess a high-gain that with the low game like what we have right here and a factor too you don't really need it like then it slows things down a little bit and we also have an auto scale feature which will automatically set the gain I'm going to turn that on here and that will keep adjusting the gain according to whether whatever is in the field of view if you have a silhouette that'll generally turn the gain way down but if you just have you know faint flaring features in here it'll turn the giga gain up to compensate for that so you can see you like really thinks we're in features just the air moving around in the room so we turn the grid blur on a little bit here to remove some of that grain that's because it gains up around 11 or 12 right now so as you can see it's relatively simple to set one of these digital clearance systems up especially compared to classical schlieren systems if you've ever used one of those so anyway if you have any questions just let us know in the comments or email us at Specter bit comm you can also look around on our website we have papers that describe the exact scientific details of how this works and we've got some other videos too with different kinds of schlieren objects that might be of interest so thanks bye
Up Next

26:05
Noctua NH-P1 Passive CPU Cooler Review: Benchmarks & Schlieren Imaging
@GamersNexus
401.7K views•2021-06-29

30:32
Ultrasonic Transducers: Resonant Frequency Measurement and Horn Design
@imajeenyus42
229.9K views•2017-02-22

54:16
Polymer Environmental Degradation: Mechanisms & Stabilization
@iit
1.8K views•2012-07-10

33:39
How a Student's Question Saved a NYC Skyscraper from Collapse
@veritasium
22.8M views•2025-04-26
Related Study Plans & Knowledge Roadmaps
Structured learning paths in Engineering
engineering
Building Acoustic Levitators: Physics & Arduino
01The Physics of Sound and Standing Waves
02Piezoelectric Transducers and H-Bridge Drivers
03Arduino Programming: Generating 40 kHz Signals
+ 2 more learning modules
14h5 modules
Explore Roadmap
engineering
Building Peltier Cloud Chambers: Particle Tracks
01Cosmic Rays & Cloud Chamber Physics
02Thermoelectric Cooling (TEC) Fundamentals
03Custom Liquid-Cooling Loop Design
+ 2 more learning modules
18h5 modules
Explore Roadmap
engineering
Yagi-Uda Antennas: Modeling, Build & VNA Test
01Introduction to RF and Antenna Fundamentals
02Yagi-Uda Antenna Design Principles
03Antenna Modeling and Simulation in 4NEC2
+ 2 more learning modules
18h5 modules
Explore Roadmap
engineering
ECG Monitor Design: Op-Amps, Filters & Noise
01Electronics & Breadboard Basics
02Op-Amps and Instrumentation Amplifiers
03Bioelectricity and ECG Fundamentals
+ 2 more learning modules
18h5 modules
Explore Roadmap