




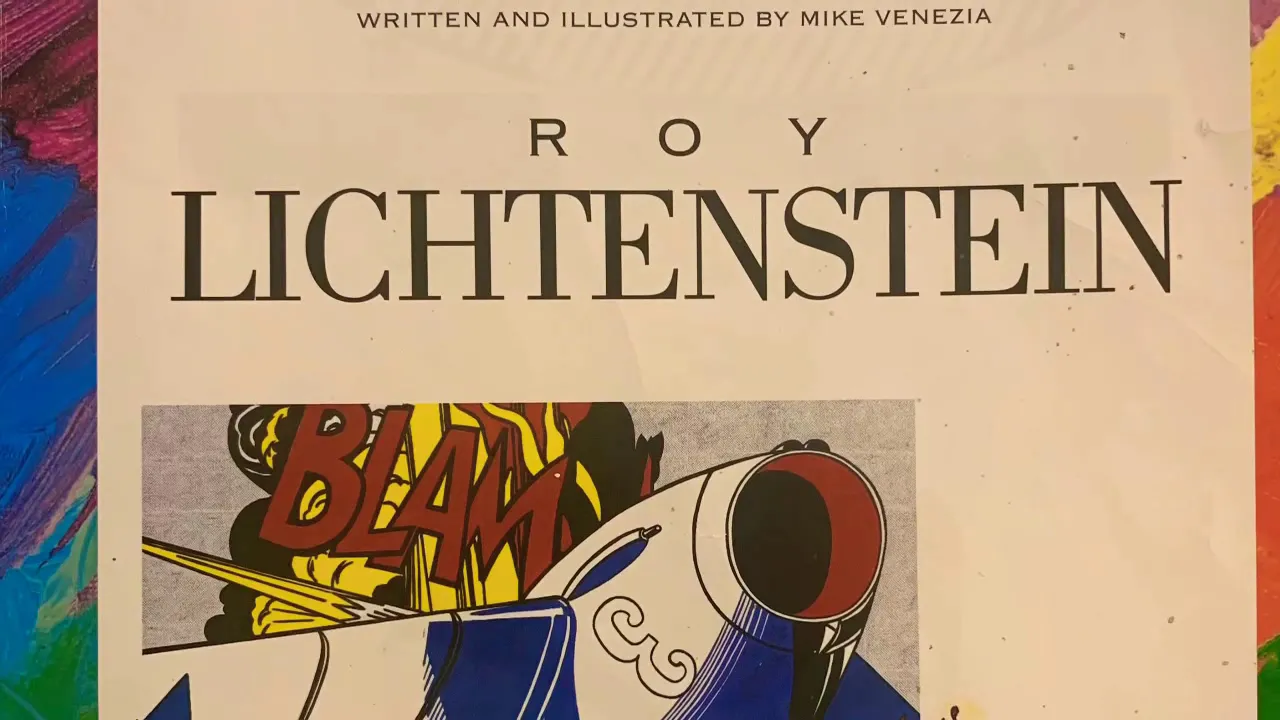





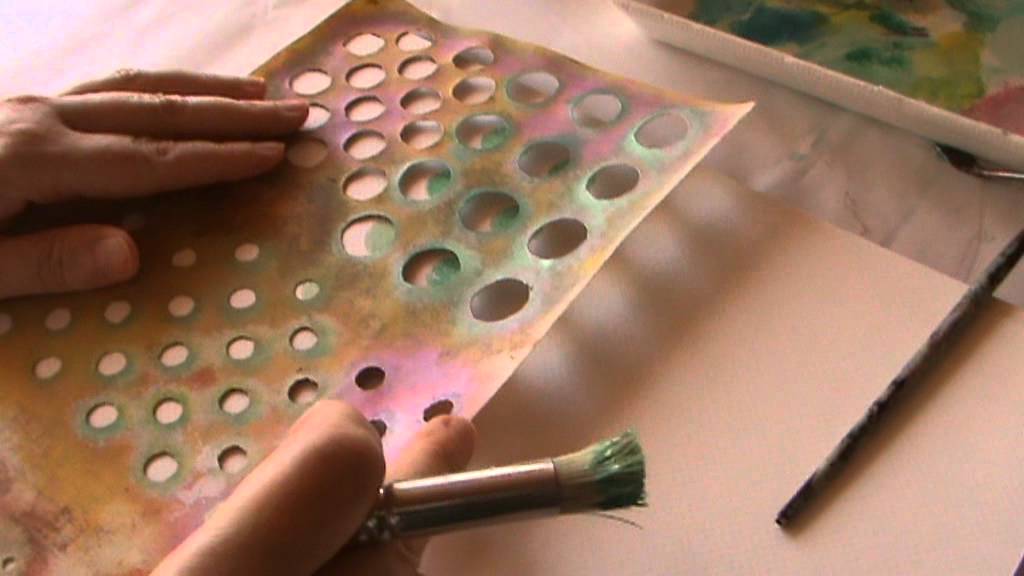





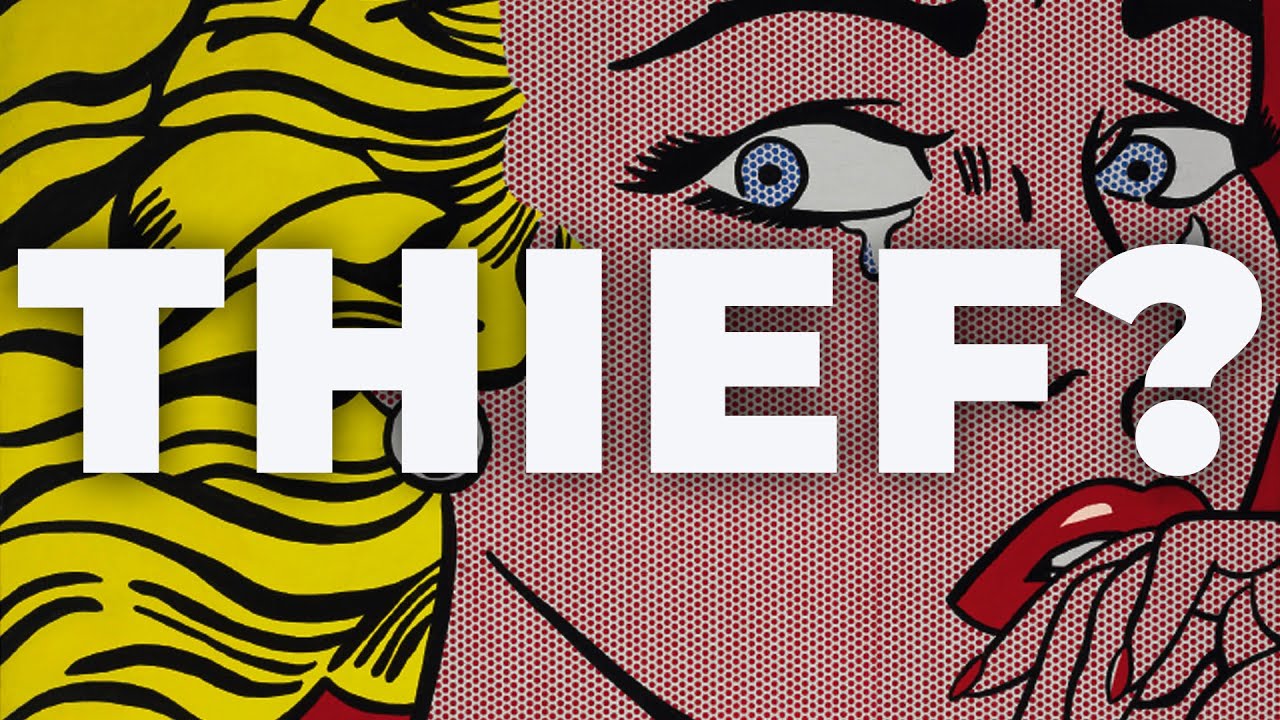





Ben Day dots are a commercial printing technique named after Ben Harry Day Jr., originally used to convert photographs into reproducible dot patterns for newspapers and comics; Roy Lichtenstein famously adopted this industrial process in his pop art to challenge traditional notions of originality by mass-producing what appeared to be authentic brushstrokes, and while replicating this technique requires patience and practice, effective methods include using masking tape for stripes, cotton buds for small dots, and custom-cut tools for larger dots, with key principles being that dots should be offset diagonally rather than aligned straight and spaced further apart rather than crowded together.
How to Paint Roy Lichtenstein Ben Day Dots: Art Technique Tutorial
Added:Introduction to the Pop Art movement of the 1950s and 1960s, including its primary themes, critiques of consumer culture, and key figures like Roy Lichtenstein.
The history of commercial printing processes, specifically the 19th-century Ben-Day dots printing technique used in pulp comic books and newspapers.
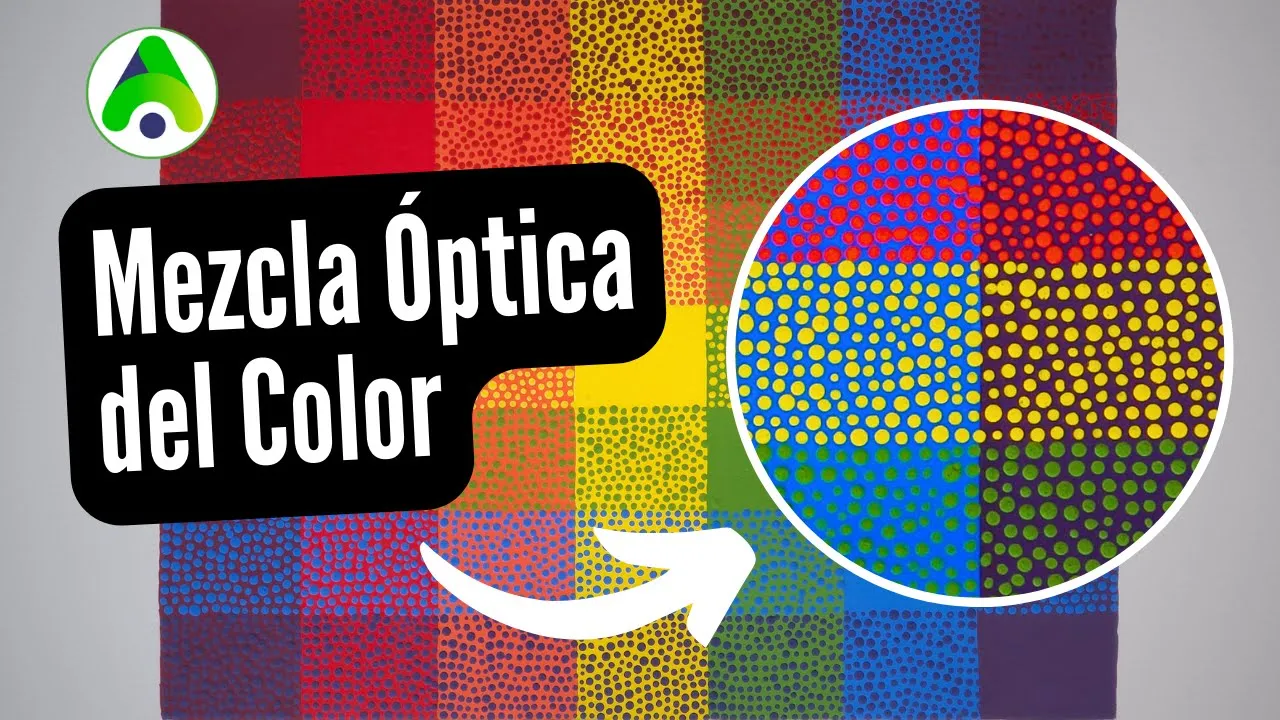
Basic color theory and the concept of optical color mixing, where the human eye merges small, distinct dots of color to perceive a solid hue or gradient.
Fundamental painting skills, including understanding paint viscosity and the basic principles of masking and stenciling.
Advanced printmaking techniques, such as serigraphy (screen printing) and lithography, to understand how artists scale up commercial dot patterns.
An exploration of art appropriation, parody, and copyright laws, analyzing how Lichtenstein adapted comic book panels into high art.
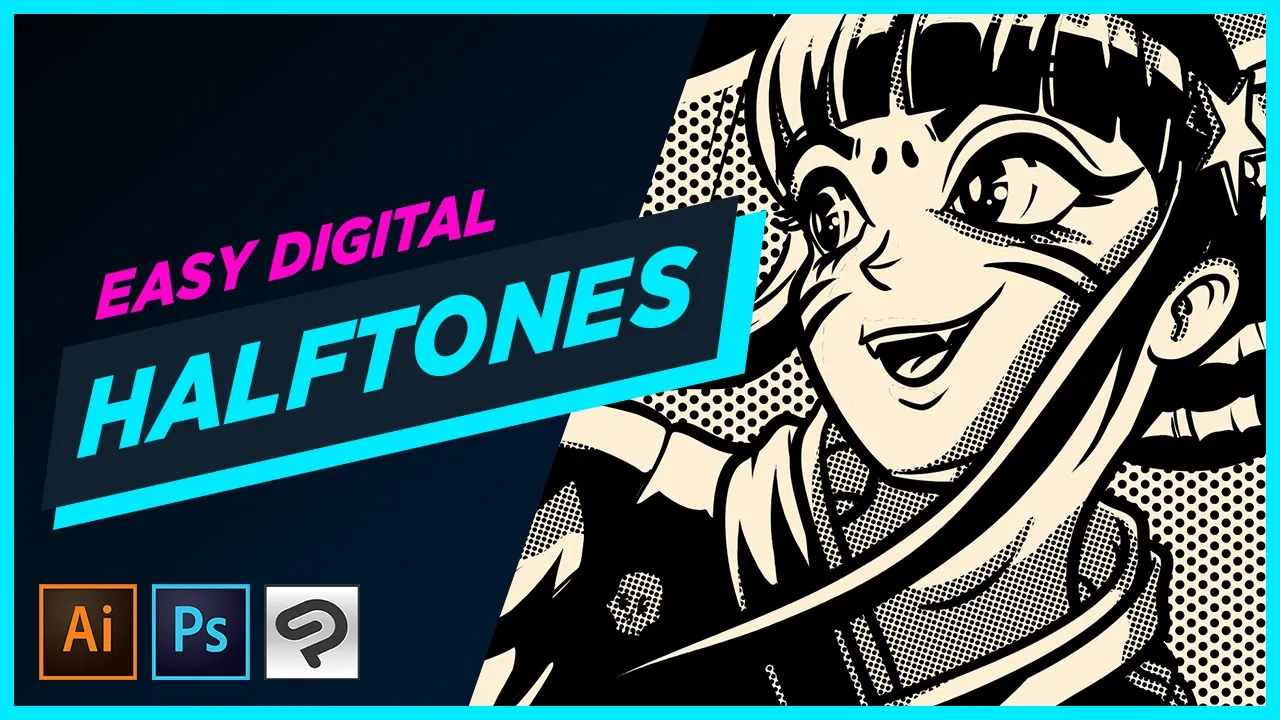
Digital halftone creation using graphic design software (like Adobe Illustrator or Photoshop) to replicate retro printing effects digitally.
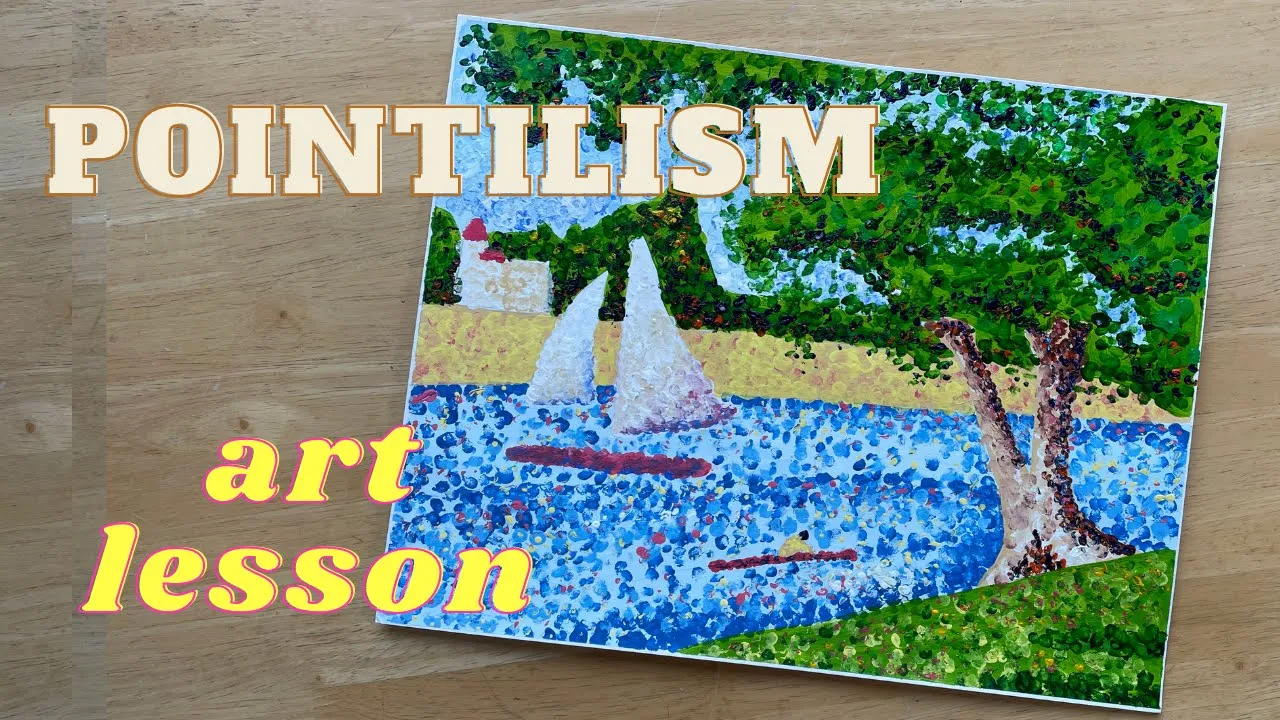
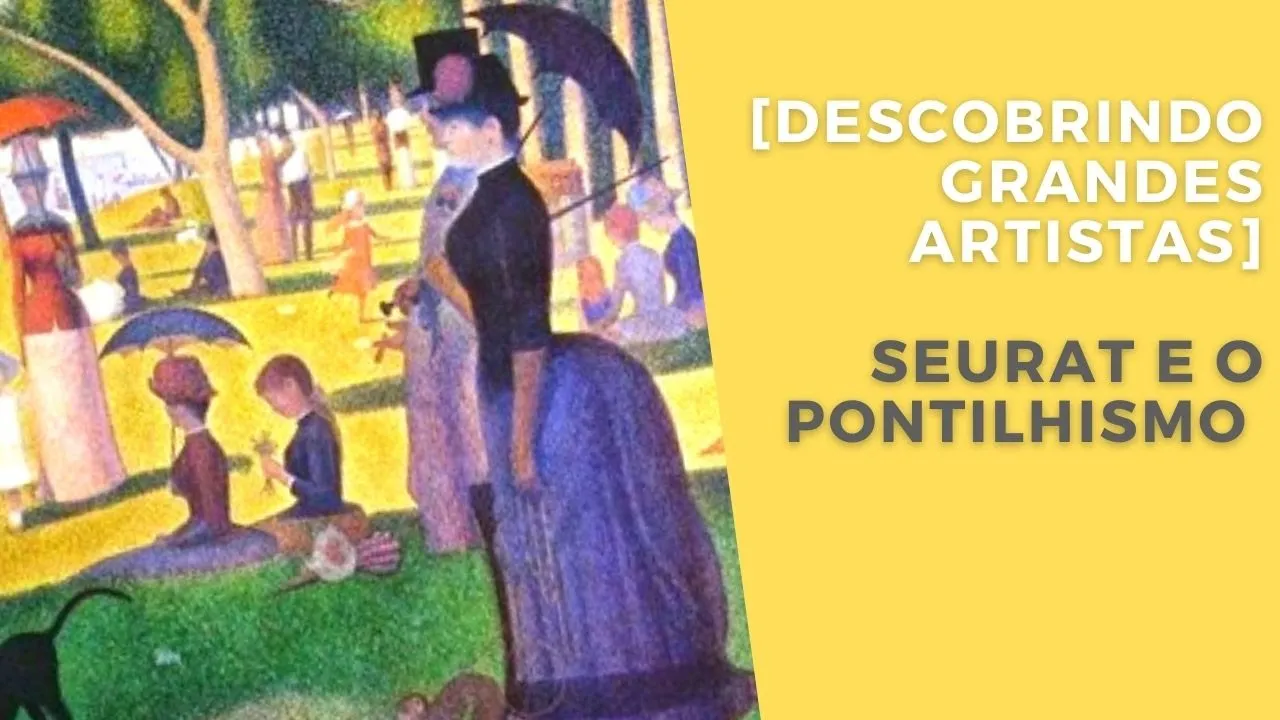
A comparative study of Ben-Day dots and Pointillism (e.g., Georges Seurat), comparing industrial color-mixing techniques with post-impressionist fine art methods.
16.3K views239likes41:47Original Release: 2021-07-25
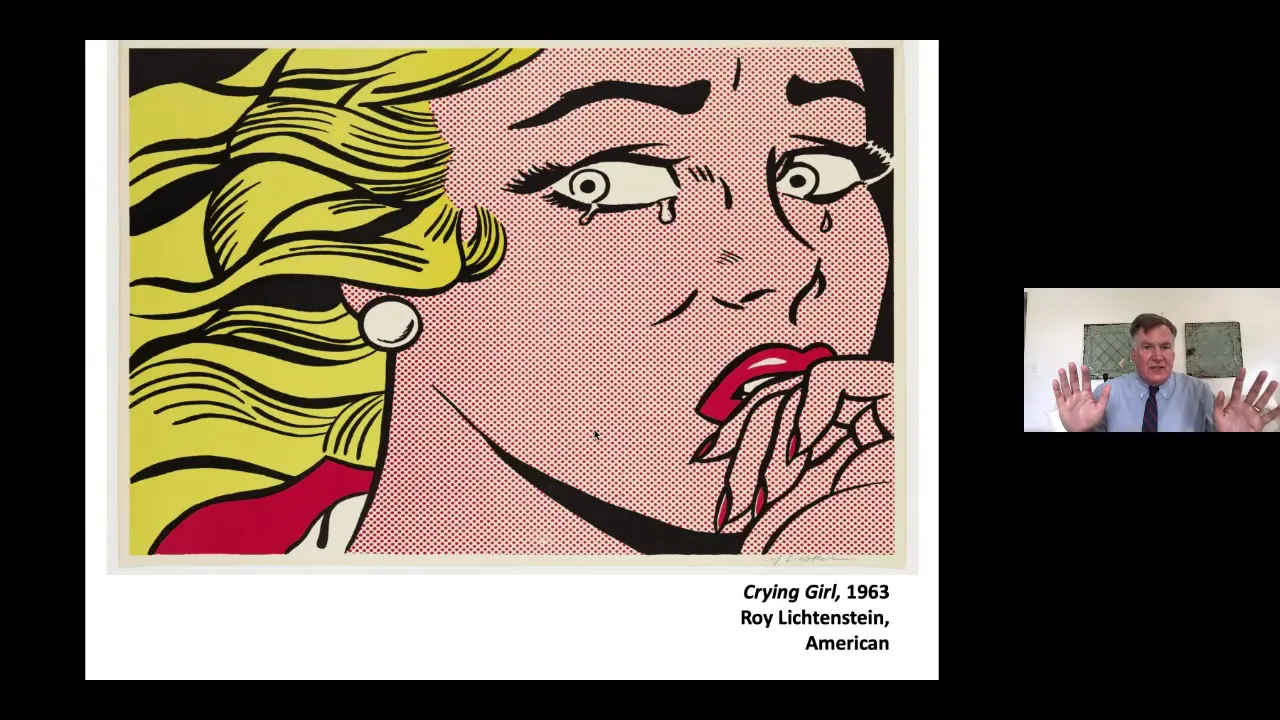
all right everybody let's talk about these things called bend a dots now bend a dots uh if you're familiar with the work of roy lichtenstein here you'll know what bend a dots are you'll have noticed in his work they consist of all these little dots on his on his work so when we have a look at um what bend a dots actually are we find out that they're actually named after a person and they're actually from the world of graphic design and commercial art so i've got a wikipedia page here which is really quite handy if you just want sort of basic knowledge on on stuff and we find out here that the the bend a process named after the illustrator and printer ben harry day jr he was the son of publisher ben henry day it's a printing and photo engraving technique it says here i'm dating from 1979 but uh the the process now is commonly described as bend a dots now it comes from a time where graphic designers that was a it was a job that and you know and a whole lot of processes they did that only really graphic designers with the right equipment could do these days you can create these things in photoshop but back in the day it was quite a quite a process to photographically produce these dots and convert black and white and colored photos into these bend a dots and so they're designed as a way of printing something quite simply so we really if we're going to get into the bend a dots and look at them we really need to understand firstly their commercial pro their commercial application which was as you can see here to render a photograph into a series of dots that were large and small and so they could be easily printed now you have to remember that the dots these ones are actually a negative which is interesting but anyway let's get into lichtenstein because he's the he's the he's the kind of artist that made bender dots famous and brought the world of the newspaper and the um comic strip into the art gallery well i'm just going to crack through these pretty quick because we know these artworks very well this is liechtenstein's wham done in 1963. it's a a topical work about he was a pop artist from the 60s okay so pop art brought everyday objects and everyday life and you know the world of the supermarket the world of the comic strip the world of the commercial art world into high art galleries and put it on the wall of you know the art galleries of the time and and and these people became fine artists and so this is wham done in 1963 very famous famous artwork you can go and look this up and find out all the things that go all the reasoning behind it and all the sort of possible meanings of it but i just think it's what's so exciting about lichenstein if you put yourself back in the in the 1960s and you walked in an art gallery and you saw this thing on the wall it's about two and a half three meters wide and a meter and a half high it's quite large and the impact that this would have had it just would have been it just would have been so far out there and and and quite it would have had would have made a real impact on on a big white gallery wall and you know it's a comic book image blown up huge and painted by hand by the way a lot of it so uh he had assistants that helped him but um anyway this is one of the one of the worst that you know he's he's probably most famous for the other one is as i open fire it's kind of almost um is a partner to the first one wham and it has that sort of three stage um you know how comic strips uh tell the story i guess if you i remember as a kid i used to i used to be obsessed with those war comics and they and they do this kind of frame by frame by frame uh photo story or image story anyway keep going on uh drowning girl uh the other thing that um interestingly i will get into a little bit of theme um richard stein plays with the idea of american um domination world domination which was going on in the cold war and and this sort of military masculine violence and masculine power and then at the same time which you get in in american comics of the 50s and 60s let's not forget that you know captain america that's his name um he's he's a he's a hero um uh superman i mean he he wears red white and blue um they don't say any more uh and then we've got here at the same time superman for every super like for every male hero there's a female damsel in distress and we obviously the obvious one for superman is lois lane so royalists and stein also picked up on the on the theme in these comics at the time of this sort of masculine culture in the and the damsel in distress the helpless woman the woman who needs help the woman you know who's who's who's basically needing needing to be saved and so this is his um famous drowning girl of 1963 where he's playing around with and looking at and asking questions about how women are portrayed at the time in in these comic books and the other one is uh in the car and and here we've got this i hope you can see my mouse this this sort of powerful angry he's almost got a manipulative look in his face in his eyes and she's quite indifferent and a little bit distressed and looks a little upset um and we've got these sort of whizzing speed lines that you get in comics um yeah they're fantastic and if we just jump forward and we just have a look at comics at the time these are the comics of the time these are actually real comics here's a superman um some kind of robotics superman and and with with this sort of bend a dot printing process you'll see they're kind of slightly off they're a bit skewed they're out of out of alignment and and you know printing your pa you have to pay per color so uh there would have been one screen for all this blue and one screen for all the red and one screen for the yellow and then the black overlay um and again you see these strong jawed males um and then you see there's a lot of this misogynist stuff in the old comics as well you know you've got this um strong masculine powerful male and and you know this kind of sexist behavior that goes on anyway um you know we you can go and explore all that sort of stuff when you look at these these these are not lichenstein works these are actual comics at the time that liechtenstein then parodied so they're quite interesting to to know the context i guess um okay one of the um things that i really love about liechtenstein is when he did some appropriations where he took another artist's work and um re rehashed it to make it his own very post-modern thing to do he's just on the border of post-modern here and modernism here in the late 60s sort of mod post-modernism really comes into the fall in the mid 70s but uh here he is um and and the irony in this is that he's made a series of works based on monet's uh ruined cathedral monet did hundreds of these paintings of the royal cathedral he also painted in series so the irony here or the joke of it is or not the joke of it but the irony of it is that liechtenstein is making a series of works based on an artist who did a series of works basically um and this is number three says he is set three so there's set four set five set six goes on and on and on um so this is just a few of them he did quite a he did quite a few and then he did the same with the haystacks monae's famous haystack series again and we see here that liechtenstein's um this is haystack seven so obviously we would assume and i've actually seen blue ones and red ones are these and there's there's there's quite a there's a series of these things again the irony being it's a series of work about a series of work um and then he goes on and he appropriate you appropriated quite a few um sort of early to mid 20th century artist this is carlo carras an italian futurist painter which is il caballero rosso which i think lucy translates as the red horseman and this is liechtenstein's version of it in 1975 again doing these bend a dots this is one of the few times if oh no i can't do it yes i can that he's done these he's actually done the gradation of dots he doesn't normally he didn't normally do that lichenstein uh i love this work this is a woman with the flowered hat done in 1963 which is an appropriation of dorama or chats by picasso in 1941 excuse my australian accent as i i'm trying to pronounce these spanish and french names of artworks um and then uh van gogh's bedroom at arles obviously is uh just pretty well known engines don't work um where he's appropriated and interestingly he's updated the chairs to these um groovy 1960s shares and some chair expert will tell me the name of those chairs but i can't remember the name of these chairs so the life of me chuck it in the comments um and he's neatened up his clothes he's neatened up his clothing and uh if we know anything about liechtenstein still life works um you'll know that there is um he does later on looks and still ice with these bended dots in them and also curiously this little towel here has been very tight and very much tidied up so everything sharpened up and neatened up and and sort of made to look a bit contemporary but i love the i love the addition of the of the contemporary chairs i think they're bauhaus chairs or something on it um i love these these licensed signs play on the idea that an artwork is an original thing done with um the authentic brushstroke of the artist so here's lichtenstein's mass-produced copies of authentic brush strokes i think it's a great idea um the bendy dots that he's famous for he just didn't um produce it as a flat thing on on canvas as paintings and print um he he he got into the sculptural and he was able to answer the sculptural question and make sculptures of these works as well ironically these are actually see-through you could poke your hand through those sort of voids there but the dot areas are actually solid so i just think not many people sort of talk about his sculpture that much and there's so much of it a lot of it was public sculpture too in cities so um anyway getting into uh the still life because this this is actually about helping unite my u9 class do their still life paintings uh he's remember with liechtenstein here we're not just looking at the bendy dots there's also lines and if we go back to the wikipedia page i think it reads um this company commonly described in terms of dots but other shapes can be used such as parallel lines okay so there it is there it is there such as parallel lines texture irregular effects or wavy lines uh which is interesting so if we go back to the liechtenstein here and yeah we see that he's starting to play around with the lines here and really beautifully rendered this idea of the glass i love the way you can see the lemon through the glass now still life is a is a very traditional thing that you do in art school still die still life is a very traditional theme in art it goes a long way back so lichtenstein is is um always playing with traditional themes in art and bringing them up to his own contemporary comic book aesthetic i guess i love the way in this plate there's there's the red bender dots and there's also the black ones which is something to take note of his interiors are just these are such fun works these are so cool and and they've like all these iconic um modernist um minimal architecture furniture and architecture architectural space interior decorating and the furniture design from the time are all in these works i really mumbled my words and sorry um now that in this work this is a good example of where the dots don't obey the shape see how they're going horizontal to the pitcher plane and they're not going in line with the perspective of the lounge and they just sort of continue on down through the rug oblivious to the shape they just sort of feel in there and that's quite a clever thing and i think that's something that you could play with in your painting if you're appropriating lichtenstein uh and this is another still life um i wonder if this little uh windmill out the side is a little homage to dutch artist uh van gogh i don't know um and then here we have a quite almost a cubist looking um painting originally it sort of you think he's sort of get appropriating cause we're used to him appropriating 20th century artists and we're probably my first instinct when i looked at this was he's appropriating picasso but i think he's actually pre appropriating um a cezanne now cezanne was a post-impressionist painter who pointed to cubism he said lots of things about lots of ideas about cubism of picasso looked back to suzanne and and sort of paid homage to him and borrowed a lot of his ideas or built on his ideas and his own in his own journey and experiments with cubism and so here we have um lichenstein appropriating well he's not really appropriating he's kind of paying homage to two artists here picasso and and suzanne and you know the the obvious connections between suzanne and picasso are not lost of course now what we have here are all the tools of the artist so we've got the paint brushes we've got the paint palette we've got the palette knife we've got the mixing vessels we've got a set square these are bottles of paint um so anyway and often still life has this drapery in the back and there's a canvas okay so he's sort of playing around with ideas of tradition and what it is to be an artist and originality these are all tools of the original this i like artists who do that original authentic um uh signature brush stroke art and lichenstein doesn't do silly to brush stroke art he does this mass production comic strip style art so there's a real irony in in even the theme of this painting uh remembering that uh liechtenstein doesn't always do black outlines he's most known for his black outlines but here's a couple of examples where he's used a really dark almost prussian blue outline and then these this red outline here down with the fruit which i think is a really really these are more sort of recent works they're really quite beautiful okay so what are bended dots well as i said they're they're a printing technique and they really came to the floor in newspaper printing in the mid to late 20th century and they are a way of quickly producing a photo so it was a quite a quite a photographic process that they had to go through and get the photographs were reduced to these black dots and um the the bigger the black dots and then the closer they were together that was the darker tone and then the smaller the black dots the further apart they were that's the lighter tones and here's a sort of eternal gradation this is actually in reverse the dots are actually in the in well in that pale brown in the white so um it did sort of the proce the process became more and more advanced as time went on but basically you could out of you could produce just one metal plate to then it was lithographic plate i think to then print these photos and newspapers and as i said comic strips at the time each color costs money so there will be for this artwork here of superman for example there would be a blue plate that would have the hair blocked in and these bend a dots for the background for the sky so you you know if you wanted to do the sky as a pale blue as a solid color you would have to have another plate for that so the dots provide that solution you just put you put you use the same blue ink on the same plate and for where you want it pale when you're a pale version that color you just leave the white space between the dots and and it kind of it just appears pale blue just by its sort of optical nature so uh this this one would have had a red plate a yellow plate and a blue plate and then a black plate that's it four plates so as i said each color is money time is money to produce it and they mass produce mass printing in a printing factory you can see a lot often i remember as a kid looking at color comics i used to always jump to the comic section section in the newspaper on a sunday and the comics often they'd be printed slightly out of whack or out of registration as they say so you can see that here you can see the yellow is not quite right and the yellow's off here and the dots are off here and look at the yellow it's sort of about two millimeters to the left too far but anyway um all right what are bend a dots well let's look at what they're not they are not as indicated by this red cross straight above each other like this and in line they are indeed offset left and right in almost a diagonal sense so if you're going to play around with liechtenstein and copying his technique you've got to remember that the bend a dots sit diagonally off each other like that now it was a machine process and it was a photographic process and it involved going through a bunch of photographic labs and special cameras which would then produce these metal plates that had the image etched into them in dot form we don't have access to any of that equipment it was it was quite a long process uh and there would have been a lot of people working on it um in these newspapers where you know things were printed overnight stories came in and they would have got things down to the photo lab and printed them very quickly liechtenstein he had assistants as well he had people helping him when you go on to youtube and look up lichenstein painting in his studio you will see that he's got two or three assistants who um are peeling off he well liechtenstein didn't do the photographic process he used he used um stenciling so he would use these big sheets of sticky plastic sheeting i guess like contact with these dots cut into them and then they they'd paint over them or they used a lot of masking tape as well to do the lines so anyway we don't have that so how we're going to solve this problem painting in year 9 in the in the classroom how are we going to how we're going to try and replicate these dot images in our painting so let's jump in i've got a few solutions i've looked up so much stuff on on youtube and haven't really found anything particularly successful my solutions are i think moderately successful you really can't beat the the actual process but we don't have access to all of that but if with a bit of patience and a bit of time and and a bit of um sort of careful planning and practice i think you can get pretty close so let's jump in and have a look well i've noticed that um some of you who are doing uh roy lichtenstein who i've got here on this screen are really struggling with his bend a dots which are the dots that he used in all his paintings so let's get straight to how you might go about doing those dots so these are the dots we're talking about so let's get to it how do we do it all right well i've got a bunch of things here i've got some paint uh some waters i've got some sponge uh i'm gonna try some a few different techniques and see which ones work better i've got cotton buds which are really useful i've got a paint brush that i've sawn off with a tack saw and i'm going to talk about that in a minute i've got some bubble wrap and i've even got a glue stick insert so let's go so i've got this um canvas here uh that i put some i put some apples i've just done some simple apples on okay and i've pretty much tried to draw the apple to my i mean i've done it pretty quickly so you know i've drawn it a few times so let's just go with the first technique let's do some stripes now the first thing you've got to understand is do with liechtenstein probably a good idea to do the dots first and then do the outline later put this masking tape out i used a metal ruler and i cut some strips as you can see here now i wasn't the best at cutting them so when that sort of thing happens just chuck it away if you've cut enough of them you should have plenty of them so and what i did was i sliced this way so i sliced the stripes that way and i also sliced across because you know my artwork is not very big the one i'm going to show you but what you'll notice is that liechtenstein does these stripes at an angle you stick them down the same thickness apart now try and cut them as neat as you can some of mine are a bit thicker than others and that's not real great so you've got to try and fix those kind of things up i've got they've all become different thicknesses i've noticed because i couldn't see while i was doing it so i'm going to just quickly cut this one again now when you cut they tends to go off at an angle so try and push the knife into the blade as you go like that when you look up lichtenstein on youtube there's lots of really great footage of him doing his work which is really helpful and i mean you know as he got older and more successful he he had assistance in his studio so you know we can't we can't replicate that in the early days he did it all himself but he was a graphic designer in those days a graphic designer was you know it was it was a profession these days everyone's a graphic designer with photoshop but back then it was something that was that you had to know it was a skilled job now you could put tape around this part but i'm pretty careful with my painting so i'm just going to plot on the way the way i'd the way i would normally do it just painting carefully a lot of liechtenstein lichtenstein stripes are in are in black now you can use a round brush or a flat brush i'm i'm tempted to use the flat brush i just think it'll work better so adding a bit of water to the paint i'll just put the water over there and i haven't got anything else on this little palette it's just a ice cream container lid i'm i'm going to just add a touch of water there are no other outer no other colors on this palette okay and i just quickly ran my fingernail along the edge of the masking tape now this doesn't mean you just hold this bolus start painting like mad over the i've got something there ah i got water there that's not good you don't just hold this bolus start just painting across it you take your time and paint carefully a little bit of water with my paint just to make it nice and fluid while it's wet we take the masking tape up we take it up very slowly and carefully now if you don't stick your masking tape down enough you're going to get a bleed which you're noticing here now that's okay because what you're then going to have to do is paint back over it and tidy it up but it gets you off to a good start leaning on your little finger or leaning on your hand i would just carefully clean these up and you see lichenstein doing that too in his in his um videos now you'll notice that i'm just painting the edge of the stripes that are away from me that's because you get a sharp edge with this end of the brush it is a slow and careful job i'm going to actually put that in a bit of an angle now to do these out outlet to do these lines these kind of brushes aren't that great that's where one of these rounder brushes work better and the trick is and the trick is to have lots and lots and lots of paint on the end of your brush and have it nice and fluid i'm going to use a little bit of water and this is rolling the paint off the back because we don't want paint on the metal part of the brush we want the paint on the tip take your time go slow and here's what we do i use the brush in an upright way can you see how i'm balancing on my little finger and turning the brush in my hand so i actually roll the brush as i go around these corners you'll also notice that i stopped talking when i paint like this now painting like this in this style i gotta be honest is not my forte and there's all little battles that go on right now there's a little hair on the end of my brush that's driving me crazy but anyway hopefully there's the result okay so that's that should get you started on these stripes when it comes to the dots one of the things that you've got to think about is this is them as tone right so if we look at one of these pictures you'll notice there'll be like a patch of dots just there and a patch of dots down the side so you can see i've drawn a an outline there in an outline now i know i don't want to do it too dark because if i do it to too dark it's going to be a real hassle later on to get rid of it because we actually don't want those we don't want those pencil lines there and we're not going to outline the edge of that tone now remember i said do the dots first then do the black outline so when you do the dots mark out and i'm just going to use the centimeter my i'm going to use half centimeter actually now remember when when the dots happen they're there there's like a row of dots like this and then the next ones are diagonally opposite them they're not in rows they're like you could put crosses you could do this across the dots you might have to practice this on paper first that's what i would definitely do and i'm actually not completely following the ruler i'm just using the ruler mostly to get things in line alright so there we have it i've done all the dots in pencil very lightly i used a ruler just to get them all in a line one thing which is good to do is cut yourself a stencil okay so i'm going to cut myself of this shape it's a bit tricky to see but i think i've got the general shape of it and i'm going to put a few guidelines around there to just get that right but very carefully cutting out and and the other thing is if you don't have a tidy stencil you won't have a tidy painting and lichtenstein if we're going to try and work in his technique then we have to get our heads around is being super neat and super tidy and also being really careful with the sharp knife putting the cap back on this because it's super sharp you don't need it i'm actually going to use these as well because these are useful it will do the reverse so there's my stencil and there's my stencil now a few techniques i've seen on the internet first one is um using bubble wrap i don't like this technique i'll show you what it looks like i got my sponge i got a little bit of water on my sponge i pick up some paint like this like that i dab it on the bubble wrap and then we put it on the painting um i'll just do a little section on the on the apple and we put it on the painting like this we press it down and then we lift it up and i'll just take that away look it's not bad but it's not great it's hard to control see the white spots varying degrees of uh opacity opaqueness you know you've got all these gaps and things in it i don't like the bubble wrap technique uh it looks a bit amateur it looks like you did it with bubble wrap which is what you did it'd be good if you could challenge yourself to try something a little bit more sophisticated so the other way is of course patiently hand paint them using lots of water with your brush and paint them and i've seen students do this really successfully the discipline in it is to stay focused not get lazy with them not start going that'll do that'll do that'll do because they start to get this they start to get an odd shape you'll notice my first ones are a lot better than my other one you start to get that and you start to get this what would this see this uh furry edge around them not not very good next technique which is a pretty good one actually this next one and that is to use a cotton bud so we take a cotton bud put it into the paint and very carefully dot with it now be very aware that as your cotton bud starts to run out of paint it's pretty good actually starts to get a furry edge about it but it's i reckon it's pretty good this is where i would use my stencil and i just smudged it okay so here's an issue with stencils right this is the discipline of using a stencil you can smudge it while it's wet so which i just did on this one but it doesn't matter we'll just keep going okay so all of this stuff requires and i'm trying to like move along pretty quick but all of this stuff requires you i just wet the tip of my cottage mud too to be consistently calm and patient now i've just written this one off see as soon as it gets these little ends on it get rid of it get a fresh one i'm sure there's no shortage of cotton buds they come in packs of 200 all right holding my stencil down because liechtenstein's bend a dots have they used tonally and you'll notice also i am not following my original grid sometimes i land on it and sometimes i don't take your time if you're not satisfied with a dot do the dot again it's not that hard very carefully lift it that's not a bad result at all besides my smudgy bit i think that let's just bring it up here closer to the camera that's a good result so that's worked out really well and that's just using a cotton bud now i'm sure you can do a much neater job than me take your time cut your stencil carefully all right so this stencil look how big it is i was doing it in a hurry oh and also there is paint on the other side of this stencil now so just let it dry just hit it with a hair dryer or something and then go again okay now the last technique and it's not a bad one too i hope i can find a bit i got this paintbrush you can use a pencil and i cut it with a hacksaw i just cut to the right roundness now you can use a pencil as well but the problem with the pencil is a lot of pencils are hexagonal so that's no good you'll end up with hexagonal dots and so what i do then with the um with the paintbrush or the pencil is i then i got to get that little burr off the edge there just so sand it and make sure you don't go like this you want a nice flat edge if you start curving it because you're standing like that you'll end up it won't be any good the sandpaper will give it a little bit of a brushiness about it like a little bit of fur now when i sand it i don't sand it like that i put my finger right on the sandpaper and i get it just right okay i'll show you what these dots look like i'm thinking i might have to wet this a touch i just dampened it and tried it on my jeans now these ones you'll have to dot each time now this is if you got to do bigger dots now these dots you might have to go back over and touch up with a brush ah that wasn't great was it you can try redoing the dot it's a bit scary now this is where you'd use your stencil on the edge and wherever it overlaps the stencil that's a cool look because that's kind of authentic looking oh come on you'll work you'll get a good technique going which i haven't got yet okay the important videos i want to get these side bits and show them to you you'll get them you'll get a feel for it like you know what's the happiest kind of combination of pressure and um pressure and uh how much paint and how many times you can watch your mileage you know how many times you can stamp down you'll notice i just used a um cotton bud to the rescue as well anyway here we go one more two more actually let's peel this off and see how that looked that's probably not half fat as well okay bit close together that's the other thing you know like they really are not that close together when you look at them they're actually not that close together they're actually probably further apart and the larger the dots the larger the gap that's better they're way too close these ones i'm more like it now when you use this kind of technique you need a fair amount of paint on it see that see i'm stretching the paper stencil out whoops bit a bit too much paint you really are going to have to practice see how carefully i lift it up that's better that's better isn't it do you think let me have a look the bubble wrap the hand brushing the cotton bud for the smaller ones and the cut pencil or brush this thing where it's gone this thing for these and further apart is better than closer together see that further apart his heat he's better and then i guess shall we try some black around the edge when they're dry be patient be really patient with it when they're dry you can i guess you can then get your black paint and and do your black line up the edge all right and you know the usual stuff that goes on in a liechtenstein does that make sense all right have a go be patient and uh good luck so just finally just to finish things off remember this the stripes using the masking tape you've got to cut your masking tape a lot more evenly than what i did so i did a little bit quickly so all of this is all about being patient and taking your time but these were stripes using masking tape okay uh the next one was i remember the bubble wrap not so hot i don't think it works that well and they're a bit too close together as well uh and then we hand painted them with a brush that wasn't so bad but they get this furry edge on them i think the cotton bud works really well when you're got us when you're doing a miniature kind of lichenstein when you're doing smaller the smaller dots because you know you've got to paint the dots to scale so when you're doing a smaller thing but i i think the the better one was probably making up one of these little tools a little brush a little what's not really brushes it's a painting stick but you'll you can see on the camera you can actually see the little like slightly furry edge on it caused by the sandpaper but it's got to be super clean and don't do them too close together do them to scale further apart much better much much better much more successful now this will rub out these pencil marks they will rub out carefully with a rubber the other thing is you can carefully go back in around them and paint in white that will drive you a bit crazy but anyway see how you go
Up Next

14:08
Understanding Pop Art: Critical Analysis of Consumer Imagery in Modern Visual Culture
@ArtExplainedSimply
670 views•2025-10-07

114:18
Christian Iconography: History, Theology, and Meaning | Fr. Panayiotis Papageorgiou
@Trisagionfilms
58.8K views•2020-02-21
7:48
Ukiyo-e Art: History, Woodblock Printing & Influence
@japanathand
6.3K views•2023-06-08

16:34
Earliest Depictions of Jesus in Art: 10 Ancient Images Explained
@UsefulCharts
5.9M views•2022-06-03
Related Study Plans & Knowledge Roadmaps
Structured learning paths in Art History
art-history
Gothic Cathedrals: Engineering, Light & Society
01The Birth of the Gothic: Romanesque to Suger's Vision
02The Structural Triad: Pointed Arches, Ribbed Vaults, and Flying Buttresses
03Theology of Light: Lux Nova and Sacred Geometry
+ 2 more learning modules
14h5 modules
Explore Roadmap
art-history
Pre-Raphaelites: Realism, Symbolism & Critique
01The Victorian Art Establishment and Academic Formula
02The Founding of the PRB and Radical Realism
03Medieval Revivalism and Literary Symbolism
+ 1 more learning modules
8h4 modules
Explore Roadmap
art-history
Street Art: From Subways to Art Market
01Subcultural Origins in Philadelphia and New York (1970s)
02The Subway Era and Style Wars (Late 1970s - 1980s)
03The East Village Scene and Early Gallery Crossover
+ 2 more learning modules
10h5 modules
Explore Roadmap
art-history
Classic Maya Art: Iconography, Glyphs & Ritual
01Foundations of Classic Maya Visual Culture
02Deciphering Maya Hieroglyphs & Text-Image Integration
03Sacred Geography and Cosmological Architecture
+ 2 more learning modules
14h5 modules
Explore Roadmap