

























Tube traps are acoustic devices that combine active absorption (absorbing certain frequencies) with diffusion (scattering sound throughout the room), and they can be constructed using affordable materials including concrete forms, fiberglass insulation, wooden dowels, and acoustically transparent fabric; the key construction steps involve cutting a 36-inch concrete form, drilling a grid of 1.5-inch holes every 8 inches vertically and horizontally, creating custom 15-inch end caps from plywood, attaching fiberglass absorption panels to a central dowel, and wrapping everything with breathable fabric like burlap to achieve professional-quality studio acoustic treatment.
DIY Tube Trap Construction: Room Acoustics Guide
Added:Basic principles of sound wave propagation, including frequency, wavelength, and how sound behaves in enclosed spaces.
The concept of room modes, standing waves, and why low-frequency buildup occurs primarily in room corners.
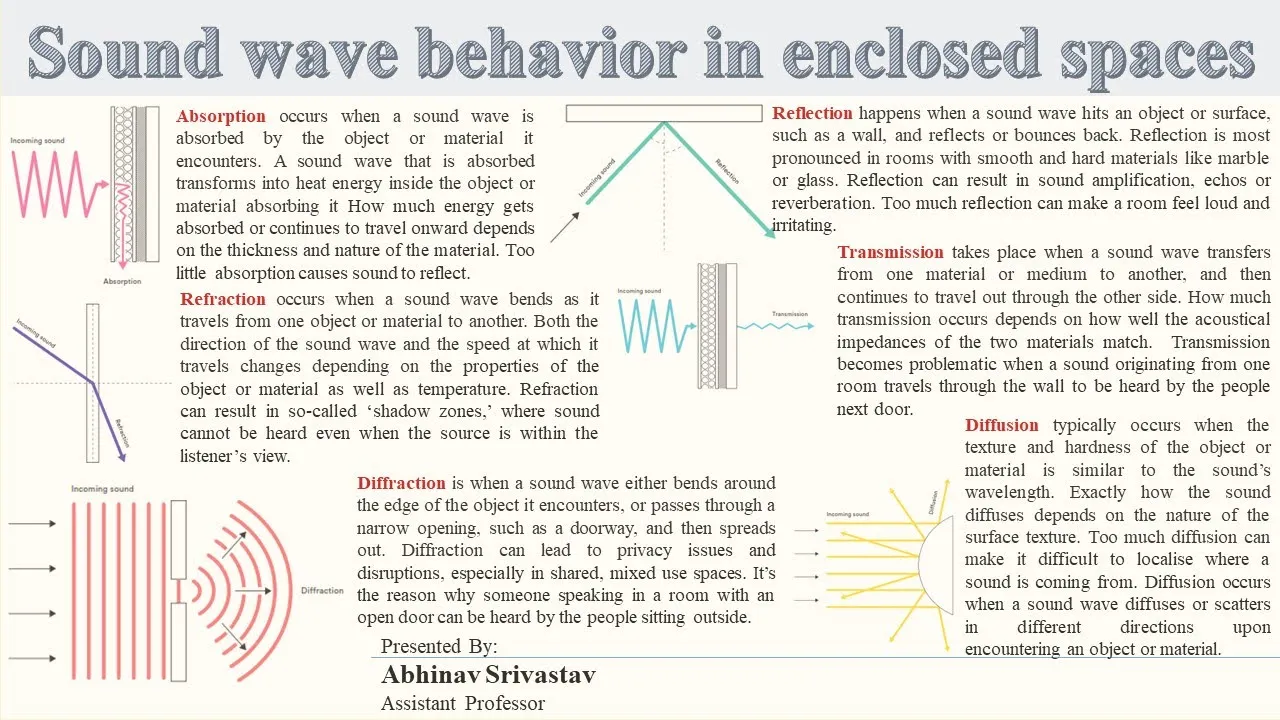
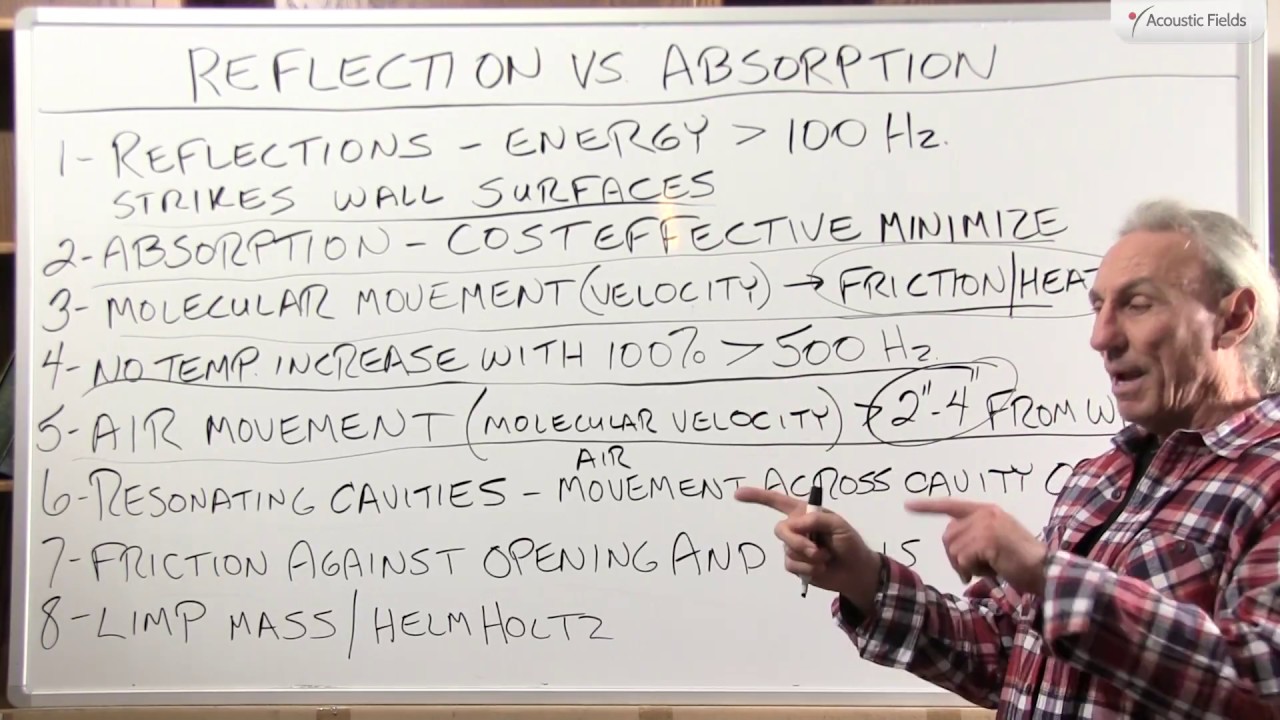
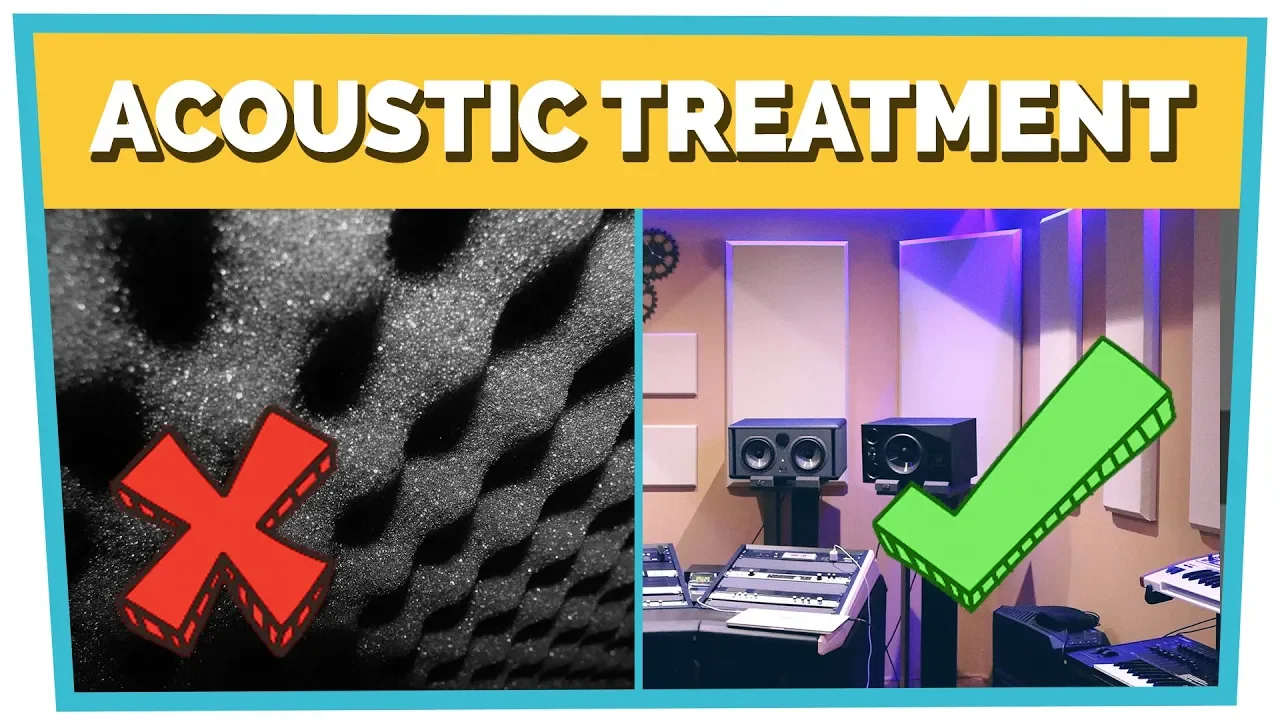
Distinction between different acoustic treatments, specifically the roles of absorption, diffusion, and reflection.
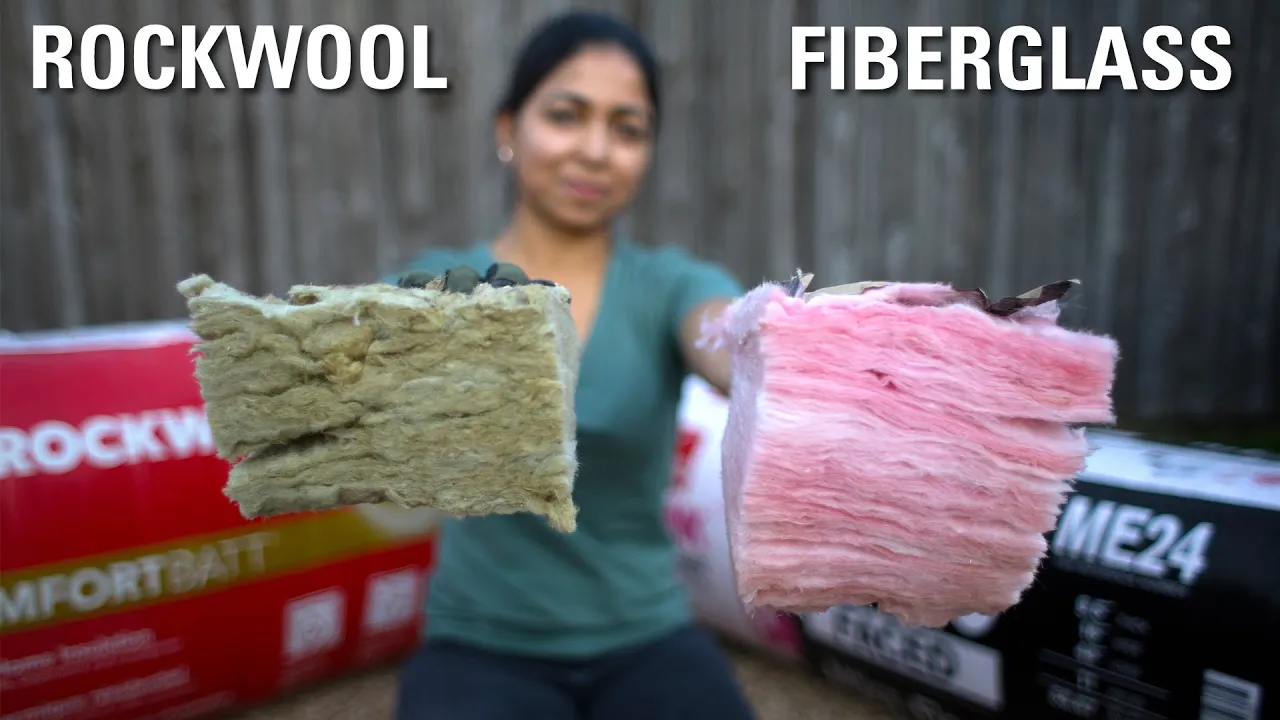
Safety protocols and material properties of common acoustic insulation materials like fiberglass and rockwool.
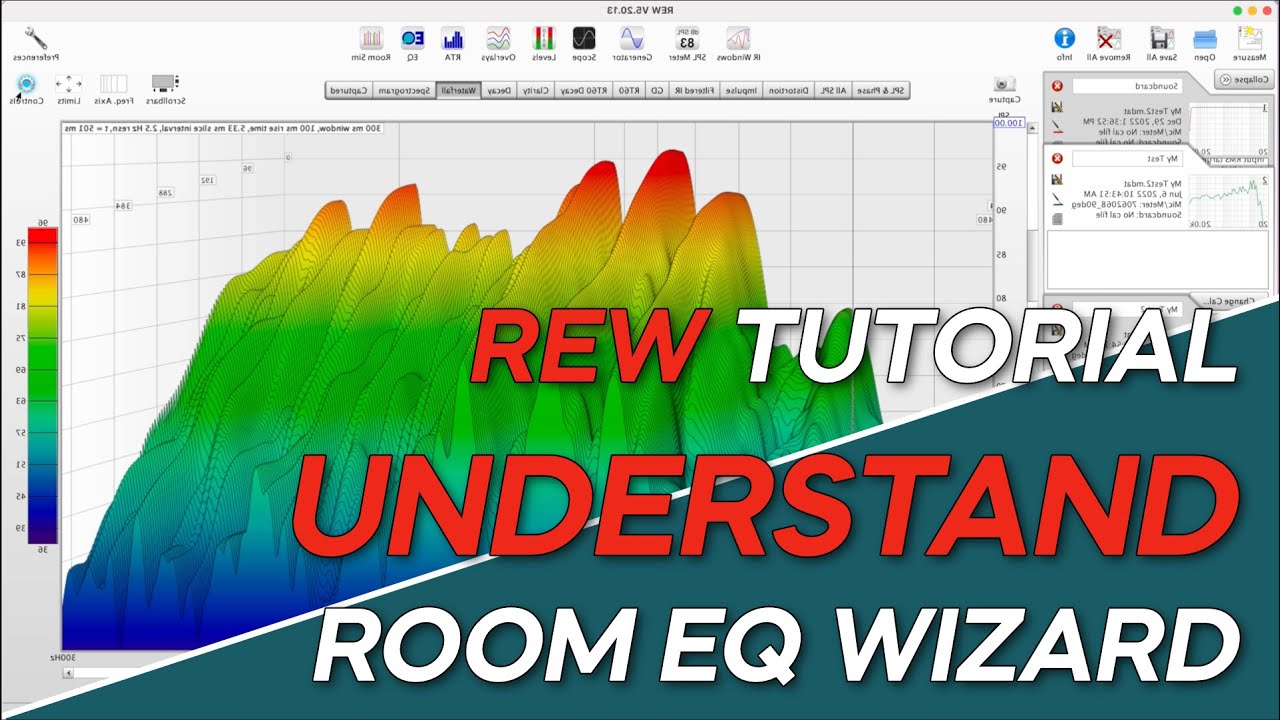
Acoustic measurement techniques using software (such as Room EQ Wizard) and calibrated microphones to analyze room response before and after treatment.
Strategic placement optimization of tube traps and understanding the impact of reflective versus absorptive sides of a tube trap.
Advanced acoustic treatment design, such as building Helmholtz resonators or limp mass membrane traps for targeted low-frequency control.
Psychoacoustics and the integration of speaker and listener positioning to achieve an optimal stereo image and flat frequency response.
146.7K views1.8Klikes17:12Original Release: 2016-01-30
hey guys I'm Jordan with SOS studio and today we are building a DIY tube trap and this is one of the most important things you can have for any mixing or recording or high-end listening studio room anywhere where you want the music to sound good and yet most people don't use them and why is that it's because they're either super expensive or they're really difficult to build so I am with my friend Corey today who's going to help me build these this is a two-person job we've worked with an acoustician to come up with an idea a schematic that we put together and then we've made a couple DIY tweaks along the way where you'll have an option to go down Route a or route B in order to uh Reach the the goals that you want to reach with your tube traps so we're going to go through it right now here we go so this is how it works this is the outer absorption ring this is exposed absorption here and then we left the paper on in the back and I'll tell you about that why why later all the frequencies that are coming at it from the outside either get absorbed by the absorption here or they make their way through or they bounce off the form and Scatter throughout the room so that's why it's called an active absorption great now that we know what it does let's talk about the materials that you need in order to build it to this specification this is some high performance fiberglass pipe insulation this is John's Manville uh it's 12 in by 1 in is the specifications you need and I found that at a specialty insulation store nearby this is a 12 in concrete form that I got at my local Home Improvement store it stands 4 ft tall but we're going to cut a foot off of it so that we can use it for the DIY this is a 36 6 in wooden dowel we got it Square cuz we thought it' be a little more stable and it's a 1 in that we got from a home improvement store you'll also need a sheet of rigid fibric glass this is the 2in uh a standard one is Corning 703 this is also a John's Manville you'll need Fabric or burlap in order to to wrap your tube trap um I went for burlap because I thought it actually matched my studio pretty well it has enough room to breathe and it's 40 in wide which is the minimum you should get because this is 36 in tall and you need a couple inches on either end in order to wrap it around and secure it in place so that it looks good whatever fabric you choose you need to make sure that it's acoustically transparent which this burlap is a good test is if you can breathe through it and feel your breath on your hand or if you can talk into it and it sounds normal then that means that the sound is traveling through just fine and will be absorbed by the tube trp you also need end caps in order to hold this whole thing together I found these discs online they were specialty cut these are made out of Pine and uh you can get them in a 15-in diameter but they were kind of expensive so Cory and I went out and we found a large sheet of 5 mm plywood it's kind of flexible but it's just thin enough that we could cut it ourselves and we're going to show you how to make a template for that in just a moment and lastly we've got to get something to hold the fabric together so I went out I found these Furniture nails that have got a nice decorative quality to them uh and you can see that we just put them in here it holds the fabric really nicely and it still provides that nice Finishing Touch so that you can display it proudly in your room okay so those are the materials that we need now we're going to go over the tools that you need to have on hand of course you always need gloves hearing protection and and eye protection because we're going to be dealing with insulation which is Airborne and will cut up your skin if you're not using gloves and you need to have eye protection on because we're going to be using some sauce next you need a standard cordless drill you're going to need a Phillips head drill bit you're also going to need a 1 and 1/2 in drill bit this is called a spade bit or a paddle bit depending on where you come from Cory you also need a cordless jigsaw in order to cut out the 15in discs of course these are important for any project but you need an X-Acto blade some wood glue some tape and a pen you need a staple gun with short Staples some sandpaper to get all those rough edges off of there I'm using fabric scissors to actually cut the burlap it made my job so much easier and I highly recommend it if you have any fabric scissors lying around and lastly a chalk line we're going to use this to make all of the marks really clear so that we can save a lot of time while we're actually cutting and measuring so like I said this is a two person job it makes the time so go so much faster this is my friend Cory it's going to be helping me out with all of this and he's The Mastermind behind a lot of how this goes together so two things I forgot to mention you need a measuring tape and you also need a flexible or fabric tape it's going to help working with this concrete form that much more it's it's really fantastic so we're going to measure from the bottom up to 36 in and make a mark there and then we're going to go every 6 in or so all the way around the tube marking where 36 in is let's rotate it so we got everything all marked out now we're going to take our handy dandy chalk line and we're going to make a nice little line all the way through so that we can follow it with our jigsaw when we cut this at 36 in all right we've just made our chalk line all the way around it's 360 so now we can follow it we're going to make a small incision with the xacto blade along that line so that we can bring in the jigsaw and it will be able to go into place right on the line and give us a smooth cut and now we're about to use the jigsaw so of course always make sure to have eye protection let's fly great so the way that we're going to get the sound to travel through is we now need to drill some holes in here speaking with an acoustician uh the best plan he came up with was drilling 1 and 1/2 in holes every 8 in vertically and horizontally so what we're going to do now is we're going to make a series of lines that we can track um that are going to allow us to to drill holes into it on a grid so that we know that everything is perfectly spaced out this is basically just to have a starting point um and the standing ruler is just to make sure that it's flat cuz it's got the levels in here if you've got another way to make your your starting marks then please go for it you just want them to be perfectly across from each other so that what we do next you know is going to be uh equal all the way around so this so this is where the fabric tape comes into play because we're going to go around the circumference of the tube trap and we are going to make a mark every 4 in and that's going to give us the columns that we need in order to drill the holes so I'm holding the end of the tape right on the line that we just drew with the level so I know that it'll be equal on both sides and every 4 in so we just did one side of this and you're going to learn that one of the natures of the Beast it actually says here right on the concrete form is that these are not guaranteed to be perfectly the same shape every time some are going to be slightly larger some are going to be slightly smaller so sometimes you're going to end with a perfect 4 in each time all the way around and on another form you might have a weird Gap where it's 6 in go ahead and put uh go ahead and put another column in at the 4 in Mark so that there might be two columns that only have 2 in apart it's not going to hurt anything but uh just remember which side of the line you started on so that when you come over to this side you can make sure that you're still lining up with the same marks where you were okay so now we have our marks that are perfectly aligned with each other from top to bottom and now we're going to take our chalk line and connect those lines straight down the middle so that we have a perfectly vertical line connecting the two so now we're going to lay down and we're going to take our measuring tape and what we're going to do is on every line we're going to Mark every 8 in but we're going to alternate where we start I'm going to 4 in 12 in 20 28 and then on the next one I'm going to 8 16 24 32 and then I go back to the 4 in uh starting at the 4 in Mark okay and now we're back to the beginning we've got all of our lines marked and we've got the increments line marked of 8 in in between each Mark so that now we can go through and drill with our 1 and 1/2 in drill bit on the line where it lines up with the arrow each time and we'll have the perfectly placed holes all the way around the tube and I just finished drilling all the holes and now we have this nice swiss cheese concrete form uh and we know that all of the holes are perfectly 8 in vertical and 8 in horizontal hey guys so what we need to do now is to make the incaps and uh the easiest way that we kind of figured out to do it is um to make a template there's a couple different ways you can do it you can use a what's called a scribe or a compass or if you're like us and you're way too cheap to go out and buy that stuff you can use a piece of rope or thread in our case a nail and a pin so what I did we need a 15in uh disc so I measured from the edge in 7 and 1/2 in I measured a/4 in in on each side that way I'm uh wasting the least amount of wood getting the most for our money and then you hook the loop around put the pin in you want to kind of put your finger on it so it stays in the same spot keep a little tension you don't want to pull too hard cuz then you'll stretch and then you're getting larger than 15 in and then you just start your circle try to make it as solid as possible okay we got our template laid out now we're going to cut it with the jigsaw now that we've got our template cut out we want to make sure that we don't get any splinters or rough edges and stuff so I'm just going to take some Sandpaper go around the edges real quick and that's it so now that we have our template we can take it put it down on the uh board here take our pen and this goes a lot quicker than the string there you go it's like being back in kindergarten and we just keep going around with a board like this where it's 4x4 we can actually get nine encaps out of it uh without wasting much wood so that's great so we've got our concrete form and we've got our end caps now we're going to prepare the absorption panel that's going to be on the inside of everything I've measured 4 in in from the outside and then I've laid this 4T uh level in order to mark my guide while I cut it and now last lastly we're going to take our wooden dowel and we're going to line it up with the end and then we're going to cut our insulation so that it's lined up with this end as well and there you have it so now we're actually going to take these two strips of absorption and we're going to glue them to either side of the dowel so that it can be permanently ad fixed to the inside of the tube trp you can be pretty generous with the glue here if it spills out a little bit that's not going to be a problem for anything in side and because this fiberglass is nice and dense you really can push on it to get that good seal and there you go now we're going to let this dry for a few minutes while we go work on add the insulation and fabric to the outside of the concrete forms so like I said earlier we've got our absorption here and the way that it's going to work is that half of it has to be exposed so we're actually going to remove the paper from 180° from the circumference and leave the paper on the back 180° so first all of these come with this slit down the middle because they're meant to fit over industrial pipe they're meant to open and put over a pipe but we want that closed so Cory's going to help me going to take off it's got this adhesive strip here we're going to take that off and make sure that we seal this up okay so now that's nice and secure and because the paper is actually glued to the fiberglass we're going to turn this around 180° and we're going to cut off the front half of it and leave that there so now we've got the front 180° of this exposed but you'll see that this is flapping in the wind so in order to make sure that that's nice and contained when we put the fabric on we're going to put just a little bit of clear packing tape over the edges just to hold it in place until we get the burlap on and there you have it now we're going to wrap the whole thing in the burlap so before we put the burlap on we need to put the concrete form inside so that we have something to attach the burlap too so we got our spool of burlap we're going to start at the seam and back where the tape went down we're going to put the cut Edge there and then we're going to wrap it around all the way back and it's okay to have a couple inches of overlap cuz that you're we're going to attach it all with the finishing nails anyway so uh good to have overlap so that we can make sure that we cover the whole circumference thank you excellent now we've got a cut we're going to lay this down in order to put crows we got a little bit of overlap and we found that it's much easier to put the nails in to have everything be flat and nice and smooth if we lie it down so we're going to do that now and remember we said that we want to have a couple inches on either side so we want to place this right in the middle of the 40 in to make sure that we have enough to wrap in and secure we bring this up put it right in the center and this is the under panel we'll call it this is going to be on the inside of all of the Bap so we're only going to put maybe three or four of the Nails in here just to hold it in place so that while we pull the rest of the burlap tight it will still have an anchor Point as you can imagine it'd be very easy for this fabric to have lots of wrinkles in it because we're going around a column so you just want to make sure the main thing is you want to make sure that it's pulled tight the entire time that it's nice and [Music] secure and now we're going to add the nails every probably 4 to 6 in cuz now it's more of a design thing than anything you want it to stay tight but you also want it to look good so we've got a nice clean Edge and we're putting the finishing nails in and they've got a cool decorative quality to them Meanwhile my job is just to make sure that everything is pulled taut while we're doing it there we go now we got this nice clean Edge it's nice and wrinkle-free all the way around and now we are going to take our staple gun and we're going to get a nice clean Edge and staple it all to the inside concrete form and now we're just going to fold this up and staple it directly into the concrete form if you overlap it a little bit it helps pull it tight and whoever is helping you can be the hands to help turn the column and then after this you just flip it around and do the other side the same way all right so now we've got our absorption panels on either side of the dowel it's nice and secure the glue has dried we've uh pre-drilled a hole in the end of each side of the dowel to make sure it doesn't split when we screw into it and now we're going to screw the end cap on we have fun finally showed up good that's nice and flat all right and now we have a solid end cap and uh we can this will stand up and it's nice and secure so now we're going to put our uh trap over the top there and now we just need to put the final end cap on and we are done we have laid down glue on top as well as on the top of the dowel and we're going to screw this final end cap on that's good and we've done it we now have a completed tube trap and we can use the these two Tobe traps on top of each other they're both stable but they can both be independent you can put these as one column in each corner of your room or on different sides of where you're recording in order to provide that active absorption that you need in order to have a truly exceptionally sounding room thank you so much guys I am Jordan my friend Cory here thank you so much dude and we'll see you next time I'm Jordan with SOS Studio see you guys you had to get the final word didn't you hey guys I hope you got a lot out of this video thank you so much for watching I invite you to subscribe to our YouTube Channel or check out our newsletter where we put out a Blog a podcast and DIY tips for the independent artist and songwriter thank you so much
Up Next

20:57
Room Acoustics: Step-by-Step Listening Room Setup & Treatment Guide
@TheHEADPHONEShow
164.1K views•2023-05-28

12:54
Triumph of Orthodoxy Icon: Byzantine Art & History Explained
@BenCallan
2.1K views•2024-08-06

9:49
FastAPI vs Flask vs Django: Choosing the Right Python Web Framework
@TechWithTim
302.5K views•2024-05-26

1:42
Game of Thrones Opening Credits: A Cinematic Analysis
@gameofthrones
46.3M views•2011-04-18
Related Study Plans & Knowledge Roadmaps
Structured learning paths in General & Interdisciplinary Studies
general-studies
Elevator Engineering: History, Physics & Cities
01From Hoists to Safety Brakes: The Dawn of Vertical Lift
02Hydraulic vs. Traction: The Engineering Physics of Elevators
03Modern Speed, Safety, and Algorithms
+ 2 more learning modules
12h5 modules
Explore Roadmap
general-studies
Rubber: Material Science, History & Geopolitics
01Origins of Natural Rubber & Mesoamerican History
02The Chemistry of Natural Rubber & Vulcanization
03The Geopolitics of the Rubber Boom & Colonization
+ 2 more learning modules
12h5 modules
Explore Roadmap
general-studies
Containerization: Evolution, Logistics & Trade
01Ancient Trade & Bulk Cargo: Amphorae to Barrels
02The Industrial Revolution & Cardboard Packaging
03The Containerization Revolution: Malcom McLean
+ 2 more learning modules
12h5 modules
Explore Roadmap
general-studies
Textile Tech: Evolution, Labor & Global Impact
01Pre-Industrial Textiles: Handloom & Cottage Industry
02Mechanization: The Spinning Jenny to the Power Loom
03The Factory System & Global Labor Transformation
+ 2 more learning modules
10h5 modules
Explore Roadmap