

![[사마귀 기계요소] 50. 유성기어설계 - 식1](https://i.ytimg.com/vi/BD3Crzu-dPE/maxresdefault.jpg)








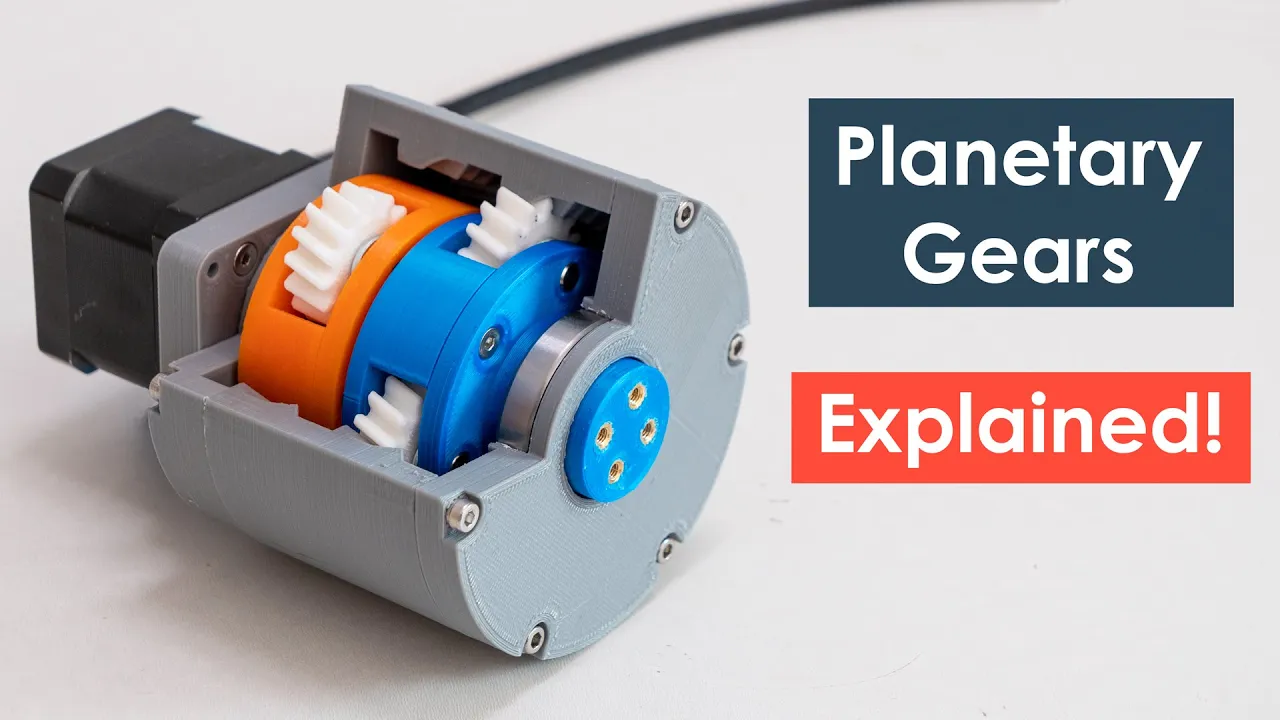


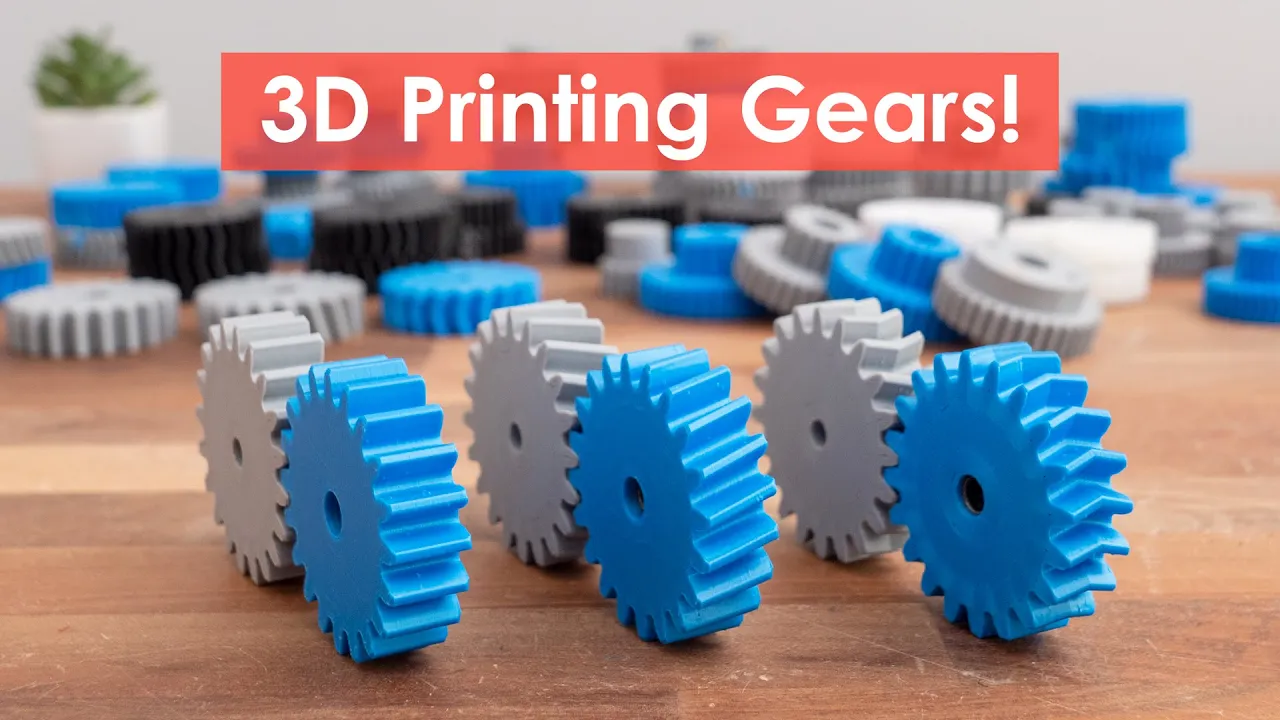





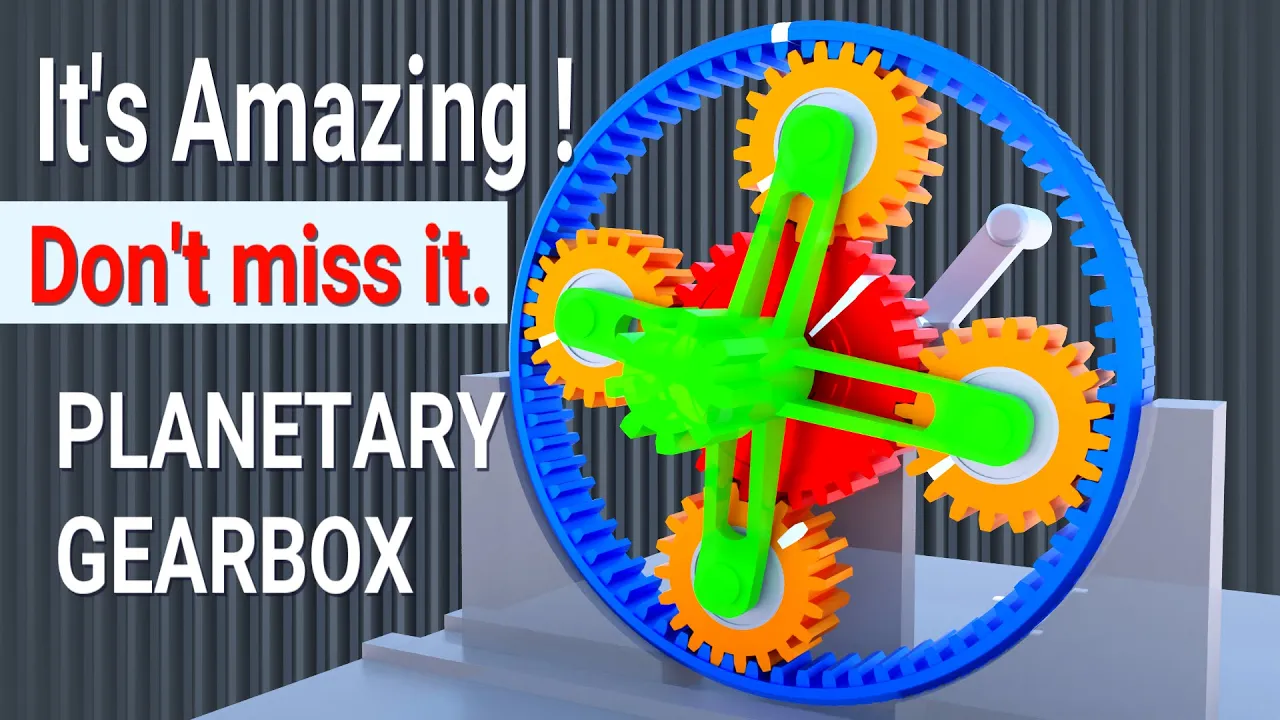
3D printing technology has advanced to the point where complex mechanical assemblies like planetary gearboxes can be printed entirely in plastic, with functional moving parts that mesh and operate smoothly when properly designed and printed with appropriate tolerances and environmental controls.
How to 3D Print Functional Planetary Gears: DIY Guide & Test
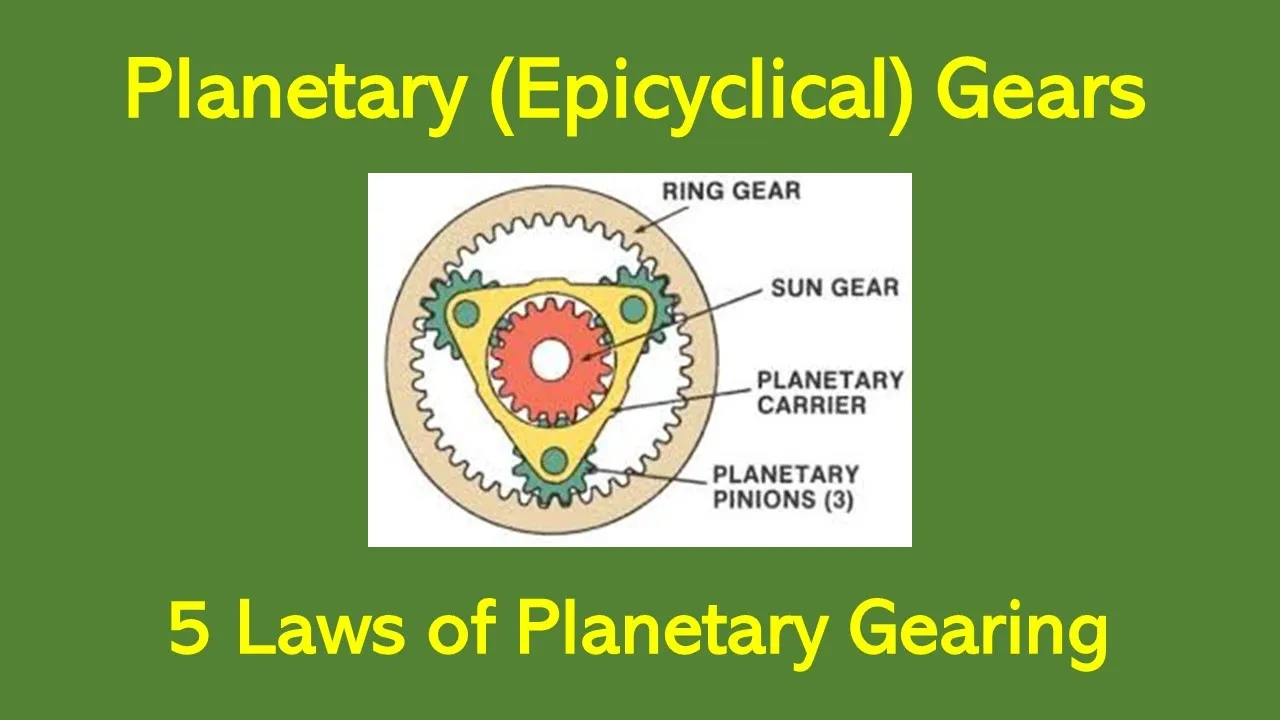
Added:Basic mechanics of gear systems, specifically the definitions and roles of the sun gear, planet gears, carrier, and ring gear.
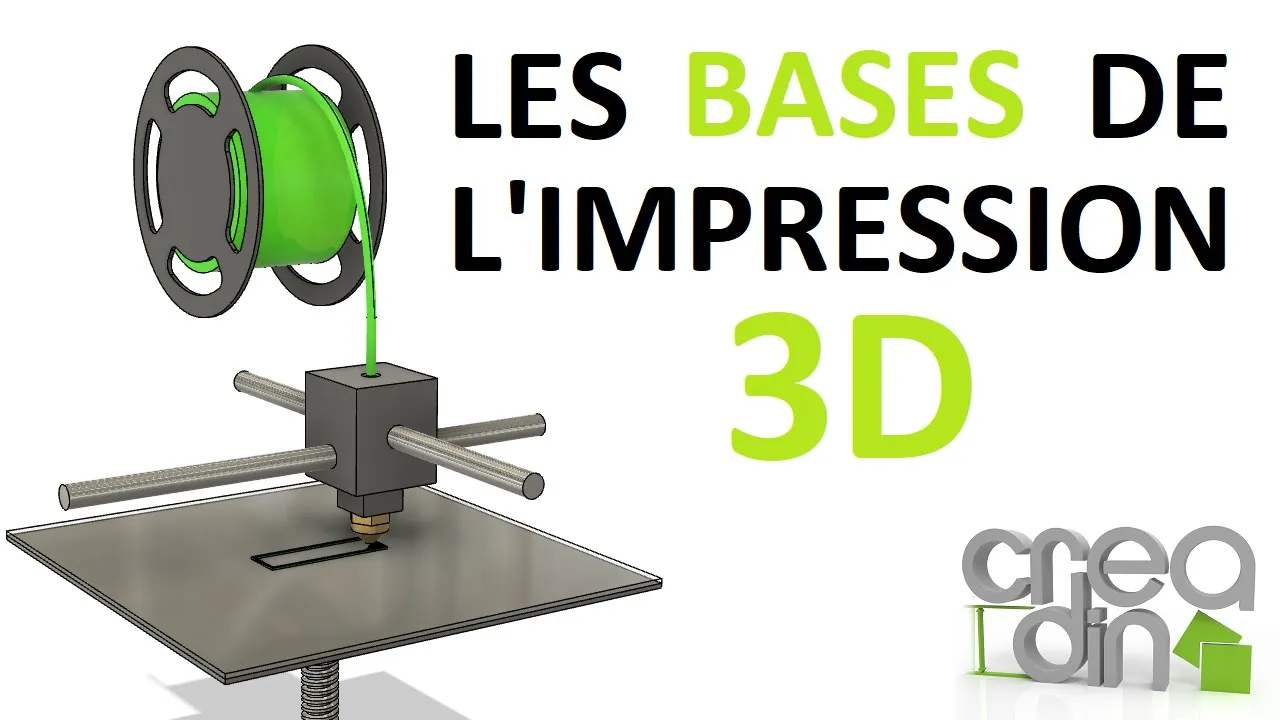
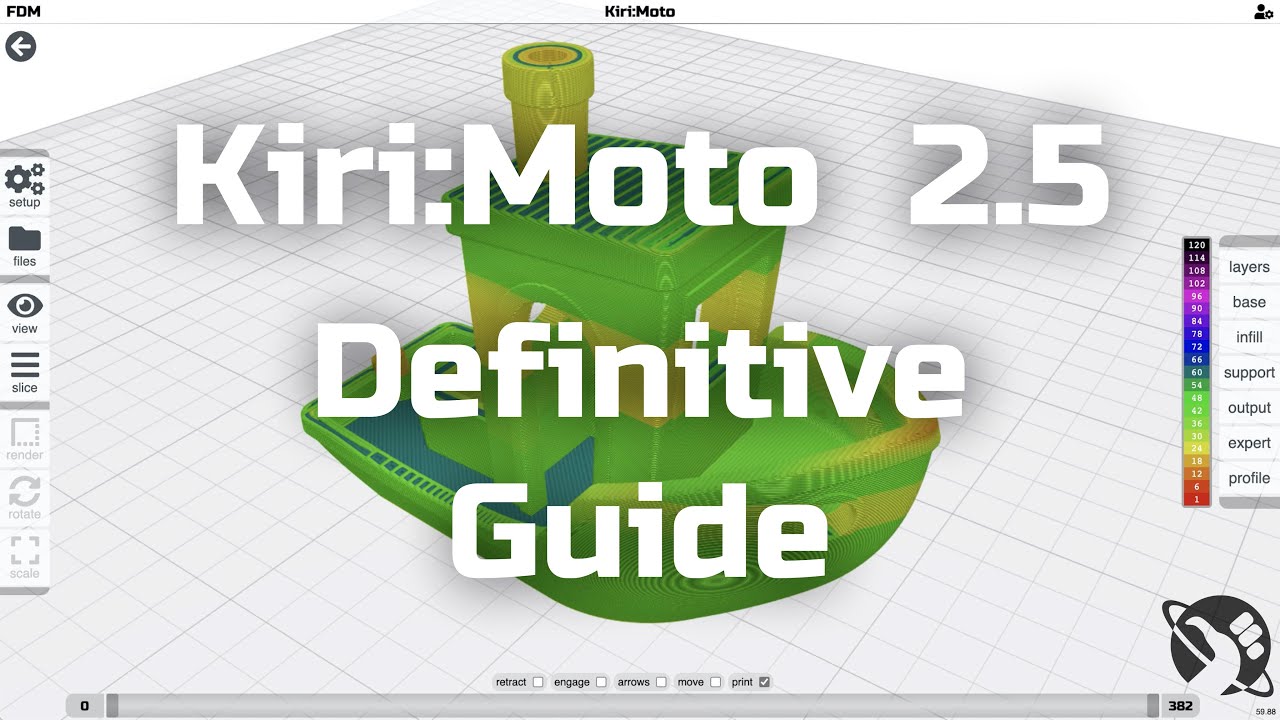
Fundamentals of Fused Deposition Modeling (FDM) 3D printing, including slicing parameters, layer height, and infill density.
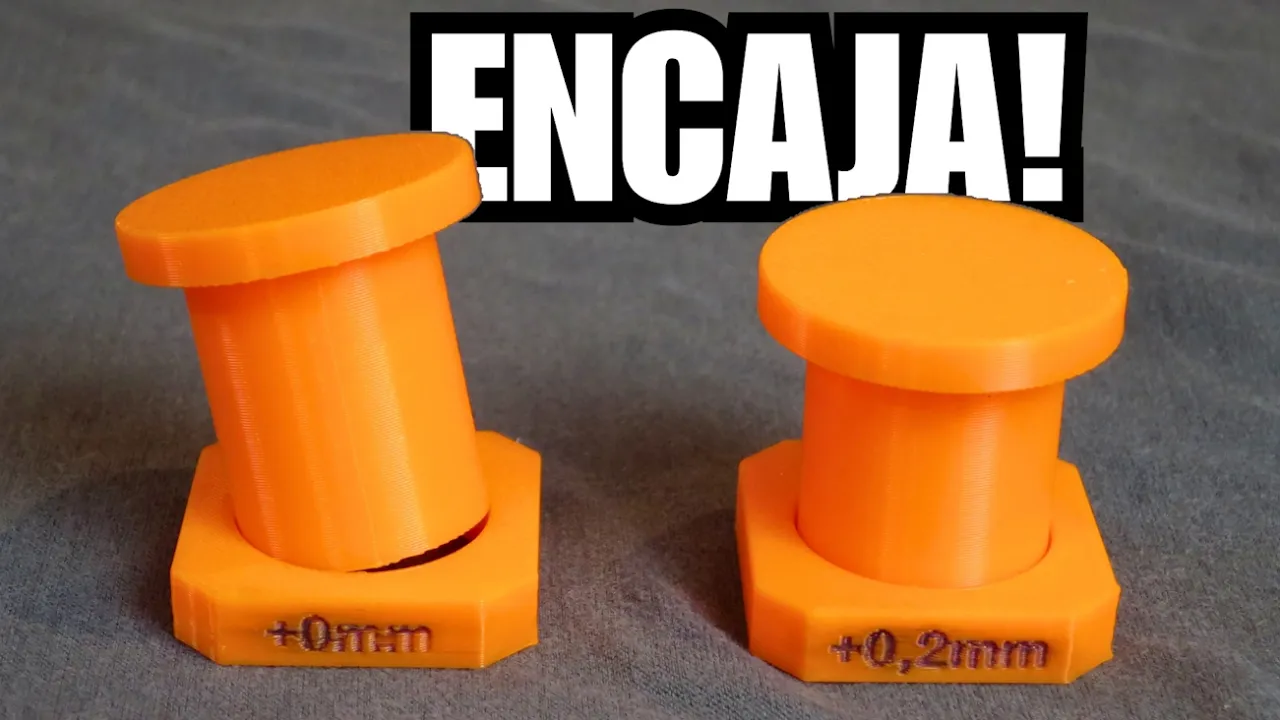
The concept of mechanical tolerances and clearance fits necessary to prevent 3D-printed mating parts from fusing.
Introductory familiarity with computer-aided design (CAD) software and parametric modeling principles.
Designing multi-stage planetary gearboxes to achieve compound gear ratios for robotics and automation applications.
Analyzing material science properties to select high-strength engineering filaments, such as Nylon, Carbon Fiber, or POM, for load-bearing gears.
Empirical testing methodologies to measure backlash, mechanical efficiency, and torque limits of polymer gear trains.
Advanced post-processing, assembly optimization, and lubrication techniques to reduce friction, noise, and wear over extended operation cycles.
1.2M views6.7Klikes13:18Original Release: 2013-05-22
[Music] hey what's up nerdgasm fans Jerry here AKA Barnacles and today we're going to print something with moving Parts a lot of you guys have been asking like you know hey can this thing print something intricate instead of just trinkets like link shield and uh stuff like that so I went and found this project on thingaverse it's actually a planetary gearbox um you can get the link in the description but basically I upscaled it by 100% so it's 200% of its original size cuz I tried to print a small one it didn't work out so well so now we're going to try printing a really big one and see if we can build ourselves a functional gear box all right unfortunately I wasn't able to do a time lapse on this cuz it was nearly a 15-hour print and my uh capture software wigged out but here we're catching the last little bit of the printing this is the last 1% of the print after nearly 15 hours so I'm really excited to see this thing all done and put together you can see there 14 hours 24 minutes and it's at 99% I printed the whole thing at about 92% speed and uh so far it's actually turned out really really good one of the bolts fell over inside of there and I removed it from the build platform but uh it was pretty much done printing so there was like no harm no foul there and there's a little bit of cleanup that'll need to be done from the little stringers they call them that go between the gears and so on and so forth but all in all this is actually looking really really clean and it's cool that this thing can print at this resolution absolutely just blows my mind and uh I'm going to have a lot of fun with this project if you guys think it's cool I can print additional gear sets that connect on to it the great to create a greater gear reduction and uh let me know if you guys want to see that and I'll go ahead and do it now here we have the bolt that fell off that I have in there and you can see the textured end on it so you can grip it easily to twist it in and they are functional threads which is actually really really cool so well we could go on and watch this for about the next 10 minutes which is how long it took to finish but uh let's go ahead and Skip ahead to the good part all right we had a little bit of a catastrophe nothing really to worry about just another piece got knocked over and you can see there's some threads little spaghetti I call it all over the place um again this was my fault but it wasn't a big deal because it was almost done with the print so I can just brush that stuff away and clean it up but uh in order for your stuff to stay permanently a fixed to the build platform uh you got to be more careful all right so now it's time to remove the pieces from the build platform and I've got my trusty little spatula here and I actually figured out a cool trick well I ran into the problem with the air conditioner basically causing the pieces to come off the build platform see how hard this is like I'm I'm prying and it's about ready to break it so I was like well if cold makes it detached from the platform why not just flip over a can of PC duster that's what I'm doing right here see I'm cooling the part down using the PC duster and I found that it actually works like a dream the part just pops right off the build platform now see pretty cool huh so uh you know through through my mistake I actually discovered something to make the process better so I'm going to let the guys at ultimaker know about this if they haven't already done it but uh just cooling the stuff down with the spray makes it infinitely easier to remove from the platform I mean literally some of the stuff I was having to pry to the point where it was almost breaking like right there you saw now watch I'll spray it with the cool stuff give it a nice Hefty dose and it pops right off the build platform no problem so guys if you haven't done that before go ahead and give it a try and let me know if you like it I want to know if this is actually a cool thing maybe I'll do a whole video segment on my discoveries and 3D printing like how to make your experience a better one cuz I've learned quite a few things and uh again this is one of those cool things where it's like sometimes making a mistake can be your greatest uh greatest success because here I obviously made a mistake turning on the air conditioner and it screwed up some of my print luckily I didn't lose the whole thing CU losing 15 hours and all that plastic would have sucked uh but at the same time it got the light bulb over my head to go oh well maybe if I super cool these parts they'll contract just like the air conditioner did and break break away from the build platform and sure enough they do and you can see that right here the serious made it so much easier guys so I will be using PC duster for everything one word of caution though I sprayed a lot of PCY duster in my room upside down make sure you got plenty of ventilation cuz I didn't and I got a little high and my uh my lips uh from breathing it in kind of got a weird uh like I don't know sour kind of taste in my mouth and it's pretty nasty and hard to get rid of so heed my warning people all right so here's the raw parts off the the printer that I just detached and uh some of them are going to need a little bit of cleanup here's the handle piece that gets printed out and this is what you actually use to turn the planetary gears by hand and this right here needs a little bit of cleanup too but this is uh this is one of the pieces of the planetary gear set that holds the three gears in alignment and uh yeah this one I actually had to take downstairs and use a Dremel to clean up then you got the little gears themselves and honestly everything's fairly you know fairly clean the little pieces that you got to pry off and peel away or fine but you know I like using a file just to clean it up and make it really nice so here I am just basically going through all the bits and here's the other side of the planetary gear now this particular model is actually really cool because they designed it in such a way that you can actually print out extension sets to it so when you print the first gear you can print a second then you can print a third then you can print a fourth fifth sixth I mean pretty much as you know as long as you've got space to store it um and you can in each one will reduce the gear set more and more and more so I saw a demo on thingiverse where a guy had six of them in alignment and he was spinning it with a drill on one side and on the other side it was barely moving that's how much of a gear reduction it was and you could see right there with the bolt demonstration that I was actually able to put the nut on the bolt and it was actually very very smooth and you can tighten it down so these are actual functional bolts that I printed uh which I thought was really really cool it's the first time I've actually printed two parts that go together like that like a Fastener and here's the other piece that holds three little gears they just slide onto the little shafts here clean them up a little bit but they go right onto the shaft and they spin freely so you can tell the tolerances on this printer are actually really really good you know you're printing all these parts separately and they all fit together afterwards so that just you know that that's a testament to just how accurate the printer is now when I printed the really small one uh it was incredibly tiny like I mean it was so tiny you almost couldn't assemble it so I was like yeah I think the person was going for how small Could you actually print a function gear box um I decid to go the other direction and say how big of one can I actually print so so there's all the parts guys all right now it's time to do a little bit of a cleanup you can see I got just a file here just a regular metal file it's not even a plastic file and I'm just going to go around where there's some little boogers in the teeth and stuff from the print head moving on and off of the object and I'm just going to file them down a little bit um you don't have to go too crazy here I mean if you want the gears to be like perfectly meshed and reduce friction you might want to spend a little bit more time than I did on this um or use a you know an angle cut file which I have somewhere in my garage I just didn't go and grab it which would have cleaned the teeth out even better but uh you know just just do what it takes to get the gears to mesh together nicely and that's all I'm trying to achieve right here all right so now we just want to make sure that the little gear moves around okay inside of it and it did so now I'm going to take my little gears and file them also and those are the only other part that you really need to clean up after this print and these required even less clean up than the larger gear now had I not turned on the air conditioner in my room and like screwed with the humidity and the temperature I'm conf confident this thing would have printed out Flawless and came right off the board but it's one of those things when you're 3D printing you really don't want to change the environment a whole bunch because it is sensitive you know this this plastic is temperature sensitive and the rate at which it cools is actually you know a critical working part of how it works uh if the parts cool or solidify too quickly um they won't fully bond with their surrounding you have a weak part if they solidify and stay or they or they stay a liquid too long the plas stays liquid too long then you start to get this blobbing effect and you know so so there's a lot of tweaking and tuning doing the software to actually get the printer working right and it's one of those things where it's like you know what might work in my environment in my room might not work in your environment in your room and there's some variations in the printers too where you know you may need to make adjustments or print at a higher temperature or a lower temperature depending on just variations and parts so just something for you guys to note if you get one of these printers um out of the box they print really well but if you stick with it and you learn with it and you keep printing you're just going to keep getting increasingly better and better Prints but it is a process of definitely learning the machine and becoming used to how it works and uh and you the result is you get much better prints all right so now it's time for assembly so you start off with this little piece right here and this holds the three little planet gears so you go ahead and put those on there and they actually spin really really freely and they don't have any play in them which was nice so that just is a testament to the tolerance of this thing then you take the larger gear and you put it on the outside of those and then you slide the handle through the middle so the handle's actually turning from the inside and then the outer planetary gear is what's guiding the planets around uh if that makes any sense whatsoever so once that's all lined up which I'm doing right there now what you want to do is take the back piece which slides and snaps on there into place and then you want to line everything up so that you can run the bolts through it and that's what I'm going to do right here I've actually got the bolt in the wrong side flip it around get the program Jerry there we go okay so now we're go ahead and slide it through and because all three holes are threaded they they stay exactly where they're supposed to when you slide through the other side side and so just like that tighten up and of course I grabbed the wrong nut here that's why it's not screwing on I'm like oh what's go what the hell's going on here I've been fooled no it's one of the smaller ones so I'll come back to that so if I can only keep my hands in front of the damn camera gosh I swear I need like a laser pointer pointing at the desk so I don't do this so you guys can just sit there and watch my palm like move about uh well there's nothing interesting going on here but I'm going to leave it in the video anyways cuz that's how I you know guys know I like to error my mistakes but you can see I'm spinning the planet gear it was actually working right there so I'm like woohoo I'm super excited right now I think I even yeah yelled Yahoo but I decided to do this as a voiceover video since the since my microphone picked up the air conditioner so freaking loud so and you guys have actually liked the voiceovers so that's why I keep doing them if you don't like the voiceovers and You' rather me just do live commentary I can do that too that's fine uh so there I am screwing the screwing the little bolts on the end of the nuts or the nuts on the end of the bolts blah blah blah blah blah man I'm Absol minded today and there we have a functional planetary motor handle no there we go now you can see it tada so you can see that I'm rotating the handle on one side and it's not spinning nearly as fast on the other side and it actually moves pretty freely and pretty smoothly and you can pop the handle in and out really easy as I show you right there and uh you can see you go forwards backwards it works actually really really well I was actually surprised and uh I'm still playing with the thing now cuz it's just so freaking awesome all right here I did just a little bit of fine-tuning and tighten things down so now you can see all the gears moving inside as I'm rotating them and keep in mind that what you're looking at right here is 100% 3D printed there is not a single part in this planetary gearbox that didn't come off that printer and is in plastic so there's no metal there's no bearings there's there's nothing like that this is 100% printed in pla plastic and it works fantastic wow that kind of rhymed now the Next Step that I'm going to go to is uh I actually broke a couple little Parts on I know I'm bad I I decided it'd be awesome to hook it to drill and see if I could spin it at like 3,000 RPMs and obviously what happened was the shafts heated up and they bonded to the gears so I need to print a couple new replacement parts just the little part so it's not going to take 15 hours again but next time I'm going to add some silicon Lube to it and see if I can actually get it to withstand that 3,000 RPM or whatever the hell my my uh Craftsman drill does um so let me know if you guys would be interested in seeing that as this progresses like if you want me to add more gear modules to it I can certainly do that and uh if you guys want to see this thing like try to go For Broke and run it incredibly high speeds let me know I'll I'll push for that too and we'll do them as separate videos but for right now guys I hope this gave you a nerdgasm it sure as hell gave me a nerdgasm because I mean come on I printed a freaking transmission basically off of a off of a 3D printer I mean that's awesome so if you don't think so leave it in the comments like favorite And subscribe I love reading your comments you guys know I do check out my other videos please I'm having a having a lot of fun interacting with you guys and the Channel's actually getting really big so someone out there must like me so guys until next time I really hope you enjoyed this video if you did please like favor and subscribe it helps me a bunch also come follow me on Facebook and Twitter I love interacting with you guys e
Up Next
3:00
Bearing Selection Guide: Bore, Flange, Seal, and Shield Types
@AndyMark
5.3K views•2021-11-26

12:54
Triumph of Orthodoxy Icon: Byzantine Art & History Explained
@BenCallan
2.1K views•2024-08-06

9:49
FastAPI vs Flask vs Django: Choosing the Right Python Web Framework
@TechWithTim
302.5K views•2024-05-26

1:42
Game of Thrones Opening Credits: A Cinematic Analysis
@gameofthrones
46.3M views•2011-04-18
Related Study Plans & Knowledge Roadmaps
Structured learning paths in General & Interdisciplinary Studies
general-studies
Elevator Engineering: History, Physics & Cities
01From Hoists to Safety Brakes: The Dawn of Vertical Lift
02Hydraulic vs. Traction: The Engineering Physics of Elevators
03Modern Speed, Safety, and Algorithms
+ 2 more learning modules
12h5 modules
Explore Roadmap
general-studies
Rubber: Material Science, History & Geopolitics
01Origins of Natural Rubber & Mesoamerican History
02The Chemistry of Natural Rubber & Vulcanization
03The Geopolitics of the Rubber Boom & Colonization
+ 2 more learning modules
12h5 modules
Explore Roadmap
general-studies
Containerization: Evolution, Logistics & Trade
01Ancient Trade & Bulk Cargo: Amphorae to Barrels
02The Industrial Revolution & Cardboard Packaging
03The Containerization Revolution: Malcom McLean
+ 2 more learning modules
12h5 modules
Explore Roadmap
general-studies
Textile Tech: Evolution, Labor & Global Impact
01Pre-Industrial Textiles: Handloom & Cottage Industry
02Mechanization: The Spinning Jenny to the Power Loom
03The Factory System & Global Labor Transformation
+ 2 more learning modules
10h5 modules
Explore Roadmap