![[GHW Open Source] Getting started with ROS 2 for Open Source projects](https://i.ytimg.com/vi/8pZYK6qACH0/maxresdefault.jpg)
![[5]–ROS2 Basics Explained – Nodes, Topics & Messages [شرح بالعربى]](https://i.ytimg.com/vi_webp/x7fgj2tMVLg/maxresdefault.webp)



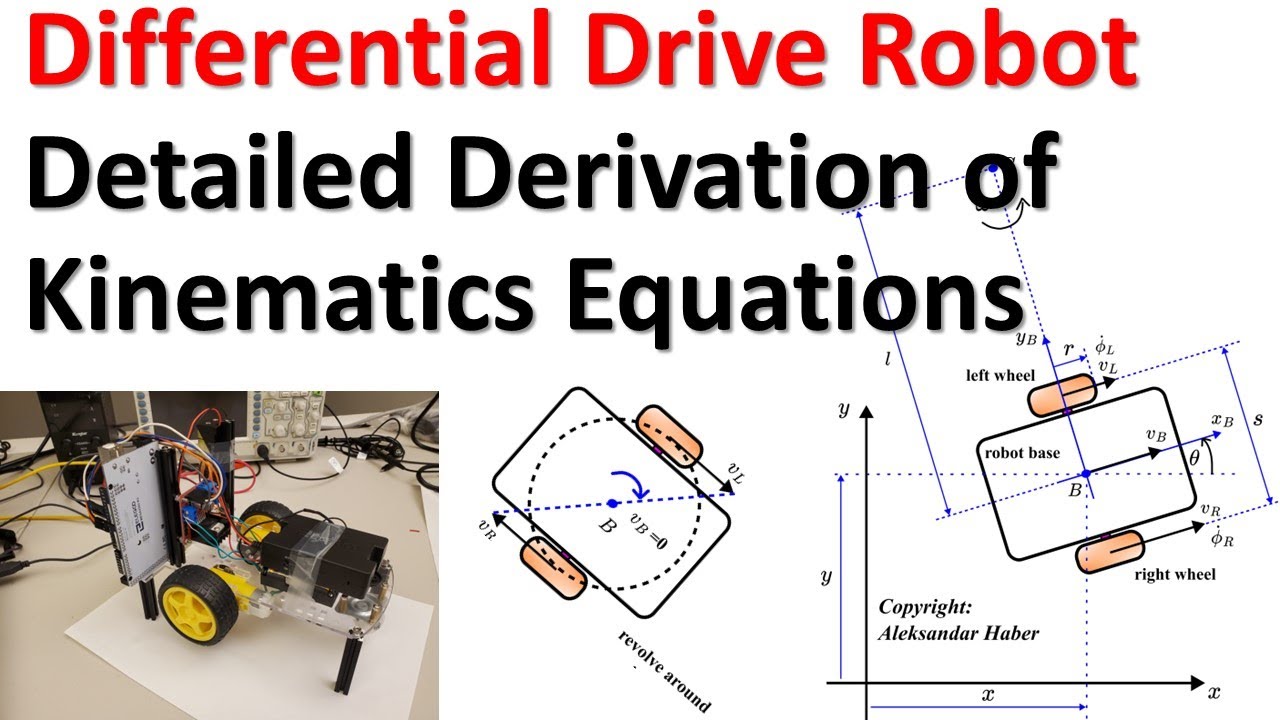


![[Gazebo in 5 mins] 001 - How To Launch Your First Gazebo World Using ROS](https://i.ytimg.com/vi/qi2A32WgRqI/hqdefault.jpg)

![[ROS Q&A] 191 - How to Launch the Parrot Drone Simulation Locally](https://i.ytimg.com/vi/dwdVwwngMow/hqdefault.jpg)

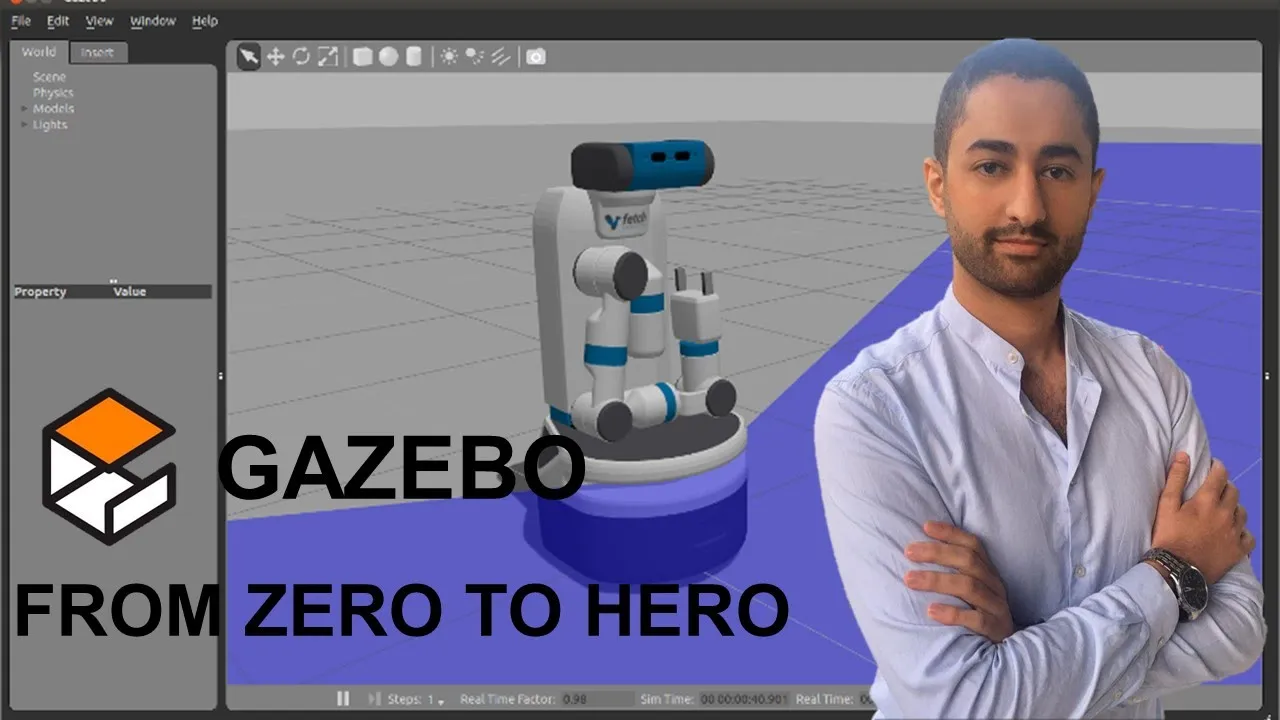



![Project implementation of SLAM Toolbox | Unknown environment |Mapping ROS2 Tutorials | [Tutorial 11]](https://i.ytimg.com/vi_webp/3Ak3KoNhfv0/maxresdefault.webp)
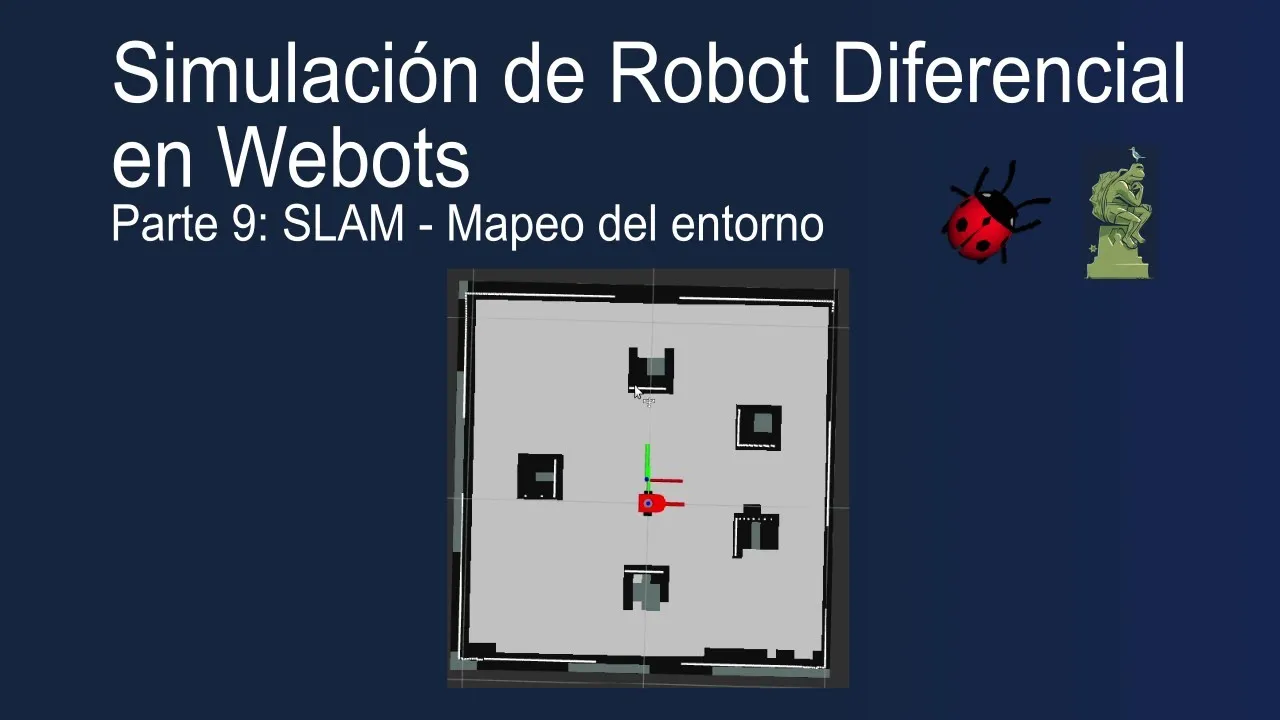
![[ROS2 Q&A] 233 - How to install and use slam_toolbox](https://i.ytimg.com/vi/JXnXnAXrYj8/maxresdefault.jpg)
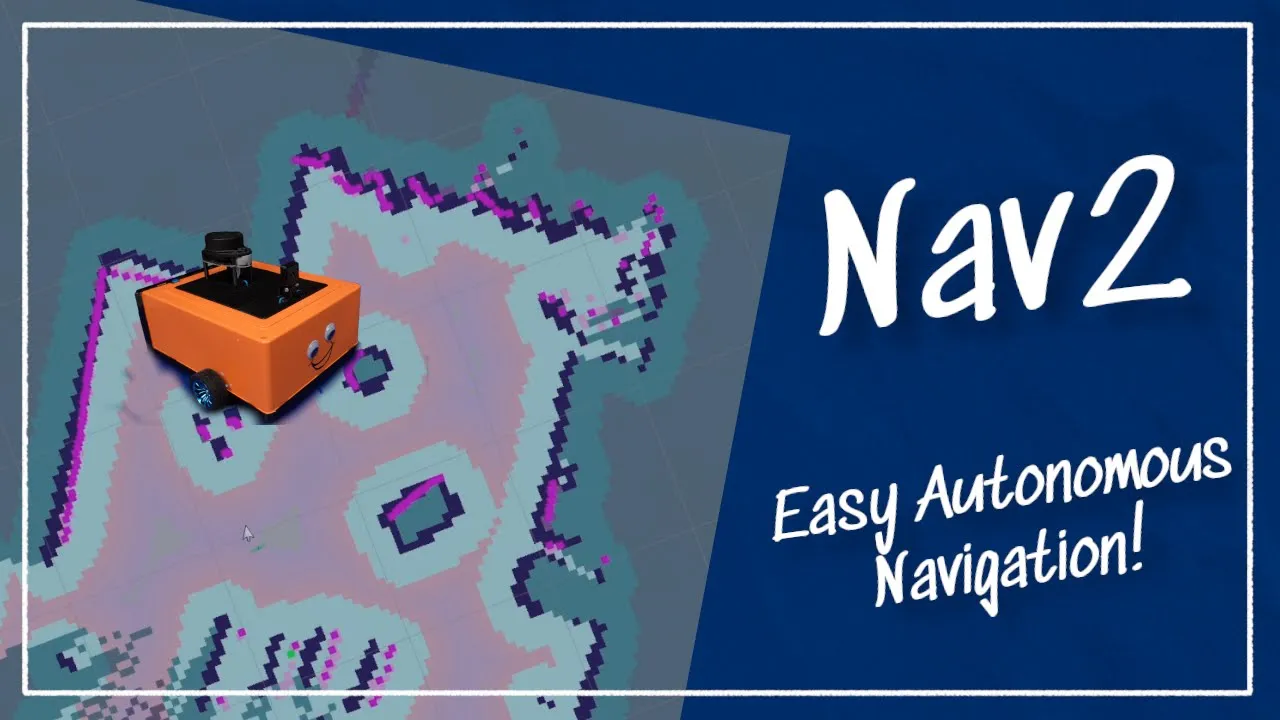


![[ROS Q&A] 126 - How to configure the differential drive ROS controller](https://i.ytimg.com/vi_webp/9OWxX7PA4SU/maxresdefault.webp)
![ros2_control with ROS2 [1h20 Crash Course]](https://i.ytimg.com/vi/B9SbYjQSBY8/maxresdefault.jpg)

This tutorial demonstrates how to simulate a mobile robot in Gazebo using ROS 2, covering the complete workflow from launching the robot state publisher with simulation time enabled, spawning the robot in Gazebo, configuring differential drive control plugins with proper wheel parameters, and visualizing the robot's odometry and transforms in RViz; the key concepts include understanding how the control plugin translates command velocities into motor commands, configuring friction coefficients for realistic movement, and creating custom worlds for obstacle courses.
Simulating a Mobile Robot in Gazebo with ROS 2 Control Plugins
Added:Basic ROS 2 concepts, including nodes, topics, messages, publishers/subscribers, and workspace setup using colcon.
Robot modeling using URDF (Unified Robot Description Format) or Xacro to define links, joints, inertial properties, and collision geometry.
Kinematic principles of differential drive mobile robots, specifically how wheel velocities translate to linear and angular robot motion.
Introductory familiarity with the Gazebo simulator, including how to launch empty worlds and understand the simulator's UI.
Integrating virtual sensors (such as 2D LiDAR and depth cameras) into the Gazebo robot model and publishing sensor data.
Implementing SLAM (Simultaneous Localization and Mapping) using packages like SLAM Toolbox to map a simulated environment.
Configuring the ROS 2 Navigation Stack (Nav2) to enable autonomous path planning, localization, and obstacle avoidance.
Applying Sim-to-Real techniques to port the ros2_control configuration from the simulated Gazebo environment to physical differential drive hardware.
120.5K views1.3Klikes22:56Original Release: 2022-03-04
g'day everyone today we're going to continue looking at the concept design of our robot and how to simulate it in gazebo by the end of this video you're going to have a 3d simulated version of your robot that you can drive around a virtual room and i think that's pretty cool so let's get straight to it we're going to pick straight up from the end of the last tutorial where we were making our urdf file so if you haven't seen that one yet you're going to want to go ahead and watch that first i'd also highly recommend that you watch my other tutorial that has an overview of gazebo and how it integrates with ross i'll include a link in the description and up in the corner we're going to start by dropping our robot with the uidf that we've made into gazebo as it is right now and then from there we'll work to improve it and get the simulation going the way we want it this first bit is going to consist of three steps firstly we're going to be running robot state publisher just like we were before only now we'll be running it in simulation mode secondly we'll be launching gazebo with ros compatibility enabled and thirdly we'll be running the gazebo robot spawner script to spawn our robot into the gazebo environment to launch robot state publisher we're going to do pretty much exactly what we did last time only this time we're also going to set the use sim time parameter to true whenever we're working with gazebo and simulations it's important that when we run other nodes that we enable use sim time and that tells those nodes to keep their clock their timing synchronized with gazebo and if we don't do that things will get out of sync and so that goes for robot state publisher as well whether we're launching it uh whether we're running it by itself or whether we're launching it as part of a launch file and so the launch file that we used last time it exposes this parameter for us so we'll get back into our workspace and source it [Applause] now last time we were launching it like this all we've got to do is add to the end use sim time equals true and now this will launch robot state publisher with simtime enabled next we need to launch gazebo and to do that we're going to use the launch file provided by the gazebo ros package if you haven't already installed gazebo you can do that with the command i'll put up on the screen now and then open a new terminal and we'll type rost2 launch gazebo ross gazebo.launch.pi and so this should start up gazebo and it's there we've got an empty gazebo window finally we can spawn our robot using the spawn script that's also provided by the gazebo ross package so to do that we'll type ros2 run gazebo ross spawn entity dot pi and we'll type dash topic robot description so that tells it that the urdf is being published by robot state publisher on a topic called robot description and we'll type entity and then we've got to give it a name i'm just going to type bot name this doesn't really matter and then what that'll do is that'll spawn a copy of our robot here in the gazebo window the colors don't look quite right and we can't drive it around just yet we'll fix that soon now before we really start to work on this we're going to do one more thing that will make our lives a bit easier instead of having to close and re-run all three of these programs every time we make a change we're going to wrap them all up into a single launch file that we can just start and stop now this file is a little bit complicated to write from scratch so i'm going to include a link in the description to one that you can download but if you want you can copy and type in mine as you see it on the screen um for me i'm just going to make mine magically appear here in the launch directory so you can see here it's called launch sim.launch.pi and i'm just going to quickly go over the things that are in this file so we start off we've got a bunch of imports they're just there to make the python code simpler now first up we include the robot state publisher launch file that we were using last time so we can see the package name here now i've got robot testing there we want this to be the name of our package so for me it's our tickerbot one then you can see here it launches our rsp.launch.pi and it forces the use sim time parameter to be true so that's what we want then next up we include the gazebo launch file so it's gazebo ross is the package and then the gazebo launch file there and then finally we've got the spawn entity uh script from the gazebo ross package as well that we had before with the robot description and a name for it and it tells it to just do all of those things so now that we've got that what i'm going to do is i will rerun colcon to rebuild it now we want to make sure that we've closed everything from before so make sure we'll quit that one and quit that one and now we can go ross to launch tikibot1 launch sim dot launch dot pi you can see it's going to start robot state publisher and gazebo and spawn our robot so it's exactly what we had before but now we only have to run that one command to do it and remember also that whenever we close gazebo we've got to make sure we remember to manually hit control c to stop the launch file so now that we can relaunch our simulation nice and quickly let's get to work improving it as i mentioned in the gazebo overview tutorial we can expand on our urdf by adding gazebo tags which let us tell gazebo certain things that it can do when it simulates and we also saw in that video that the first thing we can tackle is fixing up the colors so we'll open up our robotcore.xacro file from last time and then for every link that has a visual tag we want to add a gazebo tag where we specify the color so i'll start off here with the chassis link so we'll add gazebo reference equals chassis and now here we want to set the material to gazebo white and now i'll go ahead and do the other ones as well so now if we go and relaunch gazebo we can see we've got our white chassis our blue wheels and our black caster wheel just like we want so now that we've got our colors sorted out it's time for the fun bit driving it around before we start doing the work to get our robot driving there are a couple of concepts we should take a moment to cover the first thing to note is that later on in the project we'll be using the fantastic ros2 control library to handle our control code what's cool about that is the same code will work for both the simulated robot and the real robot which minimizes the differences between the two and when we do that i'll also go through these concepts in much more depth but since ros2 control is a bit complicated to set up today we're just going to use a more simple differential drive control system that comes with gazebo it'll do fine for the next while and we'll also just do a brief overview of the concepts when we have a real robot it will have a control system the main thing that that control system does is take a command velocity input that's how fast we want the robot to be going it'll translate that into motor commands for the motor drivers it'll read the actual motor speeds back out and calculate the true velocity with ross that command velocity is on a topic called cmd underscore vel and the type is twist which is just six numbers linear velocity in the x y and z axes and angular velocity around h axis for a differential drive robot though we can only control two axes we've got linear speed in x so that's driving forwards and backwards and angular speed in z that's turning and so the other four numbers will always just be zero rather than the true velocity we're often more interested in the robot's position the control system can estimate this for us by integrating the velocity over time adding it up in tiny little time steps this process is called dead reckoning and the resulting position estimate is called our odometry in the gazebo overview tutorial we saw that whenever we want to use ross to interact with gazebo we do it with plugins the control system will be a plug-in rost2 control or for today gazebo ros diff drive and that will interact with the core gazebo code which is simulating all the motors and stuff and this whole system then interacts with our diagram from the last video instead of faking the joint states with joint state publisher gui the gazebo robot is spawned from the robot description and the joint states are published by the control plugin the plugin also broadcasts a transform from a new frame called odom and that frame is kind of like the world origin it's the robot's start position so it broadcasts the transform from odom to baselink and that lets us know the current position estimate for our robot the plugin we're using today though doesn't quite follow this instead of publishing the joint states it just publishes the left and right wheel transforms directly which has the same effect overall so to drive our robot around we're going to need to add a control plugin now rather than adding more and more things into this core x-acro file what we're going to do is we're going to add a new include file here that's going to contain the information for the for the gazebo control so we'll type xacro include file name gazebo control and then this file doesn't exist right now so we better create it and we'll start off by grabbing this just so that we can get the xml header and the robot tag set up and now in here we're just going to have a gazebo tag oh just tell that it's an xml file and then inside our gazebo tag we're going to have a plugin tag and then in the plugin tag at the top we're going to need to specify a name this doesn't matter too much so we'll just go diff drive and then a file name and the file name here is the the file name of the plugin that we're using and the one we're going to use today is called lib gazebo ross diff drive dot so now in here we're going to put all of the settings that the plugin needs there's a whole bunch of them i'm going to step through them and you can just copy what i do so we'll start i'll put some comments with the wheel information so we have to specify the left joint [Applause] and our left wheel joint is called left wheel joint then we have to do the same for the right wheel so we'll just change all of these to right we have to specify the wheel separation and in this case for mine it was 0.35 if you remember here with our left and right wheels they were 0.175 away from the center so we doubled that is separation of 0.35 and our wheel diameter was 0.1 meters so that's the wheel information it's important that you get those ones correct for your robot then we've got the limits so this is acceleration and torque limits so we'll go max wheel torque we're just going to set these to be pretty big it doesn't matter too much what we do you can tweak them to make your simulation behave the way you want if you like acceleration we'll make this 10 and then finally output this just tells the plugin exactly what it needs to output just copy what i do here so we've got uh odometry frame is called odom the robot base frame now our base frame was called base link as it's according to the standard then we've got publish odom should it publish the odometry to a message and we'll say true publish odom tf do we want to publish the odometry transform yes we want it to do that and publish will transform do we want it to do that and yes we also wanted to do that so that is the differential drive plug-in all configured and ready to go so now let's test it i've just realized i forgot an underscore here so make sure you put that in there so now we'll reopen our terminal make sure we rebuild head back to here kill the old gazebo if it's still running and then we'll launch it again and so we can see our robot is just sitting there like it was before but now it's waiting for us to send command velocities so what we'll do is we'll open a new tab and the easiest way for us to get started sending command velocities is to use a program called tele-up twist keyboard so we'll type rost2 run tele-up twist keyboard and what that means teleop is short for teleoperation which is remote controlled by an operator by a human operator as opposed to autonomous control twist is the type of message that ross uses to express linear and angular velocities together and keyboard because we're using our keyboard so tele-up twist keyboard means using our keyboard to remotely send velocities to the robot so we'll run that now this program is a bit annoying it only works if you have it open as the the active window so i'll move it over here we'll have our our robot there and then i'll have this as the active window and it says here um that to drive it around we use u i o j k l m comma and full stop so i'm going to start by pressing i and hopefully our robot is going to move and we'll see it does move but it's it's jumping around and the reason for that is because if you recall in the last video when we made our urdf we said that our caster wheel was going to be frictionless but we haven't made it frictionless yet and so that wheel's kind of dragging along the ground and causing it to kick up so we better fix that we'll go back to our robot core.xacro and we'll find out our caster wheel link and the gazebo reference for it and what we can do is gazebo lets us specify the friction coefficient now the way we do that is we go mu one value now you can set it to zero i like to just set it to a very small value just in case there's like a divide by zero somewhere and you actually have to set mu 1 and mu 2 um they're two slightly different friction coefficients so we'll do that we'll close gazebo and then we'll re-run it and hopefully now hopefully now when we drive around it'll be nice and smooth and we can steer and drive around now this whole keyboard thing is pretty annoying because often you'll go oh i want to zoom in on the robot and then now it's running away and i'm typing and it's not doing anything because i've got to get this open and so instead it's much easier to use a joystick and use tele-up twist joy along with the joy node from the joy package we'll look more closely at that in a later tutorial but if you want to explore that now i would recommend it if you've got a controller handy it makes it much easier because even when that window is not active you can control it with the controller so we've got a simulation going it's a bit rough but it'll do for now what we'd also like to be able to do is use arviz to visualize what it thinks is going on with the robot so i'm going to open up a new tab we'll launch rvs we'll add a transform and we'll set our fixed frame to odom so that's telling us where the robot is with respect to gazebo's origin we'll also add our robot model and set the topic and so now let's see if we can show all of this at once now as we drive our robot around we should see it moving in gazebo and gazebo is then reporting the robot's position it's publishing the odometry uh messages and transforms and rvis is then seeing them and displaying to us what it thinks the robot is doing so here gazebo is kind of pretending to be the real world some robot that we physically got driving around the room and avis is how we would normally be monitoring that robot from our computer so as we drive the robot around in gazebo we can see where it is in rvs because the plugin is publishing the transform from the odom frame to the base link frame now the last thing i'm going to do here in rvs is to just save this config in case we want to use it again so just like last time i'm just going to put it in this config directory and i'm going to call this one drive bot.rvis and that way if we want to do that again later we can bring it back up now the last thing i'm going to do before we finish is quickly make a world for our robot to drive around in this world we've got at the moment is pretty boring just a big grey plane so i'm going to build a quick obstacle course and show you how to launch that i covered this in the gazebo tutorial so i'm going to run through this pretty quickly if you want more details you can check that out there so i'm going to save this world and where i'm going to save it to is here in our package directory we've got a worlds directory so i'm going to call it obstacles.world hit save i meant to delete the robot before we did that otherwise the robot will be in our world so i'll just delete the robot hit save again save over the top of the album so now we'll close that and now next time when we launch this what we can do is we can add world is and then we'll just do the relative path to where it is so from where we are in our workspace it's source slash articubot one slash worlds slash obstacles.world and now when we launch gazebo what it should do is it should launch it with that world file and spawn our robot right in there ready to drive around and you can have a go at trying to navigate your little obstacle course that you've made my one's pretty easy but maybe you can spend some time making a bigger one now beyond any general gazebo issues that you might have which i mentioned in the other tutorial if you are having any trouble getting your robot to drive just double check some of the parameters so things like making sure you've got inertias set um with with reasonable masses on your wheels um and on your chassis making sure your friction value is right you can try changing these torques and accelerations that might make a difference for you one thing to check is if you want to use ros2 topic echo and we can echo the command velocities then we can see when we send a command velocity we can check that it's coming through uh coming out of here at least and then hopefully gazebo is receiving it from there oh and you also in this one want to definitely double check that your wheel separation and your wheel diameter are set correctly so now that we've got the broad design of our robot figured out and we've got a functioning simulation environment the next step is we're going to start looking at hardware so in the next video we're going to take a look at the brains of the robot that's the raspberry pi now if you're only doing these tutorials in the simulation environment and you're not building a physical robot then there's going to be less for you in the next couple of videos but i reckon you should watch them anyway you might pick up something and then the next time that we'll be back here in the simulation environment will be when we start to add sensors so that's our lidar and our camera apart from that as always like and subscribe if you've got any ideas or questions or comments just let us know down below and i'll catch you next time [Music] you
Up Next

17:06
ROS2 SLAM Toolbox Tutorial: Mobile Robot Mapping in Gazebo
@kevinwoodrobotics
17.1K views•2024-05-06

58:25
MathWorks Virtual RoboSub Simulation Environment | Webinar 2026
@RoboNationInc
209 views•2026-03-10
27:34
Robot Modeling with URDF: A Hands-On Guide for ROS
@ArticulatedRobotics
124K views•2021-10-25

25:22
Micromouse: The Fastest Maze-Solving Robots on Earth
@veritasium
23.5M views•2023-05-24
Related Study Plans & Knowledge Roadmaps
Structured learning paths in Robotics
robotics
Building Delta Robots: Kinematics & Pico
01Foundations of Delta Robots & Mechanical Design
02Electronics and Microcontroller Setup with Pi Pico
03Delta Robot Kinematics and Coordinate Math
+ 3 more learning modules
65h6 modules
Explore Roadmap
robotics
Building Ballbots: Dynamics, Kalman & LQR
01Embedded Electronics & Omniwheel Actuation
02Ballbot Kinematics & Rigid Body Dynamics
03IMU Sensors & Kalman Filter State Estimation
+ 2 more learning modules
42h5 modules
Explore Roadmap
robotics
Micromouse: Hardware, PID Control & Flood-Fill
01Electronics & Teensy Microcontroller Basics
02Sensors and Actuators: Motors, Encoders & IR
03Precision Movement: Implementing PID Control
+ 2 more learning modules
35h5 modules
Explore Roadmap
robotics
CDPR: Kinematics, Arduino & Winch Control
01Foundations of Arduino & Basic Electronics
02Stepper Motors and Winch Mechanics
03Kinematics of 2D Cable-Driven Robots
+ 2 more learning modules
28h5 modules
Explore Roadmap