

![[GHW Open Source] Getting started with ROS 2 for Open Source projects](https://i.ytimg.com/vi/8pZYK6qACH0/maxresdefault.jpg)

![[ROS Tutorial] 4. ROS 동작 컨셉 (세미나 영상)](https://i.ytimg.com/vi/WSb-saixcWg/maxresdefault.jpg)




![F1tenth (F1/10) Lecture 9]: Simultaneous Localization and Mapping - SLAM](https://i.ytimg.com/vi/44wwTIJqG_I/maxresdefault.jpg)




![[Gazebo in 5 mins] 011 - How to use joint_state_publisher](https://i.ytimg.com/vi/J0ErFG6FIps/hqdefault.jpg)





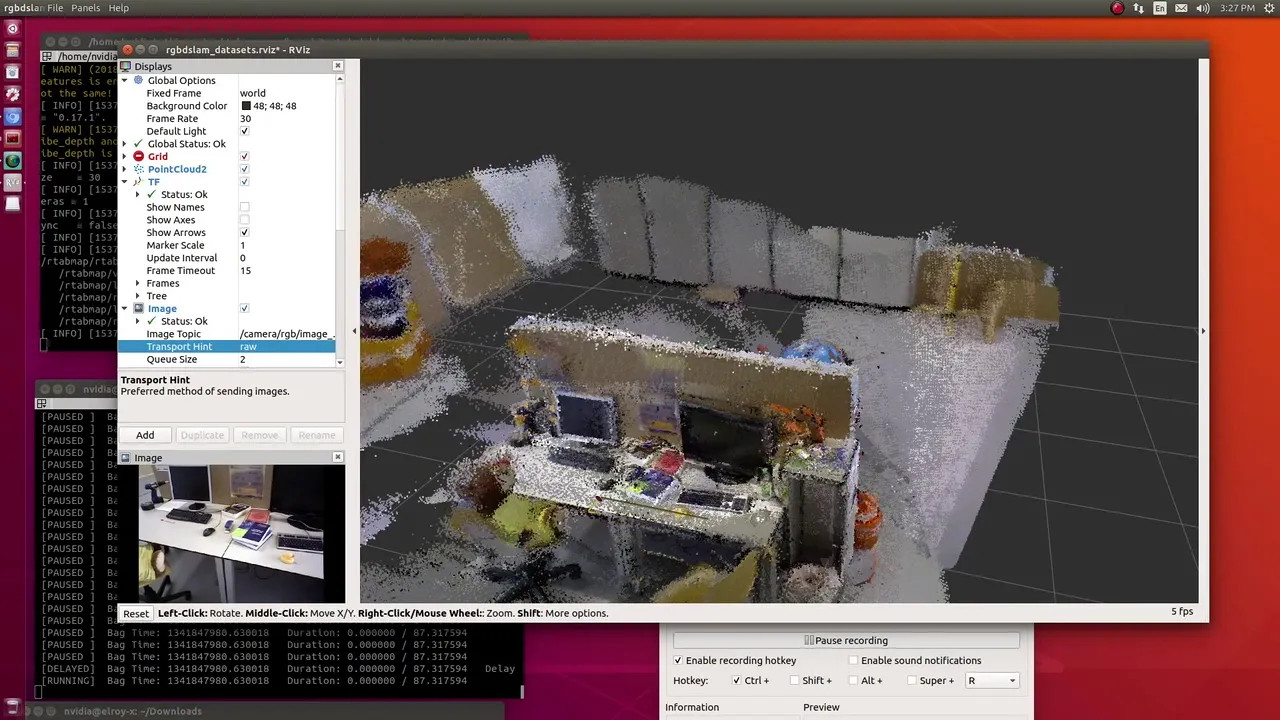
![[ROS tutorial] RTAB-Map in ROS 101](https://i.ytimg.com/vi_webp/gJz-MWn7jhE/maxresdefault.webp)
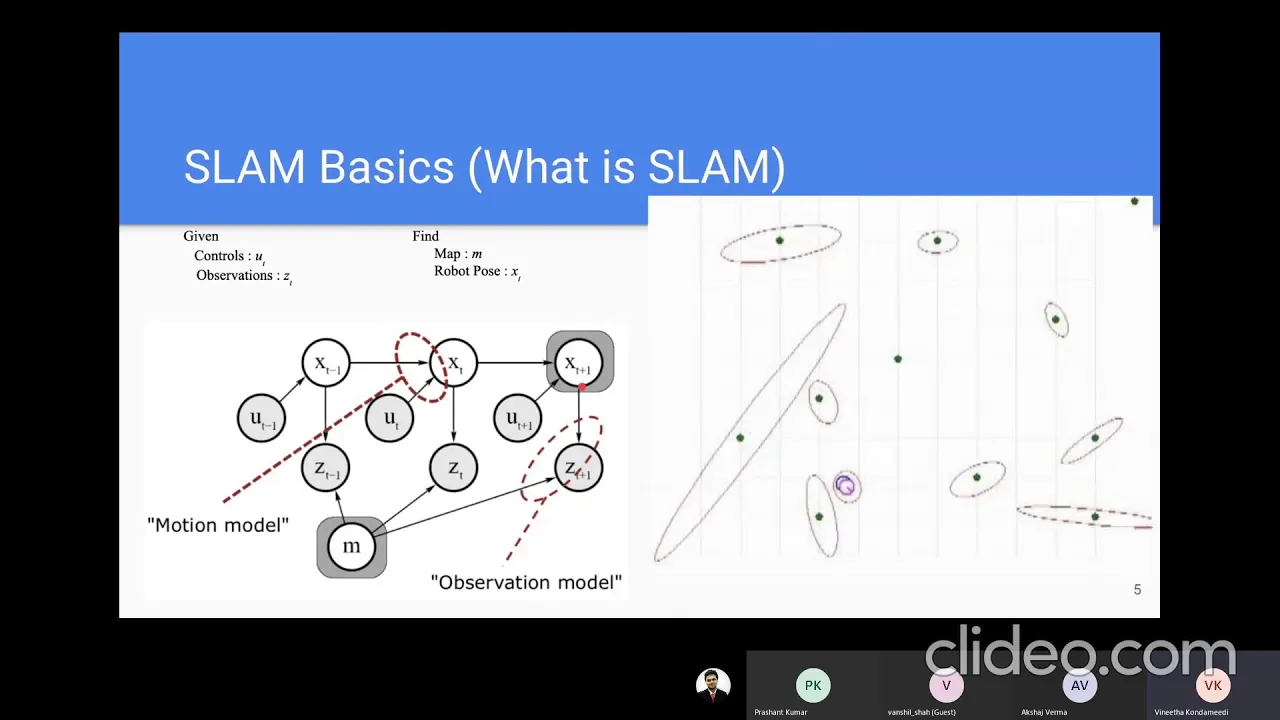
SLAM (Simultaneous Localization and Mapping) enables a mobile robot to build a map of an unknown environment while simultaneously determining its own location within that map; in ROS2, this is achieved using the SLAM Toolbox package, which processes LIDAR scan data and odometry to correct for drift and create an accurate occupancy grid map, with key steps including installing the toolbox, configuring Gazebo simulation with proper LIDAR setup, running the SLAM algorithm with appropriate parameters, visualizing results in Rviz, handling common errors like 'no map received' by ensuring correct startup sequence, and saving/loading maps for future use.
ROS2 SLAM Toolbox Tutorial: Mobile Robot Mapping in Gazebo
Added:Foundational ROS2 concepts, including nodes, topics, services, and the coordinate transform (TF2) tree system.
Basic mobile robot kinematics, specifically differential drive systems and how wheel odometry is generated and interpreted.
Theoretical understanding of Simultaneous Localization and Mapping (SLAM) principles and 2D occupancy grid maps.
Familiarity with launching and navigating the Gazebo simulation environment and using RViz2 for data visualization.
Configuring and executing autonomous navigation using the Nav2 (Navigation2) stack with the newly created 2D map.
Tuning SLAM Toolbox parameters for optimal performance, including loop closure thresholds and 'Lifelong Mapping' for dynamic environments.
Deploying the simulation-tested SLAM configuration onto physical robot hardware equipped with a real LiDAR and wheel encoders.
Exploring 3D SLAM algorithms (such as RTAB-Map or Cartographer) using depth cameras (RGB-D) or 3D LiDAR sensors.
17.1K views276likes17:06Original Release: 2024-05-06
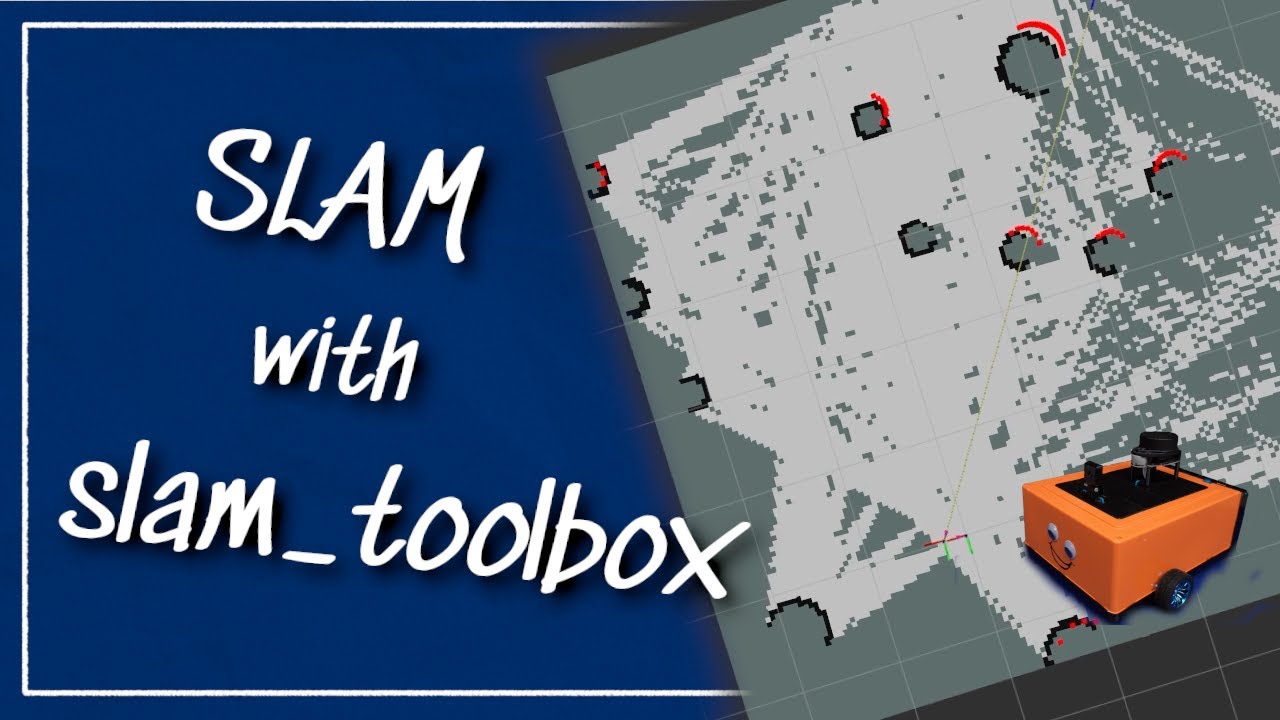
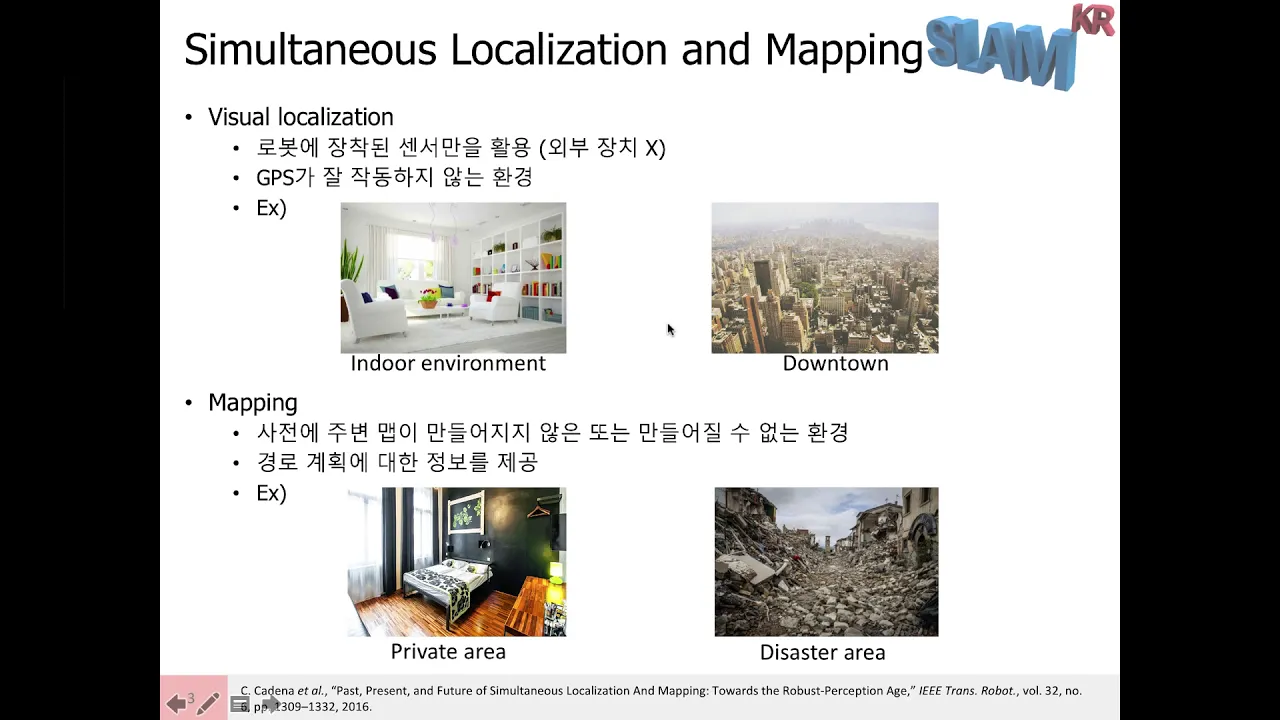
hey everyone in this video we're going to be using our cybertruck and the slam toolbox in Ross to create a map of our environment by driving the robot around so I'll be working off of my previous video the Ross 2 wield mobile robot gazebo simulation Ross 2 control diff Drive controller where I set up the uh file for the cybertruck as well as the controller so that's a prerequisite for this video but in this video what I'll be going over is these topics here so we'll be talking about what is slam how to install the slam toolbox how to set up gazebo world how to run slam toolbox and set up the parameters how to set up Arvis settings how to run the Arvis from the config file how to handle this special error that you might be seeing called No map received and how to create the map with slam toolbox how to save the map and finally how to load the map [Music] all right so what is slam slam stands for simultaneous localization and mapping so that's the acronym for slam and the main question that we want to answer is where am I so to figure this out you could break it up into two parts first we want to find the map of the environment that's the mapping part and the second part is location of the robot relative to the map so that is consider localization so with simultaneous localization at map we're actually doing both of these things at the same time so there are three main frames that we want to consider in Ross when we're dealing with slam and the first one we want to look at is Odom so with the Odom frame is a fixed frame of the robot starting location and the main properties of that is that it's continuous and smooth but one of the main issues is that it can drift so drifting means it might go somewhere over time and it's not any longer accurate no longer accurate okay and then here we have the map map is a fixed frame with a robot starting location and it's the map's origin so some properties of that is this discret but the thing is is that it's relatively accurate so that's why you want to rely on this map and the base is the location of the robot so in the perfect world we can map the environment using our odometry which is our wheel encoder and our lar Point Cloud so as the robot moves we'll collect the point cloud and the Odom and map frames would be coincident so if we look at this image here this is a perfect scenario okay so if you imagine the robot is moving around so here it moves to like position one and it gathers this uh Point cloud data it moves to position two and then it gathers this point cloud data here and then it moves to position three and gathers this point cloud data here so you can see that the point cloud data perfectly aligns with the wall so here it's inside a rectangular space and it's going to be perfectly capturing the data so in the perfect world The Odom and map frame is going to be coincident and is going to be at the location where the robot started but in practice you know drifting happen so what we're actually going to be seeing is something like this okay so in practice we're going to be seeing drifting so what that means is you know you have your map frame and the robot moves to some position but maybe as it moved there the orientation kind of got lost so so instead of capturing instead of having the point cloud map exactly where the wall should be it's maybe slightly at an angle and again it might move to another position and you can see that it's not perfectly aligned with the wall and it moves to another position and you can see it's off again so this is a cause of drifting and what ends up happening is that let's say by the time the robot returns home the Odon frame is actually going to be in some position that's no longer accurate okay so you can see that it's been drifted away from the map frame and it's going to be causing some error so this is why we have slam slam is used to correct for these errors and uncertainties and by using the lar and odometry and computer vision optimization methods we can more accurately estimate the pose of the robot so the whole slam pipeline you could think about it as uh these steps here so you have sensor data as the input and then you could think of it as breaking it up into two parts you have the front end and and back end and the output is going to be your map okay so the front end is going to be things like feature extraction um you have things like the different fast sift orb and serve I have videos on that you can go ahead and check it out you have the feature matching part which I also talked about in some of my open CV videos and then here you have the determined transform of the camera or the robots because typically the camera is going to be on top of the robot and then next up we have the back end so the back end is the key part is the optimization so you gather all of these things so previously for the front end we're talking about consecutive frame so between like each segment something happens but the back end looks at everything all together and tries to minimize the error of everything so there's methods like the extended common filter particle filters Le squares the graph post graph optimization typically they like to put it in graphs for um data structure because it's more efficient so once you have that the idea is you want to break up the map into discrete cells and the slam algorithm could detect determine the probability of the cell you know being either occupied or empty so occupied is going to be black and empty is going to be white so here's an example of the map that we'll be creating later and you can see the black spots um as you can see black was occupied right so black is usually going to be some obstacle so in this case our obstacle is our wall so black is like the estimation of where the wall could be and all the white spaces is the parts that is just free space okay okay so how do you install the slam toolbox so to install the slam toolbox it's pretty simple you want to run these two commands the pseudo app get update and pseudo apps install Ross and your drro plus a slam toolbox then everything should be up and ready okay so now we're going to talk about how to set up the liar for slam toolbar so we will discuss how to add the lar in your zacro file so first we need to add the lar link and transform it so that the lar is in the correct orientation otherwise the object will appear to be on the left when it should be in front so here's the part you need to add to your zacro file we have a link name called lar link and we're going to be combining the head and lar link together with a joint called head to Liar link okay and for our rotation we're going to be adding a pi halves here and later we need to add something else for the sensor message so you want to make sure that the message type is the correct type and that type is called sensor message and it's going to be laser scan so you want to add this part two to your zacro file for your plug-in so previously we've had this but the part you need to add is this part the output type is going to be the sensor message laser scan because the slam toolbox is expecting this type specifically okay so now we're going to talk about how to set up gazebo world for slam toolbox but before slam toolbox can work properly in Arvis we need to make sure that the Gazebo world has objects in it otherwise it won't work the lar needs to detect objects and pass that data to slam toolbox so here is the part that we want to add inside of our launch file so this is how you could start up gazebo this is how we started up previously but the main things that we've added is this part here which is a launch argument so instead of our launch argument we have a config and we've created a world file called walls. world and another thing that we've added is the use sim time is true which we're adding for everything else inside of our launch file so that's the main thing we've uh updated and to actually see the world um it's called we're going to be going through the steps where we CD c and build and then source and then run our launch file so I'm going to go ahead and do that so here I've already built it I'm just going to run it and this is going to go through the process of so I've already got Arvest set up we'll go into that later but here you can see our world so this is our world that we've set up and you can see the walls okay okay so now we're going to talk about how to run slam toolbox and set up the parameters so first we need a copy of our parameter file which could be found from the following path here and then there's a couple things to note there's two terms that's being used as online and asynchronous so online just means it's running in real time and asynchronous just means that's going to process the latest data and then everything's going to be running in parallel but some of the data might be skipped and we need to make sure that the parameters in the parameter file which is called mapper params online async doyl is set up correctly so the main parameters that we're going to be touching are these part the Odom frame which we're calling Odom map frame map uh base frame which I'm calling body here and then our scan topic which is a default name that the laser lar that we're using which is light our out so some applications may require a robot footprint frame which we're not using but you could go ahead and look that up if you need it okay so couple ways of uh to run your slam toolbox to run it from the terminal you go ahead and run this command here rosu launch launch slam toolbox online async launch. py and you want to pass in your parameter file one thing you want to note is it's called slam prams file and just specify the location of the parameter file and say use sim time is true and you could do the same thing using it from the launch file using this uh these few lines of code here and then when we start Arvis later we should be able to see if our slam is working properly okay so now we're going to talk about how to set up your Arvis settings so here in uh the global options what you want to do is make sure the fix frame is set to the map frame and then and the next up we want to look at the laser scan so for the laser scan setting you want to make sure the topic is slide or out here and next up you see the map so the map we have map here for the topic make sure that's set correctly and then we scroll down a little bit uh we have the robot model here and you want to make sure you have the robot description and then lastly we have our transforms which you could turn on and off as needed and make sure you set all of these in order because it's going to matter okay so how do you actually start Arvis from the config file for slam toolbox so in Arvis we've went ahead and saved our Arvis file into this path here and then if you want to run Arvis from the launch file you could go ahead and add this part to your launch file okay so how do you handle the no map received error from slam toolbox you may see the following error here no map received and at the transform ass say could not trans form from blank to Odon so the list of things you want to make sure is that all these things are happening in order because uh especially if you're not using a launch file then you may do these steps out of sequence so something uh some part of the pipeline might be expecting data and it's not seeing it so first off make sure gazebo is running and then there's objects in gazebo once you have all that you could run your slam boox toolbox so this will actually start up the map topic and um later on when you actually open up Arvis then you could finally set the fix frame to map map should show up only after the slam toolbox is showing and then the laser scan should only be able to pick up stuff once there's objects in gazebo and then finally you can set up the maps to start visualizing the map okay so hopefully if you follow all these steps uh in the right order you shouldn't see any error that says no map received okay so how do you create the map with slam toolbox so to create the map we need to drive the robot around and to do that we're going to be using the teleop but before that you need to make sure that the diff Drive controller. yo file has the use stamp velocity here set to false so go ahead and update that file and then now we can run the teleop to move the robot around uh we're going to be using the Ross to run teleop twist keyboard and then we're going to be using the command velocity called the div Drive based controller command velocity unstamped okay so it's only going to work with unstamped so make sure that you have that set up correctly so so now that we have that set up we go ahead and open up our terminal and we're going to have one terminal that's going to run our launch file and then in our other terminal we're going to and run the tele op so this teleop will let us use our keyboard here so once I run that I'm going to pull this over to another window here and then here we're going to set up the Gazebo and Arvis side by side so this will allow us to compare it and see what's happening so now we're just going to go ahead and drive the robot around so here you can see that initially it's facing like the X Direction so we're just going to rotate this so it's facing in a similar Direction okay so now that you can see both uh both views we could go ahead and start driving it around okay so now that we finished driving around you can see that it created a pretty good map is pretty Square you can see there's some parts that's not quite perfect um the over the overall orientation is a little bit rotated but I would say relative to where the robot is uh if you look here it's actually pretty accurate in terms of the relative location so if we take a look at the actual frames we could come here to TF and we could actually show it but here you can see that if we zoom in um you can see that here is the here's the Odom frame so you can see Odom drifted quite a bit I think it seems to be more sensitive to uh when you're actually rotating and then here is the map frame which is uh the center of our map but in terms of the overall map shape and the relative location of the robot relative to the map that's generated I think it did a pretty good job you can see that there's some parts here that's uh not not quite good like on the the right but um I think overall it's I think it does the job okay so how do you actually save this map that you want and then reuse it later so what you want to do is come here to panel and then add new panel then here you're going to see the slam toolbox plugin and then you hit okay and then here down here you could actually just uh write the name of your map so you could uh write map as your name then you could hit the save map and then serialized map and then once you do that um it's going to go ahead and save it to your file uh folder in your root Ross 2 so if we take a look here in our file structure you're going to see that uh it should have created these files here called map. dat map. uh PGM map.
postc and map. yaml so the main thing to note about these files is that uh there's different functions uh PGM is a cell occupancy data the yo is a grid resolution and origin location the stuff like that the map. DAT is a data from mapping and the postc is for some of the optimization stuff so for me I'm going to be putting into the config folder uh but for you you could put it wherever you want okay so now that we've saved our map how do you load the map from the slam toolbox so first thing you got to do is update your mapper prams online in async doyo file so you want to make sure you have these two lines one is a file path and then another one is a map start at Doc and set to true and after that it's pretty simple all you need to do is rebuild and then run your launch file again so we go ahead and run this you should see that our Arvest will now have the map automatic when we start it up so I'm going to minimize the Gazebo and you can see here that our map is already up and ready okay so now you could use this for localization with like the nav toolbx and things like that okay so if you found this video helpful give a like And subscribe and I'll see you in the next one [Music]
Up Next

88:38
ROS2 Mapping Tutorial: SLAM Toolbox for Nav2 Navigation
@TheConstruct
25.6K views•2022-03-15

58:25
MathWorks Virtual RoboSub Simulation Environment | Webinar 2026
@RoboNationInc
209 views•2026-03-10

11:04
How to Build a Self-Balancing Robot: Arduino Nano & MPU6050
@easytechzones
16.8K views•2022-03-09

25:22
Micromouse: The Fastest Maze-Solving Robots on Earth
@veritasium
23.5M views•2023-05-24
Related Study Plans & Knowledge Roadmaps
Structured learning paths in Robotics
robotics
Building Delta Robots: Kinematics & Pico
01Foundations of Delta Robots & Mechanical Design
02Electronics and Microcontroller Setup with Pi Pico
03Delta Robot Kinematics and Coordinate Math
+ 3 more learning modules
65h6 modules
Explore Roadmap
robotics
Building Ballbots: Dynamics, Kalman & LQR
01Embedded Electronics & Omniwheel Actuation
02Ballbot Kinematics & Rigid Body Dynamics
03IMU Sensors & Kalman Filter State Estimation
+ 2 more learning modules
42h5 modules
Explore Roadmap
robotics
Micromouse: Hardware, PID Control & Flood-Fill
01Electronics & Teensy Microcontroller Basics
02Sensors and Actuators: Motors, Encoders & IR
03Precision Movement: Implementing PID Control
+ 2 more learning modules
35h5 modules
Explore Roadmap
robotics
CDPR: Kinematics, Arduino & Winch Control
01Foundations of Arduino & Basic Electronics
02Stepper Motors and Winch Mechanics
03Kinematics of 2D Cable-Driven Robots
+ 2 more learning modules
28h5 modules
Explore Roadmap