
![[GHW Open Source] Getting started with ROS 2 for Open Source projects](https://i.ytimg.com/vi/8pZYK6qACH0/maxresdefault.jpg)









![[ROS Q&A] 168 - What are the differences between global and local costmap](https://i.ytimg.com/vi_webp/qPNs6pAZGtA/maxresdefault.webp)


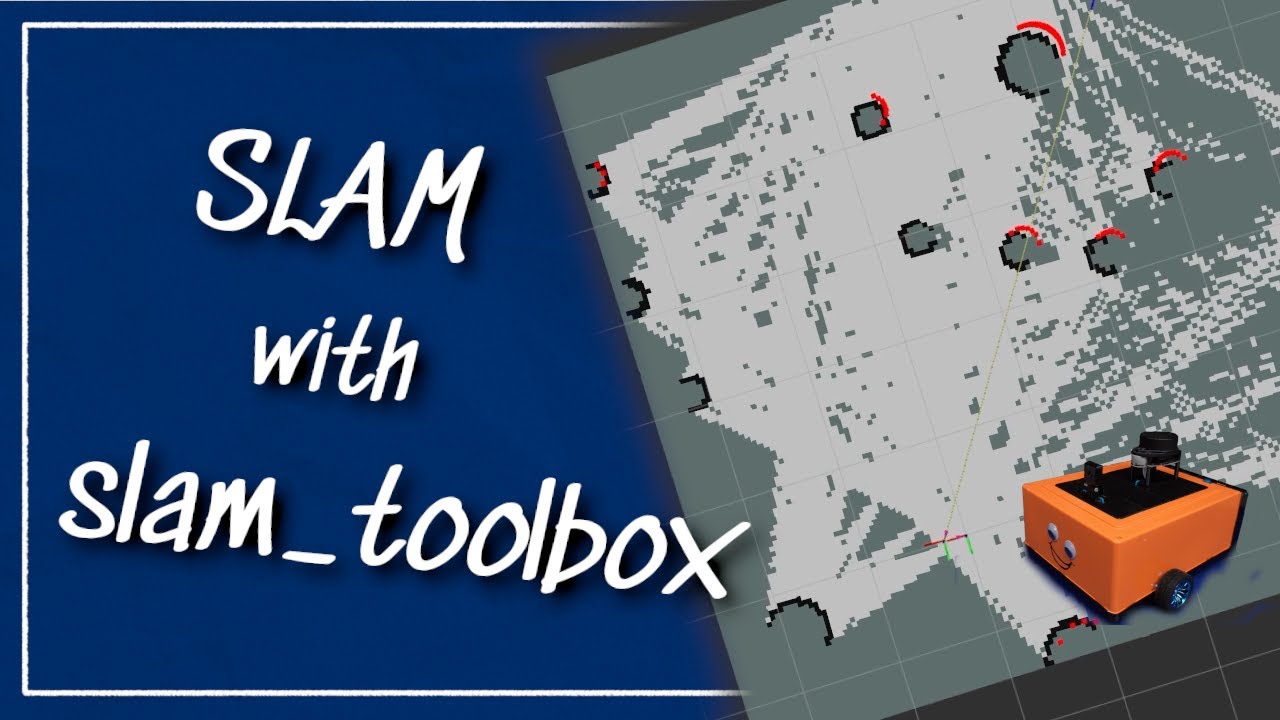
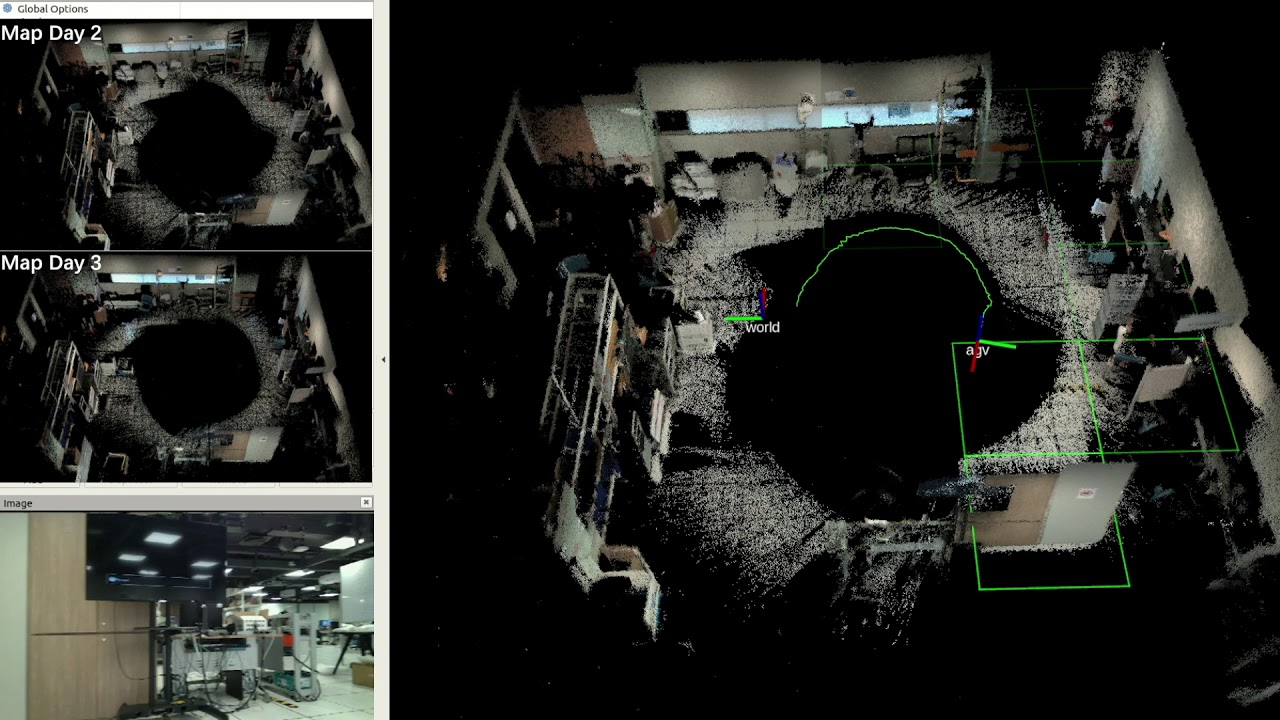

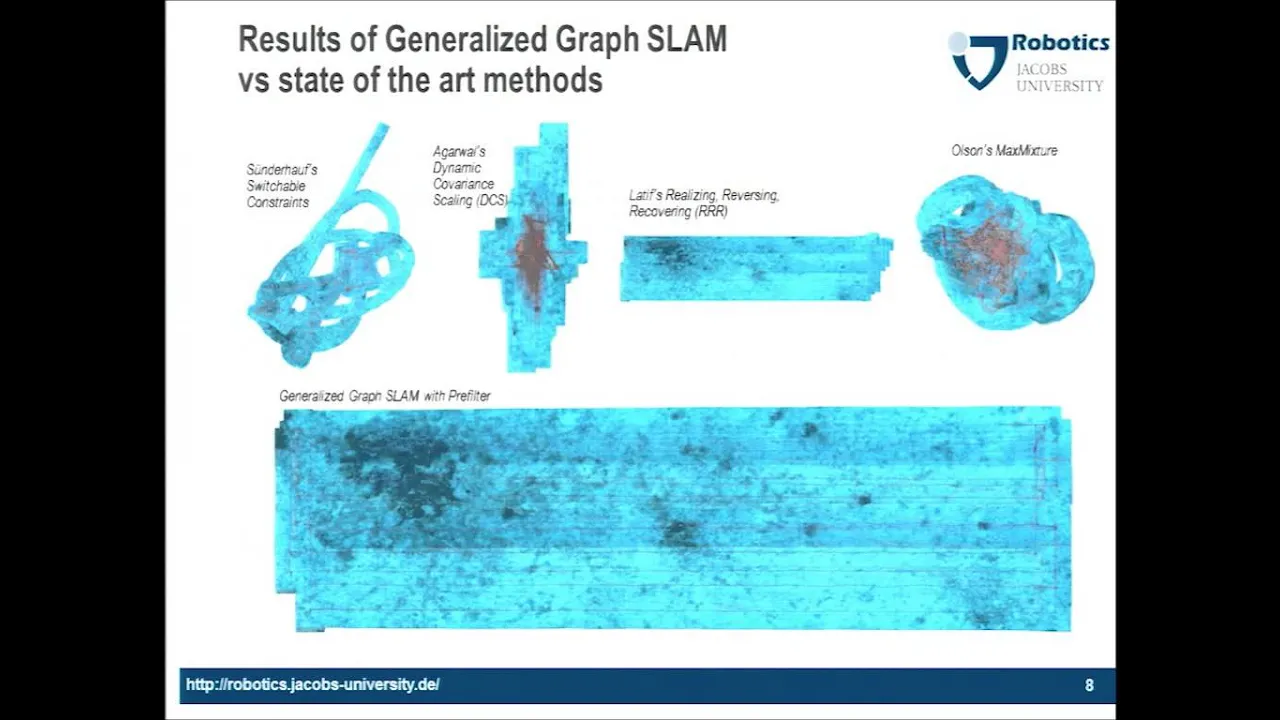
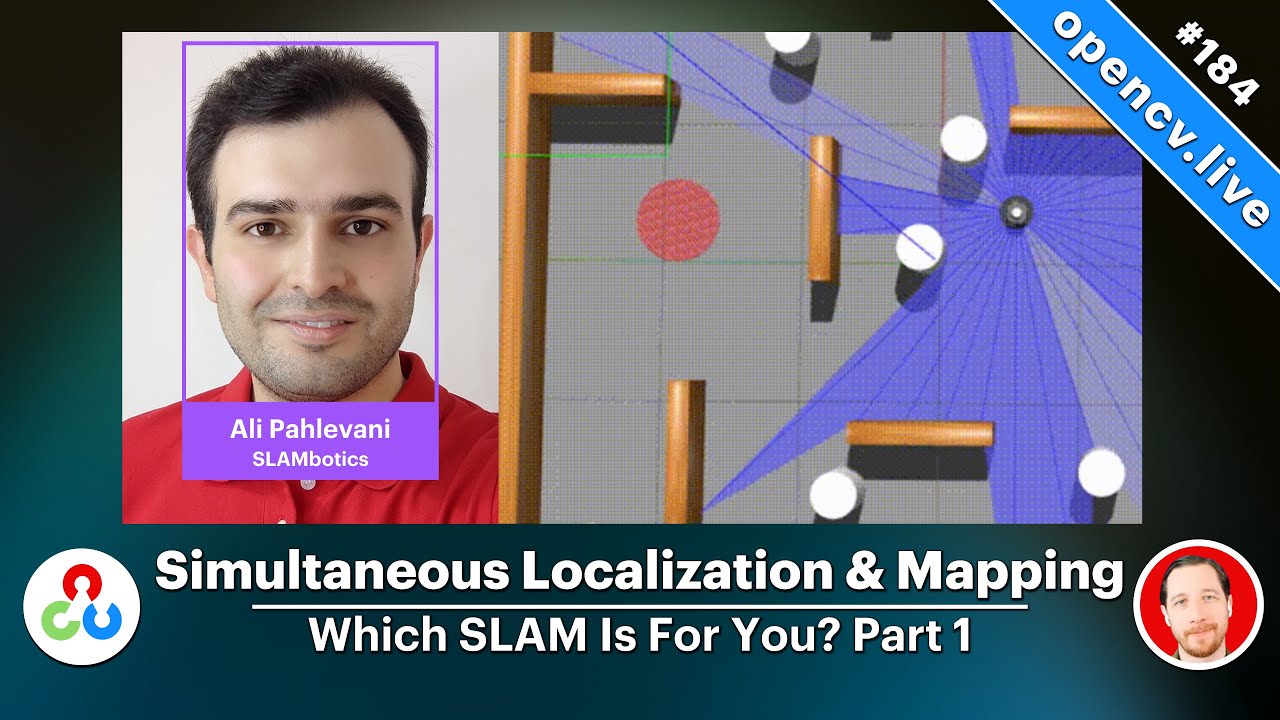
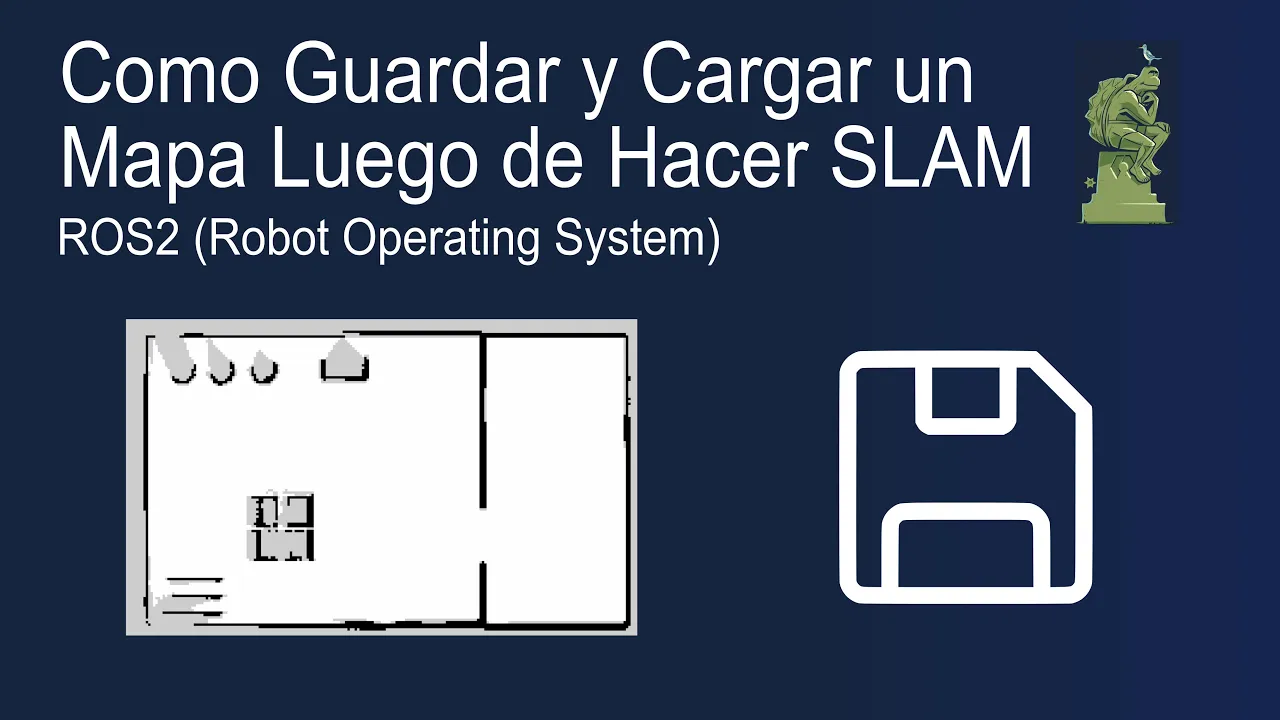
This tutorial demonstrates how to create and save a map of an environment using the slam_toolbox package in ROS2, covering the essential process of simultaneous localization and mapping (SLAM) where a robot equipped with a laser scanner and odometry builds a grid-based map representation (free space, occupied space, unknown space) by processing laser scan data, with key considerations including proper topic/frame name configuration, parameter tuning (such as max laser range), and utilizing different mapping modes (async/sync/lifelong) for various application scenarios.
ROS2 Mapping Tutorial: SLAM Toolbox for Nav2 Navigation
Added:Basic ROS2 concepts, including workspace setup, nodes, topics, publisher/subscriber patterns, and writing launch files.
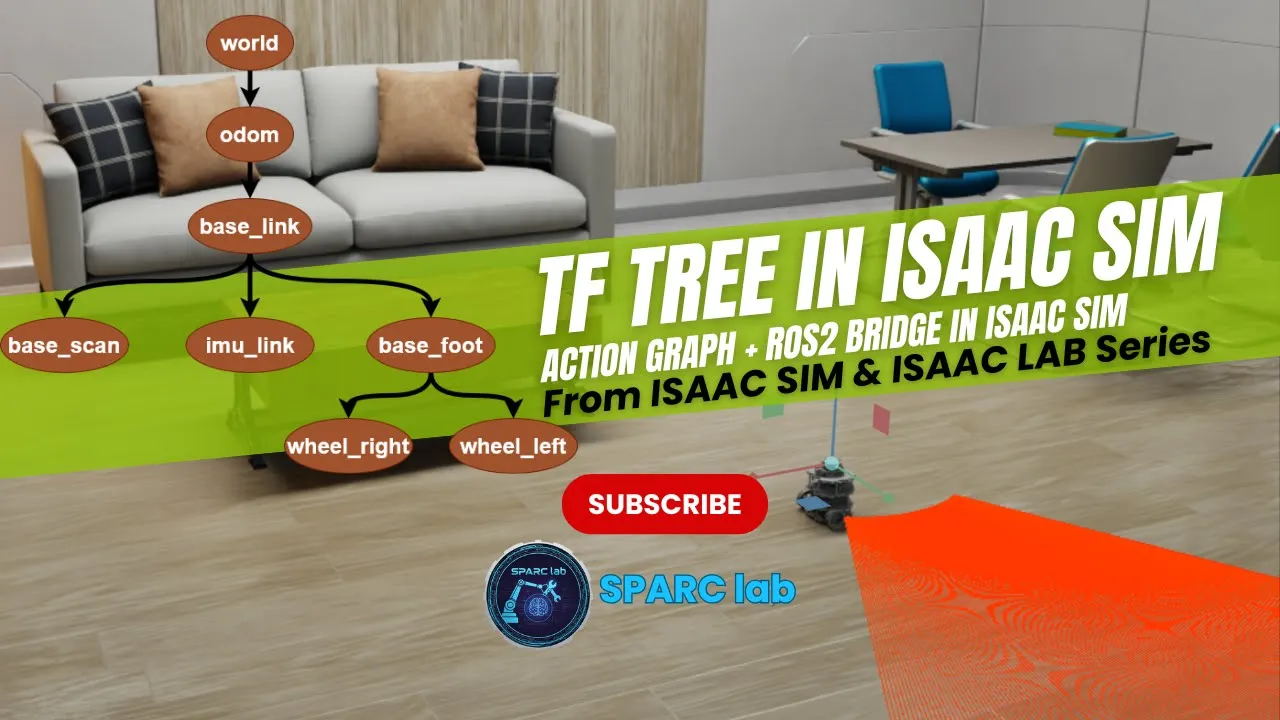
The concept of Coordinate Transforms (TF2) and key robotic reference frames, such as 'map', 'odom', 'base_link', and sensor frames.
Fundamental understanding of SLAM (Simultaneous Localization and Mapping) concepts and how LiDAR/LaserScan data is represented in ROS.
Familiarity with the high-level architecture of the ROS2 Navigation2 (Nav2) stack.
Configuring the Nav2 stack to load and utilize the saved 2D occupancy grid map for localization (using AMCL) and path planning.
Configuring Global and Local Costmaps within Nav2 using inflation layers and obstacle avoidance parameters based on the generated map.
Utilizing SLAM Toolbox's advanced 'Lifelong Mapping' mode to continuously update and refine maps over long-term deployments.
Integrating Behavior Trees (BT) in Nav2 to execute complex navigation tasks (e.g., patrolling, docking) using the mapped environment.
25.6K views323likes1:28:38Original Release: 2022-03-15
[Music] [Music] hello everybody and welcome to a new open class number 137 so welcome everybody today we are going to be talking of a navigation too specifically how to do mapping and specifically how to do mapping using the slam toolbox package and methods that it provides all right so yeah welcome everybody and let's already start let me know please in the chat if everything is all right everything is working properly if you can see me properly you can hear to me properly let me have a look here at the chat to confirm that everything is fine okay i can see there uh jairon lundwall says work works for me all right so let me let me already now switch to my computer screen and let's start so [Music] so yeah there we go then um as always same method as always probably you are seeing me here in this screen so the first thing you need to do in order to to start with the open class is to click on this fork and open uh the class project all right so i'm going to click here right now then this is going to to copy the project of today's open class into your workspace and it's going to also automatically open it as you can see right here okay then you are going to have uh also here in the right side all the streaming section with the with the live stream the chat in case you want to type anything okay you can you can move this to another tab if you want to have these as free space whatever configuration you prefer you can do it all right i'm going to leave it here because this way i'm going to be able to see the chat in case you you you have any question any issue whatever i can i can read you quickly here all right then yeah so let's wait now until the project files uh fully load and this is going to be the the project where we are going to be working on today as you can see the notebook opens here automatically so check that the the proper notebook has opened it should be the one for the open class number 137 as you can see here in mind so i'm going to give you uh a few moments until it fully loads then yeah let me just summarize a little bit and and and set things up so today we are going to be seeing how to perform how to create a map how to do mapping in a rush to in this case we're going to be using the slam toolbox package okay which is a set of tools as the as the package name says for doing slam both for mapping localization etc but today we are going to be focusing on the uh mapping process okay we are not going to go too too deep into that but we are going to see some interesting things about this slam toolbox package and features that it provides and we are going to to see what is the basic setup that you need to create that you need to have in order to create a map of your environment for any robot all right then okay so the first thing we are going to do here is to launch a simulation okay then uh just down here you have the the steps in how to do it so the first thing we will do is to open a new shell which we can do by clicking on this icon in the bottom bar first icon we can click here and this is going to open a web shell there we go uh which is just like a regular linux shell where you can type commands and so on so so yeah here then i'm going to run the following commands that i have here in the notebook you can directly copy them from the notebook and paste them here as you can see this is the first one where i'm going to source the the simulation to workspace and then in the second one i'm going to run this script which basically is going to start the simulation okay you can have a look at the files folders and everything you have in this project by opening the ide which is the second icon here which says code editor so we can click here and this is going to open uh the code editor which is going to give you access in a graphical way to all the different folders and files that you have and that you are going to create here into your into your project all right hi did you open this from public project um [Music] i don't understand what you mean misbah okay yeah no so this project in order to open this project you have to to uh come here let me let me show it one more time here in the in the workshops area where you are seeing the live streaming you have to click on this button uh here this light blue button which is fork and open the class project okay in case that anybody has just arrived okay remember you have to click on this button here fork and open the class project then this is going to automatically copy this project into your workspace and open it all right okay then after some seconds you are going to have the simulation loaded then you might find a book here so as you can see in my case the robot has not uh has not loaded okay so this is the expected result we should have a robot uh here okay and in my case there is not the the robot is not there okay so this something sometimes happens in gazebo some uh books uh that are there so in this case we are just going to control c the command okay press controls here and relaunch it now uh yeah so this second the second time you run it uh this is going to probably get stuck here in gazebo so let me let me close it one more time and now now uh now it should work properly it should load the world with the robot in the middle let's see yeah there we go okay yeah so now we have the the world as you can see it's a quite simple world with the robot right there in the middle it's an eobotix mp 400 which is a running on ros2 okay so this robot works with ros2 already all right then yeah so first thing we have started our simulation okay this is the first step open a new shell run the commands that you have here which are going to start the simulation okay yeah having some problems loading the ide let me open it again all right there we go then uh the other thing i was commenting also is that you can open the code editor by clicking here on the second button the second icon and this is going to give you access in a graphical way which is always much more user friendly to all the different workspaces files that you have here for instance you can see here the simulation to workspace which contains the the simulation related packages all right so for instance this is this is the script that we have launched start basic neotic sim csh as you can see this is the script that we have executed which basically if you go inside and check this is just doing some sources and setting some global variables and then it's running a rush to launch command to start the simulation all right in any case we are going to be working here in the roster workspace okay inside this one so so so yeah let's leave this code editor open because it's going to be useful in order to create and edit files okay yeah so this is the initial setup we are inside the project with the simulation launch here we have our simulation running and prepared here with the notebook opened all right so let me know let me know if you are here in the same step any issue so you have the simulation already loaded you can see properly the robot here the neobotix mp400 you can see the robot here in the middle of the simulation everything is working are you are you properly set up i would like you to to i would like to wait until you are set up in order to continue so that we can all advance together because uh i want you you already know this but my simulation is still loading says simulation loaded robot is missing okay if you are having problems on this uh just ctrl c the command okay ctrl c here and run it again okay ctrl c the command and then you just run it again okay sometimes because of a book it doesn't load properly okay so in case that you don't see the robot there or you have the gc client loading forever just ctrl c the command cancel the command and run it again we're running says ryan miss vase either is not loading okay if you are having problems with the id you can try uh maybe closing it and open it again maybe hitting here in the reload button okay try try these things my sim is now working say sharon okay great yeah let me know once you have everything set up so that we can continue okay as i always say i i want you to be practicing with me i don't want you to be just there listening and watching to what i am saying and what i am doing but i want you to be practicing instead so i'm going to be here creating some packages some files uh doing some practical uh tests and demonstrations that you can replicate at the same time it is this is why we are sharing this project with you so that you can replicate and test everything that we are going to do here in this in this open class you can do it by yourself okay ryan simulation is working also great okay so so yeah i think i think that we can start with the open class so yeah first of all let's define what is a map in ros or in ros2 yeah the definition is the same so a map is a representation of the environment where the robot is operating okay so in this case the we have the robot here which is the mp400 from neobotix and then the environment he's in it's all this in this case it's a a an hexagonal right a kind of environment with some cones here at one side and at the other a ball here in the center so all these this is the environment where our robot is then a map basically it's a representation of this environment then we are going to use this map of course for a navigation specifically we are going to use it for a couple of things first of all to localize the robot in our map and therefore to be able to localize the robot in our environment and also we are going to use it to plan trajectories in our environment so we are going to to be be able to send a navigation goal to our robot so that the robot can autonomously navigate towards this goal while about avoiding obstacles and and so on all right so in order to perform autonomous navigation a map is very important it's one of the most important things and elements that we need to have so um yeah so maps in ros and also in browse 2 are known as our grid maps yeah so basically a grid map is a map which you can understand as a series of values and each value so a series of nodes let's say and each node has a value and depending on the value that a node or that point let's say is going to be either occupied or a unknown space or goodbye space free space yeah we are going to we're going to understand this better once we create the map okay and what do we need in order to create a map well we need a robot which has a lighter a laser mounted on it so it is able to get laser readings laser measurements and odometry it has an odometry system all right and of course well we need a robot environment because without a road environment it doesn't make much sense to to create a map all right then um yeah so one of the of the biggest problems in in navigation is what is known as slam which stands for simultaneous localization and mapping yeah then there are different algorithms which have been created during the years in order to solve the islam problem and also there are different ros packages and roster packages which are meant for solving this slam problem for instance a couple of examples in ros 2 are cartographer and slum toolbox for ros 1 for instance there is the g mapping example but since we are going to focus today in ros 2 let's talk about roster so a couple of examples of packages that that solve this islam problem are cartographer or slam toolbox in this case for this open class we are going to be focusing on slang toolbox because it's the most complete one it has many many features it is also the better supported one so we are going to be working with the slam toolbox package which has been developed by steve masensky by the way um which is a great great uh ros and ross to developer and you have the the link to official repository here i'm going to open it here because we we're going to be revisiting this and checking different things from the official repository okay of course you have here many many information related to the package in case you want to learn more because this package provides many many many different features many ways and you can optimize configure the package okay we are not going to be covering everything because it's impossible but we are going to be seeing some uh basic stuff today all right then all right so the first thing we are going to do is to create a launch file for starting the mapping process then for this of course the first thing we need is to have the slam toolbox package installed in our system all right in our case we already have it installed we can check it very easily here with a rush to package list command for instance and then i'm going to grab here for slam and here i can see that i already have this slam toolbox package installed all right then um okay then this this package provides different notes for even even for mapping it it provides different types of nodes okay in this case for this uh very first and basic example we are going to be launching the async slam toolbox node note this is one of the notes which uh the slam toolbox package provides and it's meant for uh mapping okay for uh a synchronous online mapping okay we are going to to to try to clarify later what what this means then um yeah so this async slam toolbox note is provided by the package slam toolbox right then we are going to be starting and running this executable this node async slam toolbox node which requires a couple of parameters first one is this use sim time parameter which basically it is a boolean which indicates if this node must synchronize or not with the time of the simulation okay as you can see here we are setting it here and then we have in this case these slam params file which basically contains the path to the configuration file containing all the mapping related parameters okay so the structure of the node we are going to to start is going to be something like this yeah where we indicate the parameters associated to this node remember that in rows two parameters are associated to each node then we indicate the package which is a slam toolbox the node the executable that we want to run which is this one async slam toolbox node we indicate a name for this node we provide a name and then finally an output okay so all the output of this node we want to get it into the screen into the shell all right then uh the final launch file would look something like this okay so let's let's start by creating it and then we are going to have a look into this file so the first thing we are going to do here is to create a roster package like this very simple rush to package create rush to mapping okay so let's come here inside the rush to workspace src folder okay rush to workspace src folder and inside here i'm going to run this command in order to create my new package there we go okay so uh now i can see here that a new package has appeared under inside my roster workspace which is named rush to mapping now inside this package first thing i'm going to do is to create a new folder named launch to add inside here launch files then in this case i'm going to create this launch file i'm going to name it like this online async launch dot pi all right so let's create this new file and now let's fill in fill it with the following contents all right then let's have a look at this launch file this launch file basically sorry this launch file basically um it's the same one as the ones provided here by default okay you can see here online is in launch so basically we are creating a a a a launch file like this one with some slight modifications you are going to see now that we have included some things to to to to kind of trick you i'm not making making it so easy then what's going on here all right so first of all we have some imports different imports that we need that we need for our launch file we're importing different modules node module launch configuration declare launch argument launch description etc okay then we have our function to generate the launch description then here we are defining some parameters as you can see using time and slam params file we are declaring these two parameters where we are initializing the variables actually here then here we are actually declaring the the the launch argument which is a use theme time by default it's going to be true and here we have a brief description of of this argument and we do the same for the slam params file argument so we declare this other launch argument with the default value then here we are basically indicating the path to the configuration file the configuration file is this one mapper params online async dot yam which is inside the config folder inside the slam toolbox package yeah so i am indicating here the path to the parameters file which is this one here again a brief description and then we are starting our node here we are assigning the the proper parameters which are slam params file and use sim time then we indicate the package the executable we want to run we provide a name for the node and we indicate the output all right and then finally we we we set everything as actions and we execute them okay at the end what we are going to do is to run this node with the following parameters they use sometimes set to true in this case and the parameters indicated in this parameters file which is inside the slam toolbox package okay so at this point what we are doing basically is to load the default parameters for this node we are not modifying anything we are just getting the default parameters which are provided by the slam toolbox package by this file and we are loading these default parameters yeah make sense so far any questions are you following no completely lost i'm good say giro jaylon all right okay then um let's let let's try it right then uh massie morowsky also says everything okay perfect then yeah so let's let's try it then before trying it we are going to have to to to include one thing here in our cmakelist.txt file so let me go back to the notebook one moment and here we are going to as indicated in the notebook we are going to have to add these lines into the cmakelis txt file so i'm going to copy them directly here from the notebook and paste them here all right then basically here what i'm doing is to install my launch folder and the files inside my folder into the shared directory here in the install okay so basically i am installing this uh launch folder and the files so that the roster system can find them let's see then once i have added this so i have created my launch folder with the launch file inside it i have specified here in my cmx list file to install this launch folder so now i am ready to compile then let me go to the root here of my workspace home user rost2 workspace and run the qualcomm build command in order to compile my package there we go all right then let's source the workspace and now let's run our launch file so rush to launch rost2 mapping and it is what was the name online async launch okay online async launch dot py there we go all right so we have our launch file running it has started here the async slam toolbox node very well so next thing once we have our mapping node running next thing we should do is to start rvs right in order to be able to visualize this mapping process and to be able to visualize the map that it's being generated so for this we are going to start an airb2 node right here in another shell okay so uh right now as you can see we have the i have the simulation running here in the first show in the second shell i have running the launch file that i have just created and now i have opened another shell here for every storm okay by clicking here into the into the at button you can create as many shells as you want all right okay then we have herbies running here which this is going to automatically open here the graphical tools window as you can see with rvs now here in order to visualize the map we should add here a map display yeah in rvs here we click on add and then we select the map display which we have right here let's add it and now we have to configure it and set the topic here which is map yeah so the map that it's being generated by by the mapping node uh it's been published into a topic named map so if we want to visualize this map we have to to to to subscribe to this map topic so let's add it here and nothing is appearing okay don't worry don't panic this is normal in fact if we open here we can see a warning message which says no map received okay so something is happening here that it's preventing my node from creating the map what can it be well it can be many different things okay does somebody have any guess somebody brave enough to to to [Music] we are not generating a map yet no so we have we have tried to run our mapping node but it's not working okay as you can see the map is not being generated so there is some kind of problem here okay then um in this case i'm going to spoil it to you so so when when things like this happen um the reason the reason uh there are many reasons which could make a mapping system not to work properly okay in any case most of the cases it's related with either topic names or frame names okay from my experience these two are the most common causes of any navigation related problem okay topic names and frame names then in this case i'm going to spoil it to you in this case the problem is the topic name okay so let me let me stop already here rvs and my mapping node all right so we are going to to see more on this later but by default okay by default this node the node that we are running uh sorry by default this node async slam toolbox note is expecting to get the laser data okay so first of all how the map is being generated well it's being generated based on laser readings right so it the robot has a laser this is one of the things that we set that it is required in order to be able to generate a map if you remember yeah so it needs uh we need a robot equipped with a lighter yeah so our robot in this case it has a lighter in fact these these blue things that you can see here in the simulation represent the laser beams all the laser beams okay as you can see behind this sphere we don't have laser beams because they are colliding here with the front of the sphere right then um okay so the node our mapping node basically it's going to get all these laser measurements and it's going to to to decide if all this is free space or it is occupied space occupied space etc yep summarizing a lot there are algorithms behind there but i'm not going to to go into that then uh yeah so one of the things in fact the most important thing that this node needs is to be able to subscribe and to get this data from the laser then by default this node expects to get this laser data from a topic named scan okay so by default this node expects to get this laser measurements data from a topic named scan now what happens in our simulation if we do a rush to topic list we are going to see that we don't have any topic named scan right instead instead the laser data that our robot is is generating is being published into a different topic which is named bass scan yeah not scan but bass scan so what is happening what is happening and why we are not being able to generate the map is because our node with the default configuration that we are loading here from slam toolbox this default configuration actually we can look at the default configuration here from the from the original repo so basically here right now we are loading from the slam toolbox package from the config folder we can come inside here slam toolbox package config folder and we are loading the mapper params online async dot young yeah so we can check this file right here then we can check between the between the the different parameters and we can see this parameter here which is named scan topic and you can see but that by default this parameter is set to scan so what is happening here my note is trying to get the laser information from a topic named scan but my robot doesn't have this topic so at the end the note is not getting any laser data therefore it is not able to generate a map right so what should we do now how can we solve this problem any suggestions from you the patterns file okay very well jron has a suggestion which is to gen the parameters file okay let's do it then instead of loading the default parameters file which is this one i'm going to create my own and i'm going to load my own all right so uh okay let me come to my package and i'm going to create a new folder named config then i'm going to create a new file also inside my config folder here i'm going to create a new file and i'm going to name it the same maper mapper params online async.young okay there we go so now um i can grab it directly from here you have also the template in the in the notebook all right so i'm going to grab here the the default parameters file and then i'm going to say hey my scan topic is not scanned but instead it's base scan okay so i have to update this scan topic yeah in fact i i don't need all these other parameters because i can left them to default in this case okay so if i want i can remove all the parameters from here and leave only the the the parameter that i am changing which is a scan topic okay in any case usually you are going to leave all the parameters even though they are left to the default value you are going to leave them there because just in case that you want to tune them or whatever it's easier to have them here okay in this case sorry in this case the only parameter that i'm going to update is scan topic and i'm going to set here the topic name where my robot is publishing this laser data which is base scan all right okay then what else okay so i have created here my parameters file but now i need to load it right so and now i'm going to come to my launch file and i'm going to say hey don't go to islam toolbox package but go to my package instead which is rush to mapping so from the rush to mapping package inside the config folder right you are going to load this parameters file mapper params online is async.yarn right so now i am loading my parameters file where i have changed the scan topic parameter to match my robot yeah makes sense so um okay then let's see let's try to recompile everything qualcomm build i'm going to recompile my package so that it gets the new modifications let me source it and i'm going to run it again rush to lounge roster mapping online using lounge.pi there we go so let's come back uh yeah so let's launch again rvs2 then let's launch it one more time there we go again let's come here and add a map display and let's configure the topic name which is map okay so now we are actually getting our map generated okay everybody has reached this point so have you been able to to generate the map to start generating the map and visualize it in rvs2 yes no any issues questions so far okay jron ryan also confirms that they are having their map generated perfect all right then let's keep moving so let's keep going forward forward let me go back here to to the notebook so that i can continue here um yes so update everything oh yeah so actually there's yeah there's one more thing that we need to do here which is to add this i haven't done it but i had it from previous tests so that's why it worked for me but otherwise it shouldn't work okay so we need to to generate here the the we need to install also the config folder the new folder that we have generated here we need to install it right there we go yeah so we should get something like this right then at this point we can run this command the teleops twist keyboard in order to move using the keyboard tower robot and generate a complete map so let's do it let's i'm going to run this in another shell and then with this i'm going to start moving let me put here the map in one side and the simulation in the other there we go okay and now here with this teleoptics keyboard i can move the robot with the keyboard okay so i'm going to start moving the robot here around the simulation in order to as you can see as i move the robot through the simulation the map is getting completed okay it's starting to map all the areas so let me keep moving a little bit the robot through all the simulation i'm going to do a complete loop here to the environment it shouldn't take too much it's a small environment okay so let's keep moving a little bit to generate the complete map there we go yep it doesn't it doesn't have to be perfect okay so [Music] just so that we have a a complete map here for for testing for being able to test now then let me go over there yeah so in my case only the final part is missing as you can see i'm going to come over here so that i properly map also this part here and i don't leave here spaces there we go all right so there we go okay let me stop it here yeah so i have here a complete map of the environment right so uh here you can see this is a um a grid map okay so these light gray colors all these light great areas represent a free space for the robot to move then these these black areas represent occupied space so this is space where the robot cannot go through so they are obstacles okay and all these gray areas are unknown space so we don't have data from from this so it's unknown space okay why are there those small blank triangles by the far cones the muppet areas yeah so these areas here if if you get you you would if you get close through this area you are going to be able to map it yes so this is basically because of the laser beams which are not properly reaching this area okay but if we get if you get manually closer to this this is going to get also mapped okay so yeah these gray areas are unknown space so we don't have information from the laser of these areas okay for instance here inside the co the sphere the laser beams don't reach this area okay so then it's left as a gray which is unknown space okay same same happens same happens uh here yeah so uh if the laser beam don't reach this area for whatever the reason this is going to be market as unknown space okay all right then um yeah so if we had more time we can get closer to to these areas and then got them mapped as well but just for for for i i wanted just to create a quick map so that we don't spend too much time here okay then uh let's keep going okay so we have created our map very important uh don't stop the mapping note okay so leave the mapping node running why well because the next step what once we have our map generated is to save it right so once we have generated our map by moving the robot around we are going to save it then in order to save it we are going to use the map saver node from nav to map server package okay you have the exact command here so i'm going to copy it here and run it here rush to run nav to map server map saver cli command line and then i provide a name here to my map in this case i'm going to name it my map okay then this is going to generate two files in the path where i run this command in this case here as you can see this has generated these two files my map pcm and my map dot yam okay then uh basically the yam file contains some meta data about my my map like the resolution thresholds etc and this one is the one that contains all the all the all the information the the real information of the map of the free space occupied space and so on um yeah so these two maps are generated okay then let's do one thing let's move these two files inside the config folder okay so i'm going to do this right now move of my map pgm and my map yum into rush to work space src roster mapping config okay so i'm going to move these two files and place them inside my config folder so that i have them here okay also you can run the command directly from inside this folder and then they are going to get automatically saved here yeah so the the the files are going to be generated in the path where you are running this command okay next step so we have created the map and we have saved our map okay then next step is how to provide this map to other applications so now that we have created our map then this map is going to be used by other systems like the localization system path planning system etc okay then i'm going to need to provide this map to other applications to other nodes then how to do this well for this i'm going to need the map server node again and then nav to lifecycle manager okay um ervis is not necessary okay here it's added but it's not necessary but we do need the map server node and the nav2 lifecycle manager the nav2 lifecycle manager is a lifecycle manager for navigation too so in in the previous open class we were discussing and explaining how this lifecycle manager so here we go you can see a practical application of the lifecycle manager into navigation too all right so what do we need here well we are going to first start the map server as you can see we are going to start the map server node we are going to need this node and for this node we are going to have to provide the usable time parameter and we are going to provide we are going to have to provide also the file where we have saved our map so that it can load it okay next we have to start also a lifecycle manager which is going to uh basically allow the map server node to start otherwise it's going to be blocked and i'm not going to get the map okay if you want to refresh about these lifecycle managers go and have a look at the previous open class okay where this is explained and then finally i'm going to also automatically start here and ervis2 okay this is not mandatory we are going to just add it here to the to the launch file so that we don't have to be starting rvs all the time here okay then let me stop here rvs and then let's uh let's combine all these into a launch file which we are going to name like this provide map dot launch dot py so uh let me come to my package and inside the launch folder i'm going to create a new file which i'm going to name like this provide map dot launch dot pi uh there we go and inside here i'm going to paste the contents from here let me copy them and paste them here okay as you can see we are just what we have just seen so we are we are creating here an argument where i am specifying where i have my map files so my map dot yam file this is the one that it's loaded okay not the pgm but the young file this is the one used by the node in order to load them them up then i have to specify the path to my map file which is uh inside the config folder inside the roster mapping package so here i am specifying the path so that the node can access the map file and the map data then i start my map server node providing the path to my map file i start here on rvs2 node okay and finally i start my life cycle note and i set auto start to true all right this is going to start the map server node so that it's not blocked by the lifecycle manager hi thank you mohamed says hi thank you for this amazing tutorial can you please explain the difference between async and sync methods yes we are going to explain it in a moment okay um all right then we have created our launch file then uh yeah so let's come back again here and let's compile our workspace one more time source and now we are going to run our new launch file which is a provide map dot launch dot pi okay this is going to automatically open here rvs as we are going to see in a moment there we go and then uh here we can now load we can add a map display let's add it here select the map topic which is map and then initially the map is it's not going to appear okay in order to properly see the map in this case everything is working it's just a matter of setting the quality of service of the of the topic okay so in order to properly visualize this map topic we need to set to change the the qos configuration specifically we need to change the durability policy from volatile to transient local okay and here we see the map that we have generated all right okay then all right so yeah basically uh summarizing we have created our launch file in order to generate a map using islam to logs and using specifically this async let me get it from here this async slam toolbox note in order to generate a map from the laser readings okay we have seen also how to create our own parameters file in order to change the configuration for mapping okay we have seen how to generate our own configuration file in case that we need to change some parameters like in our case we needed to change the scan parameter all right oops then we have generated our map we have saved our map and then we have now seen how to how we can provide this uh how we can publish and provide this map to other applications okay which is uh done using the map server node all right okay then let's keep uh moving ahead we have a couple of things before finishing saving the map providing the map to other applications very well then uh okay so here we have a quick question and uh which uh is about understanding how to configure a slump toolbox for different robots so there are some things that we need uh to know okay so of course we can uh configure many many many parameters from slam toolbox if you come here to the to the default repository you you can have a look at all of the parameters down here in the in the in the appi here you have all the uh exposed services all the configuration parameters that you have that you can tune many of them okay however i have listed here some of the most important ones so the first thing that we need to know is that the mapping nodes are going to subscribe to a scan topic okay so if your robot doesn't provide this scan topic you are going to need to change this value yeah of course this value you can change it from the scan topic now other very important parameters are the frames yeah so you're going to have to define a base frame and another frame because you need to have a transform between these two frames between the other frame and the base frame yes so the mapping nodes from slam toolbox are going to look for this transform so so you need to have the other one frame and the base frame properly specified by default as you can see you have we have here the default values which are odon for the autumn frame and base footprint for the base frame in case that your robot uses different frame names then you are going to need to change these names also yeah this is another a very common source of errors in navigation yeah frame names so take this into account yeah if your robot doesn't use the default uh frame names which are base free base footprint and none of them then you are going to have to update them as well all right and then yes so there are there are other there are many parameters so some interesting ones for instance are the max laser range parameter which defines the maximum laser range to use another minimum travel distance so what is the minimum distance that the robot has to move in order to consider new laser measurements or the mode parameter which we can set to mapping or we can set to localization mode in our case as you can see from here right now we have it into mapping node yeah it look as in localization mode what we are what we would do is to basically localize our robot inside this map yeah then for instance a very quick test we can do is to change this max laser range parameter so we can change it let me look for this parameter here in my file max laser range so currently it is 220 this is the default value so what would happen if for instance i change this value to three i'm going to change it here to three then i'm going to recompile and i'm going to run again my mapping node okay not the map provider but the mapping node here i have the mapping so what's going to happen here well let's see i'm going to have let me start one more time here ervis2 what's going to happen here let's see let me add a map display configure it for the map topic there we go okay let me see because i think that i have something wrong here okay let me stop it let me see have i changed something here mapping range three okay yeah this is right config lounge okay yeah let's uh yeah let me let me compile and run it again qualcomm build sorry rush to lounge for mapping online async launch okay there we go yeah let's start rvs again yep there we go let's add here the map display watching here okay so it looks like there's something wrong here with the with the frames probably something related to the simulation in my case uh because i i don't think i have changed nothing here although map is footprint you know all this is okay okay so let me start the simulation probably something related to the simulation so let me restart it very quickly there we go all right and let's run again the mapping node and the ervis node all right there we go let me add the map display okay so there we go yeah so what's happening here so my map is much different than the one i started getting before yeah remember the first map that we got was looking something like we have an image here something like this right so now i am getting this just by changing here the max laser range parameter by default it was 20 now i have changed it to three so can somebody tell me what's happening why i am getting now this map here does somebody know or has a guess yes no nobody all right so um what is okay so ricardo ricardo has the answer he says because the laser can detect the obstacle now jadon is saying i don't get why it's rectangle very good question so why this rectangle okay so what's happening here is that we have set the maximum laser range to three meters okay therefore what does this mean this means that uh all the uh all the laser measurements which are further away than three meters are not considered are not considered okay so only the laser measurements which are within a range of three meters are going to be considered then the only ranges the the only laser measurements which have some detections within three meters are the ones in the front because they are detecting this um this sphere here and then this is the only information i have from the lasers all the others all these other beams don't are not getting any obstacle so we cannot create any map from this oh got it yes yes so nima's saying there is only a laser measurement for three meters exactly yes so all these all the other all the other laser measurements don't have any detection within a range of three meters so i don't get any information from them the only ones which are providing me information are the ones in the front because they are detecting this this um this sphere in the front so that's why i get this only this right then what happens but what happens if i now change it again to 20 so now the range is 20 meters again so now all the all the other all the other laser beams all these laser beams here from the sides right now i am detecting all these walls so they are colliding with all these walls because these walls are within a range of 20 meters then i have much more information so that's why i can build a better map right so if we change it back to 20 now we are going to to recompile here yeah let's close here recompile source and we are going to run it again here so now let's update here the map there we go okay so now i get much better information yeah does this make sense do you understand what's going on here yes is it clear now i got it say jiren okay great all right so um as you can see i have added just uh here into the notebook i have just added a couple of parameters some parameters that you can play with okay you can try different values and so on but there are many many many parameters that you can you can modify here in order to optimize uh many different things okay uh so yeah go ahead have a look if you are interested in and and see because there are many many parameters and it allows for a lot a lot of configuration for different configurations all right then let's go for this so i'm going to answer right now to the question that mohammed said so islam toolbox if we come here to to the official repository and we open the launch file we are going to see that we have different launch files right we have this uh localization launch which is for localization mode but we have many different launchpads for mapping also so we have this lifelong lounge these merch maps we have the offline lounge online async online sync which was specifically the question that that mohamed was saying so what are all these mapping modes so um let's try to summarize in simple words okay and give a simple explanation of what this is uh there is much more behind all these in fact i have linked here a paper okay which talks about this very interesting so you can have a look especially it talks about the difference between the synchronous and asynchronous modes okay so uh so yeah go ahead and check it for a much more detailed and professional explanation but in simple words let's say that the the offline mapping of line mode is to create a map without a real-time data okay for instance uh you so you're not going to be creating the map with the with the real-time data from the laser of the robot but you are going to create it um with for instance a back file yeah so you can record the data from the laser and then uh later you can replay this data as a backfile and this would be an offline mapping section yeah so without getting uh the data live from the robot then uh the rest are online methods which are the one that we have just done yes so the online mapping methods are the ones that are getting the laser the the data live from the laser measurements okay then from here we have uh we can differentiate betw between synchronous and asynchronous okay asynchronous is the one that we have just use it yeah and it's uh the most common one okay a synchronous method basically it it's going to process incoming laser measurements in real time so it's going to be processing the latest let's say laser measurement that it comes every time yeah then for instance what can happen this can happen that if for whatever reason one of the measurements uh [Music] so for for each uh incoming laser uh measurement we are going to process it all right in order to to to convert into map information then if one of this uh process goes uh too uh too slow for instance it might happen that we lost we lose some messages in between yeah because uh if we process uh one laser one laser measurement and then we get we move the robot let's say one meter forward and then at that point we process the next lesser measurement but we are going to process the last one so it might happen that in between we have lost some messages okay i don't know if i have explained this very well i i don't think so so does it make sense so we are going to be processing let's say the the last the the last laser measurement that we receive okay then it might happen that between one measurement and the next one there are some other measurements in between that are discarded okay it might happen okay for simple system for system environments this is not going to happen but for for uh systems which are more complex and whatever this can happen okay then because of this we have the synchronous mode the synchronous mode is going to uh make sure that it processes all the incoming license measurements yeah so it's not going to discard any measurement it's going to process every single measurement every single valid measurement from the laser okay so it's going one and then it's going to process the next one it's going to create a buffer so that any message gets lost and then it's going to start processing one after another okay what what can happen in the systems for instance for very large um maps this can lag over time because you can have a buffer too big and because you are not going to discard any message you are going to process all of them you can have a lock between the map being generated and the actual robot yeah does this make sense do you see the difference between the synchronous and synchronous more or less in general terms okay there are many more technical things inside there but i don't want to get into that okay then um yes very well explain it okay thank you mohammed thank you so then finally we have this lifelong mapping which is also very interesting and basically also making it very simple this lifelong mapping basically means that you have the possibility to build a map and update it over time yeah so you can create a first version of a map and uh save the current version even if it's not finished yet okay then uh the next day you can come and continue building the environment for instance for very large environments this can be useful yeah so you can you can be building the map in different days yeah so basically this is the idea of lifelong mapping is to be able to create a map and be able to update it or or improve it over time all right then um i have created here a very simple demo which i'm going to do very quickly okay because we are already over time so let's see a very quick uh and simple demo of lifelong mapping okay then let's create a new line file which is this one i'm going to copy directly from here and create it i'm going to name it lifelonglaunch.pi so let me create this new launch file lifelong launch dot pi okay and also i'm going to create a new parameters file here which i'm going to name mapperparamslifelong.yam okay let me create it mapper params lifelong dot yam there we go and i paste these parameters okay you're going to see here that it has some specific parameters for lifelong mapping okay then in the lifelong launch file i am loading this parameters file that i have just created here from their roster mapping okay so i am loading my configuration file yeah from the roster mapping package and as you can see i am using here a different node in this case it's lifelong slam toolbox note yeah it's a different note then uh all right so let me save this and uh recompile okay so actually um let me stop everything yeah so actually i'm going to restart everything even the simulation let me restart the simulation as well so that i make sure that i start from the starting point okay i think it's yeah sometimes gc client gets stuck there as you can see it takes a lot of time to open so just ctrl c and relaunch it and it should load properly all right there we have it okay then let me recompile and then i'm going to run my new launch file rush to launch rost2 mapping lifelong launch dot py okay let's go then let me open an rv session all right there we go and let me add again a map frame so that i can visualize the map that it's been generated there we go all right so here we have the map being generated yeah uh as you can see uh i have updated here the scan topic so here it's already right yeah it's correct so so so that this this is working just by uh running it okay then what i'm going to do now is to map is to generate half map only okay so let me let me run here let me run here the teleopt twist node all right let me move this here to the side and i'm going to move a little bit robot and i'm going to generate just a part of the map okay not the full map but just a part of the map so let me move it a little bit like this very quickly okay i'm not going to generate a good map so just i want to go very quickly yeah there we go okay let me come here all right let's stop there okay so i have one part of the map generated but there is still some part here missing right but let's say that i don't want i am already tired i don't want to to keep building them up okay i'm done for today so what i'm going to do okay let me stop the teleop node so now what i'm going to do is to uh i'm going to serialize the current map data what is known as serialize okay then you have the command here in the notebook on how to do this okay let me copy the command right here from the notebook and paste it here yeah so we are here calling a service provided by islam toolbox which is serialized map okay then this is going to serialize the current data of my mapping session into a couple of files we are going to see it and we we have to provide here in the in the request call we have to provide a name in my case i'm going to name it half map okay so let me perform this service call there we go now if we come here and we stop our node the lifelong mapping node okay we can see that the session has been saved here see finish it serializing mapper now if i check here i'm going to see i have two new files half map dot data and half map dot post graph okay these two files let's see that contain the serialized data of my mapping session okay so uh what happens now what happens now is that i can let's imagine that i have already slept okay and i'm in the next day we are in tomorrow and then i want to continue my mapping section okay so i'm going to stop everything from again from here let me stop everything even the simulation i'm going to stop it and relaunch it okay there we go so now i can come here and update a couple of parameters which are here commented as you can see which are map file name here we can provide the file name of our serialized data which is half map right so let me let me update here this uh name to half map and in this case we can specify a starting post for continue the mapping or to start in the dock in the dark place which is the the initial pose at the first node which is the starting position so i am going to start my mapping from the dock position and i have specified my file name which is half map okay so now having uh set these two parameters i can run again my lifelong launch file and what's going to happen let me already start here ervis2 um let me add here a map display there we go with a map i i don't have it yet because i have not started the node so let me start the node right now so i'm going to start the mapping node one more time and now if i select the map topic i am not getting the data from the previous one for some reason okay and oh of course i am not getting it because i have not compiled it okay so i have updated here the parameters file but i have not compile it so i need to compile right to get the latest changes here of the parameters yeah so let's compile source there we go so let me run it now with updated parameters and boiler what happens that i am starting my mapping session from where i have finished it the previous one see so now i can uh i can um what is this uh rvs okay yeah so now i can keep moving my robot and finishing the mapping session right okay so now i'm going to go and map the back part the the the the rear part yeah you can continue now and complete the map all right so this is a simple a very very simple example of what this lifelong mapping is okay and one of its utilities all right yeah does it make sense so far have you understood this last example yes no okay this is the last thing okay so we are going to leave it already here yes says message also nema excellent excellent okay so so yeah that's all that's all as as i have been saying islam toolbox provides many many many interesting things here in this open class we have just scratched scratch at the surface so yeah in case you want to learn more you have many many sources here in the repo you can you can uh you can learn a lot more of how this works and try it by yourself because it's it's uh it's a super super impressive uh work by steve masensky so uh yeah also i wanted to take just uh one minute to let you know that we are going to have a navigation to online training okay in the following weeks i have here at the at the end of the notebook you can click on this link which is going to take you to the page and here you are going to learn everything rush to navigation related including mapping including localization path planning obstacle avoidance etc etc okay so it's a super intensive and super complete roster navigation training which is going to uh be done very very very soon so have a look in case you are interested because uh it's super super interesting all right so you have the link here at the end of the notebook jron is asking what did you change in the conflict young file to make it do lifelong what did you change in the config young file yeah so first of all first of all i have added some lifelong parameters here okay this one's here and then in the second part which is the part that i suppose you are asking for is these two these two parameters map file name a map start a dock okay so you have to provide the name of the file that you have generated and you have to provide a starting pose which can be can be the doc the docking pose which is the starting pose or you can provide also another starting pose if you want to by setting this parameter yeah well so we we have created a different a different note here jron we have created a different node so we are running now this lifelong slam toolbox note okay we are not running the the the async we have created a different uh launch file here okay i i i went super super super quick here at the end because we are 30 minutes already we are surpassing the the time by 30 minutes but you have everything here okay so you have here the the new launch file that we created which is running this new this node lifelong slam toolbox node and you have here the the the parameters file also in the in the notebook okay i just went super super fast here just to show you the demonstration but you can check all these and now so you are going to you are going to to get this project forever okay you can access it tomorrow next week to check it and so this you are going to have it forever so you can check it whenever you want okay but yeah here i am starting a different note and i am loading a different uh uh different parameters which basically it's very much the same but i we are just adding some extra parameters here okay so yeah let's uh let me leave it already uh here thank thanks to all of you for being this one hour and a half today it's been a little bit longer than usual but i think it was worth it we were doing some interesting things so yeah thanks to all of you for for being here with me i hope you have enjoyed this open class and i hope that you have learned something this is the most important and yeah i'm going to see you next tuesday with the next open class and as always until then keep pushing your ros learning bye [Music]
Up Next

76:01
ROS Live Class: SLAM Mapping and Localization for Robots
@TheConstruct
18.5K views•2019-03-12

58:25
MathWorks Virtual RoboSub Simulation Environment | Webinar 2026
@RoboNationInc
209 views•2026-03-10
63:11
Outdoor Robot Navigation with GPS Using ROS: Jackal Simulation
@TheConstruct
15.8K views•2018-04-07

25:22
Micromouse: The Fastest Maze-Solving Robots on Earth
@veritasium
23.5M views•2023-05-24
Related Study Plans & Knowledge Roadmaps
Structured learning paths in Robotics
robotics
Building Delta Robots: Kinematics & Pico
01Foundations of Delta Robots & Mechanical Design
02Electronics and Microcontroller Setup with Pi Pico
03Delta Robot Kinematics and Coordinate Math
+ 3 more learning modules
65h6 modules
Explore Roadmap
robotics
Building Ballbots: Dynamics, Kalman & LQR
01Embedded Electronics & Omniwheel Actuation
02Ballbot Kinematics & Rigid Body Dynamics
03IMU Sensors & Kalman Filter State Estimation
+ 2 more learning modules
42h5 modules
Explore Roadmap
robotics
Micromouse: Hardware, PID Control & Flood-Fill
01Electronics & Teensy Microcontroller Basics
02Sensors and Actuators: Motors, Encoders & IR
03Precision Movement: Implementing PID Control
+ 2 more learning modules
35h5 modules
Explore Roadmap
robotics
CDPR: Kinematics, Arduino & Winch Control
01Foundations of Arduino & Basic Electronics
02Stepper Motors and Winch Mechanics
03Kinematics of 2D Cable-Driven Robots
+ 2 more learning modules
28h5 modules
Explore Roadmap