
![[UDEMY COURSE] ROS Tutorial 2: Understanding ROS Topics, Node and Messages](https://i.ytimg.com/vi/Yx_vGAt74sk/sddefault.jpg)


![[ROS Q&A] 185 - 2D Drone Navigation (Part 4 Get Odometry from Laser readings)](https://i.ytimg.com/vi_webp/3J5WcU4xFAo/maxresdefault.webp)





![[ROS tutorial] RTAB-Map in ROS 101](https://i.ytimg.com/vi_webp/gJz-MWn7jhE/maxresdefault.webp)
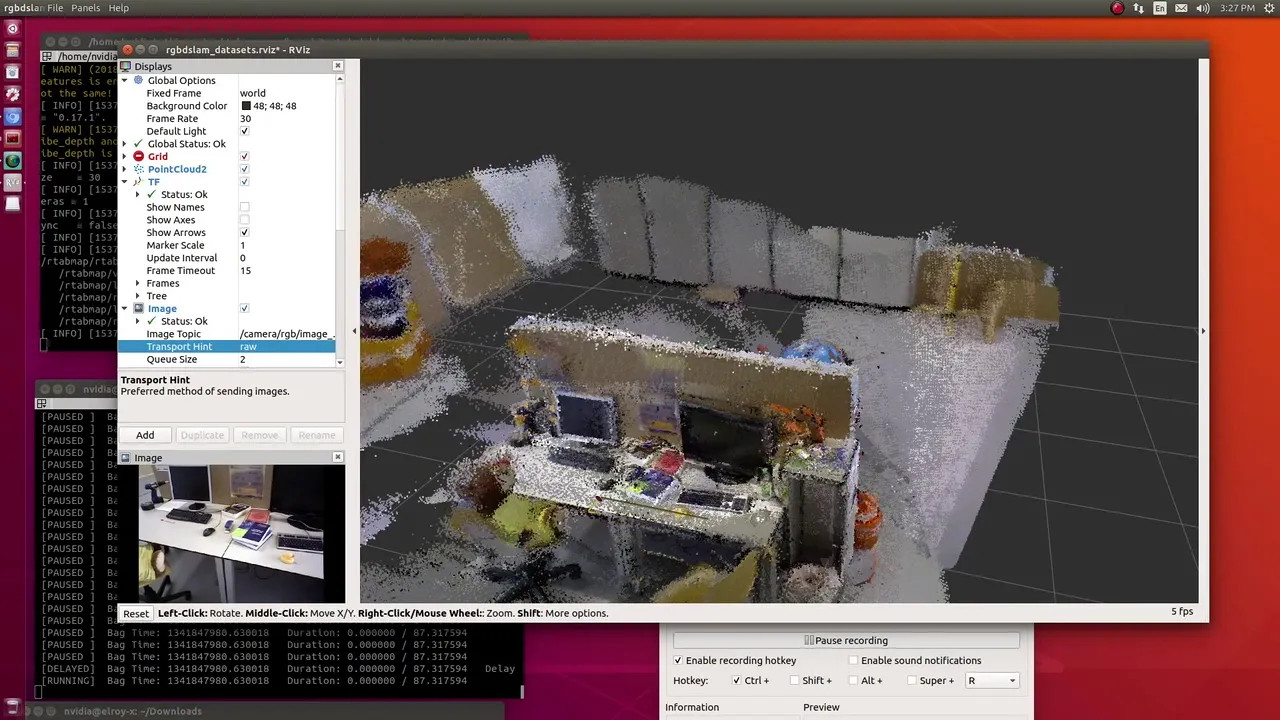
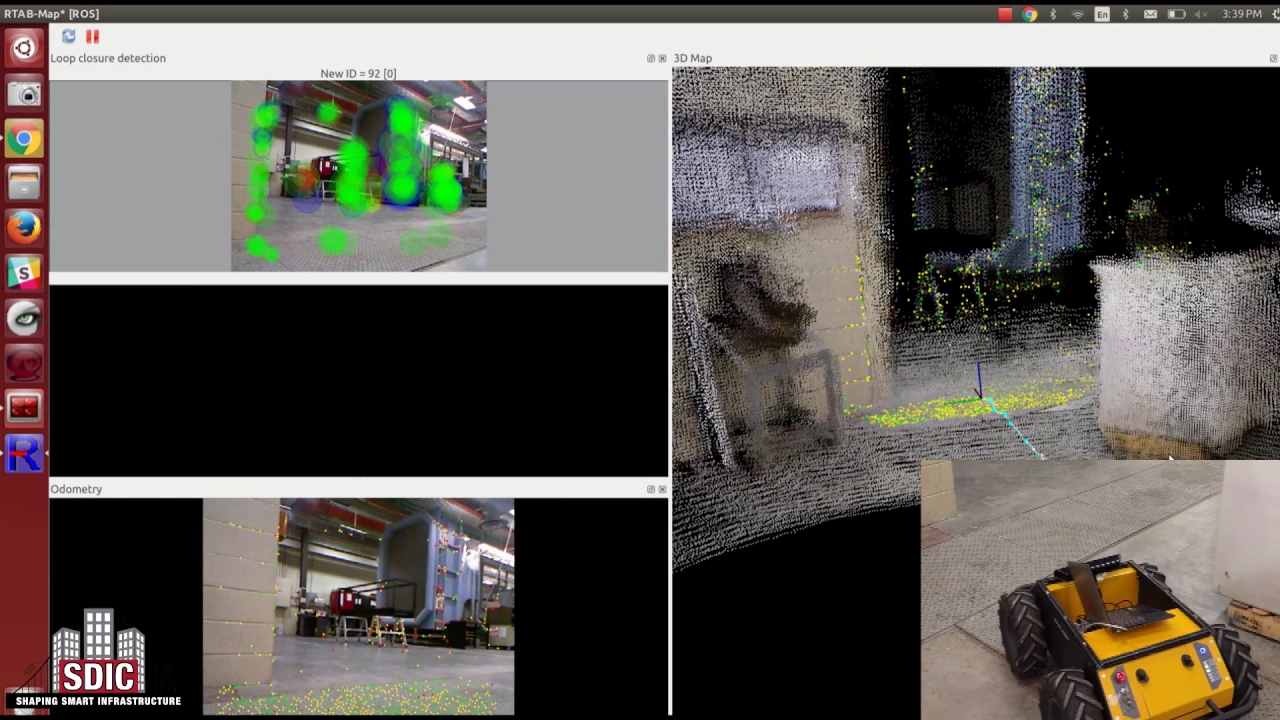


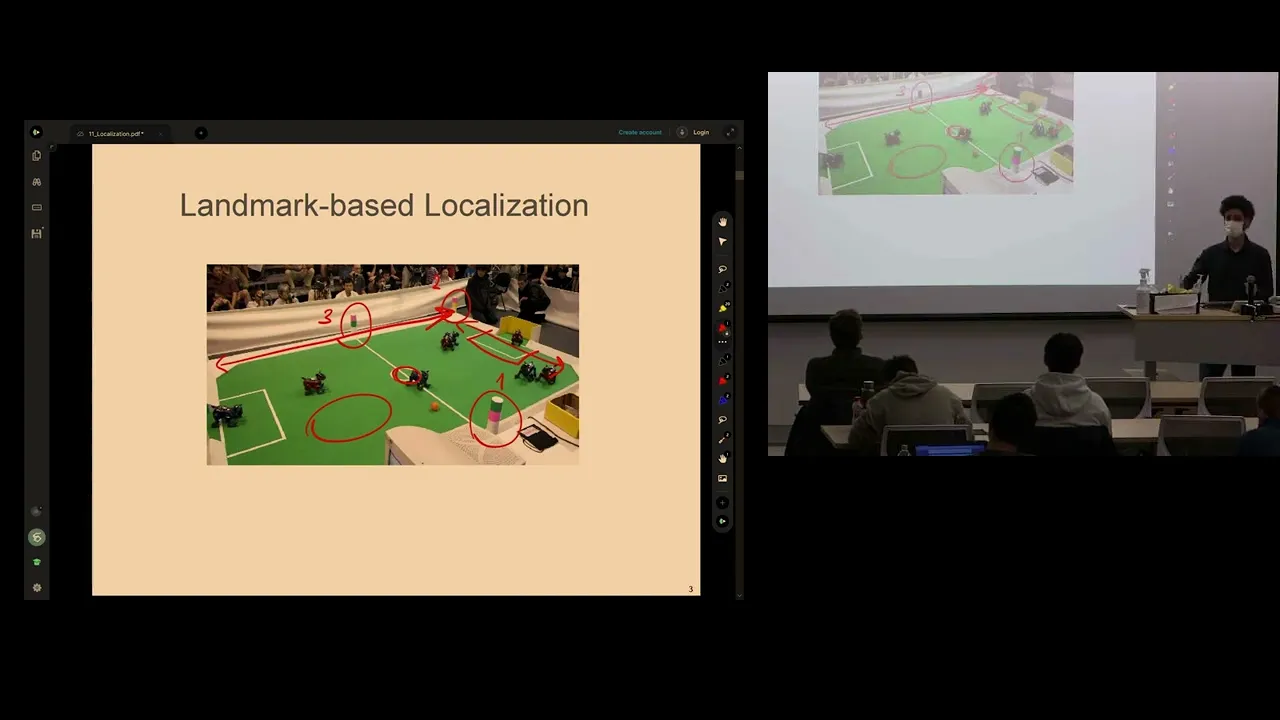
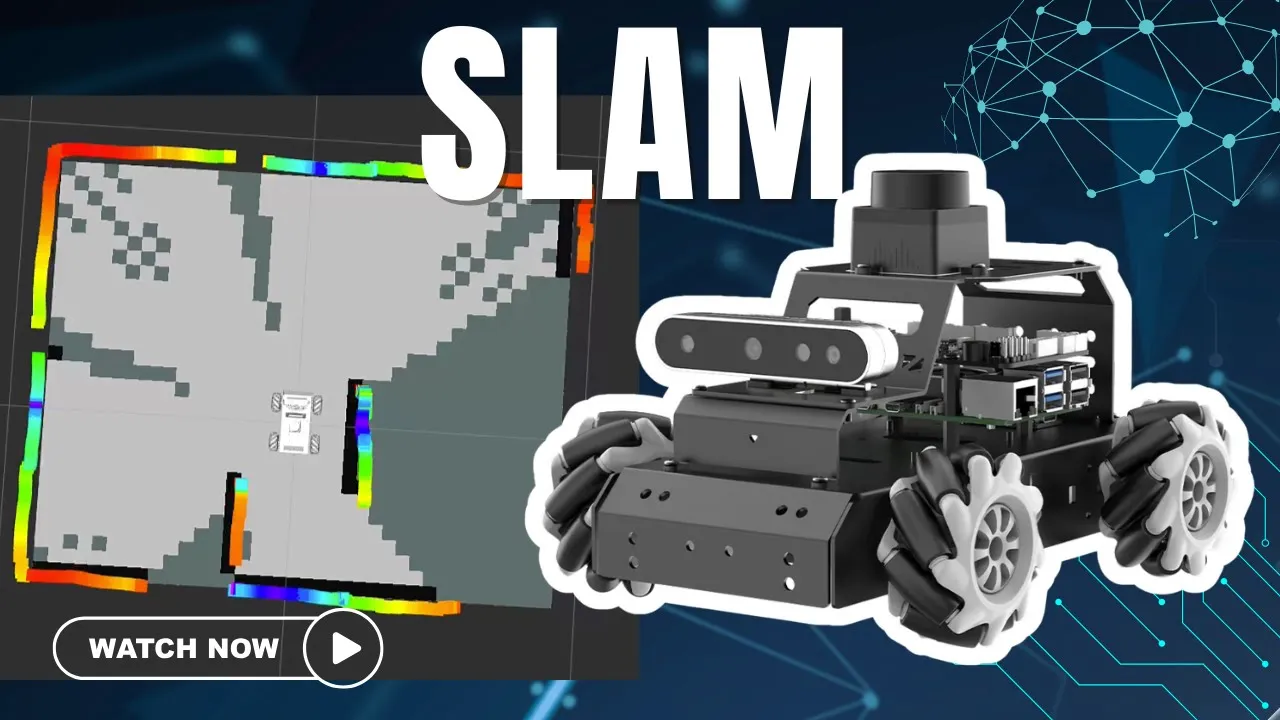
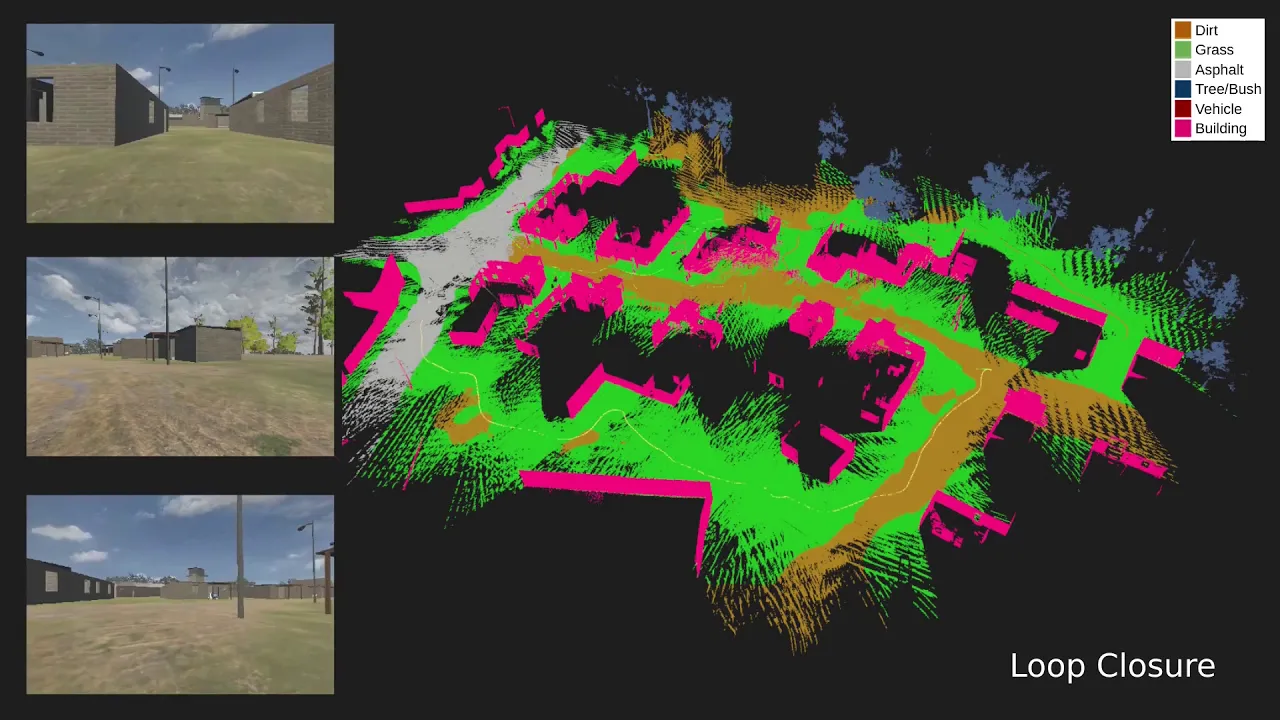


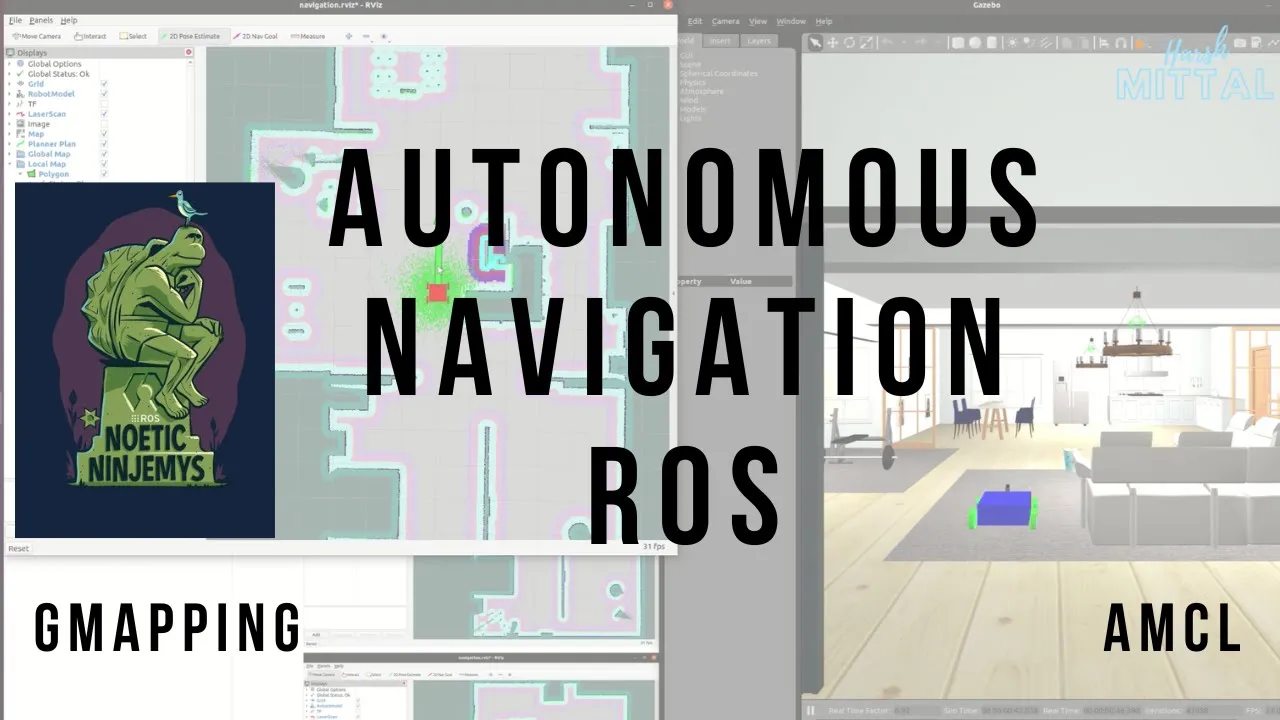
This video teaches how to create maps of robot environments using SLAM techniques with GMapping and how to localize robots within those maps using AMCL algorithms, which are essential foundations for autonomous robot navigation in ROS.
ROS Live Class: SLAM Mapping and Localization for Robots
Added:Basic understanding of the ROS (Robot Operating System) ecosystem, including nodes, topics, messages, and launch files.
Familiarity with the ROS TF (Transform) library and how coordinate frames (such as map, odom, and base_link) relate to each other.
Fundamental concepts of robot kinematics, odometry data, and 2D laser scanners (LiDAR).
Conceptual understanding of probabilistic robotics and the difference between localization and mapping.
Integrating localization (AMCL) and maps with the ROS Navigation Stack (move_base) for autonomous path planning and obstacle avoidance.
Exploring advanced 3D SLAM packages (such as RTAB-Map or Google Cartographer) using RGB-D cameras or 3D LiDAR.
Deep-diving into tuning AMCL covariance parameters, costmaps, and recovery behaviors for robust deployment in dynamic environments.
Studying multi-robot SLAM and collaborative localization techniques.
18.5K views282likes1:16:01Original Release: 2019-03-12
hello ROS developers welcome to a new ROS developers live class hello are you doing name are you doing okay hey you thought it was the chicken that was talking no it was me so funny isn't it okay guys so welcome you are here back again another week to learn about ROS I hope that you are ready today we are going to do a very interesting subject that it's the beginning that the basis the foundation for making a robot navigating any environment by creating a map okay so we are going to use a SLAM techniques and this is the basis so today we are going to learn about how to create a map and then how to localize the robot in that map that we have created so that's what this class today and we have a lot of work to do so I think that the best thing is that we start but before that let me tell you that I seen on the chat that there is some people that have some problem with the time of the live class I think that unfortunately in some countries during each week it has changed the time of to summer time or something like that but in in the place here in Spain that is where we are doing this live class nothing so that the attack was not change so that's why we are doing the same time six and even in the same time in a zone its CET/CEST actually so I'm sorry for all those of you who has missed the class or you got confused about the time sorry for that maybe we'll take into account that in the next life class and we'll put some comments on the community tab of the YouTube channel ok so you know that there is a in this channel of YouTube in there the construct channel there is a community tab and sometimes we put there some pools in order to know your opinion or some intro things they're also we put there a notification about the changes on The Times or something related to that so you don't get confused okay guys okay let me see who is here before we start let me see who is here because I have seen that many people were there waiting for the class impatiently so let me say hello to all these people Gloria who missed the class I don't know if she's here again that one of the people who had this problem then there is Rach shit nice to meet you Rach shit Akash also hello in echo hello an echo how you doing s cami Amba's hello again ginger on of course hello again and Stefan had of glory our gluteus back ok very good Gloria are happy to hear China nice to meet you Tina then brought a new coat oh that should be mad probably nice to meet you whoever who are you from France agriculture I think it should be mad then Daniel asked for course I mean how you doin i : I'm loving to poor one of our ROS ambassadors when we have this program about ROS ambassador so Lauren was one of them and also James finally from Tamilnadu okay so I don't know what is that it looks like for me to India something like that and you deleted the message right now okay no problem no problem and hello to all the other people that is there but you are saying nothing no problem you can't stay there watching interacting but remember that if you have any questions during the whole life plan go to the chat and ask the questions I will be checking so from time to time and then answering your questions okay don't wait until the end if you have a question now do it you have a problem then just express their I'm not following I have this problem well it doesn't work for me so let us know okay so we'll do the best and the worst one point one question at the beginning of the chat that says oh but how are we going to get this rush yet for the class today so for all of you who doesn't know these classes are five class it's a class boil you are going to practice with me what I am teaching you okay so you are not going just to listen and that's all know you have to practice ok so please practice for that I have prepared what we call a rush yet a rush if contains the simulations the code the notebook everything so you can practice with me at the same time by using the ROS Development Studio who is a tool that is online and we only need their browser so you are going to eat only the browser and the rosette that I'm going to share with you in a minute how do I share this with you well by providing you a link so I'm going to show you how to do that so in case that you create your own brushes you can also share with the community with your friends with your colleagues with whoever what is the same procedure ok so that I am doing now so you can do it with your own brush yet and let's go with our runs yet for the life class of today so let me share with you my screen and then you will understand what I mean about the rush yet I understand that sometimes it's a little bit confusing because it's new okay so let me just check the chat I see a lot of people here then say plus one for Ross ambassador mark okay Matt there is 37 people watching right now don't forget to click the like button that's Gloria saying yes Thank You Gloria for promoting but actually it's 43 ok so it's increasing Guillermo hello Akshat already said hello I think hello naman also I'm making human and Roma how do i sterilize its body without using simulation ok at month nah man sorry I cannot answer the question because it's not related to the lab class put it on the comments of the video on it try to do my my best ok afterwards and Lawrence from Georgia commander Sisko we are we're missing you so now you are here very good let's go let's go we have a lot of work to do today so let's start sharing the screen so now you can see my rotten elements to deal tap and yeah so I already open but let me go to my rush yet so if I go to my ROSject here I have many many rush it's about different things of course the life class that you already know but many other things today we are going to use this ROSject here and how do I share so if I had created these roses how do I share a very simple press here share and then shares oh ok so it should not be like that it should not be in this is because it is public but anyway very simple copy link copy it and I'm going to paste it on the chant so let me put it here on the chart here ok guys so now you have the route yet linked on the chat if you click on this link link you will get a copy of my project ok so you are going to get a copy of this full copy of the whole code notebook simulations everything that is included in the last class of today so click on the link and then get the copy it's going to take some seconds for you so in the meantime let me see there is some cute kitten hello we are the best thank you thank you so Jose says from Barcelona robots yeah oh hello right Jose from yeah it's very close to here where I am right now and delete how to map using leader this is what we are going to see today how to map using leader Dileep and Cheryl Cheryl also we were missing you Cheryl now I'm happy that you are here how to send the map to a web application ok Harry man that's another question that we are not going to deal to here today and man which package is navigation using intel realsense ok so you can apply the same things that we are doing here for the inter real sense you only need to connect to the proper topics and then he says I have to create an account for this yes of course but a free account so just create the account actually you should have created before okay so let's go again to here once you have the runs yet let me go back you should get some image like this click on it and then open ROSject okay so just do that and then in some seconds you will get your machines well it depends on the amount of people are days actually in excess it now and many other things so it will take some it could take up to two minutes depending of the ones that are available so let's see in theory it should be already connected let me see if we have any issue here it is I know it is connected to the remote services looks like it's Koran let me just refresh just in case and let's see okay so it's connecting in the meantime let me check here the chant also then there are more questions he says some hi hello Sam how to map using connect mr. toxic and Santo Rivera says hello hello Santa mr. toxics about using connect you have to first you have to convert the connect data into a laser data and then you can apply what we are going to explain here if you check in our channel you will see a video that explains how to convert from a point cloud that's what the connect is providing from a banach about and into a laser so you can see you can then afterwards applying what we are going to see here today because here today we are going to learn about how to do a map by using a lead lider or laser yes then let's solve for that item any questions but too many so let's go forward for the class let's advance a little bit and then I will go to the questions Bank again okay so when you open the wash yet you will get this notebook here open automatically this is a notebook that contains all the instructions for the live class of today okay so in case that you don't get that for you just close here there is a button to close don't worry go to tools again and select the Jupiter notebook there it is and then it will pop up again yeah well actually it shows you can have many notebooks okay so when you open the first time it shows the default one that is the only one that it has but then afterwards you can have more notebooks here you can create as many as you want there are some videos around there in our documentation how to create but if you cannot then click on the last glance 49 and that's all yep there we are so this is a class that we are doing in collaboration with Robotnik which is a company that builds robots actually we are going to use the raw that they are built they sell it's called the summit XL the robotic guys are super cool guys they are very nice guys they are so nice that they allowed us to have one of their real Semitic cell that we are going to use on the neck like flat so based on the class number 50 and of course I highly recommend that you burn your robot and Rodney actually they have a Ross it's called ROS of components shop online shop where you can buy any type of device for creating your robot even robots you can buy their and all of them are ROS compatible so they are not paying me for anything that I just like so much what they do and when I have to buy something I related to ROS with robots I always bind to them well anyway so having said that what is this class it is about making a robot navigate and navigate means to allow a robot to move by itself from one point to another while avoiding obstacles so we are interests here in making robots move around by themselves not joystick control okay and a present we are concentrating on these life glass about a wheeled robot like this one that is equipped with the wheels with odometry and also we learn either I call a laser because I'm from the old school so I call a laser but it's a lighter is the same thing okay so what we are going to see today it's what is wrong but now we get your already explained how to do robot navigation with Ross how so we want to do gravity Malaysia but with ROS already provides many things to do it very easily as you're going to see then we are going to see how to create the map for navigation and how to use that map to go to lies the robot in the world and then for that you need to know how ROS works you don't have to be a master of Ross but you have to understand topics and publish/subscribe and that's it and of course you have to love robotics are you loving robot are you loving robotics I hope so ok I will check afterwards okay guys so let's go so in this case we are going to use for this last class the summit XL simulation that is from Robotnik and in case that you you like this robot so much and you would like to buy it here you have a link with more information this robot has equipped with many things the four wheels the laser Ranger the IMU camera GPS and then today we are going to use only the wheels the odometry that is provided by the wheels and the laser Ranger you can do many other things with it actually we have videos showing how to use the GPS and vocalising outside so then about the ROSject already explained and you can read afterwards what is robot navigation so from an occasion like what explain is to move autonomously in one environment so the robot moves by itself while about avoids the obstacle and for that we need to create a map of the environment then localize the robot on that map that means that the robot has to understand where it is in space and where this position corresponds to the map that he has created then it has to be able to compute a path a path from a point where the robot is a present to another point of the map it means the goal the location where the robot wants to to be so the robot wants to reach that point for that it needs to compute a map a path and then it has to also to have a controller that allows us to move the robot following that path and finally it has to have an obstacle avoidance system that allows the robot to avoid obstacles because even if you have a path maybe some people will interfere into that path or some other things like a box that is left there by somebody or I don't know so a luggage of something then it's interfering with the pre-computer path and then the robot has to learn how to avoid that today we are going to concentrate on to eating a map and localize and the next life class we are going to do how to do all this together and you are going to see that by using ROS is very simple groms provides something that is called the Ross navigation is that that you have here an image that simplifies everything but you don't have to understand this right now because it's too much just put in there the information to let you know and if you want to know more about the grounds no vacations that click on that link and then you will see the whole explenation hive works then today what we are going to concentrate is on how to free the map and how to localize only those two parts from the draws navigation stack both things are provided by the ROS navigation stack so we don't have to create algorithms right now we only have to learn how to configure the ROS navigation is that in order to create a map and 200 talents okay so are you ready I hope that you are ready and the first thing that we are going to do is to have our robot because we have to have a robot that is moving around and let's go let's launch this simulation in order to launch the simulation of the summit XL go here to the link here today to this line where are all the tools and click on simulations here you have a list of available simulations and check look for the summit XL ok so you see that there are many others robots you will test that later concentrate now on the one that we have to do today here I'm going to put it here so now it's a studying the simulation a new window pops up and in the meantime let's continue with a notebook the first thing that we are going to do is about how to create a map and for that we are using is lamp techniques there are many ways about creating maps but here today we are going to use the most common one the simplest one they say that this slam technique means simultaneous localization and mapping and for that we are going to use an algorithm that is called G mapping you can check the proper implementation of G mapping there in the Ross packages and see the code but today here we are going just to use it so we are going to use this we are not going to program the key mapping ok so that's here you have more information yes in case that you would like to have more information about G mapping but we are going to concentrate on creating the map now how can we use the G mapping to create a map well let's see here I see that the simulation has started there are some errors there for the some controllers but they are not needed here so don't worry so it's going to work anyway so here is the simulation here we have the environment as you can see okay I'm using the trackpad in a trackpad and not the mouse and it strange so that assimilation that creative fetch robotics and we are using it because this is very nice and there does the environment that we want the robot to to move around okay so first I did it so let's go and let's create a map what do we need to do for that first is to create a package that will learn to the map system the mapping system so for that we have several things first in the tools if you go to tools and then you select the IDE then it's going to appear early IDE here that contains several workspaces here then as you can see there are different workspaces and today we are going to use the cat King worker space the canteen worker space is the one that content is across worker space that contains the code that should be executed on board the robot alright so here you don't put anything about simulations you put the code that you will use in the real robot so inside the source as you may know then we have to create our packages in this workspace caffeine worker space slash source then here we have other workspaces like a notebook one that contains the notebook of the life class and others that today we are not using so today we are only using the calculus space and they know who's working space so let's go to our packing with the space how do we do that we need a shell we need a share so let's go to the tools and select the shell in order to interact with a computer that we are using here to develop now you get this prompt here user and if you do an $ you will see that all the worker spaces here are the same that appears here on the country working on the IDE you see all of them ok let's go to the catkin workspace catkin_workspace/arc now here we are going to create our package let's create a package named my mapping launcher how do we do that okay somebody somebody answers how do we create a package what is take man so any any answer I'm waiting here well I see that there is a lot of interaction here then there let me check while somebody says the answer then no no answer to that okay so let me tell you that the answer are you sleeping or what tactic create a package that's it yes I can create a catkin packege yes pkg pkg yeah exactly okay I never remember Chucky the command so I just type catkin then tap tap then you get these underscore that peen create and then PKG okay that's the trick it's it's a lie i do remember what just was telling you a way of going faster okay so then we indicate the name of the package my underscore mapping and the score launcher so please use the same names as we are doing here because otherwise the demo will not work is you afterwards you can't change anything but i have prepared some some copy-paste and then it will not work the copy-paste so create the tacking package and then it should appear here inside the country workspace source as you can see it is here it's already here okay very good very good let's go inside this directory my mapping launcher and then create a directory let's create a directory you can use it also the IDE to create a directory let me use that because it's simpler it's right-click and then new folder and call it lunch laugh yeah lunch okay so yeah sometimes they ie take some time to refresh if it doesn't show just fold it and unfold it and there it is the launch directory now what we are going to do is to copy a file already provided in brass in a rush installation in a typical rush installation if in your system you have installed a package called tar tell about navigation then you will have this file ok of course in the raj development studio it is installed so you will see how easy it is to work this way and start making a map right now with any robot almost any robot that has wheels with a geometry and a laser of course so let's go to that package total navigation package and let's find inside the package the G mapping launch file XML so let's go how do we go $ cd and then the name of the package roscd turtlebot_navigation ok so I have been forward I have in move to that directory then inside that directory if I do an $ I see that there is laser launch maps etc let's go inside that laser sorry inside the launch launch launch and here if we do analyze we have G mapping demo and a.mcf demo ok don't look at those ones we don't need those go to the includes CD includes and then there we do an $ again and then we have a MC L and G mapping ok let's go in say inside the G map in C D G mapping ok let me put it here like this it's easier to want everything ok so look at the whole directory that we have to go and then here we do an LS now here we have this G mapping launch XML file that I mentioned here ok check for the launch file named gene mapping launch XML inside this package ok so that's it we got it then be the contents of that inside the file my mapping dot large file okay so yeah I I screwed that that said that it is it here in one later when you read the notebook you will you will go step by step and going faster to to have time enough but so inside the launch file we should create a directory named launch and then inside create a file name my gene mapping launch and then in that file gene mapping long my G mapping launch we have to copy the content of gene mapping launch XML actually I'm providing you a faster way of doing it that is this command here what this command is doing is just copying the gene mapping launch file that we have here this gene mapping launch XML into our directory of my mapping launcher lounge with a proper launch name ok so what do we do well we copy this command whole command you can copy this copy ctrl C and then go here and control V and this is going to make a copy of this file into our package in with the proper name right so led to this is a very simple line of command I mean I'm not showing you anything fancy as you can see okay great then if we go to the IDE we have here inside the launch file if we open now there is this G mapping launch file opening double click here on the IDE and there it is so we have this file that this is a file that is provided for the turtlebot navigation package what we are going to do is to use this one just configure for our robot and then launch it that is e now we will have very fast robot creating a map you're ready see in a second it's very fast it's very simple so that's the content of the file I put it there for your own benefit and for your in understand a better understanding we don't need to use it because we already have it here so just for understanding and then what is interesting here to understand is how do we configure this for our own robot remember that this procedure you can apply later to your own robot so to any other robot that has wheels with a geometry and a laser and you can do the same things okay so the important things that we need to configure are those those points here those arguments here these can topping the base frame and the autumn frame those are here provided as arguments and then what I recommend you is that you modify it here yes here but the proper names so in this case the scan topic is in which topic is the robot publishing the laser data so which one for the summit excel excel we don't know how do we know how do we change we go to a console here and then we do a rough stopping list let's do a rough topic list something like the scan or something like that should be publishing let's check here here no no no no no no no here how coolio based scan because I know that how Cuyo is a type of laser and then scan then okay so it looks like is this one if you want to check even more you can do a roster pick info so let's do a roast topic info of that of that one and then you type the name of the topic ikuyo based scan and then it will say yeah I'm polishing sensor messages of that laser that it that's our topic let's go for it then we have to put that topic here in the configuration file where it says a scan topic so remove the one that is there let me remove and put instead one from the Semitic cell how cou you waste the scan okay so far so good great now now we have to modify also the base frame the base frame is the frame that identifies the center of the robot so it's very common that it's called base footprint but we have to check if in our robot is the same so this is published by the TF by the TF so in the topic tier we should see that which one is the base frame the frame that is at the center of the robot and then we also have to know which one is the autumn frame the arm frame means the frame at which the Adamo tree is being published I cannot go into detail what that means if you don't understand that then you need to learn more ROS basics okay so that means that it's the frame of reference at which the Adamo tree is being published so how do we check that well very simple there are many ways of doing it but the one that I like the most in my case is to launch the artists so let's launch the artist you know what is it our base isn't it is the it's a visual debugger or wrong it's visual representation of information in Ross it's very useful very good tool so for that Roger on our base our base if you do that then it should start the our base and there it is we got the our base and now where is the the window of our base so it only says that that no we should see this window here with some values there maybe not that visualization but the artists window and where it is is not here in order to watch any window that Ross is opening for because we are using this web browser system we need to go to tools and then select graphical tools select that one and then in few seconds it's going to show there it is artists let me put it bigger actually I'm going to make it occupy the whole area there it is and also here you can see that the our base is not properly centered you can go here to the booth area and do a double click and then we'll double click and then it will Auto Center ok great so what do we need here I'm going to remove this first we need to add the robot let's add the robot so we want to add and then select here in this list you have to select the robot model robot model you go looking it's at the bottom so select robot model ok and then it appears here as white why does does it appear like this well because the fix at frame the frame at which everything is being represented is called map but map is not still being launched it so we need to here modify click here on the feature frame and then select let's say for example base link for example now our robot appears because this link II understand what it means which frame it is there it is the robot now we need another thing in order to watch the frames we need actually well actually we can see them here in the list of frames so there is the base link and there is the autumn here so that means the base link is the center usually in a robot and that the odometer the other usually is the odometry so we we can know now that those are the values that we have to configure the Chi mapping but in case that I'm not sure I want to be sure 100% sure ok then go here to add and you have to add the TF so go down until you find the TF it's almost at the bottom also here it is TF you at TF and then all the frames they do appear there now you can see all the names and too many things there I'm going to antique here the robot model if you remove the teeth then the robot will disappear and then you can get closer and read the names okay so yeah you can see that the base foot train is there then the base link is there in the middle is there in the middle so yeah I know that you cannot see so you want to see click here on the TF configuration and here on the frames it says all enable then check uncheck that one and then just print the ones that you want to see for example to paste link now here typical days link and then also let's put the autumn so the autumn is there and now if we click again on the robot model you can see where it corresponds to the locations of the robot now you can see that the base link is on the center of the robot so basically is there an Adama tree is just beneath because the robot hasn't moved yet when it starts moving then the robot will be away from the album of course the robot is still there okay so we know base link and autumn let's go back to our configuration here and then we have to say here base frame base link so you can go here and select and say base fling and then autumn frame already autumn that okay so basically that's it and I know that there are a lot of other parameters here and you can play with them but usually the default values already work usually so you will have to play with them I'm not going to explain all them just test them all for making it work because we don't have time yet okay so we got it then let's start making the map so for that we have here in the graphical tools wait I'm going to put it here the graphical tools here yeah and then here I'm going to launch another and dip the mapping system so an icon going to launch another shell here on tools go to tools and open a new shell in this new shell we are going to launch this our mapping launcher so remember we have created this package and this launch file and that a then the system will start to create a map so let's copy that command or type it as you want actually is very simple if you do tab so just in the new shell type the command for launching your lounge file the one that you have created there and by launching things you are activating the G mapping algorithm and your robot will start make it a map okay so you can see here it says registering first scan for the mapping and here the Islam G mapping node that has been started great we are there but almost there still not now we need to move the robot around the environment to make the robot create a map as you move for that we need to use the keyboard to layout so we need another shell go to tools shell and let me put it here and like this is smaller and you can launch this command that is for controlling the Semitic cell using the keyboard okay so you can copy that command and put it on the other shell this is launching the keyboard control of the robot so now you can see that there are two moving around the robot use those keys here so if we let me show the simulation again so it's here great so we have here the robot and let me put it like this so I'm going to press here the keys and and don't you are going to see the robot is moving starting to move so I'm going to press I and then the robot is moving forward and also some things are happening on the air our base we are going to go there so if the robot doesn't move for you remember that in order to have access to the keys you have to have the focus on the share focus complete focus I mean this is blinking in white okay so now you can press the keys and make the robot move around okay so okay I don't know what he's doing here this okay so there it goes there it goes and it moves around it turns yeah okay okay so the robot is moving around and then the algorithm here it's doing some things but how can we see the map very simple let's go to back again to our base let's go to our base and let me put it bigger in cool screen and now I'm going to go back and move like this yeah so you can see as you can see we have moved from the autumn frame yeah that's normal okay great then here let's add a map let's be show rise here in RViz a map so for that go to add and then move down down down until you see map map you include the map and now we have to configure the map okay that's white still you cannot see anything for configuring very simple open here the map configuration and where it says topic click here on the side and select the topic of the map that appears here map there it is and then press Enter oh sorry it took my D enter today and then you can see that it appears the whole the map that is the robot is creating okay very good so far so good then now what is is your turn your turn is move the robot around and create a full map of everything so for that let me put it smaller let me also remove the configuration panel to the left so we can see only the map here on our base how it is being created and also the perspective I'm going to change it so we can see from the top and now I'm going to configure here also sorry to configure not to show here the assimilation so I can see what is actually doing the robot in the reality yeah ok so let's move it a little bit okay not the whole area because we don't have time but let's move it a little bit so remember to select the shell again and start pressing keys to move the robot around ok if it goes very slow you can increase the speed by pressing Q I'm going to increase the speed and now go faster ok so the robot is moving and creating the map of the environment and going forward now I'm going to turn to some place well I'm moving too fast Hey ok ok so fast my friend ok now it's going yeah I think I increased too much the speed on the turnings but ok so far so good so I'm moving around and creating the map there you can see that the actualization of the map is not happening in real time yeah because we don't need it so it's made every some seconds it's a parameter that you can tune also in that file so you can check afterwards ok so I have created a map of this area so that's good enough for this demonstration now I have created a map and whenever you are happy with the map created then you have to save it you have to save it because we want to use it afterwards ok so let's go and save it how do we do that we have to exit you to command that is here you can see here on the saving the map yeah then let's open another shell yes I know another one yes come on it's for free just launch more shells and use them okay so you have the command there but basically it's map saver we have to use the map saver for that let me tell you one thing what we are going to do in order to make it simpler let's go to the mind map McGee mapping launch package package and let's create a config file there so we will store there the map that we create so let's go see the captain workspace source then my gene mapping launcher there and then here let me create a directory is M Qadir and let's call it config then let's go inside a comfy and now here let's execute the command for launching the savor of the map that command as you can see on the notebook is map sorry ROS run map and the score server then map and the sport saber saber okay then - F and then the name of your map for example my and the score map by doing this the map will be saved and then if you go to the IDE here again if you open the IDE and go to the mapping launcher you will see that there is a conflict file config directory and inside is the file of the map so we got the map ok congratulations if you reach that point grace we can't map now that the map is done we don't need anymore the G mapping node there because the map is done then for the future navigation you can kill here they come the program that makes the the navigation a mapping sorry the mapping so you can press here control C and stop it because the map is done okay so far so good let me see how it is going let me check the questions there is let me see with many questions let me see if I can you can get it my god okay kaity p38 yes package what's the difference between city and rock CD is a question by Sharia the CD is a lineups command you so you change from one directory to another but Rock City allows you to go directly to a package location so CD you need to know the complete route where you want to go but with rock city you just want to know the name of the package and then by doing rock city the system will bring you there directly see ya so loggin has explained and Lorentz also very good I lost connection and jeans Tina says if that happens to you just press this button it depends on the connection so if you sometime lose the connection you can press this icon here that is kinds of resync it's resyncing and finding again connection so press that in any of the windows you can see that this icon is there use that one for resync it on question so we can you back up to how you detect the laser chopping microscopy glace doesn't not show any laser topic no it has to commander Sisko so is its it has to be because it's a simulation who is providing the laser and the simulation you don't control that is the system that has generated the simulation the Danny de says and always warranty a few frames that correct that generates the PDF with all the frames what is shown in topic list what is shown into police is the list of all the topics that the world is polishing okay okay then rest of it Liz so you have been answering gazebo has gone on a strike again just like last week saying no assimilation running and I have refresh it many times if that happened to you commander Sisko try to launch again the simulation and also if that happens to you it's very very very strange really and second time it means that either you are not using Chrome or Firefox it's one of those or your versions are very late very old why map in RVs rotate I think that no it's rotating the map in obviously is myself who is doing that rotating by clicking and moving around so because I want to change the visually the point of view or visualizing is it possible to map with only lighter and no audiometry yes it is possible there are many algorithms that do that but in that case we are using the simplest one that uses a llama tree can you show us your titi graph yes if you are a you type RTT graph then it will open on the graphical tools window so it will show you there so you can launch any RTT application and then it will appear on the same window as the RV's i'm using chrome commander Sisko ok we have to check that we have to check that because that's not normal please commander Sisko launch again lunch again about the simulation and let me know if it works for you ok let's continue so we have the map created now we need to provide this map to any navigation program that we are going to launch for example the localization one so how do we provide the map that we have created to any navigation program for that we need this command that is included here in the notebook providing the map once you have killed a mapper node remember you have to kill a mapper nodes you don't execute that without killing it because they will be conflict so now you launch this command where you are providing here your map file ok so let me put it as better here remember that I went to that directory and I saved my map with map server map saver now in this same directory where I have my map files I am going to launch this map server and I'm going to indicate my map so that is going to polish the map for any navigation Program the map that I have created so let's do it ra's run map server map server two times map server is the name of the package map server second time is the name of the binary and then we provide the name of our map the jump file in this case is mine underscore map dot yam file now this is something that has to be running every time that we need to do navigation and is the server of maps for any navigation Program ok we got it is there is running and now let's launch the localization in order to localize the robot we have to do something similar that we have done with mapping is very simple now again so let me go a little bit faster because you know the procedure so we go to the same directory that I explained before but instead of copying the gene mapping XML file we are going to copy the am CL launch file am CL is one localization algorithm it's one localization is called adaptive Monte Carlo localization ok so that's the name that Y is called am CL so first we to create a package in our category space so let's go in one of the shells that it's open let's go cut in source then catkin create package a package then my underscore localizer launcher then this is going to create that and then I'm going to get inside there my localizer and I'm going to create the launch directory m'kay Deer Lodge now now I'm going to go again to that location turtle or navigation where the AMC a launch file it's located so for that I do our last CD remember sharing this is going to bring us directly to the package wherever it is in the heart is and the name of the package is called turtlebot navigation so you have to put roscd and the name of the package that you want to go so as you can see my directory has changed to a very different one yes so that's because roscd has done it and I don't have to remember all that I only have to remember the name of the package okay so then here I don't remember what it was in launch then CD launch they include dead am CL there it is and here we have the AMC a launch XML once we are here we can copy this command that is copying the NCL to our package properly with a proper name and with a proper everything so let's do it there it is copy now if I go to the IDE I can see here inside the source let me refresh it that I have my localizer launcher inside launch I have my localizer dog launch and if I open it then I have this file that is about a localization with many many meters again but only some of them need to be configured are the ones that are explained here so here is the fire the ones here again the scan topic where is the laser the base frame ID again the odom frame ID and then this there is another frame ID that needs to be configured that is the global frame that means which one is going to be the frame for for the information of the map that the localization of the robot is going to be reference to that frame and in that case is map odom is also again dom then base in this case we have base footprint so I put basically but it's it's okay so it's the same value that we got here basically so we can change here to base link and then we have to change also their laser because the laser is being polishing another topic that's um let me copy here from the previous from the previous file that we did for the mapping so I'm copying here and then I configure in here also who your based scan now the rest of the parameters and you can leave let them like that so it will work and then once we have that we are ready to launch it so if we launch this command then it's going to launch our package with our configuration and it's going to launch an AMCL you can execute that in any any place okay stop anywhere there it is the AMCL is a starting and some things are happening here on the are days you can see here okay so the is looked like everything has a started again but as you can see the robot is located here in the map in if we go to the seed a simulation let me go to this Malaysian we can see that the robot is not there so it's not corresponding the location of the robot here let me let me show you the map the whole map okay so wait I have to get a little bag so yeah so this is kind of the corridor you know the courier that is here in the simulation but the robot is not there it's actually close to this column that it would be moving close to here to this area here and why is that well because we have just an initialized a localization so the system doesn't know where the robot is when you just start it then we can help it let let's help the localization system and let's provide to it close to realities close as close as possible to the actual position of the robot in the simulation yeah so how do we do that first let me show you how to visualize the information of the localization system so for that lets go to the conflict of the RV's here again if you close it open it again and let's add another element in this element it's called let me show you it's called the pose pose arraign and it's here located post array so if you select this pose array and then press ok now we have to configure to to tell a please read the information from the topic that provides the a mcl so you select topic clear and then oh let me put it bigger so you can see better yeah so I have added a pose array by clicking here and then I'm going to the topic and here let me select the a mcl that is called a particle cloud you select this presenter okay so yeah so the particles should show already it's not showing okay let's move the robot okay maybe it's because just very very short amount of just a started the algorithm so let's move it go again to the shell where you had your keyboard for moving the robot and let's move it a little bit forward so we should see here okay there there are the particles okay so those particles are indicating possible locations of the raw so a present-day localization system things that the road is around there it's in some place there but we know that is completely wrong actually have scratch against the column in my in my here in my simulation okay so let's do one thing let's provide this information to the localization algorithm and let's help a little bit how do we do that here in obvious put it bigger here in a nervous there is an option that is called to depose estimate if you press here then you can indicate in the map where the robot is located actually and you can select that is around here and then press without releasing move into the orientation that the robot is so in which direction the robot is looking that is against the column okay so let's do that and it has done nothing yeah I know why because we need to change the fit subframe so remember at the beginning that we change the fixed frame to base name now we have to put it back to map so select map here that means a particle systems localization system the poor system a that we are going to provide you is in map coordinates that's correct so let's do it again so one do you have change to map go again to to depose estimate then go here to the column and select and do it like that and there it is so the particles are now there spread around that location and the robot is also located there if we move now the robot again let me move it here I'm going to move it backwards that you will see how the particles do you start to concentrate more and more and that is indicating that robot is actually well localized and and you can see it can correspond it corresponds to the proper location of the robot so let me move it a little bit more backwards and the particles are concentrating into location and then the robot is starting to say oh yes I'm crossing in front of the door and crossing now in front of the corridor and that's it so I am there okay so now the robot is located properly located so we have localization and mapping done and from that is when we are going to build next week in order to use localization and mapping to make the robot move forward and move autonomously to create path plans and all that stuff okay let me check the notebook is something missing here it is about that yeah and that's it no that's mission complete so we are going to stop here just want to remind you that give us a like if you liked the class please that's helping us a lot if you say thumbs up in the YouTube video and of course subscribe to our video channel because we are publishing new videos every day about how to learn ROS and different aspects and I would like to tell you about the second ROS Developers Conference that we are doing it in June in 15 and 16 it's a conference that is online so in order to attend the only thing that you have to do the same thing that you have done here in this life class is to attend today to a channel in YouTube and then there will be eight experts it's not going to be me but a expert from around the world that will teach you some other subject about ROS in the same way as we are doing here so there is going to be a full weekend with experts I will be a drew where you will be able to speak with all the attendant with all the people that is connected from everywhere of the world that the second time that we are doing it that the second draws Developers Conference and we did last time last year also you can check the videos here or the previous and you can check how it is so there is a complete list and no sorry there is a problem in this link here oh okay I put here okay so if but anyway so here in the rock they've gone this is the link of their of the conference where you can register for attending or if you want to speak at the conference and you can provide a class to the rest of the of the world of course there is the option and you can find all the information here about what is required if you want to register and if you want to check the previous three years year videos it's here it's let me check where is it it was around here okay so I cannot find it but it was here I think it was okay so yeah so it should be here but it is not so I will check it and provide that to you on the next life class ok so that's all for today and let me see if there are any questions I can dedicate some minutes for the questions and go to there hello guys I'm back here let me check questions let me go from bottom to top okay because so many things there so there is a so there is a here ma says how can I get a leader for the simulation of Total War two and then Kosmas is providing you Guillermo with a solution yeah so actually the talk about - it's already providing I remember correctly no it's not okay so you have to add a who your robot for that hooyo lasers are in for example that's an example and we have a video in our channel about that about how to add hope into a cocktail bot so check it check in our channel check can tell about laser and then you will see the video that explains how to attach this with lanes etc to the simulation okay cosmos says how is autumn provided in here using the topic or the TF so it's using the topic well it depends it depends on the on the validation algorithm yeah and also the G mapping algorithm is by using the TF by using the TF that's why you have to configure the autumn frame and you don't have to configure the autumn topic because it's getting the data from the ATF it's a very good question cosmos then reshef says the DEF image - laser scan package will generate a scan topic for connect that's correct than it does the thing about leader is that only detect in the plane so only objects in a specific a that's correct Danny okay so i think that i am reading some answers that you have already done okay so let me see any Gloria says yeah I this is my first aslam navigation map ever so you got the map did you get the localization working also okay I would like to know then so you are asking some questions against between you then let me see so how to add more sensors like ultrasonic sensors or rangefinder in order to improve obstacle avoidance yeah I see the the original question Ricardo could you give us some tips about how to effectively merge data from a lidar and a def camera let's say Caputo and I tell realsense yes but so then so you want to it depends on what you want to do it depends so for the Islam Allah rhythm you only can't afford a gym a pin in this case you can only provide a laser data so in case that you would like to use the depth sensor and the laser you can do it but you will have to convert this depth sensor into a laser and then afterwards for example you can push them both the laser and the connect data into creating kind of a single laser and that's very interesting because it will provide you like obstacles in 3d but in a 2d representation in a 2d representation so by ideas you can do Islam in a 2d but taking it into account obstacles that are a higher direction another option that you can do is to use for example the laser only for localization but then the thickener for obstacle avoidance you can use that then because the Kinect can detect obstacles in 3d and then you can provide this information into the obstacle avoidance algorithm into the move base so you can create a course map of those obstacles that are detected by the Kinect I cannot give you a tip directly but let me think if there is a course that where we explained that I think that I don't remember ever I think that we have a course that explains that what we do have is also another it's a complete 3d slam algorithm that is called our tab and this one uses just the Kinect so you can use just a Kinect for creating 3d maps of the whole environment in the same sense that we have done here for Islam so you can do it for 3d did you create a map that is the complete environment in three dimensions and then the robot navigates using that we have a course it's called RTAB it's already available online and you can practice there it explains how to configure that for you then Eska members asked sequest very interesting they said what's the point in May in mapping to avoid obstacles and that's very good question ESCA members so when you create a map they if that map usually contains many of the obstacles that are fixed so for trouble if there is a table usually that table will be always there if there is a I'm talking a general sense the doors then there are the walls they will be always there so you can use this map for creating paths that avoid those fix-it obstacles then apart from that afterwards when you start a obstacle avoidance algorithm then this one is going to also scan additional for additional objects for additional obstacles that are new that we're not included into the map and these obstacle avoidance is going to include those new obstacles inside the map like on top of map you will see it's called a course map is what is called as a course map but basically is the map that you have created plus the new obstacle so you are putting on top then the path planning is going to plan instead of planning on the original map that only contains the worlds and the fix and obstacles is going to plan on this extra map that contains the original map plus the new obstacles I hope that this is a little difficult to explain just by talking but I hope that you have understood and it goes and goes and I'm sorry but we have to finish here I cannot answer all the questions at the first time that happens and in the live classes I'm very happy that this class has read so much interest so what we are going to do is to plan more about that subject ok and let you know so please in case that you have questions that you need the proper answer put it below the comments here on the on this live class when these these video is going to be publishing in a minute it will be available so go there and polish it and then peacefully I will answer all of them I promise to answer all of them ok guys ok so thank you very much guys we have to finish here today it's very late already and I hope you enjoy the class and remember that we are going to have another class like next week about using what we have built here today and make the robot move around and we are going to use real robot so we are going to see that on the assimilation all of you you are going to practice on the simulation the same way we did today you are going to practice on the simulation and then some of you will be able to connect to the real robot that is going to be here it's going to be the real Sam it Excel that the guys are probably they have provided to us for doing this special life class and so you are going to have the chance to connect it's only going to be for five of you only for five of you and it's going to be the first five that indicate on the comments of the video I want to practice with the real robot then only for five people so you will be able to connect to our robot to directly from your location that that's that's cool guys that's very cool from your location you are going to connect to our robot and you are going to control it directly by using the wrath of illumination to do okay and all the things that we'll do along the dot like that so if you are interested please when this video is published go to the comments and say hey I want to be testing on the real robot next week and then you'll get your your spot and when five people have said that then it's for basically because we don't have more time I would like to provide this to all of you but we don't have time for all of you you are so many there okay so that's it thank you very much thank you man very good Thank You juju on Danny's ask mrs. toxic and constituent VD and yeah so all the people there that you are so many thank you very much guys see you next week bye bye remember I'm not that one and I closed this I can find it the window okay too many windows open you know now now yes bye
Up Next
61:27
ROS2 Nav2 Navigation Stack Crash Course with SLAM and Navigation
@RoboticsBackEnd
98.5K views•2023-03-01

58:25
MathWorks Virtual RoboSub Simulation Environment | Webinar 2026
@RoboNationInc
209 views•2026-03-10
63:11
Outdoor Robot Navigation with GPS Using ROS: Jackal Simulation
@TheConstruct
15.8K views•2018-04-07

25:22
Micromouse: The Fastest Maze-Solving Robots on Earth
@veritasium
23.5M views•2023-05-24
Related Study Plans & Knowledge Roadmaps
Structured learning paths in Robotics
robotics
Building Delta Robots: Kinematics & Pico
01Foundations of Delta Robots & Mechanical Design
02Electronics and Microcontroller Setup with Pi Pico
03Delta Robot Kinematics and Coordinate Math
+ 3 more learning modules
65h6 modules
Explore Roadmap
robotics
Building Ballbots: Dynamics, Kalman & LQR
01Embedded Electronics & Omniwheel Actuation
02Ballbot Kinematics & Rigid Body Dynamics
03IMU Sensors & Kalman Filter State Estimation
+ 2 more learning modules
42h5 modules
Explore Roadmap
robotics
Micromouse: Hardware, PID Control & Flood-Fill
01Electronics & Teensy Microcontroller Basics
02Sensors and Actuators: Motors, Encoders & IR
03Precision Movement: Implementing PID Control
+ 2 more learning modules
35h5 modules
Explore Roadmap
robotics
CDPR: Kinematics, Arduino & Winch Control
01Foundations of Arduino & Basic Electronics
02Stepper Motors and Winch Mechanics
03Kinematics of 2D Cable-Driven Robots
+ 2 more learning modules
28h5 modules
Explore Roadmap