
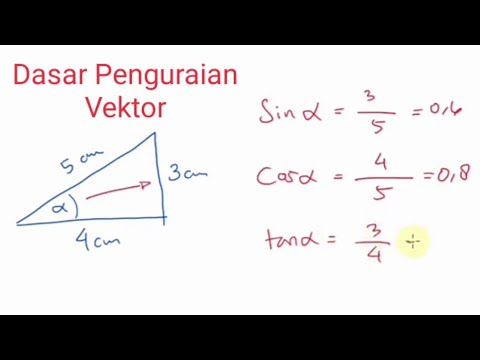


















An omni-directional robot can achieve automobile-like steering using Ackermann geometry by calculating wheel angles through trigonometry (tan(θ) = opposite/adjacent), where each wheel's angle depends on its distance from the center of rotation, allowing the robot to steer like a car while maintaining the ability to move in any direction.
Omnidirectional Robot Steering, Ackermann and Swerve Kinematics Explained
Added:Basic trigonometry, including sine, cosine, tangent, and inverse trigonometric functions for vector decomposition.
Fundamentals of 2D rigid body kinematics, specifically linear velocity, angular velocity, and coordinate frame transformations.
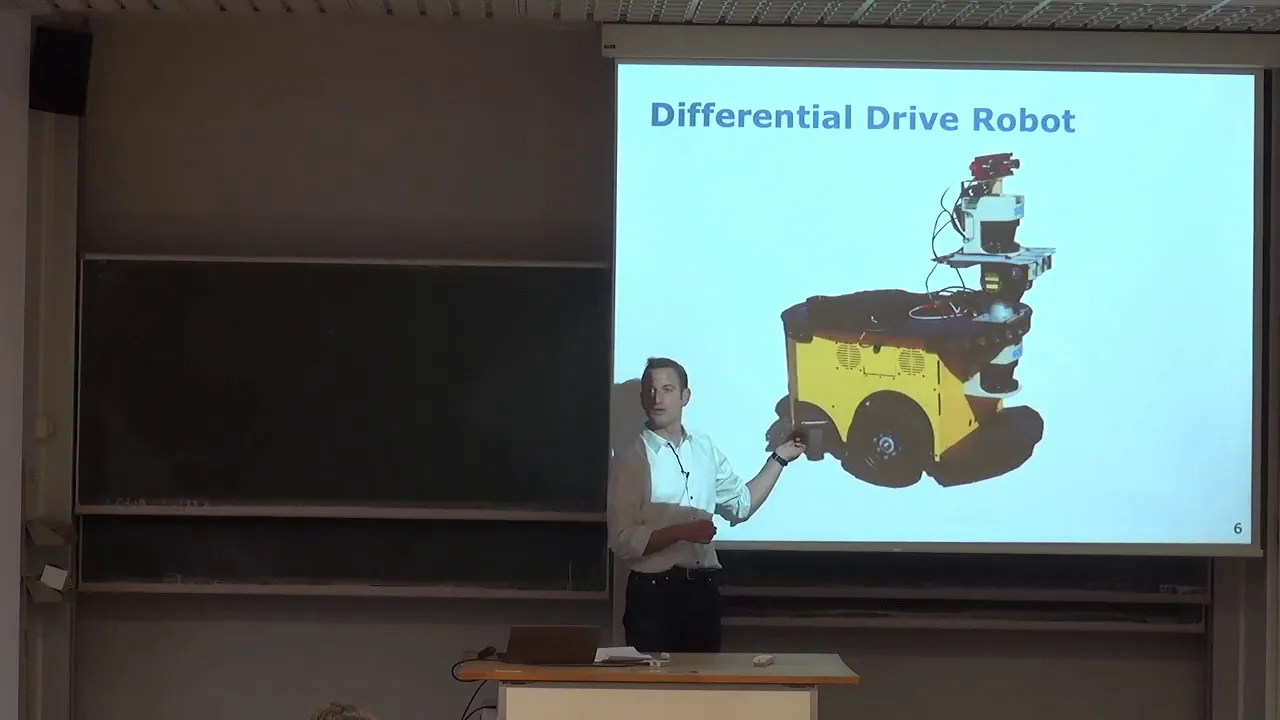
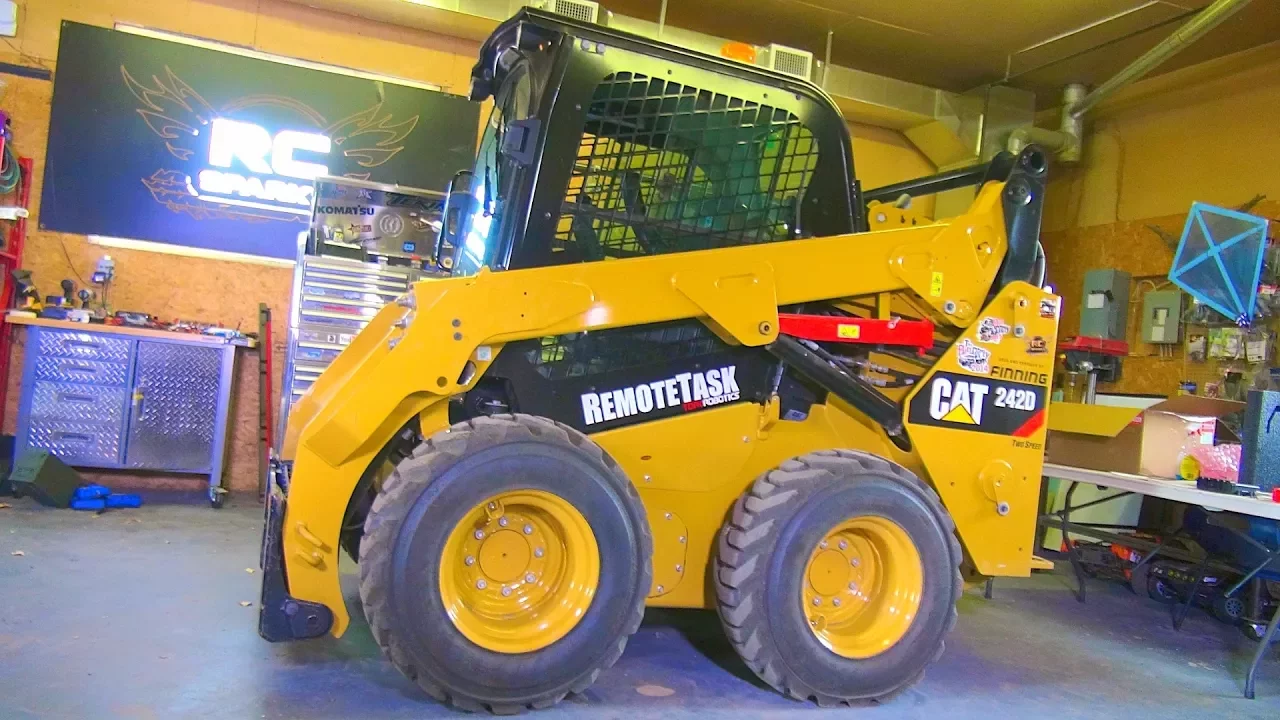
Understanding of simpler drive systems, such as differential drive (skid-steer), to contrast with multi-directional steering.
Basic vector algebra, specifically vector addition and resolving resultant velocities into component vectors.
Implementing closed-loop feedback control (such as PID algorithms) to regulate individual wheel velocities and steering angles.
Forward kinematics and odometry calculations for tracking the robot's global position using wheel encoders and IMU sensors.
Trajectory generation and path planning algorithms designed for holonomic (swerve) and non-holonomic (Ackermann) motion profiles.
Hardware integration challenges, including resolving mechanical backlash, steering calibration, and wheel slip in physical swerve modules.
101.3K views5.2Klikes12:22Original Release: 2021-11-16
i recently built a test vehicle with bull shaped omnidirectional wheels i also previously built an omnidirectional robot with standard omni wheels which have smaller wheels around the edge so they can run in all directions the problem with these types of omni wheels is that they generally have a large wheel that runs in one direction but rely on the smaller wheels to run in a perpendicular direction these small wheels are obviously worse than the bigger wheel at traversing lumps and bumps in the surface the vehicle is running on in the case of the ball wheels they still rely on a smaller diameter of the ball touching the ground as the wheel rotates in the other axis and eventually they rely on a small wheel on the very peak of the hemisphere when the wheel is in a position where the hemispheres can no longer rotate so in this video i'm going to look at another way of making an omnidirectional robot but using normal wheels and look at the various ways it can drive [Music] just a quick ad from my 3d printing sponsor thanks to lolzbot for supporting my channel with 3d printers [Music] thanks to 3d fuel for the filament for this project and lots of other projects so check out my channel for more 3d printing projects and check out 3dfuel.com so i've got one big chassis piece and i've got some mounts for the wheels each of those fits in a hole i'm not using bearings on this project so they just fit in there and are a pretty tight fit and they move quite freely i've got a cap that fits on top and stops the other piece falling out of the bottom and of course that acts like a keyway so now i've got something to turn the whole thing with i've got some high-tech hs 805 bb plus servos which are giant servos so if we compare those to a normal server you can see that they're much bigger and much heftier with thicker gears each one has a 3d print screwed to its servo home which as you can probably tell mates with the keyway that i've put on the rotating parts that's largely to make it easier to install so i can screw the screws into both parts which face each other because otherwise i wouldn't be able to so now we can mount those with a servo bracket and that means that i can rotate the wheel mount with those servos and those servos move a whole 180 degrees thanks to trossan robotics for sending me these motors these are six volt gear head motors they actually have an encoder in them which i won't be using i'm just gonna power them and we're gonna use those for each of the four wheels they came with these handy aluminium mounts which makes them much easier to attach so the screw holes in the bottom screwed into the print and screws that go into the face of the motor the wheel hubs are 3d printed pla with a tpu tire and each one has a captive nut that you can just see there with a grub screw to attach it to the flat on the motor shaft so we've got four wheels and each of them rotate independently driven by those servos so we can do a number of driving configurations and the wheels are placed as best possible so they rotate on the spot due to the off-center motor and the way i've designed the mount for those motors each one is going to be driven independently by a separate motor driver so i've got four bts 7960s and i've also got an arduino mega so i can drive all of the pwms which is eight pins i need for the drivers as well as the servos and i've got the nrf24l01 radio chip there and as usual i'm going to be using the universal remote that i use for all my projects which is another nrf24l01 chip and another arduino mega and this started life as the open dog 2 remote and before that the open dog won remote and it's also been used in lots of projects like sonic the hedgehog and to control a real transformer so it's a bit of a rat's nest but everything is wide up and that includes the four servos wide to power and the arduino eight pwm pins why between the motor driver and the arduino for the motor drivers as well as power to the motor drivers and the enable pins to the motor drivers i've got a 7.4 volt lipo on the bottom which powers most of the motors and the servos and a usb boost pack which powers the arduino to start with i've configured some basic driving modes which of course are fords and backwards but also have the ability to rotate the wheels all to 45 degrees and spin on the spots which gives me quite a lot of possibilities as well as that though i can steer all the wheels in the same direction like four-wheel steering and therefore i can transition directly sideways rotate on the spot and drive forward and backwards as much as i want to so i can drive in a wiggly line or i can rotate and drive in any direction forwards or sideways or any angle in between the two in both directions now my servos only rotate 180 degrees but that still gives me quite a lot of possibilities but before we carry on with that it's time for a quick ad from the video sponsor which is brilliant brilliant it's a website and app built off the principle of active problem solving because it takes more to learn something than just watching it just like me building robotic vehicles to really learn about something you have to do it brilliant has recently increased the interactivity on their platform to a new level and they're continuing to improve their courses to add more interactivity to them for instance the algorithm fundamentals course can help you learn programming without having to dig through loads of coding syntax the course has fun interactive challenges and allows you to shift around blocks of pseudo code you can get immediate feedback on your results and after you've learned the fundamentals with this course it's much easier to learn to write actual code so it's really not just about memorizing or regurgitating facts for a test you can pick a course you're interested in and get started and if you get stuck or make a mistake you can read the explanations to find out more and learn at your own pace if you'd like to join me and a community of 8 million learners and educators today click the link in the video description below or visit brilliant.org james bruton right let's see what's next for this omni driving vehicle but what if we wanted to drive the vehicle like a normal automobile where we steer and we drive in a curve in one direction in this case we've got four wheel steering so we need to position all four wheels so we drive like this there's a concept called ackermann steering geometry which is a mechanical linkage used in normal automobiles and this means that the outside wheel is a different angle to the inside wheel because it's a different radius from the center of the turning circle however in our vehicle we don't have any mechanical linkages between the wheels our wheels are driven by electronics and code and that means we need to do some maths so i've mapped out some example angles in cad we've got a center line here and you can see that the outer wheel is at a smaller angle to the inner wheel and that means they're all pointing at the same center of rotation and as we move that center of rotation we can see that the angles would change on all four wheels that's pretty easy to work out though because we've got two right angle triangles one making up the position of the inner wheel and one making up the position of the outer wheel we can label the straight lines as adjacent and opposite and that's adjacent and opposite to the angles that we need to calculate so using high school trigonometry we can say that tan of the angle is the opposite over the adjacent and then we can write that in code and use inverse tan to work out the angle so i've got two bits of trigonometry in my code which work out the inside angle and the outside angle based on their positions from the center of turning and it then turns the radians into degrees and then turns them into servo milliseconds we can write out to the servos additionally i've worked out which way i'm steering by looking at the value of the steering stick and working out which way round i need to swap around the angles so they are applied to the appropriate wheels now as i steer the robot you can see that the inside wheels go to a much tighter angle than the outside wheels and that happens dynamically as i change the angle and change the distance that i want that center of rotation to be from the center of the robot and you can see that works in both directions now i've switched it round so if i steer the other way it switches it around to the other set of wheels i can still do swerve steering which you twist the stick to activate and in fact all of the things are mixed together because i've added the values together so i can still swerve steer by steering and translating sideways and then steer like an automobile at the same time using ackermann steering i also went to the trouble to make sure the outside wheels run faster than the inside wheels because they now have a greater distance to cover i know that by just using the same piece of trigonometry and scaling the motor speed as i do it now so [Music] so [Music] so [Music] well that seems to work pretty well and it's really fun to drive as well i think one improvement would be as well as varying that center of rotation out of the side when i move the stick sideways since we've got four-wheel steering we can actually vary the center of rotation to the top and bottom using another axis on the controller i think at some point the wheels might have to turn inside out because they can only do 180 degrees as we move that center of rotation round that could be a fun way to drive as well as having the modes that we've got at the moment so i'm going to publish all the cad and code so if you'd like to have a go building your own then you can those are on github and the links in the description below so if you'd like to support me through patreon or youtube channel membership those links are in the description below as well and youtube channel members and patrons can get access to all the videos up to a week early as well as sneak peeks and pictures of what's coming up to be part of that discussion alright that's all for now [Music] you
Up Next

3:15
Soft Robotics: Nature-Inspired Robot Evolution in Emerging Technology
@FalconAutomation
2.4K views•2021-10-05

58:25
MathWorks Virtual RoboSub Simulation Environment | Webinar 2026
@RoboNationInc
209 views•2026-03-10

13:24
Designing a Ball Balancing Robot: HAL 9000 Build, Mechanics, and Control Systems
@jamesbruton
194.7K views•2020-06-16

25:22
Micromouse: The Fastest Maze-Solving Robots on Earth
@veritasium
23.5M views•2023-05-24
Related Study Plans & Knowledge Roadmaps
Structured learning paths in Robotics
robotics
Building Delta Robots: Kinematics & Pico
01Foundations of Delta Robots & Mechanical Design
02Electronics and Microcontroller Setup with Pi Pico
03Delta Robot Kinematics and Coordinate Math
+ 3 more learning modules
65h6 modules
Explore Roadmap
robotics
Building Ballbots: Dynamics, Kalman & LQR
01Embedded Electronics & Omniwheel Actuation
02Ballbot Kinematics & Rigid Body Dynamics
03IMU Sensors & Kalman Filter State Estimation
+ 2 more learning modules
42h5 modules
Explore Roadmap
robotics
Micromouse: Hardware, PID Control & Flood-Fill
01Electronics & Teensy Microcontroller Basics
02Sensors and Actuators: Motors, Encoders & IR
03Precision Movement: Implementing PID Control
+ 2 more learning modules
35h5 modules
Explore Roadmap
robotics
CDPR: Kinematics, Arduino & Winch Control
01Foundations of Arduino & Basic Electronics
02Stepper Motors and Winch Mechanics
03Kinematics of 2D Cable-Driven Robots
+ 2 more learning modules
28h5 modules
Explore Roadmap