


















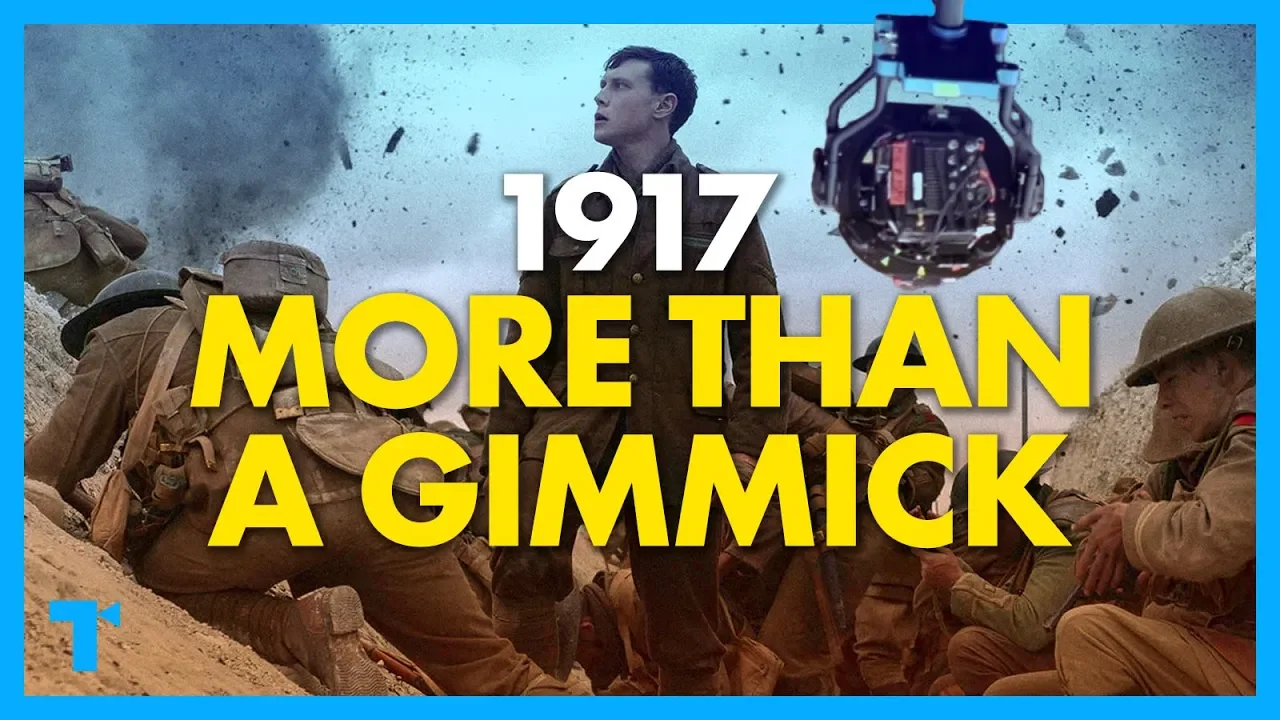


Filmmakers can create the illusion of continuous long takes by using four hidden cut techniques: (1) obscuring the frame with a color match (ending and starting on the same solid color like black), (2) using a whip pan (a quick camera swing that creates blur), (3) employing a foreground object to wipe across the frame (frame-block transition), and (4) building a new composite shot from multiple real shots to bridge gaps. These techniques, used in films like 1917, Birdman, and Hitchcock's Rope, allow filmmakers to join shorter takes seamlessly without viewers noticing the edit.
Invisible Cut Techniques for Seamless Long Take Filmmaking
Added:Basic proficiency with Non-Linear Editing (NLE) software, including timeline management, keyframing, and standard cuts.
Understanding the principles of continuity editing, specifically spatial-temporal consistency and match-on-action.
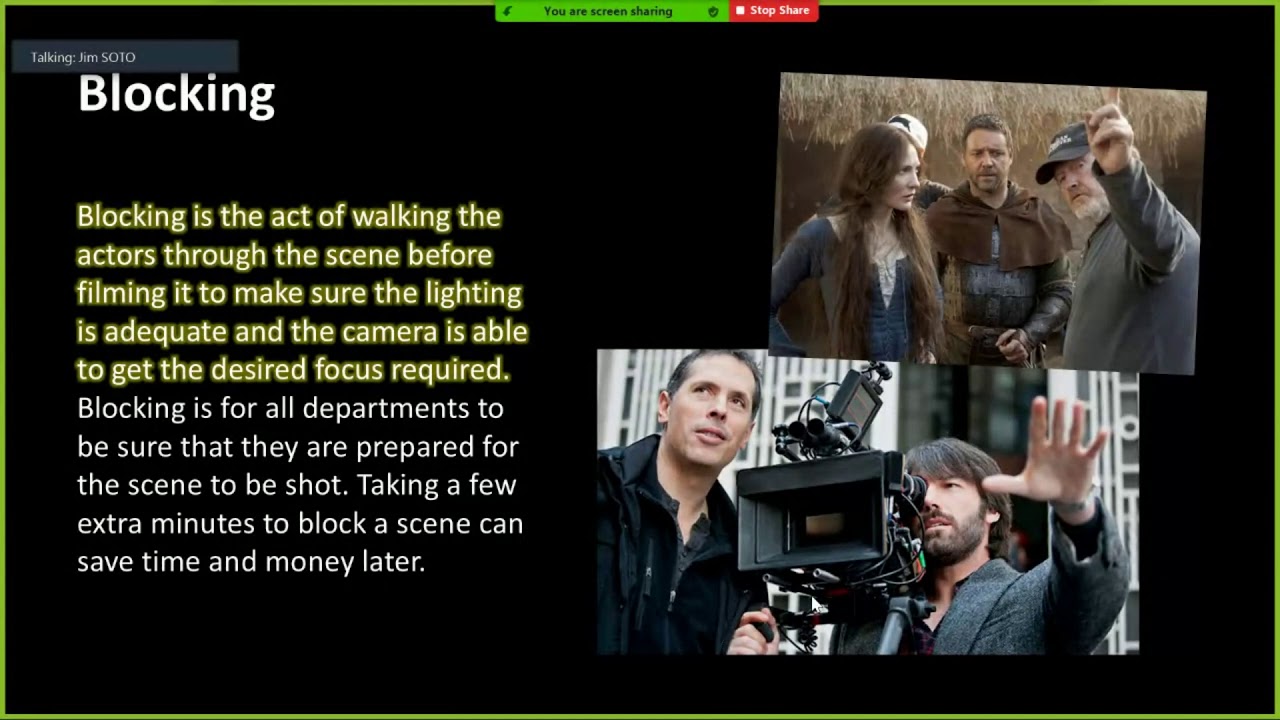
Familiarity with camera blocking and standard camera movements, such as whip pans, tilts, and tracking shots.
Fundamental knowledge of masking, layering, and opacity adjustments in post-production software.
Mastery of advanced VFX compositing techniques, such as rotoscoping, motion tracking, and frame blending to join complex shots.
Choreographing multi-department production blocking, coordinating camera operators, lighting technicians, and actors around planned hidden cut points.
Applying advanced color grading and exposure matching to maintain seamless visual continuity across takes filmed at different times or locations.
Analyzing the narrative and psychological impact of the 'one-shot' aesthetic in cinematic history, exploring works like Hitchcock's 'Rope' or Sam Mendes' '1917'.
165.5K views6.6Klikes9:25Original Release: 2022-08-20
Hello, Steve Ramsden here with DIY Moviemaking and this week I’m going to show to you four tricks to make continuous action look like one long take - by using hidden “invisible” cuts!
This video is sponsored by Artlist, royalty-free music and sound effects for video creators.
I am obsessed with long takes in movies - they just immerse the viewer and can be a great way to keep your audience glued to action that’s supposedly unfolding in real time. But long takes are very difficult and expensive to get right. So it’s not surprising that many filmmakers have used various tricks to join several shorter takes together using hidden cuts, to create the illusion of seamlessness. I just find these kinds of shots fascinating and I’ve even tried several of my own fake-long-take experiments over the years. So I’ve come up with this handy list of 4 tricks you can try to invisibly join your shots together.
I’m always trying to add production value by doing a lot with a little, so if you want to see lots more fun DIY Moviemaking tips and tricks like this, then of course hit that subscribe button.
Invisible cuts, also know as ‘hidden cuts’ have been growing in popularity in recent years, in fact even some entire films like 1917 and Birdman have been based on using this as their central gimmick. And these films and others like them use the same surprisingly simple techniques I’m going to share today. These aren’t just decisions being made when editing, these are decisions you would make before and when you shoot so that you get the right shots on the day. And some of them are surprisingly cheap. So just like I teach in my course DIY Moviemaking for which the link is below, you don’t always need a lot of money to get some creative shots, you just need to spend a bit more time planning. So, here’s 4 tricks you can try for seamless cuts: Trick number 1 is the easiest, and that is to obscure the frame with a colour match. This is a method of hiding a join by ending your first shot and starting your second shot on the same solid colour, usually black. This is the very basic method that Alfred Hitchcock used to join a lot of his shots together in his 1948 film Rope. The camera usually pushes in on a dark object, like the back of someone’s suit or a piece of furniture, until the lens is covered. Then the shot cuts, and the camera moves back out into the next take. This was done because Hitchcock wanted it to feel like a real-time story with real, unblinking suspense, but he was limited by the length of each reel of film, and so as a result most of the movie is made in chunks of about 7 to 10 minutes. There are some conventional cuts in the film too - which everybody forgets - but about half of them are joined together in this method to look like long continuous takes.
While these supposedly hidden cuts in Rope appear very obvious today, you can see the same technique used more subtly in more modern films like Birdman - this is always a nice easy place to hide a hidden cut.
Here’s exactly the same thing in 1917 when entering the dugout.
To try this method yourself you don’t need any fancy editing at all, because the join can just be a straight cut that no-one notices. However you could put in a quick cross-fade if you wanted to.
So, that’s the first trick - obscure the fame, or at the very least, start and end on the same solid colour.
Trick number 2 is to use what is called a whip pan. A pan just means swinging the camera to look left or right, and a whip pan just means doing this quickly, so that the image becomes blurred. This can be another great moment to hide a cut. You can see this method used a lot in Birdman, especially when characters are walking around corners or a quick pan shows us what a character is seeing.
You also see these a lot in ‘found footage’ movies to join takes together, as their visual style will mean that the camera is usually being flung around quickly anyway, as if being held by one of the characters.
To try this method, all you have to do on the day is film the end of the first shot and the start of the second shot with the same fast whip pan in a similar direction, and these should join together pretty easily.
Again, if you time your cut well, when editing this can once again just be a straight cut, with no other tricky editing required.
So that’s trick number 2 - use a whip pan.
Now when you’re making a film with invisible cuts you’ll also want to seamlessly join your audio together with a smooth transition, some consistent sound design, and maybe also a music track. A great resource for audio is our sponsor Artlist, which is a fantastic subscription-based royalty-free music and sound effects site. I use Artlist for many professional jobs I do through my production company, because they've got lots of high-quality tracks and they offer unlimited downloads for one simple license and one monthly fee. The license covers everything, no matter what size of project you are working on. And if you want to sign up to Artlist you can use my link below this video to get two extra months. So spare a thought for your audio as well when disguising a hidden cut, because sound is half the picture!
Moving on, trick number 3 for an invisible cut is to use a foreground object to ‘wipe’ across the frame, sometimes known as a ‘frame-block transition’. This is usually an object that passes between the camera and the character that allows an opportunity for a hidden cut. This is done by moving the join with the object, so you start seeing the second shot before you finish seeing the first. The main thing with this one is that the camera and the action in each shot need to start and end in a very similar place so that nobody questions the result.
Here’s another good example from Children of Men when Clive Owen exits the car - when the camera moves past the door, that is the join between the two shots.
And here’s exactly the same thing in Spectre when James Bond leaves the hotel room via the window.
You can see a much more action-orientated version of this trick in Kingsman the Secret Service during the ‘church fight’ scene - here they use people moving past the camera to again disguise the move from one shot to the next. They also are filming using a high shutter speed, to give very crips edges and no blur, and they even added what the editor calls a ’rage’ effect to add some artificial vibration to the camera the whole time. This makes the joins even harder to spot, because the whole frame feels like it’s constantly moving.
But staying with the basics for now, to try this wipe technique yourself, let’s say this is where you want to hide your cut. The trick here is probably to do quite a few takes to give you a number of choices, and then pick the one that lines up the best.
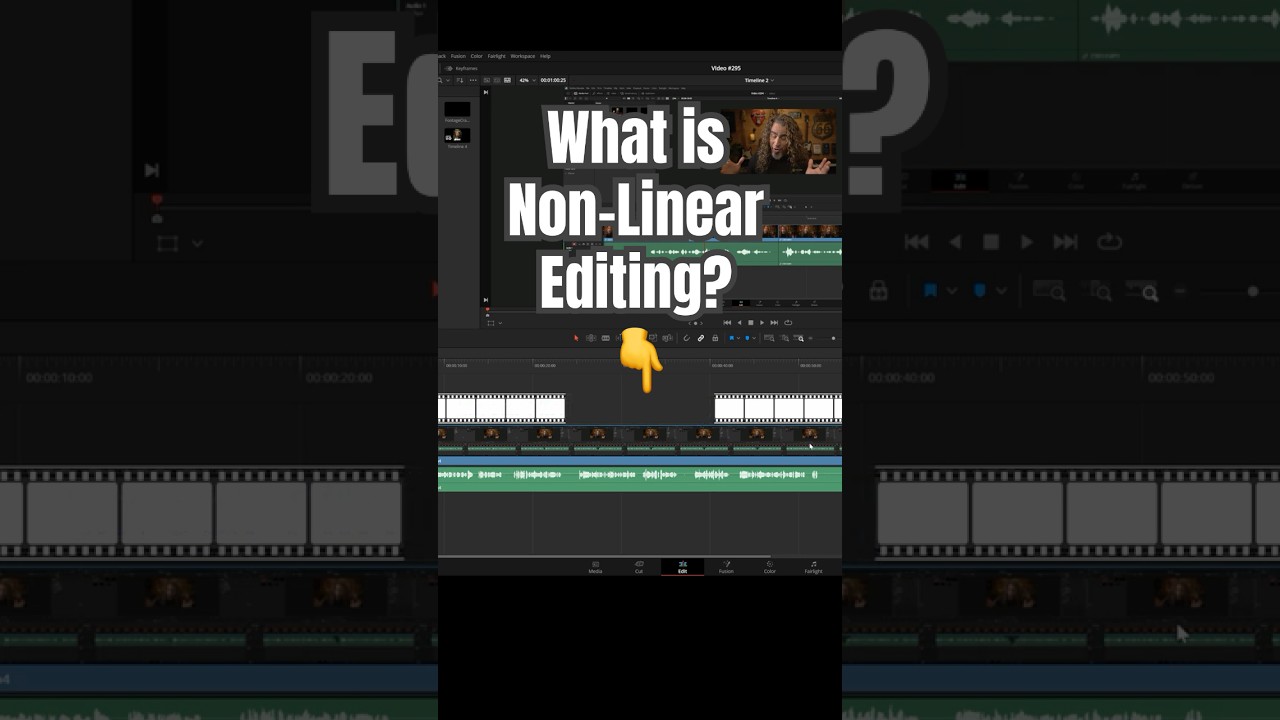
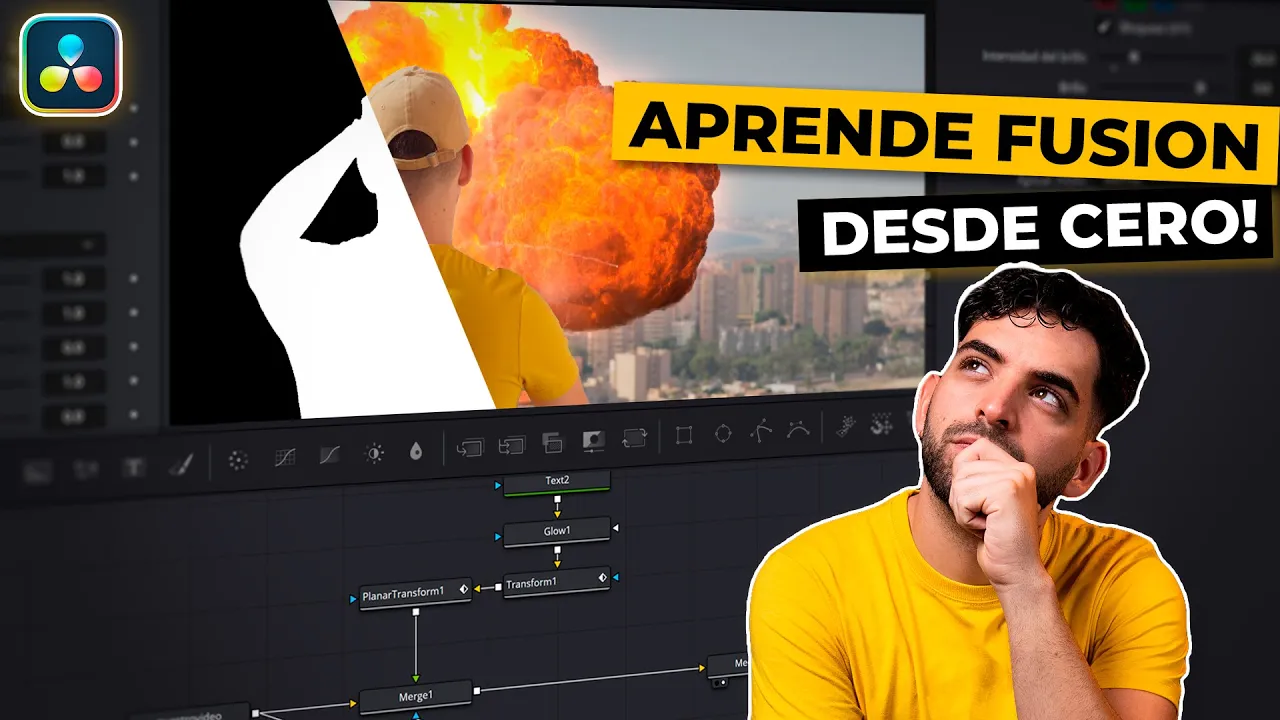
How you edit will depend on what edit program you are using, but most of the main ones will allow you to do draw a simple ‘mask’ over one of your shots. This basically just displays the part of the clip you want to be seen, and hides the rest. So you can drop your two clips onto your timeline, put the first one above the other and line them up where you want the change to happen. Then draw a mask down the edge of whatever object is moving past the camera. Then you can add keyframes to move this mask in time with the object, and this will then reveal your second shot underneath.
So that’s trick number 3 - using a foreground object for a frame-block transition.
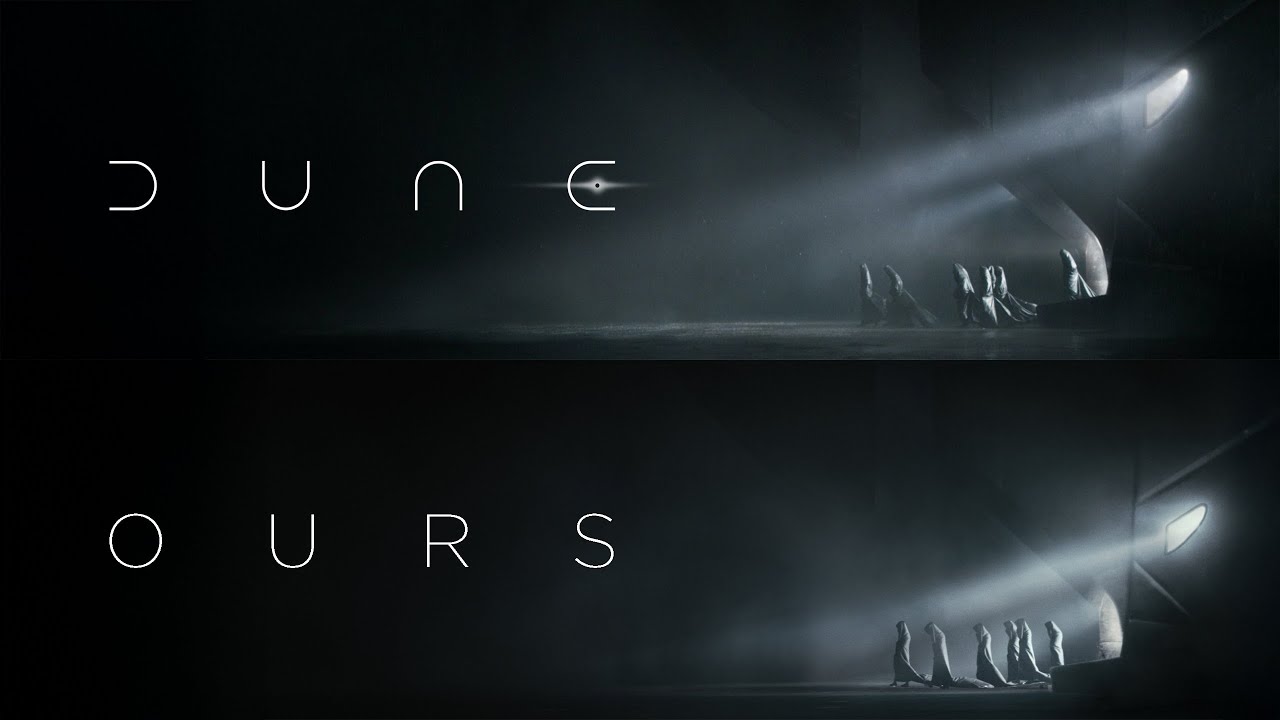
And finally we have method number 4, which is really less of a single cut and more of a whole new ‘fake’ shot, which gets built to bridge the gap between the two real shots.This will often be used for situations where there would have just been no way to perfectly line the two shots up, or it would be an impossibly tricky shot to get. These ‘fake’ shots are often composited out of several parts from several real shots, plus sometimes more elaborate things like CGI. This happens a few times in 1917. Sometimes it’s too difficult to line two takes up, so they transition briefly to a CGI body double to link these two awkward shots together.
If you want to try this more complex approach of creating a whole new shot to cover a join, you will end up with a lot more layers on your editing timeline than any of these other methods! So you will probably want to use a proper animation or compositing program rather than just a regular editing program, as it will give you so much more control.
I’ve tried my own versions of this technique of building a whole new shot to hide a join in some of my ‘fake long take’ experiments. In this example of my ‘window smash’ effect video, the two real shots were the start, me inside the house - and the end, me outside the house on the ground, and then I filmed some extra pieces to link these two shots together with a new fake shot. I shot the jump separately in front of a green screen along with some background plates of moving towards the window and tilting down to the ground, and then I used objects in the foreground like falling glass to hide all the messy joins. I did exactly the same thing for my ‘jumping out of a moving car’ video - I filmed two real shots, one in the car and one out by the road - and then filmed some additional shots to link these together, which I cut out and composited together with masks. I filmed a jump out of a stationary car, I filmed the door being pushed open, and I filmed the moving background out of the car window. And the result is linking two real shots together with one fake shot that would have been impossible to get for real So that’s trick number 4 - and the possibilities really are endless when compositing different can shoot and edit using invisible cuts in your next film project!
And if you just want to learn how to make the best film you can right now, then you will love my free webinar where I revel my top ten tips for making your passion project on a budget. It’s the list I wish had existed when I was first starting out and I knew absolutely nothing! So I’ve put this free list together to give you some filmmaking inspiration no matter what level you are at.
Up Next
4:15
Behind the Scenes of Sam Mendes' WWI Epic 1917: Filmmaking & History
@UniversalPictures
7.1M views•2019-09-30

12:54
Triumph of Orthodoxy Icon: Byzantine Art & History Explained
@BenCallan
2.1K views•2024-08-06

9:49
FastAPI vs Flask vs Django: Choosing the Right Python Web Framework
@TechWithTim
302.5K views•2024-05-26

1:42
Game of Thrones Opening Credits: A Cinematic Analysis
@gameofthrones
46.3M views•2011-04-18
Related Study Plans & Knowledge Roadmaps
Structured learning paths in General & Interdisciplinary Studies
general-studies
Elevator Engineering: History, Physics & Cities
01From Hoists to Safety Brakes: The Dawn of Vertical Lift
02Hydraulic vs. Traction: The Engineering Physics of Elevators
03Modern Speed, Safety, and Algorithms
+ 2 more learning modules
12h5 modules
Explore Roadmap
general-studies
Rubber: Material Science, History & Geopolitics
01Origins of Natural Rubber & Mesoamerican History
02The Chemistry of Natural Rubber & Vulcanization
03The Geopolitics of the Rubber Boom & Colonization
+ 2 more learning modules
12h5 modules
Explore Roadmap
general-studies
Containerization: Evolution, Logistics & Trade
01Ancient Trade & Bulk Cargo: Amphorae to Barrels
02The Industrial Revolution & Cardboard Packaging
03The Containerization Revolution: Malcom McLean
+ 2 more learning modules
12h5 modules
Explore Roadmap
general-studies
Textile Tech: Evolution, Labor & Global Impact
01Pre-Industrial Textiles: Handloom & Cottage Industry
02Mechanization: The Spinning Jenny to the Power Loom
03The Factory System & Global Labor Transformation
+ 2 more learning modules
10h5 modules
Explore Roadmap