













![EH Nexus Webinar - Overview of Wildland Fire and Wildland Fire Smoke for Public Health Agencies [AD]](https://i.ytimg.com/vi/a1TiRH6Witw/maxresdefault.jpg)



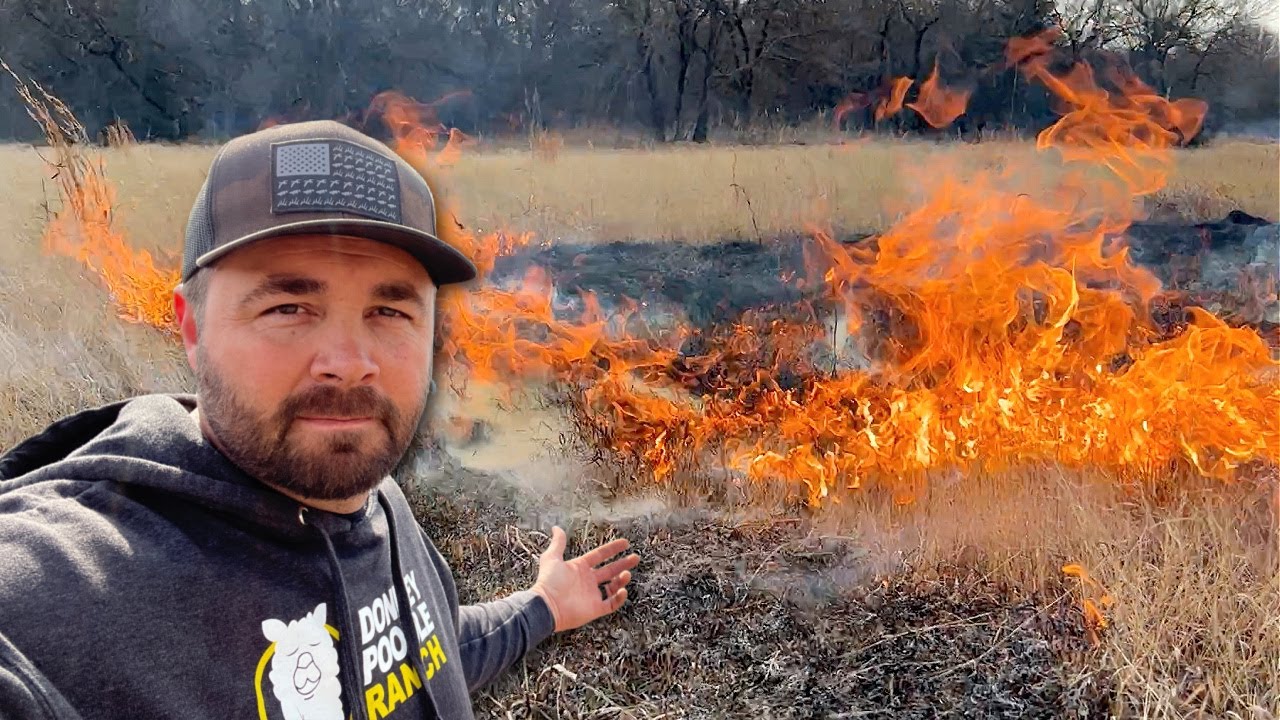


Prescribed fire techniques utilize three main fire types: backing fire (burns into the wind with low intensity and long residence time, used to start every burn), flanking fire (burns parallel to the wind with medium intensity and flame lengths that stand straight up, effective for killing cedar trees), and head fire (burns with the wind at high intensity with low residence time). The ring fire ignition technique, the most common method for grassland burns, involves two crews starting at opposite downwind points to create a backing fire first, then adding flanking fires while building downwind black, and finally lighting the head fire once sufficient black is established to prevent embers from escaping the burn unit.
Prescribed Fire Techniques: Ignition Patterns & Safety
Added:Understanding the wildland fire environment, specifically how fuel, weather, and topography interact to influence fire behavior.
The ecological role of fire in land management and why fire-adapted ecosystems require periodic burning.
Basic wildland firefighting terminology, including fuel moisture, wind direction, fuel loading, and relative humidity.
Familiarity with standard personal protective equipment (PPE) and basic hand tools used in wildland fire operations.
How to draft a formal Prescribed Burn Plan, including setting specific environmental prescriptions and contingency measures.
Smoke management protocols and regulatory compliance to mitigate the air quality impacts of prescribed burns on nearby communities.
Post-burn ecological monitoring and effects assessment to measure burn severity and evaluate vegetative recovery.
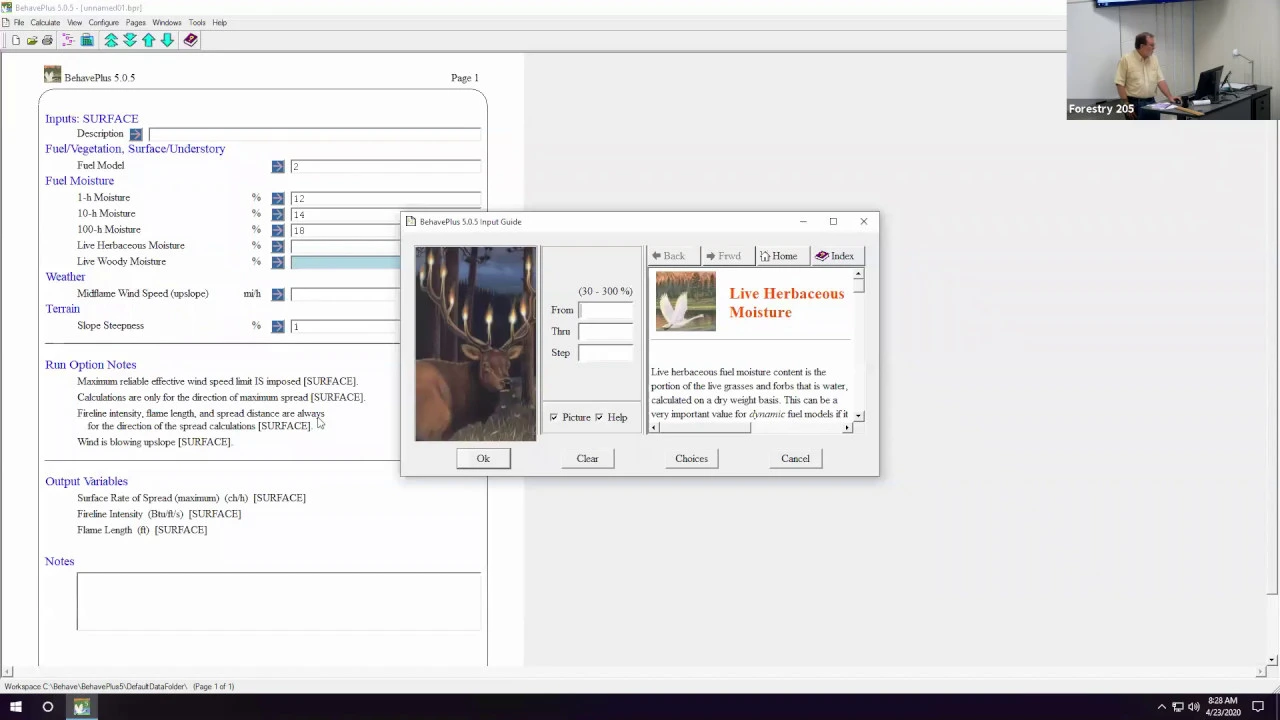
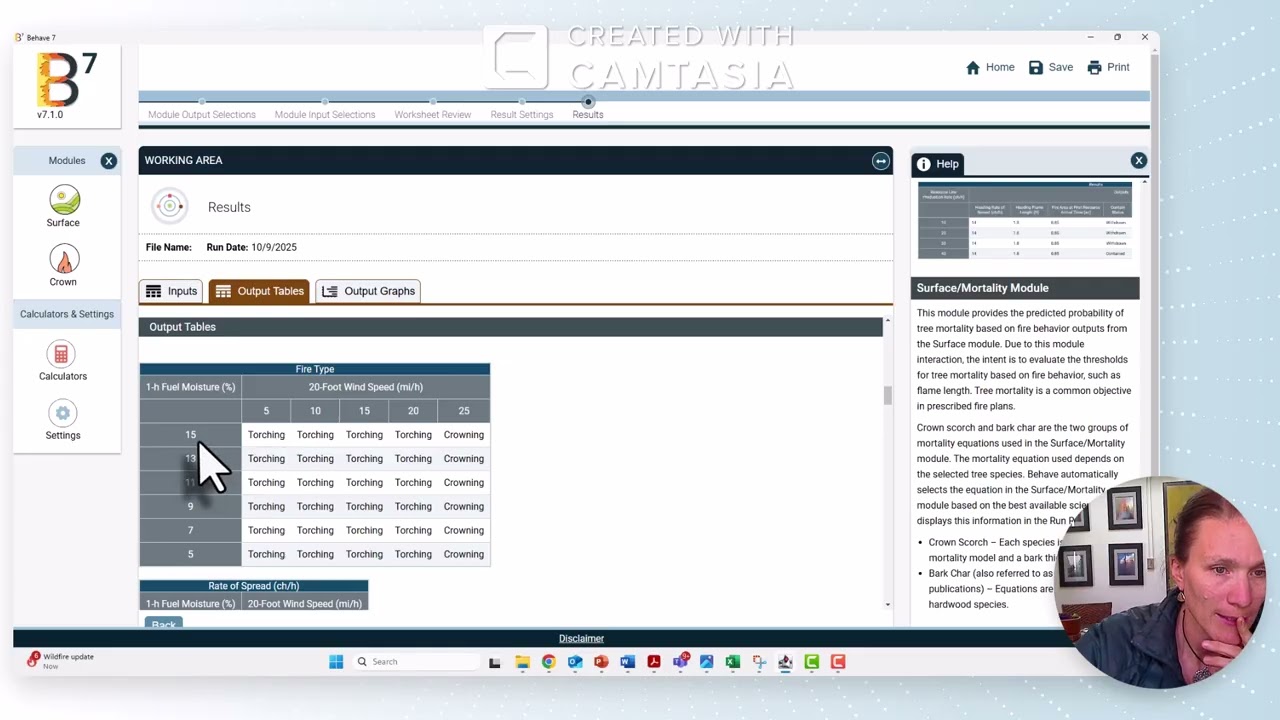
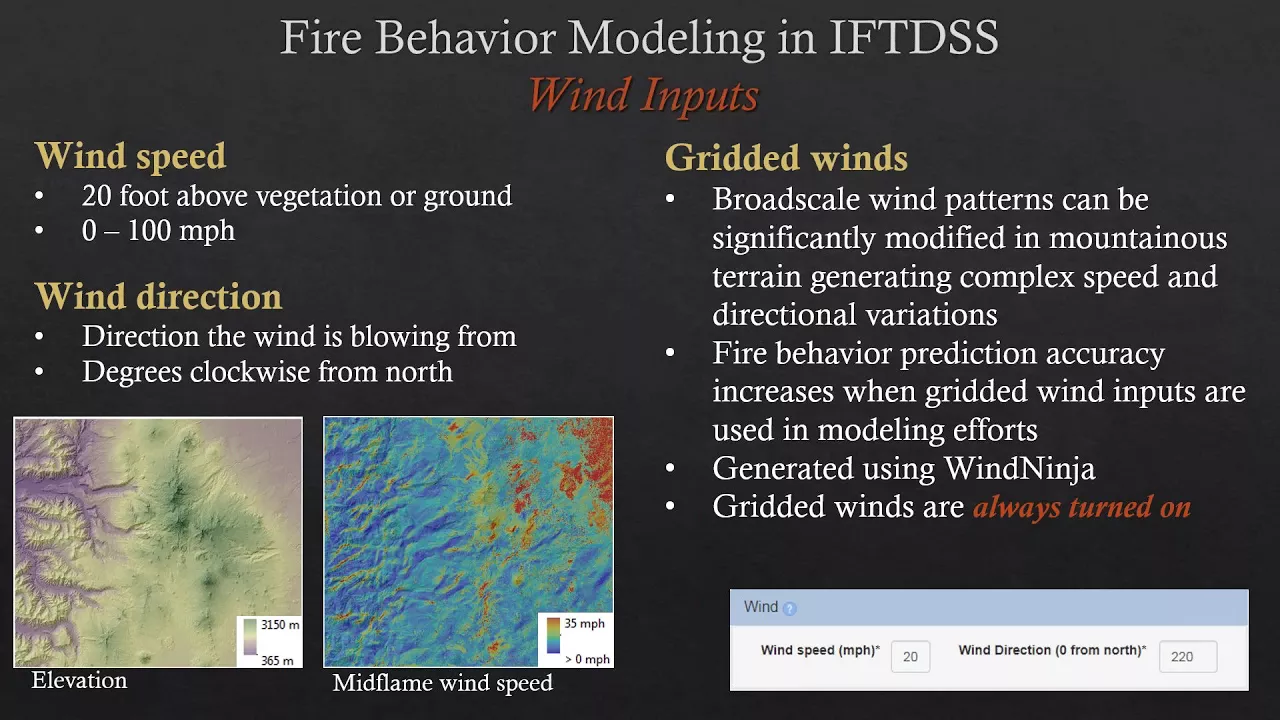
Advanced fire behavior modeling using software tools like BehavePlus to simulate fire spread under varying conditions.
17K views188likes33:23Original Release: 2021-06-15
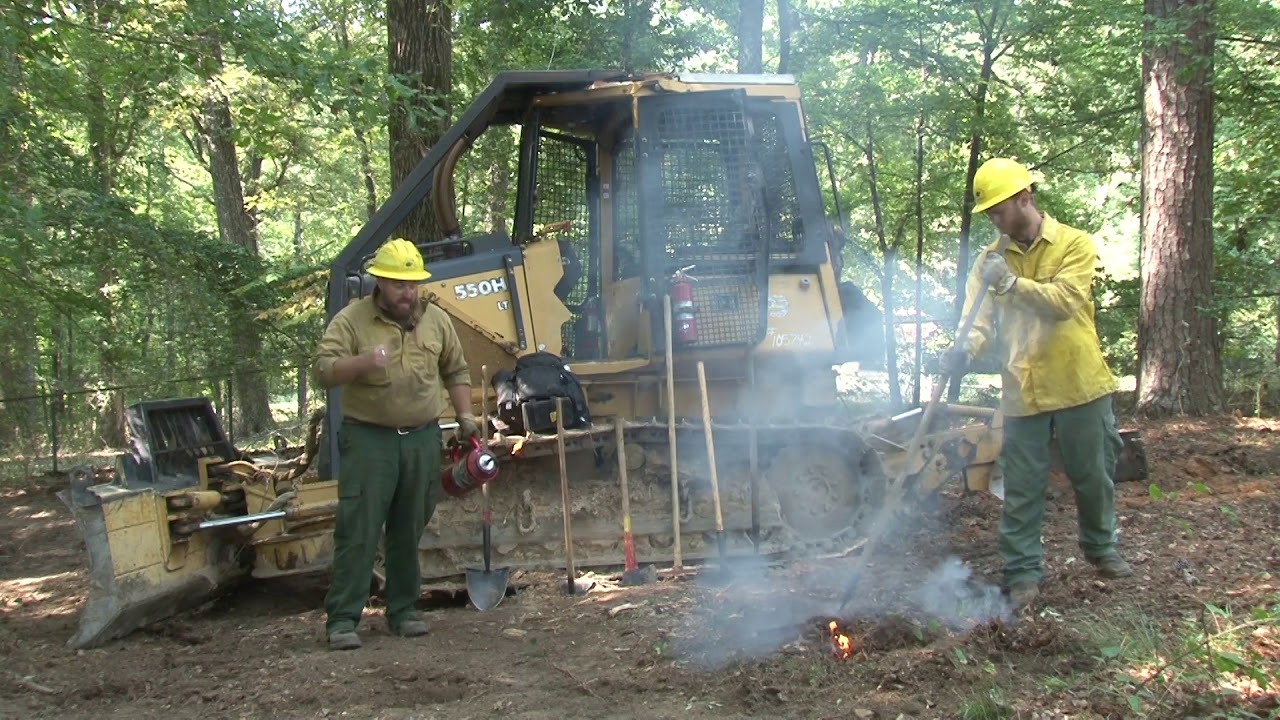
[Music] [Music] [Music] so now is kind of when we really get into the the meat and potatoes of how we actually put fire on the ground right so we're talking about putting fire on the ground these are what we call our prescribed fire techniques so within this uh this unit here we're going to talk about the different types of fire we're going to talk a little bit about the ignition patterns that we use we're going to talk about what kind of enhancements there's some enhancements that we can use to increase our fire behavior and then we're also going to talk about how to properly do like patrolling and holding and then kind of end it with with our mop up so in order to understand how we're doing our ring fire technique that we typically use you have to understand the basic types of fire all right so there's three really um three parts of the fire there's a backing fire flanking fire and the head fire and we'll go through each one so backing fire is how we start every single every single prescribed burn that we ever do right it's the very first thing that we do is we light a backing fire off an anchor point or a fire break it could be a mode line wet line or it could be a disc fire break a rototilled fire break whatever it may be but this is the fire that basically backs into the wind this is going to be typically our lowest intensity part of the fire it's also going to give us the longest residence time so that means it just it burns really slow because it's basically backing into the wind with residence time that could be a good thing right if we would need longer residence time we want to use backing fire it also has lower flame lengths so you know if we're trying to kill a cedar tree you know that's four or five foot tall having a backing fire go up against it is probably not the best because you might not have long enough flame lengths to actually get to it so like i said this is how we start every prescribed burner here you can see in this kind of demonstration they got the anchor point and here's the fire break and they're basically lighting right off of it and it's backing into this direction so it's basically backing into the wind so next i've got a video that will show several different examples of it backing there's also some examples of it backing up a hill so if you go back and we refer back to when we were talking about fire behavior about slopes and how typically our weather or wind overcomes our slopes you'll see this fire backing up a hill really nicely and then at the end of the video there's actually also a video that shows a backing fire versus a head fire which we'll talk about next so as you can see slowly backing into we can see the smoke is fairly light you got long residence time lower flame lengths you could probably jump over the top of that no problem you can see now you could tell if we if we tried to back burn an entire property it would take forever look how slow that's going i mean this is like you know 10 seconds but it would take absolutely forever for us to bring the whole property here's a backing fire they're putting in a wet line right next to it it's not a great wet line but and then here's that video of it backing up a hill so you can see the smoke is coming from left to right it's slowly by torching these cedar trees though so they're small and then you got the backing fire on the right and then you got an example of a head fire coming right up against it which we'll talk about here in a minute but you see the difference in you know how fast it is how big the flames are and there's implications for all this stuff when we're actually burning so the big thing about the backing fire too is you know we're doing our ring fire technique you know we're putting as much downwind black as we possibly can so the next part of our fire is going to be our flanking fire so these can be on the sides this is typically why we have two crews we got you know each crew has at least one flank of the fire as we go down it and this fire is going to be what we call parallel to the wind and this is basically kind of a medium intensity we have medium flame lengths medium resonance time the really cool thing that i like about flanking fires and we can utilize this when we're doing our ignitions is that the flame doesn't um has less influence with the wind than all the others like backing so of a backing fire imagine that that flame length is going to be bent over and then a head fire is going to be bent the other way with the flank fire that flame tends to stand straight up and down so you can see how how good it would be to use in a scenario where we're trying to get fire up into the canopy of a cedar tree you know scattered cedar trees on the landscape you could actually use flanking fire in that straight up and down flame to to better kill that tree so the video the next video is going to be just several example examples of what flanking fire looks like again it's not moving it doesn't move as fast medium flame blinks you can see some of the darker smoke there that means we're getting less combustion less complete combustion you see how the smoke rises a little bit differently you can see here how these two flank fires they're basically looks like they're just standing still there not moving and then there's an example of a wet line which we'll talk about later so the final component of our of our fire is going to be a head fire this is the this is like the the big flashy one it's lit with the wind so the fire is basically heading in the direction of the wind is going to and these are typically really high intensity flames they have very low residence time so they just basically blow past you know the vegetation and then they also have higher flame links and you'll see in this video a couple how high those flame links can get so that's almost the exact place where that flying fire was now it turned into a head fire you see the flames ever increasing particularly typically black or smoke because of less complete combustion and here you can kind of see you got the head fire here but if you look along this edge here too that's a flanking fire so you can see the difference between that and the head fire how fast that head fire is moving all right so now that we have the three main types of fire down we're going to talk about how we actually the ignition pattern the ignition pattern that we typically use in our grasslands known as the ring fire ignition so this is the most common method and this is basically how we do almost every single burn that we do so what happens is that both teams will start down a downwind point and basically they'll do a ring around the perimeter so teams go like team a and team b they hit in opposite directions they'll first the first thing they'll do is you know we do our backing fire right so we'll put in a nice backing fire and then we'll come in and we'll actually get more and more black down wind and as we get more and more black down wind our two crews on our flanks will continue to kind of go around that ring and then once we get enough black downwind then we're able to finish our circle our ring and start the head fire and then that all those embers from the head fire will drop into what we've already burned through our back burning and then and then any embers that land in this zone that are hot won't start anything on fire and then anything that is or isn't hot is cold lands outside of here that's our main goal now if we don't get it right and we start our head fire before we get enough downwind black we could potentially throw embers outside of our burn unit and actually start a fire spot fire outside that burn unit and that's probably the most difficult thing to to tell people there's no like good rule of thumb of like you know you need to have at least you know 200 yards before you do this you know all that is based on fuel conditions fire weather stability of the atmosphere you know there's just you know what what's what kind of fuel is the is downwind is it you know uh ungrazed range land or crp or is it trees or what it may be all makes a big difference but the but the big thing is that the ring fire technique is you're putting in a downwind black going around the flanks and you're basically creating a ring fire so this next video will basically show you that one of the reasons why we use the ring fire technique is because we have um what happens is the fire collapses in on itself it's like creates its own little low pressure system basically and collapses in on itself and basically gets the smoke up into the atmosphere and then those embers get up into the atmosphere and they cool down before they actually hit the ground and that's like the main purpose there you go so you can see he started in this downwind corner down here here's our flanks you put the head fire right here you can see that there's fire coming from this direction this direction this direction and it's all coming in on itself and now you'll watch as it collapses in on itself there is it claps on itself and you can see that big kind of plume of smoke go up so a couple things to think about when we're doing a ring fire technique is uh one you want to make sure the teams are kind of making similar progress you don't want to like have a wind shift and entrap one team if the wind changes one team usually has to eat more smoke than the other uh and we'll have a tougher time out of it if you can try to break this up it's always good but it could be an issue sometimes and communication between the the crews and the burn boss is pretty critical so now we're going to talk about interior ignition so when we're doing our ring fire technique like i said the first thing that we're going to do is put our back burn in and we want to get enough downwind black in before we light the head fire so our embers have a place to fall so what if we what if we started our back burn and we just let the whole thing back burn until we got got to the point where we could light the flank of the head fire if we did that i'll tell you we've tried you know plenty of backing fires but what happens is it just take too long by the time we got enough downwind black we would we would be running out of time it'd be getting dark or late in the afternoon when the humidity is really really low so we actually use what we call interior ignition and so we use interior ignition to speed up putting in that black line to basically build the layer upon layer of black to build that line in and there's three different ways that you can do it they're all fairly similar processes so we'll actually use this sometimes if the fuel is really light or even too green isn't burning well we could use it or like i said our main main objective is to help widen black lines we can also use this to burn out around objects that we need to so in this photo here you can kind of see they've got the downwind black right here but then you got a guy here and a guy here they're actually doing what we call strip head firing which we'll talk about next to put more black down with so the first technique is uh strip head firing basically this is igniting in parallel strips beginning on the downwind side big thing about this is that you always start small like really small so the first thing you'll do is you'll put in you'll put in your initial backing fire right off of your wet line and you want to let that back off that that wet line for a couple feet before you go in and start another strip so in this example you can see where where they started the fire as is right here in this corner and it's slowly backing into the unit so they're going to let this back off the unit and then once they get it back off enough they're going to take another strip right next to it to increase to basically double the amount of black down wind now what's really important here is that obviously this is just the broad general example of how to do it when you're putting in the first line the second strip the third and fourth strip you're taking really small chunks if you take too big of a chunk you will that flame link is going to be bigger than your wet line is and you're going to cause a slop over or spot fire to happen so and i'm talking like it's a like when you first put the first one in it's a game of inches to put that second line in and as you as you build more black you can take bigger and bigger strips and those strips are generally dictated by the crew boss and the burn boss about how far they want somebody to go in into the unit and take those strips and obviously you know as you get further and further in so if you've got 100 yards of black you can take a pretty big chunk but if you only got six inches of black you can't take a 10 yard strip otherwise it's going to go over your over your line so here's a video watch the initial line here that flame length that that bite he's taken those flames are almost reaching over that wet line but you can see they continue to keep building black in here and you can see the patrol on the outside there too i'll play it again for you but it's just this constant process of layering the black on the fire making it bigger and larger um so when we do light the head fire there's plenty of room to bounce back but when we replay this thing again take a look at outside the unit there you'll see that those utvs and atvs are right there where they're lighting to make sure that nothing jumps the line see atv guy right there right where he's lighting perfect secondary guy right there see now that they got further off the line those utvs and atvs can kind of you know relax a little more it's always that first 10 15 20 yards of that back burn that we put in the put on is the most dangerous time typically during a burn for risk of escape so um when we're doing our strip head fire technique um one thing i don't know if i mentioned but when we're putting in that downwind black that that initial line right off of the wet line make sure that you have a good continuous stream of drip towards fuel coming out because we want a solid black line but as we get further into the burn unit we'll actually turn down our drip torches and actually just do point ignitions so instead of laying down a continuous strip we'll have it just kind of dripping out and we'll just drop spots as we go along within our burn unit and then they burn together is fine this is basically just going to save us a bunch of fuel as we as we go through the day so flank fire strips we don't use this a ton but it could be it could be definitely used in this scenario or basically you know you're parallel to the wind so basically you get your downwind black in in this scenario they probably should add another people on the fire line here so you have four or five people and basically just walk it straight back into the wind this is a really good technique like i said if you're trying to kill cedar trees in a pasture to get that up and down flame length but it would also be a really good technique to get smoke up into the air because that flank fire really helps kind of get that smoke up so if you're burning your houses or something like that or down uh try to get that smoke up in the air better than a back burn would all right so it's hard doing interaction on on this but you know if you're going to start this burn where would you choose to be so or started at remember downwind anchor point so we're looking at a northwest wind right so where would you start it would you start at f e d or abc obviously if you started anywhere a b or c that northwest wind you're basically starting to head fire and it's gone you're gonna have a problem on your hand now northwest wind you could potentially start it at f e or d but what's the most optimal place to start this burn let's think about that you know if you had two different crews and you're doing ring fire technique most people would probably choose e but here's the problem with that so we got a northwest wind or north wind what happens if our wind just slightly shifts more to the northwest and we start at e well that fire could take off on us and beat us to d so we always want to find a good anchor point which would be d so if that wind did shift to the northwest just a tiny bit or to the northeast where we've got it kind of cornered in his in this corner down here and it's not going to run on us on either direction so choosing your downwind starting point is always pretty important all right so sometimes we want to kill big cedar trees or bigger cedar trees and the fine fuels that we have out there just aren't hot enough or big enough to get up into the trees due to some of the shading of the trees so we'll actually use this process called what's called cutting and stuffing and basically we're using this to increase our fire intensity and mortality in dense stands and cedar trees so really it's the difference between killing 30 percent of a stand or 100 and 100 better obviously so this can be done on both really the upwind or downwind side you can place them at the bottom of the canyons take advantage of terrain the big thing also though is you when you burn big groups of cedar trees like this our fire behavior and intensity is going to escalate significantly so you always want to make sure you have enough downwind black that is supportive of this technique so think about like you know a group of cedar trees they could spot they could have a spot fire a quarter mile away maybe a half mile at times so you'd have to have either that much distance on your downwind side or you'd have to have those spotters or lookouts potentially in those areas now without cutting and stuffing this area it'd be pretty hard to get some of these cedar trees to go so a lot of times we can burn right up to cedar trees and we can't even get them to go so i think this is a video of a of the cutting and stuffing in action and you'll see how intense the flames can be but it is very it's very visually satisfying um but it's also like personal satisfaction of all these dead trees so you can see that it burns really fast and really hot and then the skeletons are the only thing left standing and all those trees are going to be dead and in this is you'll notice that in a couple years grass fills right back in underneath all these trees all right so this is big so um this is probably besides uh utv atv patrols uh utilizing and knowing how to lay down wetline is super important so typically like i said we're using mode we're using mode fire brakes and so mode fire brakes in in their own are not going to stop fire so we have to use some other and that's water so it's basically a temporary control line so our water can dry out right so we have to worry about that but we're basically laying down a wet line and you can see right in this picture here see there's the tire tracks from the truck and this gentleman right here is laying down water pretty close to the ground he's got good distance good width on it and he's got good amount of gallons per minute coming out and then the gentleman right next to him has that drip torch and he's got that wand like right on the ground right next to that wetland and so what what they'll do is the wind is coming from the right to the left here what they'll do is they'll lay down that wet line and then allow this to kind of burn off of off that line and then they'll come in and take a few strips and kind of build that black with our strip head fire ignition so the the amount of water the width of water the pressure of water is all determined by local conditions so you know there's no like specific guidance i can give like you know it needs to be six inches wide it kind of all depends on the fuel so and that's part of the purpose of the test fire is to determine those things same thing with like heat so if it's 90 degrees outside that water is not going to last as long as if it was 60 degrees on on there so here's a video showing some wet lining you can see it's kind of a slow process right it's laying down that wet line and letting that fire just gently back off of it now here's an improper way one they're right up against this really tall grass and look how thin that water line is you can imagine what's going to happen here that flame length and these tall fuels are basically going to flop over and start a spot fire or slop over you'll see it happen like right here i think it is oh there it is so now if we don't have an atv or utv patrolling yeah there it goes if we don't have atv or utv patrolling that's a slop over right there and we're going to have a problem so laying down that wet line is super critical and getting it right it's pretty easy but having the right equipment is critical uh just a few things here like negotiating uh hills obviously um fire moves uphill so a lot of times if you're gonna light in a drainage you'll wanna start at the top of the hill and go meet down on the bottom and a lot of times you know we can't get trucks down in there so maybe we'll drag that hose out and go all the way down to the meeting point same thing with curves the big thing with these curves is take them out take them out of your burn plant they shouldn't be in there you can burn them later but if you're going to burn them just the the main point of this is you got to coordinate coordinate these curves with both the teams and so what that means to me is that this is just more time taken out of my burn day to mess with you know five acre little patch or something like that it just causes more problems than their worth so many times we would just you know in the burn plant i would probably either just cut it off right here put a mode fire break in here and burn it separately or not burn it at all same thing here about just coordinating making sure that you're meeting up you know the same place so you're not pushing fire onto anybody so beyond putting in the downwind black on the wet lining the second most important part is actually what we call holding and patrol holding is really simple so let's say you are you're doing a ring fire technique and one team um needs to stop while another team catches up well holding is basically just sitting there making sure the fire doesn't go anywhere until that team is ready for you to continue to move so you know you basically sit there with a flapper or a pumper and and just put it out so it doesn't spread any further a lot of times we'll just kind of creep like you know foot by foot just real slow as we go along to hold that but patrol is the most important part so patrolling is basically going back and forth on the line the fire break to look for any slop overs or suppress any spot fires or extinguish any kind of hot spots along the way so we're typically using atvs engines flappers rakes whatever it takes to to do this so everyone on the fire should be actively looking for on the lookout for any spotting and slop overs or anything like that but then the main people the first atv the lead igniter lead atv is going to be staying pretty close to the engine because that's you know typically where where the problems happen so they stick pretty close and that second atv is the one that kind of keeps going back and forth checking for materials now patrol is it's super important but it can also just be kind of tedious right all you're doing is driving up and down the line spraying water on any kind of smoldering stuff making sure nothing's popping popping over the line or anything so here's a video of kind of the line again having a good pumper in the back of a truck they're just looking at the smoldering line by this time our wet line may have dried out so they're catching any kind of flames happening along there and they're doing this all day long sometimes it's in smoke which is bad but and then this next part so here's the pumper up here pause it real quick so here's the pumper up here uh here's the lead atv and they're patrolling that fire line looks like there's another person on foot that's following it looks like this is maybe a flight fire head fire but and then there's here's the second atv that's following up right behind it so this first person on the etv is checking the line making sure it's good and then the second person is driving back and forth all the way back to the beginning of the unit making sure everything's good too so once a fire is basically all complete you know one of the biggest things is is mopping up so mopping up is uh basically just basically that right extinguishing any burning material on the fire line if you're in tree areas you're cutting down trees or felling snags basically you know you don't want to declare a burnout for at least 24 hours you know if you're burning oak woodlands like this pitcher here you know maybe several two three days before things stop smoking that you need to stop worrying about it um i don't think i got a picture on here but um within mop up you could use a harrow on the back of an atv to drag along the fire line uh it's kind of really nice it breaks up some of the cow pies and you know plants and stuff along the edge but when you're doing mop up typically you know you want to kind of think about in spatial distances like okay you know what's within 100 foot of the line what's 200 foot what's 300 foot like what do i have to be worried about and honestly it's like typically in a grassland situation you know you're looking at the first like 10 to 20 feet of a really good mop up like between that distance or 0 to 20 foot i guess um so those are the distances in which you really want to pay attention to now as you get further in the unit you have less less to be concerned about but like you know if you get into the unit you got a big cottonwood tree that's you know 100 foot tall and it's on fire you know that's something that needs to be obviously looked at and remedied you
Up Next
60:47
Ecological Forecasting with NASA ARSET: Session 1
@NASAgovVideo
2.4K views•2018-11-06

15:54
Life in Biosphere 2: Sustainable Ecosystems & Human Survival
@TED
334.9K views•2009-06-16
14:30
Microplastics Everywhere: How Plastic Impacts Our Lives
@TEDx
100.9K views•2018-05-08
10:28
Ice Stupa Artificial Glaciers: Solving Ladakh's Water Crisis
@SonamWangchuk66
3.2M views•2015-05-03
Related Study Plans & Knowledge Roadmaps
Structured learning paths in Environmental Science
environmental-science
Ocean Noise: Cetacean Impacts & Mitigation
01Fundamentals of Underwater Acoustics
02Marine Mammal Bioacoustics
03Anthropogenic Noise: Shipping & Seismic Surveying
+ 2 more learning modules
16h5 modules
Explore Roadmap
environmental-science
Road Ecology: Corridors, Overpasses & Fencing
01Foundations of Habitat Fragmentation and Carnivore Ecology
02The Road Barrier: Ecological Impacts of Transport Infrastructure
03Principles of Ecological Corridors and Connectivity Mapping
+ 3 more learning modules
14h6 modules
Explore Roadmap
environmental-science
Ocean Acidification: Kelp Buffering & Shellfish
01Fundamentals of Ocean Chemistry & pH
02Chemical Pathways of Coastal Acidification
03Bivalve Physiology & Calcification Under Stress
+ 2 more learning modules
18h5 modules
Explore Roadmap
environmental-science
Ice Stupas: Glacial Retreat & Water Security
01Foundations of Glaciology & Mountain Hydrology
02Climate Change and Glacial Retreat Dynamics
03The Science of Ice Stupas & Artificial Glaciers
+ 2 more learning modules
14h5 modules
Explore Roadmap