
















A Chip-8 emulator is a software implementation that simulates the hardware architecture of the Chip-8 virtual machine, which features 4KB of memory, 16 8-bit registers (V0-VF), a 64x32 pixel display, and a stack of 16 entries. The emulator decodes instructions by parsing two-byte opcodes into four nibbles, where the first nibble determines the instruction type and subsequent nibbles provide operands. Key implementation challenges include handling sprite rendering through XOR operations on the display buffer, managing user input timing to prevent missed events by using delta time accumulation for fixed-step simulation, and implementing audio output through the ST register. This project demonstrates fundamental concepts in hardware emulation, including instruction decoding, memory management, and timing synchronization.
Chip-8 Emulator Development in C: Architecture and Implementation
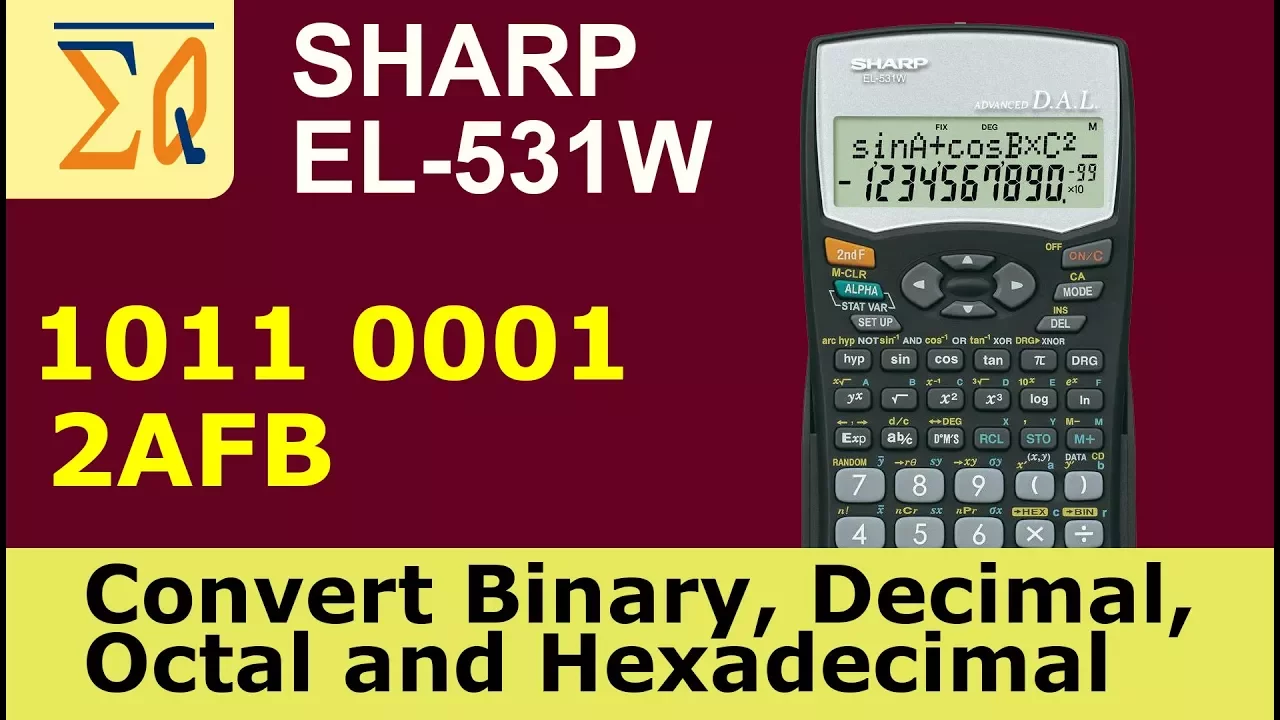
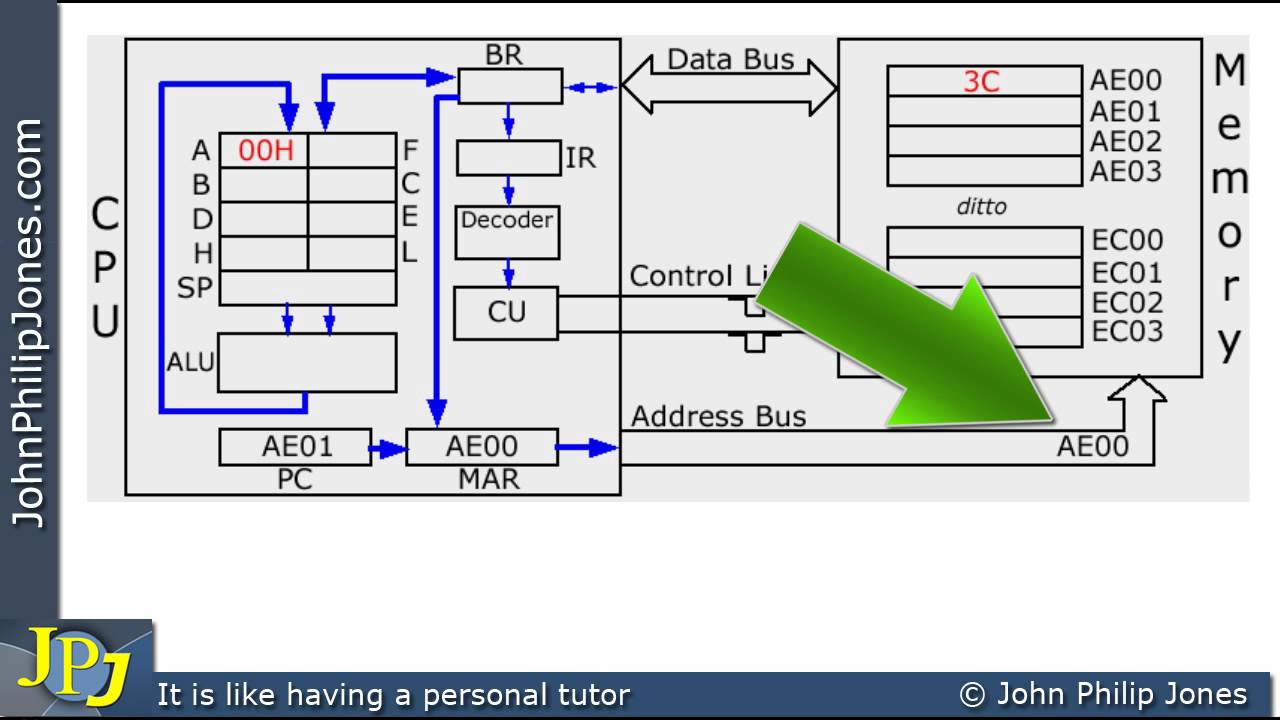
Added:hey guys I was looking around online for more information on Hardware emulation and I came across ship 8. apparently it's like the hello world of emulation development so I wanted to make a chip 8 interpreter emulator and here's how I did it the way to start out with any emulation project is to well read the specification that's pretty much necessary so I looked around online and came across many a technical reference but the one that I found the most helpful was this one I started off with my code base and the first thing to do was to translate the specifications into a structure chip8 has just four kilobytes of memory 16 8-bit general purpose registers labeled v0 to VF a stack with a maximum size of 16 and a few special registers for output the chip 8 has a 64 by 32 display with pixels that just have two states on or off using my old renderer API and a few Loops it was easy to render the frame buffer to the screen after missing back to the few interesting patterns like um this one this one and of course this one I moved on to the actual chip simulation part to bait instructions are extremely straightforward all of them are precisely two bytes long and quite easy to decode the two bytes can be separated into four four bit sequences called nibbles which can each be represented by a hexadecimal digit so instructions are normally represented by a combination of four hex digits or variable names for example the zero zero ee instruction is the return instruction these instructions can also contain operands in the same opcode like this one one and an N jumps to the address n and then in our execution Loop we can simply inspect the next two bytes and execute their appropriate instruction the first nibble is always a static one so we can switch on it and run instructions based on that I don't want to go over all the instructions I implemented but I do want to color a few of them [Music] by far the easiest instruction to implement was 6xk which simply puts the byte given into the VX register for example if the chip encounters the instruction 6833 it will put the hex value 0x33 in the V8 register however not all instructions were that simple the most complicated one by far was definitely the dxy end instruction to know what this instruction does we would have to look at how Sprites work in chipmate debate Sprites are 8 pixels wide and for anywhere from 0 to 15 pixels tall this restriction of being exactly 8 pixels wide allows one row of the Sprite to be represented in exactly one byte so an n-toll Sprite is represented by n bytes the instruction itself has three up Brands x y and n the last nibble n is how tall the Sprite is which is to be drawn the chip will look at the I register which is a special 16-bit register this shows the address of the Sprite then it will put the Sprite on the screen offset by the contents of VX and VY but oh you thought that was too simple the Sprite isn't simply placed there instead it's xored onto the screen basically any ones will just flip the pixels underneath and any zeros will keep things untouched if any pixels that were flipped were on before the flip the VF register is set to 1.
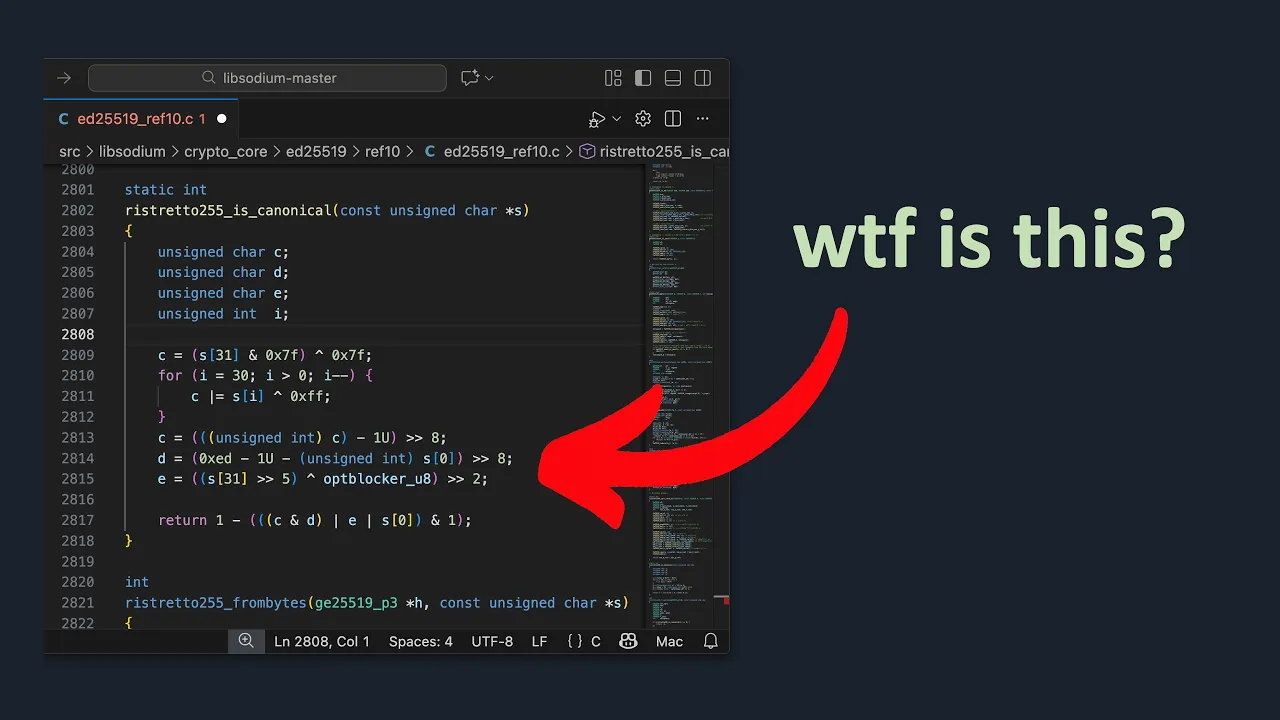
so yeah definitely not easy to implement but this really puts into perspective just how insanely compressed modern opcodes for architectures like x86 and 8086 are for example here's what a simple move instruction which literally just moves data from register to register looks like in the 8086 [Music] anyways back to the chip the output is our screen but what the light input according to the spec the chip 8 has 16 buttons table 0 to f apparently looking around online they're generally mapped to a modern keyboard like so with regards to asking for key input chip 8 has two methods one of them is quite unquote immediate mode the chip looks at the state of the key currently and skips an instruction if the key is in a certain state the other is weight mode the chip will wait for any input and the value of the next key that is pressed is put in a specified register now this second instruction is quite interesting to implement the chipmate is supposed to be run at a certain speed which looking online seems to be about 500 Hertz unfortunately this is really bad for user input that Waits because if we keep checking for the key in the chip tick function there's a chance of completely missing the input event so specifically for this this key has to be tested for every frame rather than at fixed time intervals this is the same reason by the way why in unity you're supposed to get user input in update and not fixed update because you may miss an event as you can probably guess this fixed time step thing is quite common and the way to handle that is really quite easy actually basically we have to calculate the Delta time of the frame which is the end time of the frame minus the start time then we can have an accumulator variable which just accumulates Delta times until a threshold is hit only when the threshold is hit can we simulate the fixed step instruction so now the rate of our instruction step is entirely dependent on the threshold so how do we calculate this threshold well it's just one over the amount it takes per frame for example if you want something running at 60 hertz you would just keep the Threshold at 1 over 60.
to handle over accumulation of time we can just convert the if statement into a while loop but the core logic of this whole Thing Remains the Same after implementing all of these instructions everything definitely worked first try without any errors whatsoever okay maybe it didn't and I had absolutely no idea on where the area could be so I downloaded a bunch of test prompts and all of them were fading pretty badly so the next thing I did was to add some disassembly so this assembly is enabled I would just dump the instruction into the console whenever it was run this sadly didn't help much since I just downloaded the ROMs and had no idea how they worked so instead of writing a test from myself like a normal person I decided that maybe a single step mode was what I needed and turns out that actually helped basically when in this mode I could click to run the next instruction and inspect the registers in the console throughout this video I neglected mentioning one of the features of the chip eight audio I had actually never done any audio programming before so my code base just didn't support it I definitely could have looked online and come up with a good API but since I don't really know this domain I refrained from this and decided to use openl to bait's audio output is very simple all it does is look at the St register and if it's non-zero please a continuous beep this St register also decrements at 60 hertz while it's non-zero so if I wanted to run a beep for one second I would set the SD register to 60.
anyways after a bunch of documentation surfing I had this very nice sine wave playing [Music] anyways that concludes the chipmate emulator [Music] boy this was a fun project to work on and I would recommend almost everybody to do some sort of project with debate because well it covers a lot of things so almost everybody will get some value out of it anyways thanks for watching see you next time
Up Next

Emulating a Custom CPU on Raspberry Pi Pico with MicroPython
@GaryExplains
53.4K views•2022-04-07

Introduction to Secure Multiparty Computation with Yehuda Lindell
@fhe_org
7.7K views•2021-02-04

HTTP Requests Explained: GET, POST, PUT, DELETE
@codecademy
103.1K views•2021-10-07

Enigma Machine Mechanics: WWII Encryption Explained
@JaredOwen
13.2M views•2021-12-11
Related Study Plans & Knowledge Roadmaps
Structured learning paths in Computer Science