










![[분석화학] 표준물 첨가법1](https://i.ytimg.com/vi/UcNdd3aTM9g/maxresdefault.jpg)



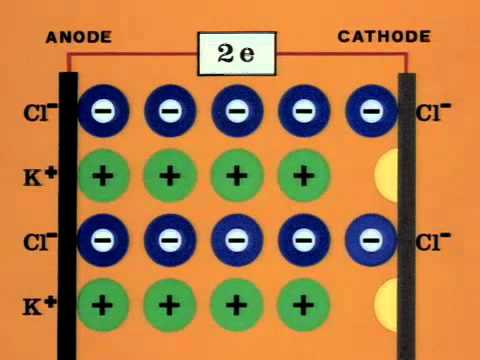




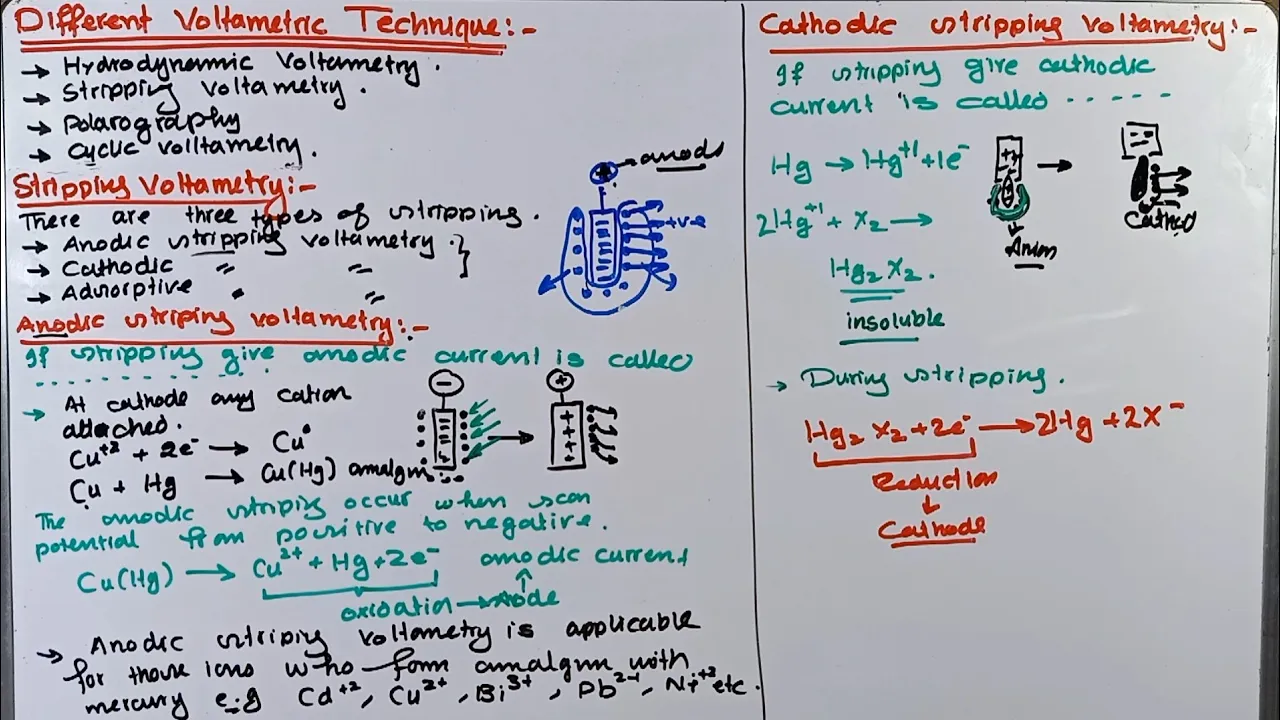


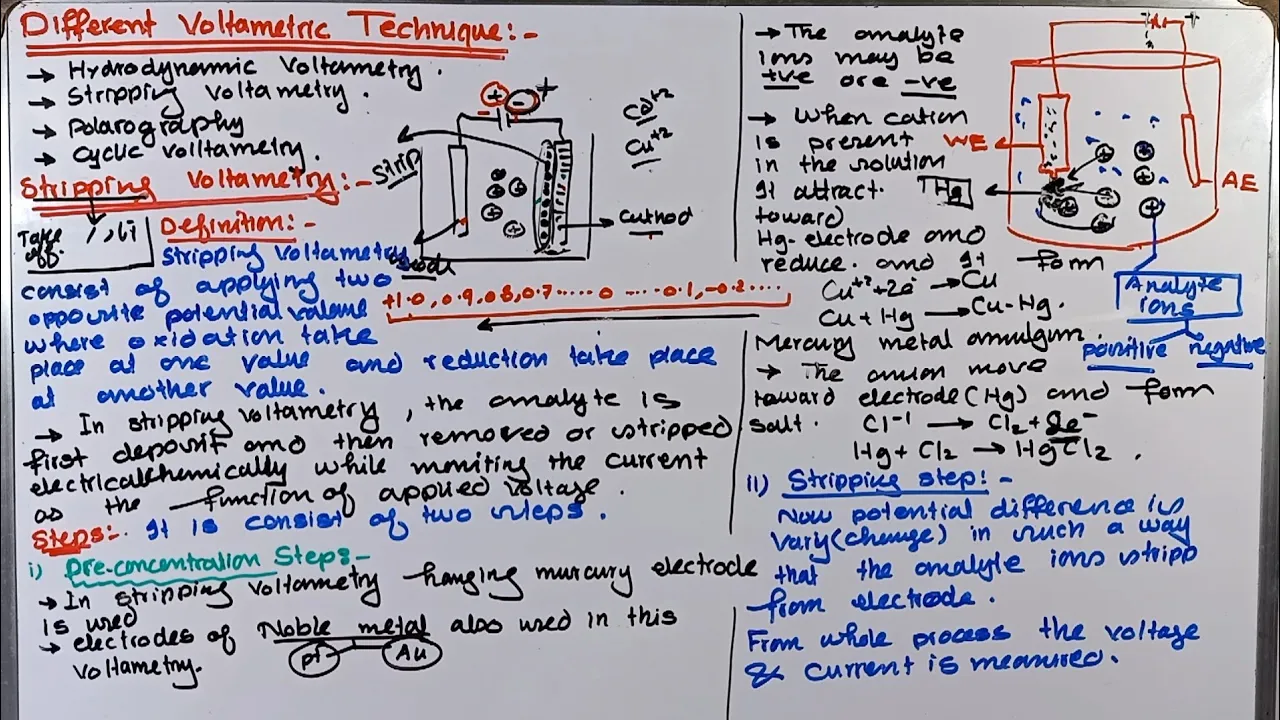
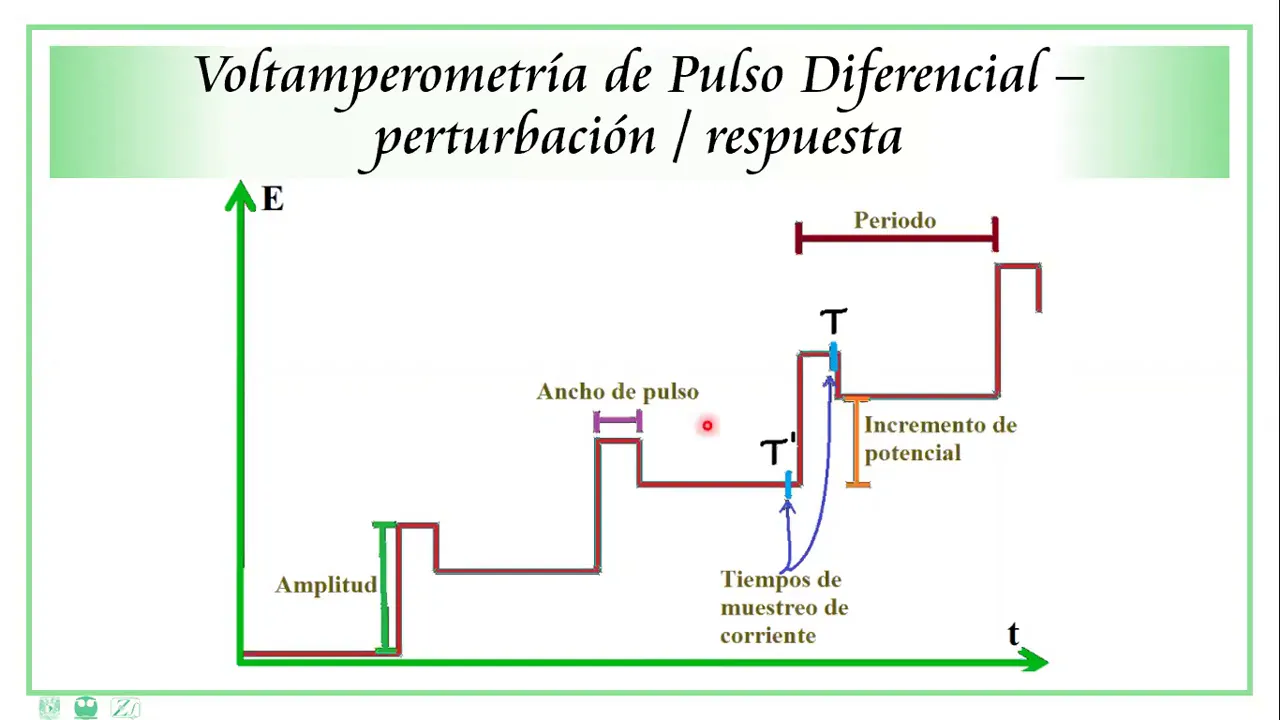


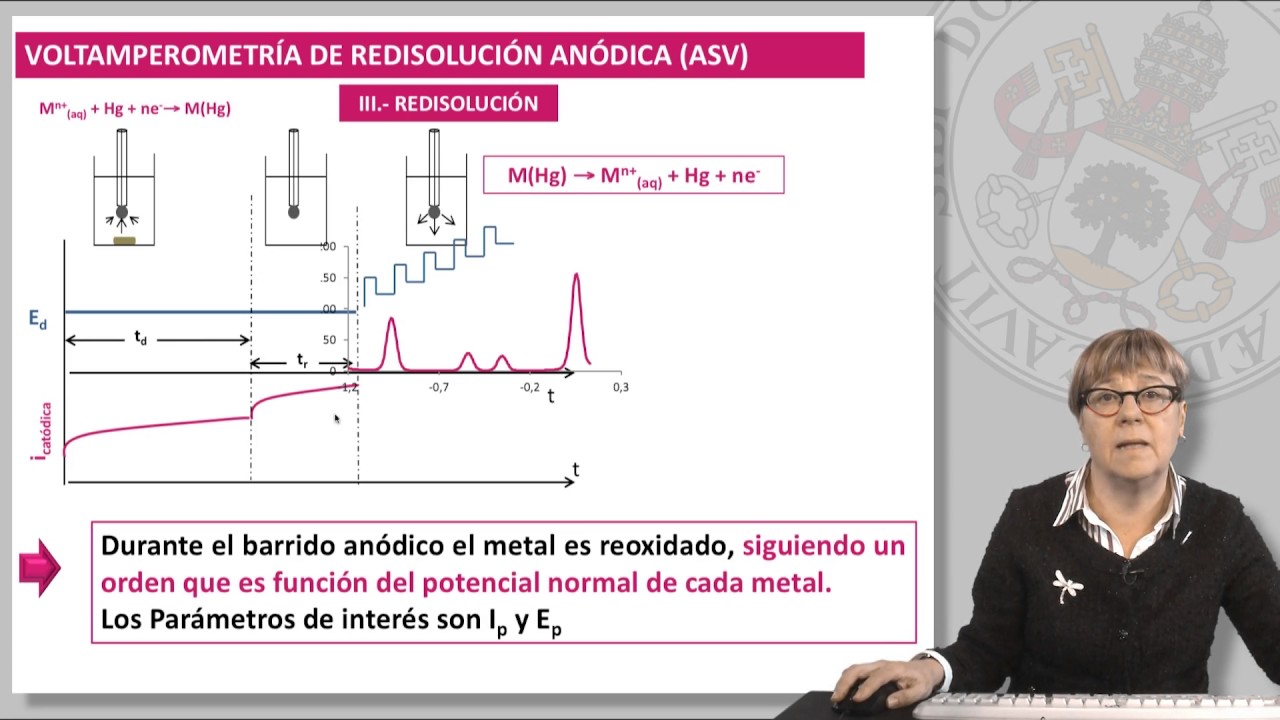





Anodic stripping voltammetry (ASV) is a sensitive electrochemical technique for detecting trace metals like cadmium and lead, involving two key steps: a deposition phase where metal ions are preconcentrated onto a mercury-coated glassy carbon electrode under negative potential, followed by a stripping phase where metals are selectively oxidized at increasing positive potentials, generating current spikes proportional to their concentrations; the standard addition method is employed for quantification, where incremental metal standards are added to the sample until peak heights increase by 10-40%, 2x, and 3-4x relative to the original peak, allowing extrapolation to determine unknown concentrations with high sensitivity down to parts per billion levels.
Anodic Stripping Voltammetry: Cadmium & Lead Analysis Lab
Added:hello this is Tammy ler Clair and today I'm presenting the pre-lab lecture for part one of tobacco analysis which is the quantitative determination of cadmium and lead by anodic stripping voltametry or ASV so the two metals that we're going to be looking at are cadmium and lead and cadmium is a carcin carcinogenic metal um there's no acceptable exposure level and so what that means is the more cadmium that you are exposed to uh the greater your chances are of developing cancer lead is a known neurotoxin which is especially bad for younger children uh lead had been used to um uh as an additive into gasoline and so it can often be found around roadways and as well it is the white pigment in paint that U predates about 1970 so lead carbonate was used as uh the pigment in in paint and so um it can be found in uh your house as well so now onto the method I'll explain how it works a notic stripping voltametry or ASV consists of two steps the first step is the deposition step where metals from your sample are deposited onto the electrode the next step is the stripping part where each type of metal or each different element is selectively removed from the electrode by oxidizing it and then measuring the change in the potential of the solution the potential change can quantitatively tell you how much type of each metal there was in your sample so this is a three electrode measurement system where there is a working electrode reference electrode and counter electrode connected to a potentio stat that controls the potential or voltage that is applied to the working electrode so the working and reference electrodes are used to define a potential or voltage in the cell the voltage is applied to the counter electrode which then allows current to flow from the working to counter electrode so the goal is to keep the well-defined potential on the working electrode versus reference electrode and then only allow the current to flow to the counter electrode the counter electrode is is where current is actually measured and that current is proportional to the concentration of the metals in your sample so current is is actually what is being measured as I said but voltage is what you use to get the chemistry to happen so imagine that you have a cup with small amount of liquid and that will Define your cell you'll see that the actual cell is quite compact with a little stir in the middle of it and one thing that you should be aware of when you take the cell apart is that there is a tendency to want to invert the top part of the cell where the electrodes are so is to put it down but if any liquid gets poured out of the electrodes and into the stir motor that could damage the cell so please try to resist the temptation to put that piece down you'll just have to hold on to the top part of the cell with one hand while you swap out the sample cup with the other hand or you can ask your partner to help position the the sample cup while you hold on to the top part of the cell containing the electrodes so the counter electrode is a piece of platinum wire and the reference electrode is a silver uh silver chloride electrode you'll need to check to make sure that the silver chloride solution is full uh within the glass housing and that there are no bubbles in the reference electrode um so that'll take you a couple of minutes at the start of the um the lab period now the reference electrode or excuse me the working electrode is a piece of glassy carbon uh which is conductive for reasons much like why uh graphite is metallic uh due to the overlap of the homo and lumo or as material scientists call them uh the veence band and the conduction band and so you'll start by uh polishing the glassy carbon electrode to make sure that it is as clean and and shiny and flat as uh possible and then before you actually do the experiment you'll plate a thin film of mercury onto the electrode and so the cup the sample cup before it actually contains your sample will contain a solution of a fairly High concentration of mercury and so you apply a large negative potential to the working electrode for a few minutes to reduce uh the Mercury onto it to produce a coating a thin a thin coating of mercury um that you then use for the rest of the experiment so what goes on during the actual measurement part of the experiment well first you apply a large negative potential and in this case negative potentials are plotted up rather than down this is uh the convention that is used here so the large negative potential is applied onto the working electrode and that reduces any metal ions onto that electrode the purpose of the Mercury is to help cadmium and Lead adhere to the electrode by disolving in the Mercury film so in the first part of the experiment you do the depos deposition phase and you run the deposition phase for as long as you need to and so here we run it for about 5 minutes the nice thing about the deposition phase is that you are preconcentrating your sample onto the electrode and during the next part of the experiment the stripping part you are removing metals from the electrode bi oxidation and if you don't get enough current then you can go back and do the deposition part for a longer period of time the theory behind this is that the current that you measure is linearly related to the concentration of ions in solution and the time that you do the deposition for since you can't change the concentration of ions in solution you can just deposit more of the sample onto the electrode then at the end of the deposition phase you turn the potential around and run an increasingly positive potential to oxidize the metals they were deposited onto the Mercury film so when you do this you are removing electrons from the metal in its zero oxidation state to make I ions and in the case of cadmium and Lead You Will first see an increase in current as you oxidize cadmium into solution and then once all of the cadmium has been oxidized at more positive potentials you'll see another increase in current until all of the lead has been oxidized into lead ions here's another visualization of the two steps and what is actually happening chemically at each step as you can see the potential that is that is applied to the cell exceeds the standard reduction potential of all of the metals of interest and so everything is reduced onto the electrode during the deposition or accumulation step as it is also sometimes called then in the stripping step as the potential becomes more positive each type of metal is selectively oxidized depending on its own oxidation potential as each type of metal is oxidized and goes into solution as an ion we see a spike in the current as the sizes of the current Peaks that you see are proportional to the amounts of each of the ions present in the film The Experiment is extremely sensitive to to metal ions in the aqueous phase because of the preconcentration step and because of the inherent sensitivity of the voltametric experiment and so you can detect part per billion levels of lead or cadmium the next thing I'm going to talk about is the quantitation so the quantitation method that we're going to use is the standard addition method the first measurement that you're going to take is the raw sample with no standards added to it so you do the deposition step and then the stripping step and hopefully you will see one or two peaks corresponding to cadmium and Lead present if you see a peak that corresponds to cadmium or lead then you will add in that standard so if you see a peak for lead then you will be adding in spikes of the lead standard or if you have cadmium then you will add spikes of cadmium standard if you see both Peaks then you need to to add spikes of both so the trick is you need to figure out how much of each standard you're going to use you'll need to add spikes of the standard to your sample but you don't want to have your first Spike be twice as large as your original Peak so ideally after adding your first Spike the peak should be about 10 to 40% larger than the raw sample Peak it is important to not add too much of the spike you can always add more if the change in the peak size is too small to be notice the next Spike should make a peak that is about twice that of the original Peak and the next one after that should be 3 to four times as large and then you need to make at least one more Spike you'll have to play around a little bit to see how much of the standard you need to add to get the peak size right and so if you add too much there's nothing you can do to fix that unfortunately but start over with a new sample there will be enough sample for you to repeat this twice but there won't be enough sample or time to go beyond two repetitions so do try to be careful and thoughtful about your spikes from the start so that you don't overshoot and if you need to start over fortunately you will have learned a bit about how much of the standard you need to add from the first time through so that when you start off the second time you should get it right from the start So based on the method of standard addition the first point corresponds to the signal from your raw sample and then as you add more and more spikes you have additional data points corresponding to your addition samples so now you can use either Peak height or Peak area in your quantitation in principle Peak height and Peak area should give you the same result if your Peaks are perfectly gaussian in shape usually though there is a slight aberration and so Peak area tends to give a more accurate result but you can use whichever gives you a more linear response as usual you extrapolate back W to the xaxis intercept and in this case the software on the instrument that we're using does the rest for you um and it'll just spit out an answer in parts per million so you need to take that answer um back and calculate the concentration of the metals in your sample um scaling that up in case you diluted your original sample okay so remember to take dilution into account so then you'll have uh that information to write up in your lab report about the effects of each type of heavy metal on human health okay thanks for listening I hope you have fun with this experiment
Up Next

Frances H. Arnold Nobel Lecture: Directed Evolution in Chemistry
@NobelPrize
109.5K views•2018-12-08

Graphene Synthesis via Chemical Vapor Deposition (CVD) Techniques
@sethbrodski
3.3K views•2017-12-09

1H NMR: Determining Number of Peaks from Structure
@MSJChem
59.2K views•2017-04-06

Edible Water Bottles: A DIY Guide to Sodium Alginate Spherification
@ryan
10.5M views•2019-06-21
Related Study Plans & Knowledge Roadmaps
Structured learning paths in Chemistry