



























Salt bridges are essential components in microbial fuel cells that allow ion flow between chambers while preventing contamination; they are made by preparing an agar solution (5g agar in 150ml water with 6g salt), pouring it into tubes placed in a Petri dish, drying for 10 minutes, and refrigerating overnight to solidify, then storing in sealed bags to prevent drying out.
How to Build a Microbial Fuel Cell: Salt Bridge & Mud Sampling
Added:Basic principles of electrochemistry, specifically redox (reduction-oxidation) reactions and electron transfer.
Fundamentals of electrical circuits, including the roles of anodes, cathodes, and how electrical current flows.
Introduction to anaerobic microbiology, particularly the role of electrogenic bacteria (exoelectrogens) that can transfer electrons extracellularly.
The physical concept of diffusion and how a salt bridge functions to maintain electrical neutrality in an electrochemical cell.
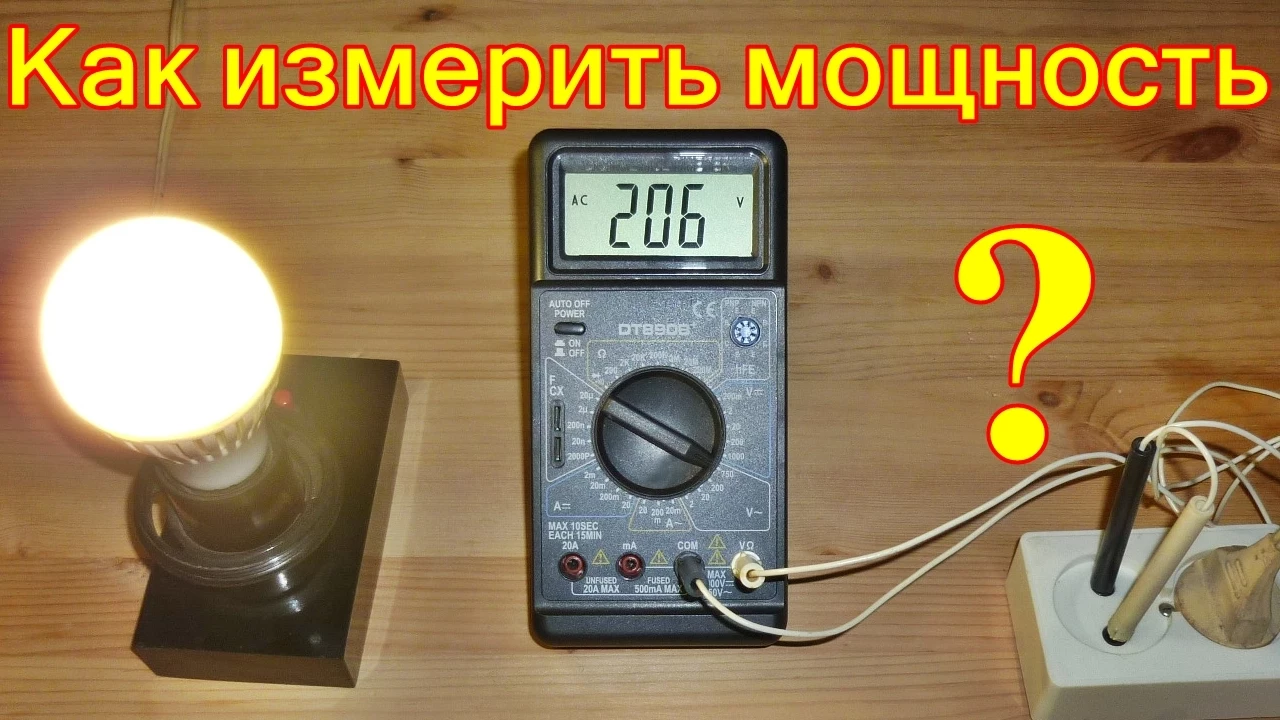
Methods for measuring and analyzing MFC performance, including using a multimeter to calculate voltage, current, and power output.
Optimizing MFC efficiency by experimenting with alternative electrode materials (e.g., carbon cloth, graphite felt) and surface area variations.
Comparing the ionic conductivity of homemade salt bridges against commercial Proton Exchange Membranes (PEM) like Nafion.
Exploring scaled-up, real-world applications of MFC technology, such as organic wastewater treatment and self-powered environmental biosensors.
6.9K views8likes6:35Original Release: 2009-12-31
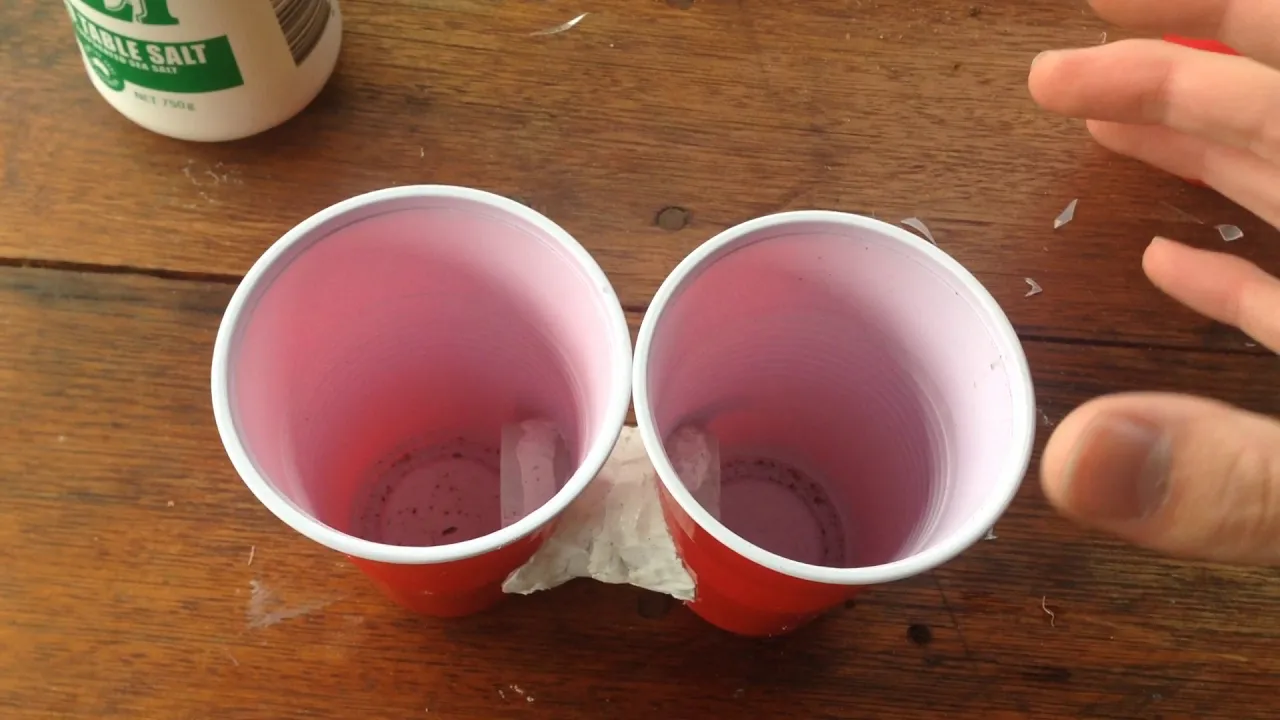
all right so the next step is to make the salt Bridges so first what you want to do is to get one of your Petri dishes and uh take the top off and you will want to place some plastic wrap um and basically wrap the entire bottom um you want to wrap it in such a way that uh some of the plastic wrap is overlapping the edges like so um once you finish um putting the plastic wrap on the bottom of the petri dish you want to unscrew your tube that you have um you know in between um uh your containers and you want to place some aluminum foil on one end of the tube it doesn't matter which one just Place aluminum foil on one end uh once it's uh secure um uh the aluminum foil you want to place the compression fitting vertically on the P tree dish uh you know like upright on the P Tre [Music] dish and uh after that just set it set it aside uh next um you'll want to measure out about um I guess 100 to 200 milliliters of water uh probably 150 should do uh somewhere around there uh of water and uh just pour it into the pot um that you gathered earlier and using uh your digital kitchen scale uh you will want to measure out um some augur um in the material section it said you need 30 G of augur you don't need 30 G for one microbial fuel cell uh 30 gram is for um replicates of microbial fuel cells that you can choose to build in the future but for one microb beusa I recommend uh uh measuring out 5 G of uh augur and uh once you measure out 5 G um uh set the measured auger aside and measure out s uh 6 tablespoons um sorry 6 G of salt uh place the pot of water on a stove and bring it to a boil once it's nice and boiled add the augur into the pot and make sure it dissolves nicely uh once it's dissolved uh Place uh take the uh pot out of the um off the heat and um when it's still warm add the uh salt uh to the augur and water solution and make sure that dissolves nicely uh once the augur and the salt have nicely dissolved um uh pour the solution into the tubes of the pure dish so you'll have the tube upright right here and in the hole on top of the tube you want to pour your um mix um into the tubes and once the tubes are stable um and they're filled um stable meaning that the tubes they don't leak or uh they don't fall over uh you want to let it dry for about 10 minutes and move the tubes into the refrigerator uh let the tube sit in the refrigerator overnight and the TU these tubes are your salt Bridges so the tube that you have right here um in the end what you'll have is a uh solid you know tube of augur and this is so this is to prevent you know water or uh any of the mud um escaping to the other side um and it's very very effective so uh once you let them um sit in the refrigerator overnight next day come back and place the salt bridges in a plastic baggie and seal it uh this prevents soft Bridges from drying out and uh take the soft Bridges out whenever you're ready to use them so um uh after this we will go through on how you can make and obtain your mud samples all right uh in order to make and obtain your mud samples first you will want to go to the location uh of your stream um where you found like you know it has very rich uh soil and uh the sample that you want to pull uh it shouldn't be full of like rocks Twigs uh it should just be rich mud um what you would want to do is tie the nylon rope uh nice and secure uh around the middle of the PVC pipe um next you'll want to throw the tube into the stream or creek and make sure you have a good um hold on the end of the end of the rope and you want to try to scoop as much of the stream as you can the reason we're doing it this way and not just you know putting some gloves on and taking some stream water is that uh uh water currents can be stronger than they look and uh one wrong move and uh it can be very dangerous and also we don't know uh what that Creek contains uh it might contain you know harm ful um uh materials um that could you know cause some problems uh so we want to avoid that so that's why we're trying to do it this way um and when you think you've gotten a large enough sample uh you want to drag the two back to shore um gently tap the pipe with the hammer and transfer the sample into the bucket cover the bucket with plastic wrap and set it aside make sure you have enough of the benic sample to fill the ano chamber and uh uh make sure you plan uh when you're going to use uh get the retrieve the sample because you need to use the sample within 24 hours um in addition to collecting the mud also try to collect some of the stream water uh in like a milk carton um and uh for the second mod sample just use a shovel and try to get some top soil into the second bucket and mix some tap water uh into the top soore until you get a sludge like mix and uh cover the bucket with plastic wrap and uh set it aside
Up Next

9:40
Build a Microbial Fuel Cell: Step-by-Step DIY Clean Energy Guide
@amphoravideo
41.8K views•2018-09-23

12:54
Triumph of Orthodoxy Icon: Byzantine Art & History Explained
@BenCallan
2.1K views•2024-08-06

9:49
FastAPI vs Flask vs Django: Choosing the Right Python Web Framework
@TechWithTim
302.5K views•2024-05-26

1:42
Game of Thrones Opening Credits: A Cinematic Analysis
@gameofthrones
46.3M views•2011-04-18
Related Study Plans & Knowledge Roadmaps
Structured learning paths in General & Interdisciplinary Studies
general-studies
Elevator Engineering: History, Physics & Cities
01From Hoists to Safety Brakes: The Dawn of Vertical Lift
02Hydraulic vs. Traction: The Engineering Physics of Elevators
03Modern Speed, Safety, and Algorithms
+ 2 more learning modules
12h5 modules
Explore Roadmap
general-studies
Rubber: Material Science, History & Geopolitics
01Origins of Natural Rubber & Mesoamerican History
02The Chemistry of Natural Rubber & Vulcanization
03The Geopolitics of the Rubber Boom & Colonization
+ 2 more learning modules
12h5 modules
Explore Roadmap
general-studies
Containerization: Evolution, Logistics & Trade
01Ancient Trade & Bulk Cargo: Amphorae to Barrels
02The Industrial Revolution & Cardboard Packaging
03The Containerization Revolution: Malcom McLean
+ 2 more learning modules
12h5 modules
Explore Roadmap
general-studies
Textile Tech: Evolution, Labor & Global Impact
01Pre-Industrial Textiles: Handloom & Cottage Industry
02Mechanization: The Spinning Jenny to the Power Loom
03The Factory System & Global Labor Transformation
+ 2 more learning modules
10h5 modules
Explore Roadmap