

















![Webinar IPC 610 Soldadura y ensamble electrónico [Para diseñadores y ensambladores]](https://i.ytimg.com/vi_webp/e8ZU4aQm_DI/maxresdefault.webp)





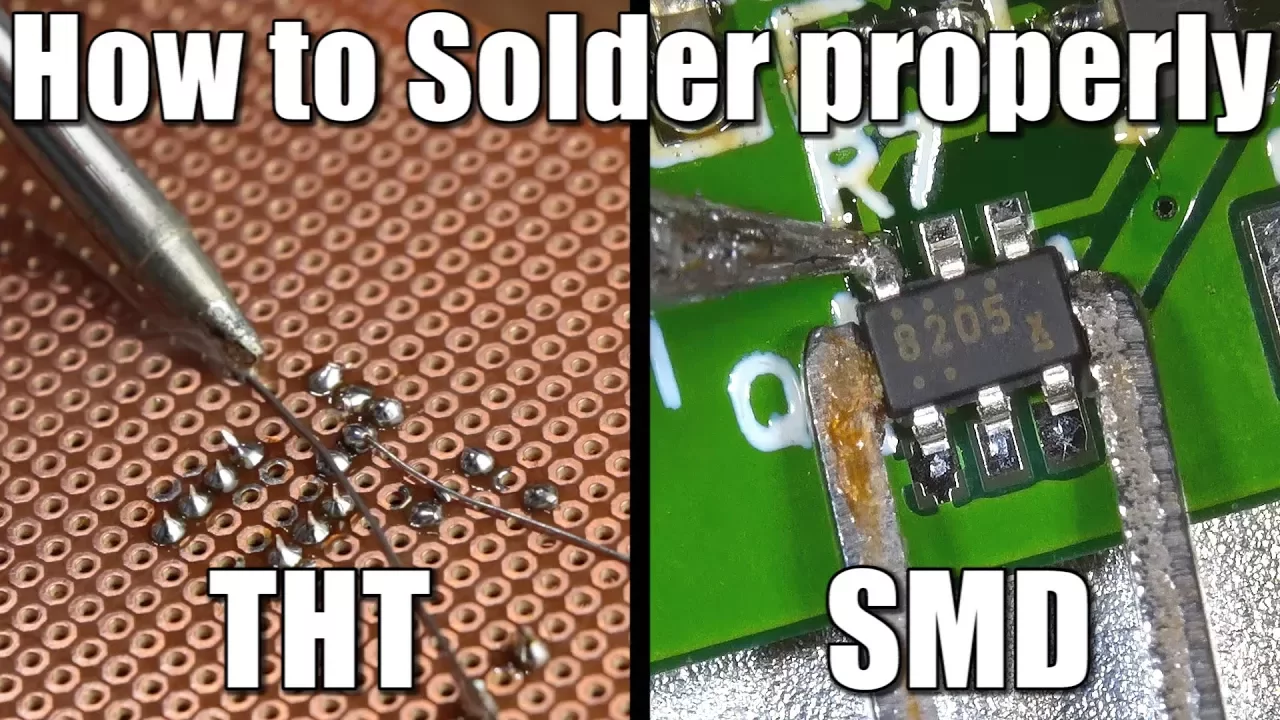
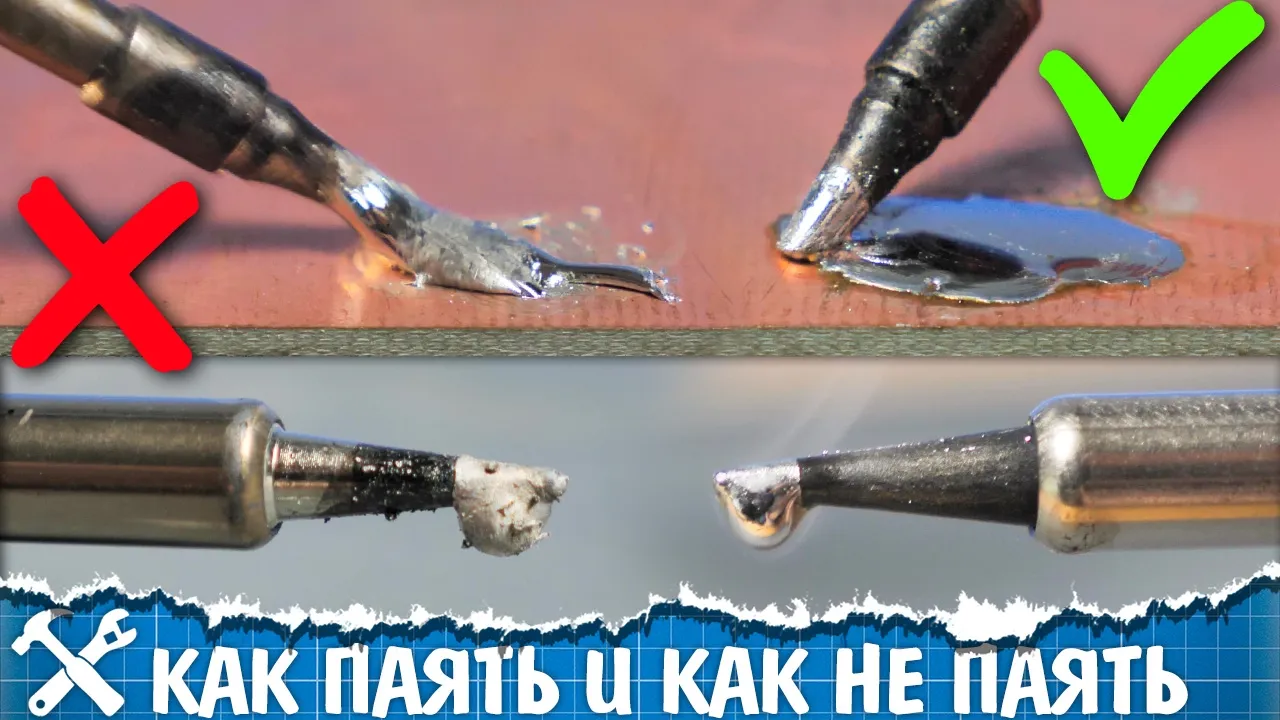
Quality soldering requires proper technique: apply heat to both the pad and component pin simultaneously, then apply solder to the opposite side of the joint (never to the tip itself), use adequate flux to clean oxide layers, and apply just enough solder to create a smooth, shiny fillet that wicks through to the other side of the board.
Through-Hole Soldering Techniques: EEVblog Tutorial Guide
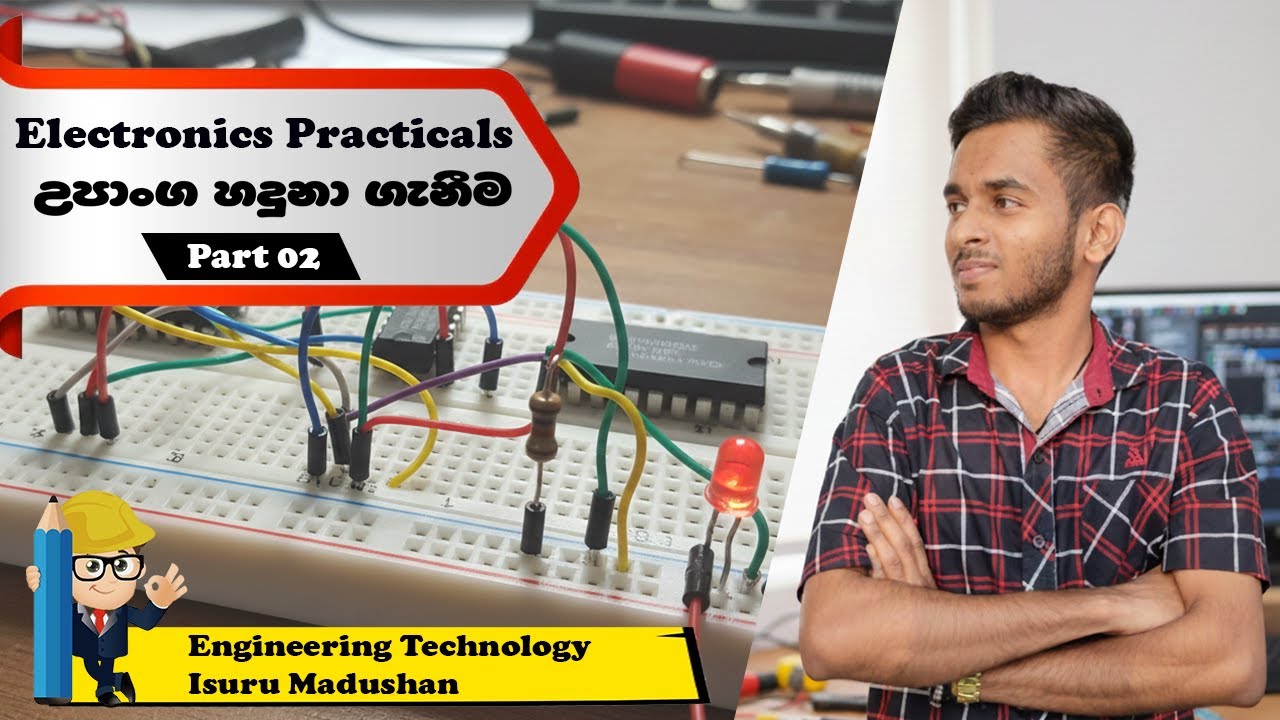
Added:Basic identification and function of common electronic components (e.g., resistors, capacitors, LEDs, and integrated circuits).
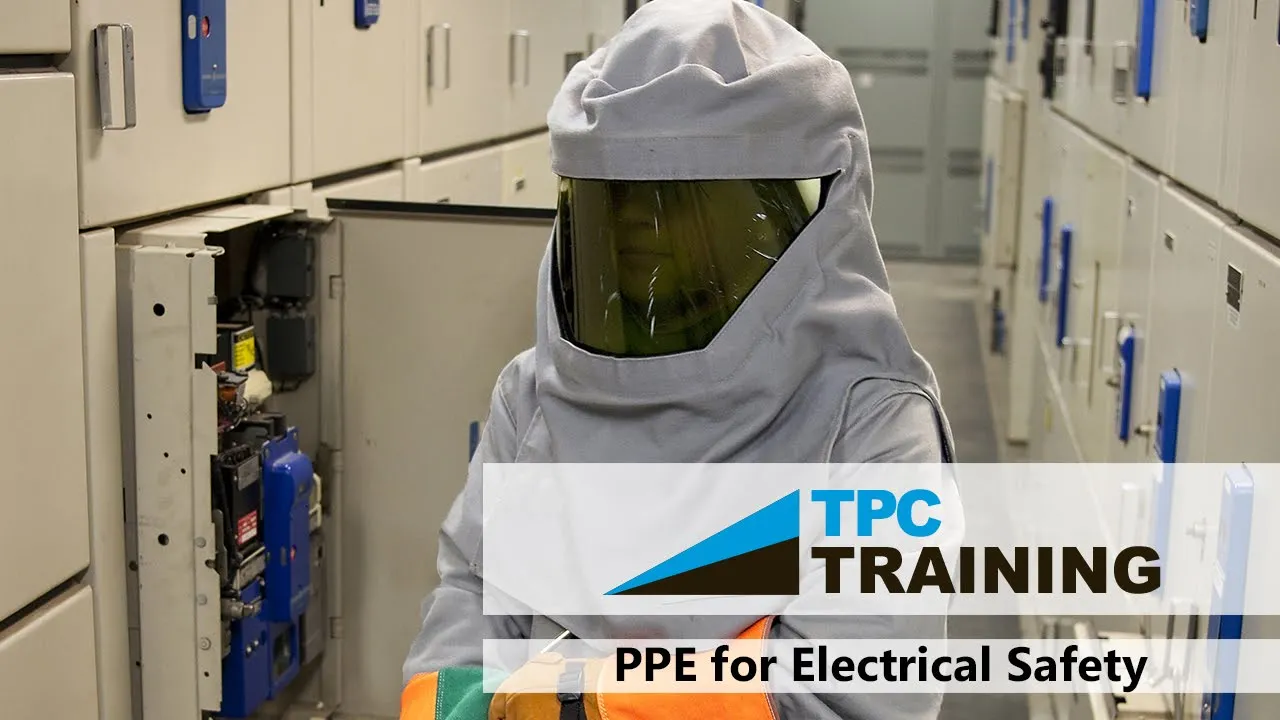
Fundamentals of electrical safety, including the hazards of high temperatures, molten metals, and chemical fumes.
Elementary concepts of heat transfer and thermal conductivity, specifically how heat travels from a heat source to metallic surfaces.
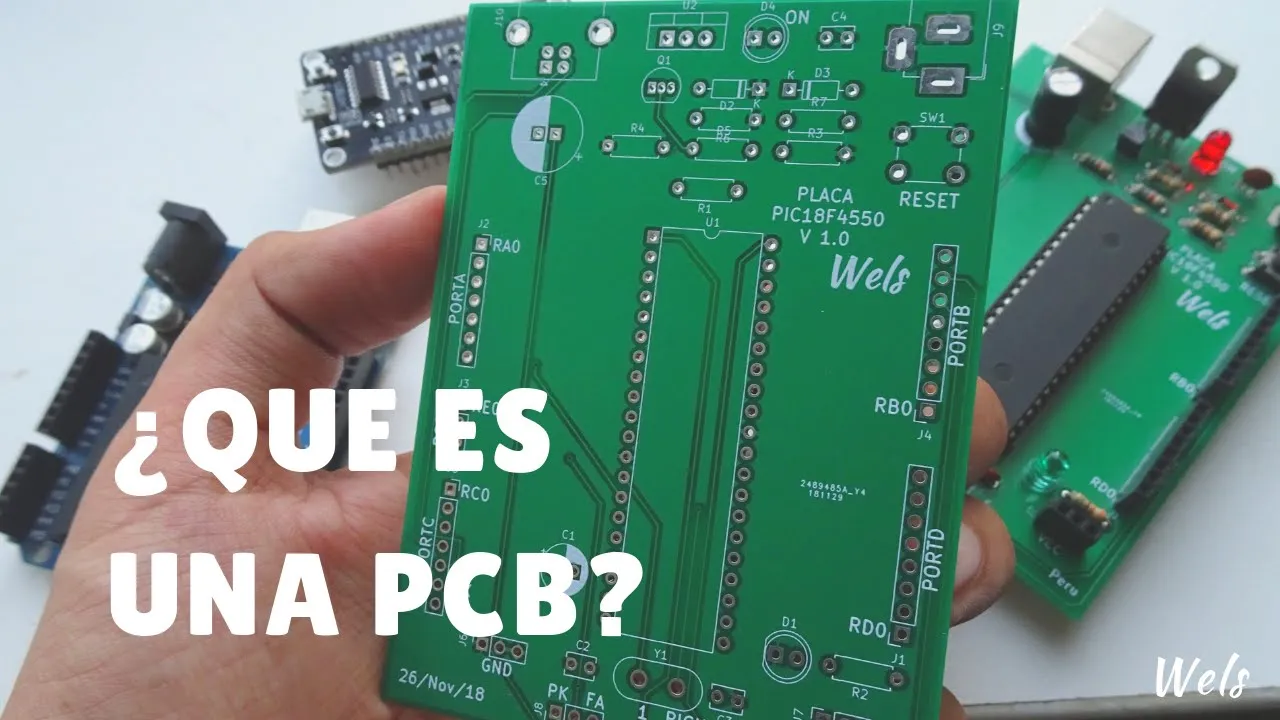
Understanding the structure of a Printed Circuit Board (PCB), including copper traces, pads, and plated through-holes.
Surface Mount Technology (SMT / SMD) soldering techniques, which deal with much smaller, leadless components.
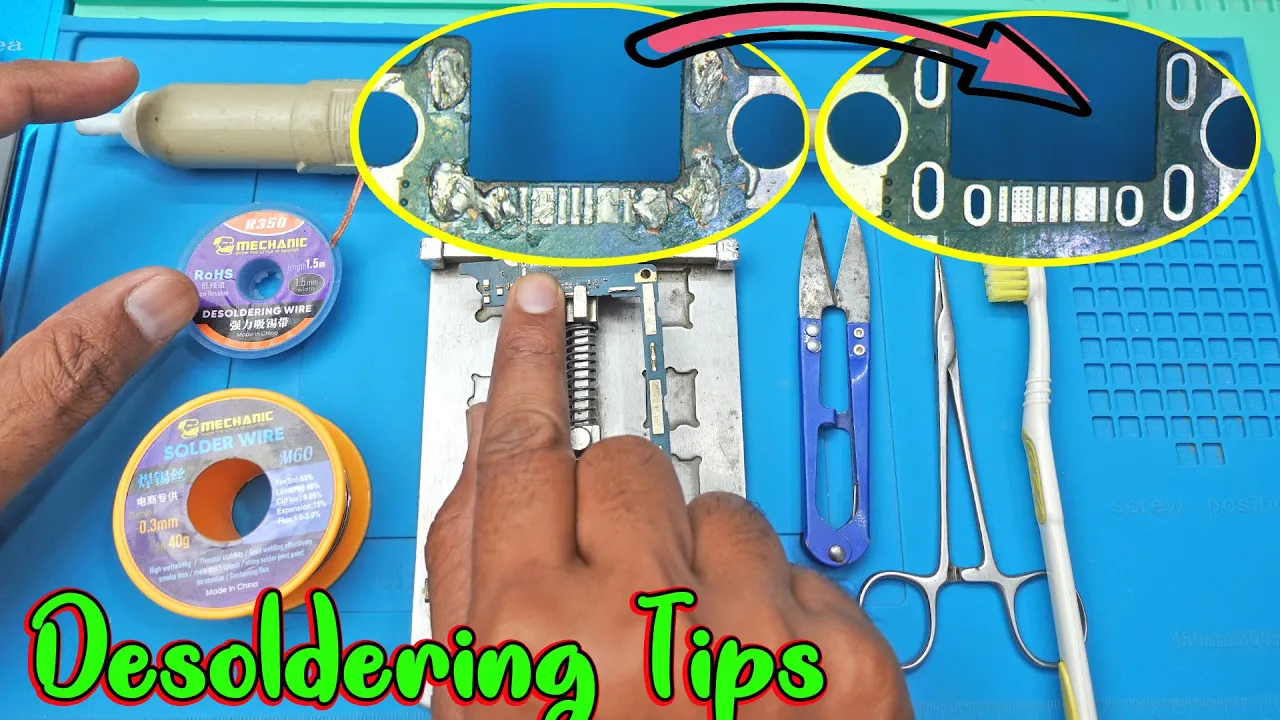
Desoldering, PCB rework, and repair techniques, including the use of desoldering pumps, copper braid (wick), and hot air rework stations.
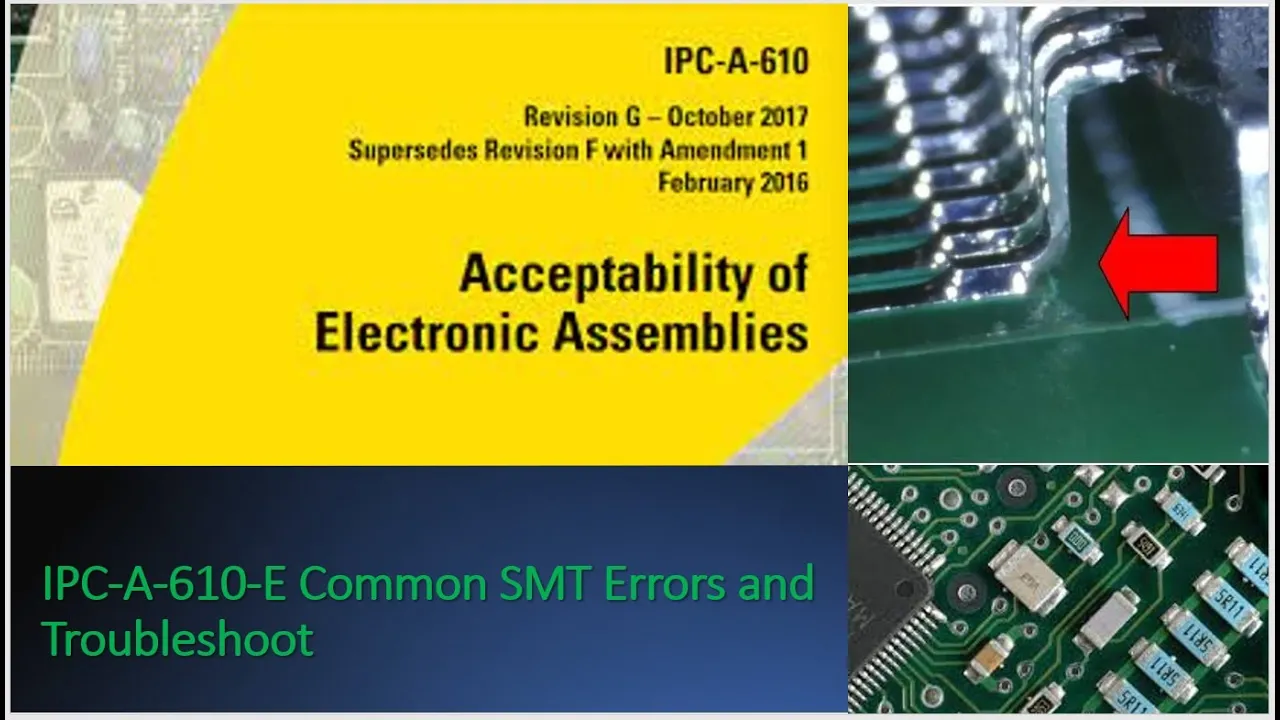
Introduction to industry assembly standards, such as the IPC-A-610 guidelines for acceptability of electronic assemblies.
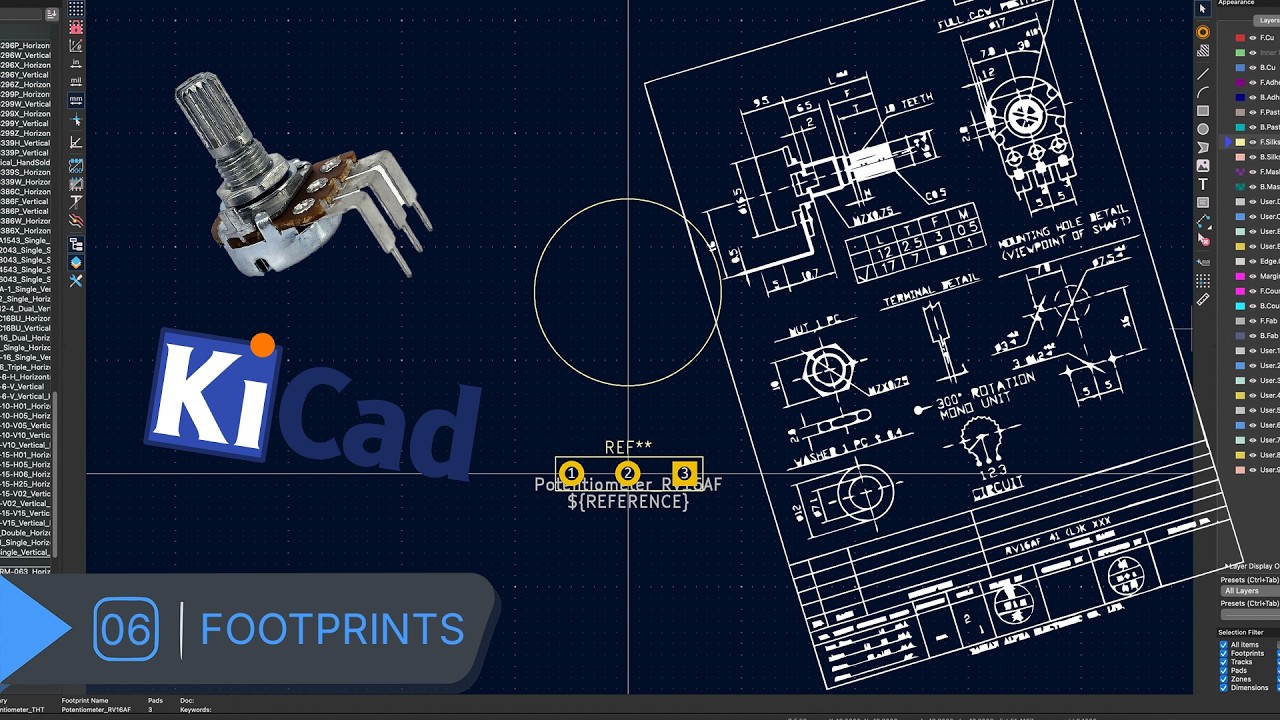
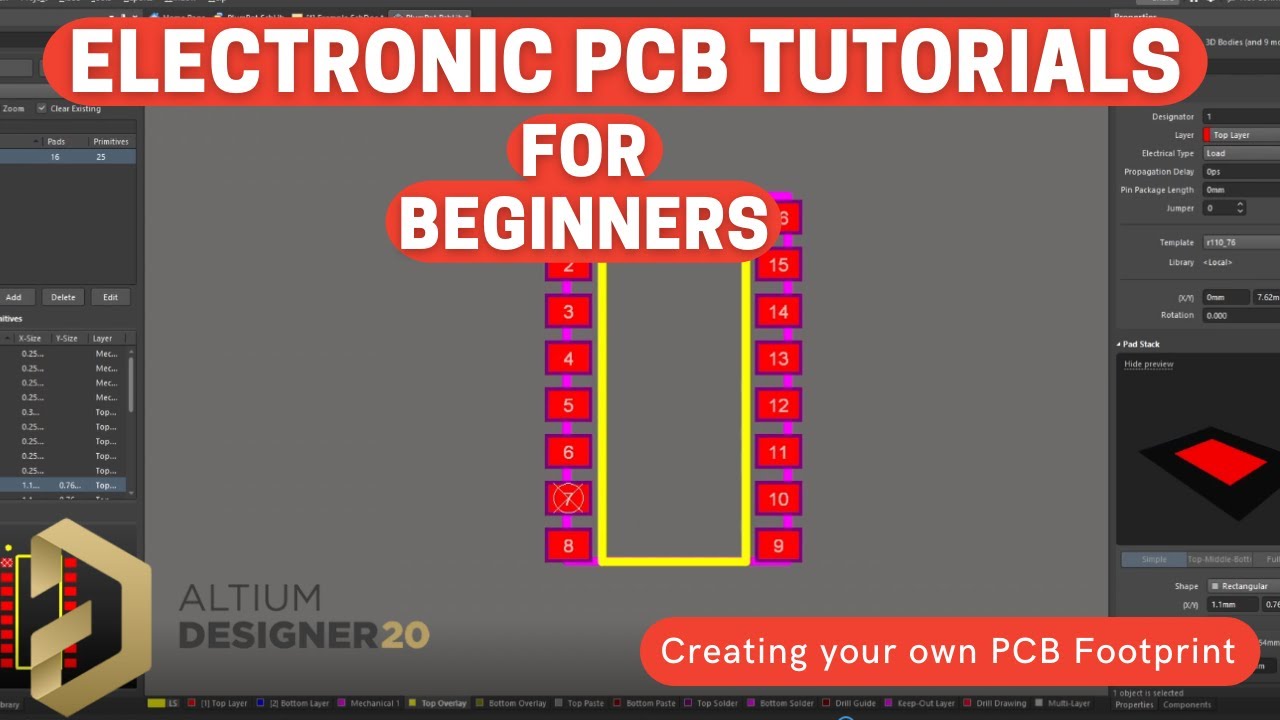
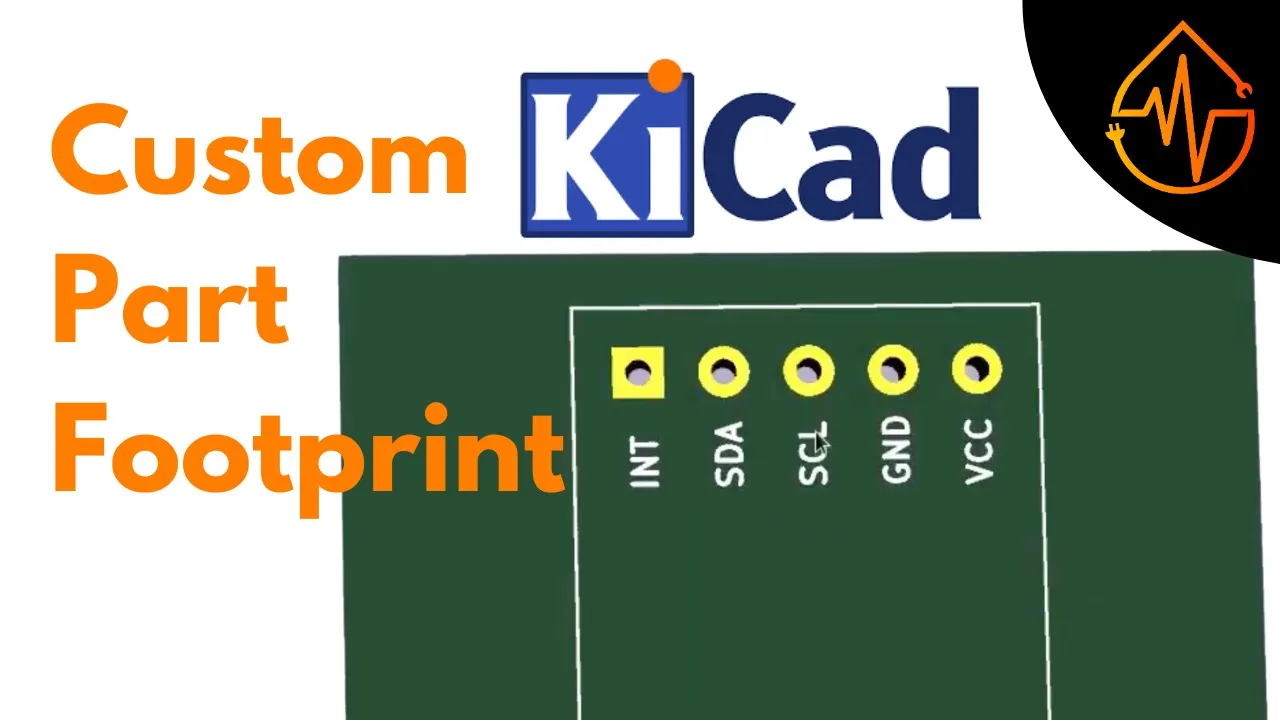
Printed Circuit Board (PCB) design using CAD tools (e.g., KiCad, Altium Designer) to create custom footprints and schematics.
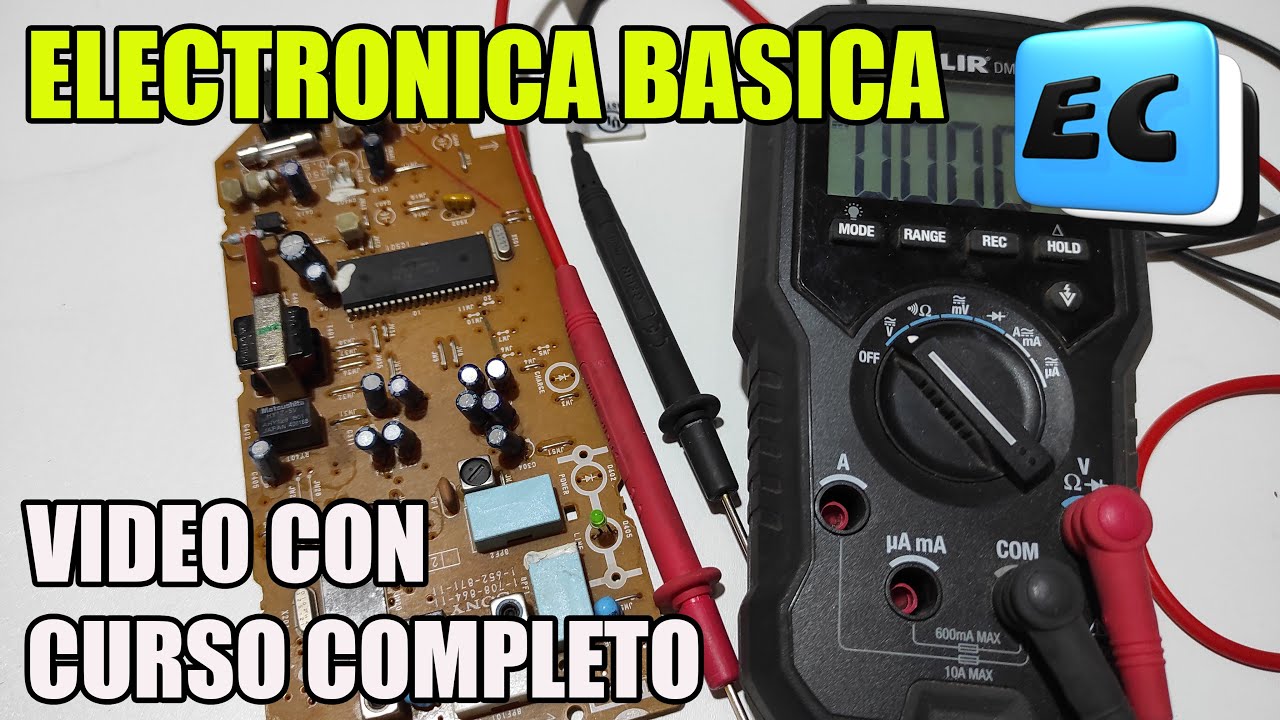
Practical circuit troubleshooting and debugging using diagnostic tools like digital multimeters and oscilloscopes to find cold joints or solder bridges.
958.6K views10.2Klikes34:06Original Release: 2011-07-01
hi welcome to the eev blog an Electronics engineering video blog of interest to anyone involved in electronics design I'm your host Dave Jones hi last time we looked at the tools you need to do good quality soldering well enough of that in this tutorial we're going to actually learn to sold it I'm going to teach you the basic techniques you need for good quality soldering and it's real easy trust me there's only a few simple rules you got the right tools the right technique you can do a perfect solder job every time from day one it doesn't take years of practice now we're going to look at through hole technology today and surface mount technology in the next one but really there's a slight variation on how you use the techniques between these uh two types of Technology but really the basic fundamental principles are exactly the same regardless of whether you're solding through hole technology boards SMD boards connectors uh wiring whatever so let's take a look at it okay we've had enough talking let's do some soldering shall we let's solder in a standard 14 pin dip IC onto this board now a standard IC just as a little aside straight out of thing has the pins splay out like that so what we want to do is just put it down on a flat surface and just roll them slightly like that with a bit of experience you'll uh get to know where how far to roll them just so that they're straight down like that and let's plug it in there well let's put it around the right way but uh for the purposes of today's experiment doesn't matter let's seat it in there like that and let's solder away okay I've got my solder and iron set to about 350° uh C or about 670 de fhe or thereabouts and we're going to solder our first joint here I've got my chisel tip as I recommended now when you go to place this you can see that when I place this on the pin and the pad that's how you want it you want it to touch you want the Chisel point of this solder and N to touch both the pad the circular pad that you're trying to solder and the pin at the same time now you do not apply solder to the tip itself okay if you just place if you just Place solder on the tip like that and try and bring it over to the soldering joint you're just going to create a terrible solder joint or a cold joint because all the flux has gone up in flames you can see the smoke coming out of that when I apply the solder onto that tip you've just burnt up all your flux you don't want that let me clean that on my sponge there okay what you want is your flux to go onto the actual pad and the pin itself because all um metal surfaces like these they they rust or they oxidize and they get an oxide coating on them and that's what the flux does it cleans away that uh oxide enough for the solder to then melt and form a perfect solder joint that's why flux is absolutely essential now for through hole work like this you don't need to uh actually apply um any external flux just the flux built into the solder itself is fine so what so never tip number One never ever apply solder to the um tip itself and then bring it to the Joint that is bad you'll only end up with a crap quality joint so what you do is you clean your tip first bring it over apply it to the pad and the pin leave it there for about a second and then apply the solder I'm leaving it here longer just for the purposes of this experiment um I'm you want to apply heat up both the pin and the pad and then apply the solder to the opposite side of the joint just a small amount like that and bingo there we go we've got a nice joint that one probably doesn't have much solder on it I can feed more than that on if I like but that is certainly adequate let's try that again shall we apply the iron wait a second or so and then feed in the solder to the other side it's actually quite hard to do this under the camera so I'm not doing it as well as I normally would but you apply the solder to the other side of the joint and that is how you create the flux flows onto that joint and the pin cleans it and that's how you create a high quality joint now a good quality solder joint using uh standard leaded solder will be very uh bright and shiny and smooth if it's if it looks like a ball or um something like that then that's a cold joint and you've done it wrong and on the the top side here you can see those four pins that we just uh soldered the solder has melted through even with the tiny amount of solder that we fed on there with that 46 mm solder was enough to actually Wick its way through to the other side of the board like that and that's what you want on these double-sided through hole boards you do want the solder to actually come through to the other side and Wick its way completely through the uh through hole pad now let's see if I can purposely do a bad joint it may be a bit hard what I'll do is I'll apply the solder to the tip over here like this so all that flux is burnt off and it's bowled up like that and this is really horrid but look see how it's not taking it's not taking to that joint see how it hasn't taken to the other side and it looks messy and it hasn't flowed through and if you look at the other side um of the board it probably wouldn't have flow through and that is what's called a cold joint a cold solder joint because it's not uh nice and smooth and it's not as shiny and it's all craggy and messy um unlike the nice smooth shiny surfaces of the other ones and really that isn't that the one I just did isn't actually um a real good example of a cold joint it can get a lot worse cuz this uh board hasn't um hasn't oxidized much but if you're dealing with a really oxidized uh pad with a really oxidized component leg then it's going to it could be 10 times worse than that and there's that coal joint again on the top side as you can see it hasn't flowed through even though we actually applied um just as much or maybe even a bit more H solder to the Joint it just didn't flow because there was no flux there to clean it and to make it flow smoothly through to the other side whereas look at the other ones U that one's lacking a little bit but these ones have flown through to the other side nicely and really that is the difference between a look there little uh there's little bits left over and look at that it's just H it's horrid it just looks like a big mound of turd I don't know it's terrible the other ones are nice and smooth and shiny now if you're using that lead free solder they will not be nearly as smooth and shiny as this and by the way that little stuff that come off there is the flux residue you can see it's left over like that now um You can actually get cleaning fluid to actually fix that and we'll go into that later but that that is the flux residue that surrounds the joint now I'm just going to try an experiment here this uh bottom resistor down here is one I've had in my parts draw for like 20 plus years at least maybe even 30 years it's very very old and as you can see you can hopefully you can pick that up on camera but the leg is totally oxidized and to actually get rid of that I would have to scrape that oxide off with you know a scalpel to actually get down now this resistor on top is a is reasonably old as well but it's not nearly as oxidized as the top one I'm going to solder these two and see what the difference is now just a quick one uh forming component leads it's called Uh which is the art of um bending the component leads to fit into the holes on the board like that now a lot of people will go to the trouble to actually get a pair of pliers and actually bend them to the correct length but um you know generally once you've got a lot of experience you can just sort of uh bend them with your fingers like that and get it pretty roughly close to where you want it so let's put those on the board and give it a try okay let's give it a go shall we this uh top one up here is the good resistor so we place our soldering iron on there and we let that flow and that one has flowed reasonably well let's do the same thing for the bottom one apply the solder to the base of Y around there and it's having a hard time taking having a hard time wetting is the term so it's not nearly as good as the other one so that's what happens when you've got oxidized component leads it can take more flux or it can take longer actually that one's turned out not too bad so that probably wasn't the best uh example there but uh yeah you really don't want to be dealing with um oxide um o ized uh component leads now you'll notice that these resistors I've bent um to an angle like that to actually hold them in place so they don't fall out and here's where your flush your flush side side Cutters come in handy cuz you can get in there go to near the base of the joint and you can just trim it off like that leave usually you wouldn't get uh right on the joint you would just uh trim them off just above the surface of the joint but uh um that is how you trim component leads and you would um really want to avoid stress on solder joints so you really wouldn't get in there and trim say you know three at once or something like that I know that's tempting but uh that's um that can actually put out stress on the solder joint and you can get a cracked solder joint which is not something you want that can be as bad as a cold solder joint and hopefully you can see a little bit of a difference in the uh flow through or the wick through of the solder on the uh less oxidized lead here compared to the very oxidized lead over here it really hasn't flow through it all and and hasn't really wetted around the top side of that component cuz there wasn't enough flux there you would actually to do that to fix that joint up you would actually have to resolder that retouch it up with flux on the top and after you finish solder it's going to be a little bit messy so what you want to do is get your wet sponge like this and just wipe it on and rotate at the the same time and that will leave you with a nicely uh clean tip which then you can put away ready for the next joint now this tip is a good example of uh one where uh the life is um you know it's been used quite a lot and it's starting as you can see the plating the tip plating on there is starting to what's called pit or uh wear off and um really you can eat holes in your tip if you use um the wrong type of solder for a specific tip um if you if you're using lead free solder make sure you get specific lead free tips otherwise the uh uh otherwise the lead free solder will actually eat away the plating on your tip they're plated differently you got to get make sure you get the right type and U perod periodically just apply some solder to the tip and leave it on there and uh that will actually um help actually protect the pin and give it a longer life but it's important to match your tip to the right type of solder like this is not a leadfree solder tip so I would never use leaded solder with this particular tip it would eat it away very quickly indeed but really once the plate in on your tip is uh eaten away it's no good throw it out cuz you're only going to get bad quality solder joints using that kind of tip now to clean off that solder residue I showed you it's good to get some of this electronic uh PCB cleaning solvent and uh all you've got to do is um spray that on rub it off with a brush a an anti-static uh brush and uh bingo your joints will be nice shiny and clean so here's the example of that flux residue I've scraped it off to make it uh look really uh bad there but see up here I haven't actually scraped it off and that is the flux residue now let's uh clean that and see what result we get there you go that's after being clean with that electronic PCB cleaning solvent very nice indeed so what does too little or too much solder look like well that is pro that's probably just enough that's probably the minimum you would uh want on any particular joint like that and an average amount of solder let's add a bit more just for the uh the purposes of experimenting here not that you'd normally touch it up like that that one there is probably an ideal amount of solda you just get a nice uh fillet it's it's really hard to get on camer I can't get close enough sorry but you really want a nice shiny fillet like that now let's try and apply too much solder if we've got uh really butcher um solder and like the 1 mm or 1.5 mm that would be too much solder That's a classic example too much uh you can't see the nice fillet in there it's a nice it's a Big Blob let me uh give you some more lighting around that there it is it's a big fat blob of solder I don't like it at all that's a crap solder joint you've just applied far too much and that's a dead giveaway for amateurs let's apply even more and look look at that it's a night big ball and and really these dags of solder come off when you pull the iron away like that that is a terrible terrible joint now to fix that you get some of your solder Wick here and you would apply that over your joint like that and suck some of that solder off see it it actually Wicks away right up the solder Wick like that and we're left with our much nicer joint again so if you do apply too much solder there's nothing inherently wrong with that you can actually Wick it away and and that is a very common technique with that surface mount components as we'll see and likewise let's fix up this horrible joint we did deliberately over here like this so I get some of my solder Wick like that I get my iron and let's suck that suck that solder away and hopefully you'll see it Wick Wick up the there you go it goes up the wick hence the name solder Wick and you take that away and it's free of most solder there so let's bring the solder GRE iron back in and let's apply solder to the other side of the joint remember that's the key to a good solder joint and that's probably still not enough let's put on a bit more it's hard to do this under the camera sorry I'm not doing my best but there you go we have a nice small a nice tiny solder joint with just the right amount of solder so really the key to any solder joint is just to be quick and efficient apply it on there like that apply solder to the other side bang and it's it's covered move on to the next one bang and it's done too if you have to leave it there for more than a few seconds for these small uh components then really you are taking too long and there's something wrong with your solder or the technique or the preparation of the surface or something like that okay now let's try the exact same uh joint again at the same temperature but now I've got one of these brand spanking new conical super fine tips look at it really tiny now as you can see when I apply the solding iron on there it's barely even um you know I can barely even touch both the pad and the pin at the same time so how could you possibly expect that to heat up so if I put that on there like that leave it there for a second look I'm applying solder to the other side of the pad here and the pin directly on the pin it's not even it's not even melting at all not a thing hopeless now you can't actually make these tips work by uh putting them quite flat like that and getting in there and bang There we go we've started to we've started to melt now okay and you can actually get a reasonable joint out of it but it's much more difficult and it takes longer real pain in the butt these conical tips don't use them unless you absolutely need to for some super fine SMD stuff where you absolutely cannot get a chisel tip to fit now you remember how before I said when a bad soldering technique is to actually uh put solder on the tip first because it burns all the flux off well that's not necessarily a bad thing to do sometimes because you may actually want to apply a bit of solder and if you bring it over then the molten solder on there actually helps heat up the joint quicker than a regular one but don't just use the solder that's on the tip you still have to apply a new uh some bit of solder with the flux on there to clean it but um having a little lump of solder on the tip like that um actually allows better heat transfer between uh component uh pads and uh well the component leg itself and the pad so that can be a handy tip if you're having trouble actually uh getting heat onto both surfaces now let's try soldering a bigger component uh this 75 or one one W resistor onto um a ground plane here like this even though it has thermal relieves on it these are what called thermal relieves you see that um pad is not completely connected to the Copper it's connected via four Spurs and that's a thermal relief that allows you to heat up that pad quicker than uh than the surrounding copper which will try and extract away all the heat from your iron and that can be very bad it can take a long time to solder so when you're designing boards at these thermal relieves in there now let's try and solder this component on there and see how we go okay let's try this uh side here first which is uh got less uh potentially less copper than this side here even with the thermal relieves there let's place our iron on there we'll have to leave it for a bit longer it probably won't uh melt as quickly and no it's taking a while to heat up you see so it takes much longer because that uh joint is sucking away a lot more heat than the other joints we had down here with the smaller Capac thermal capacity components and you'll notice how that solder is just flowing through beautifully onto the other side of the board there and let's try that same joint again on this side and see we might have to leave it there for 3 or 4 seconds and might even have to start adding some towards the iron there just to get a bit of thermal tap take on that and there we go it's starting to wet and we apply some solder and bingo it's on there and let's see if we're happy with that let's um one thing with this is that it may only wet the one side that you had the solder in iron on you've actually got to check around the other sides to make sure that the solder is wet all the way around those joints and if we have a look on the top side let's see if it makes it through has it yeah yes it has look at that very nice and let's repeat that same process but we'll uh first try our little trick of a applying some solder to the iron like that so it actually uh takes on there better and bingo it allows you to heat up that joint quicker than what we did before and let's try the same thing again with our conle tip and we'll actually apply some solder to our conical tip over there it doesn't take uh very well at all to that but let's for the sake of argument let's put that on there and try I've really got that iron flat so it's very difficult to get a flat iron in there and as you can see I've really I can't use the tip I've got to use further down the iron which has greater thermal contact between the joints now you know I ultimately was able to do that but if this was in the middle of the board and I had other components in the way and things it would be quite difficult conical tips aren't very good at all okay let's have a go at soldering an entire chip in real time here we go hopefully uh under the camera is uh not going to be too bad at all but uh as you can see this is not a terribly uh slow process it's very quick you just move from one pin to the next and that's it but it's all about the flux as we've mentioned if you don't have flux then soldering doesn't work at all but if you've got good multicore flux then it's a it's a real easy process now there are uh multiple there are different types of fluxes and if you really want to get down to it to uh sold a properly you you know really you know military Aerospace quality uh soldering you would use uh much better uh well you'd use um more refined and better techniques than what I'm using here and there you have it there's our finished chip as you can see I didn't use much solder at all uh and the key to doing a good solder joint like that as I said is not only flux but it's also using a very fine solder so that you can control exactly how much solder goes onto your joint now you see how those are all nice and fil there's a tiny little fillet in there I I've applied pretty much the minimum amount of uh solder there and if we flip the board over here let's see if they've actually flowed uh through not all the way uh through on on some of them they have I haven't uh been terribly consistent there in my amount of uh time per joint but it has certainly flowed through there now as you can see this chip was made in 1989 it is uh more than 20 years old and uh that means that the um that the uh tin plated uh leads on those are also 20 plus years old and oxidized and everything else and really all the tools I've used here um in this tutorial are are pretty old and crusty my my multicore solder I'm using is uh God I don't even know how old that is but it is good quality stuff it still works the solder in iron tip I've got is old the solder in Iron I've got is old as well and really this shows you that you can do decent results with pretty old and just ordinary materials now if I wanted to do like you know Aerospace quality uh soldering I wouldn't be using uh tools like this i' i' you could even say that um to do soldering properly you should actually apply flux uh you can get all different types of fluxes liquid gels gel types and all sorts of things to uh each individual joint to do each joint properly but uh yeah when for almost every purpose you're going to do uh you won't need to go to that much trouble you just use a good quality multi cor solder with some uh flux in it and a uh a a decent uh temperature controlled solder in iron and tip and uh some fine solder and that's all you need Bingo and as before you'll notice some flux residue on there so we'll just clean that off and I sprayed some cleaner on there so we'll just get our antistatic conductive brush and just give that a bit of a once over and uh bingo we should have nice a nicely cleaned board with no flux residue left now soldering is not just about printed circuit boards ah these same soldering uh techniques and uh you know the theory of the amount of solder and the flux and the thermal transfer and uh everything else applies to any type of solder whether it's connectors wires whatever you're doing so let's uh just solder onto this uh D9 solder cup because it's called a solder cup because each one of those little um contacts actually has a cup which holds which holds a solder in it hence the name solder cup now there's two ways you can actually do a connector solder connector like this we've got our multi our stripped multi strand uh wire here trust me that's multi strand I can't focus on that now we could put that directly in there like that we probably should uh strip off a little bit more here so let's take off a bit more of that twist the wires so that they don't twist the stranded wires so that they don't splay out and we can just keep it sit it in there like that and come over with our solder now the problem with this is that you've got to have three hands this is where those little helping hand things come in handy now all right let's give this a go now I'm applying my tip to both the wire and the solder cup you've got to heat up both and you can come in with your solder I'm using three hands here I'm using one hand to um hold down the one finger to hold down the connector and you'll notice that the solder just flows nicely into the cup like that now that's one way to do it but it's kind of tricky and you haven't properly prepared both surfaces they could be oxidized so you've got to rely on that flux to actually clean both the solder cup um itself in in this case these are gold uh plated so um you know that really helps to have goldplated uh contacts but um you got to make sure it cleans the wire as well now the other way to do it is to uh pre solder the cup so we'll just add some solder to the cup there fill it up so it's got a like a a reasonable uh just a reasonable fillet inside of it and then we want to Tin our wire and then bring the two together let's tin our wire here and that looks reasonable and because we have now pre-tinned our cup and our wire we have some clean joint joints there and we can just go in heat it heat up the cup and slide in The Wire like that and make a perfectly good joint without having to uh actually feed in the solder at all and just as we had with the uh PCB solder joints you want to look for a nice clean even fillet in there a nice shiny surface on the joint and that's what you're looking for with any solder joint now let's say for example that we want to solder a much higher thermal capacity component like this to220 tab the the tab actually on the device itself not not the leads you can solder the leads but uh sometimes you might have to solder this down to a ground plane like this so uh the PCB acts as a heat sink now I'm going to use a much bigger tip for this this is a much bigger uh chisel tip um I there's other wedge shaped chips and tips and various ones you can get but uh and I'm also going to use one mm diameter solder I've been using very fine 0.46 mm up until now but um I'm going to use much thicker stuff because we don't need to control as much the amount of solder we put on so let's give this a go I'm going to uh put some solder on the tip there just to help uh get some don't breathe that stuff in help to get some uh initial thermal transfer and let's try and get our iron in there we want to heat up both the tab and and the um and the uh pad at the same time and it's going to take a bit you'll see that it sort of cools at one end Yeah it's you're down it's it's wetting at the other end but the other end's cooled instantly and that's how it sucks away all the thermal capacity of your iron there but uh as you can see you'll get to a point where um you would eventually be able to heat up both the device and the pad itself you're trying to work with and bingo there you go you've uh solded that tab actually I'm not uh happy with that at all it's a really old uh component and uh it's it does take a little bit to uh for the solder to take to that tab but I'm going to apply uh some more on this other side over here I'm going to wait for this device to heat up again let's get some more flux in there this was where you could use some liquid flux maybe but I'm going to apply even more solder onto this thing so it really flows very nicely onto the pad and the joint and there's a finished joint I'm pretty happy with that it's got bit more solder on there than it needs to but uh it's done the job and just be careful these being high-capacity thermal components can actually remain quite hot for quite some time so don't go touching that joint too soon after you've solder it you might burn yourself now if I try and use the smaller chisel tip on my Pace iron that I've used for the rest of this tutorial to do this you'll see it won't actually do it as easily as let's actually apply some solder there on the iron itself to try and get through you'll find that it just doesn't have the capacity okay that's at the same temperature as I was using the uh other iron and the other tip with and it just doesn't have the thermal capacity to heat up that device so uh really if you're going to be soldering uh quite large uh ground planes and to see the horrible joint is done anyway uh if you're going to be doing large ground planes and things like that it pays to have a good thermal capacity uh iron like a met cow or something like that and or a very nice big chunky tip so you can get that thermal transfer that you need but as you can see my hoo not my very old ancient hoo 9926 um has with the big tip has no problem uh actually heating up all of that component now I've actually turned my temperature down there to 300° and it still has no problem but the other uh Pace iron with the uh much smaller tip on it even if I turned it up to 400 it still wouldn't uh heat up that device at all so there you have it soldering is pretty simple it's very easy to do a good job whether it's through hole or SMD as see in the next tutorial or connectors wiring whatever if you follow the basic rules we've looked at there one use a good quality temperature controlled iron two use the right diameter solder so you can control the amount of solder you put on The Joint too much solder can be bad three you've got to use flux whether it's within the solder or separate uh flux without flux nothing works solder in does not work Metals oxidize too easily uh the right type of tip to get the heat transfer onto the pad and the uh pin or the item you're trying to solder at the same time and then number five you got to so apply solder to the other side of the joint don't apply it to the tip itself tip comes in one side solder goes in the other that is the key although as you saw you can actually apply solder to the iron bring it in to get extra heat transfer but don't ever make that your only technique you've got to actually feed that extra flux on there to clean the joint and give you a good quality result and don't use uh too high a temperature too high a temperature will just burn the flux poof goes up smoke flux is everything not hard at all really piece of cake in the next tutorial I'll show you some techniques to do SMD soaring cuz that's pretty darn easy too see you [Music] yeah
Up Next

30:34
NE5534 Preamp Power Supply PCB Build and Test - DIY Guide
@AstrosElectronicsLab
219 views•2026-04-30

12:54
Triumph of Orthodoxy Icon: Byzantine Art & History Explained
@BenCallan
2.1K views•2024-08-06

9:49
FastAPI vs Flask vs Django: Choosing the Right Python Web Framework
@TechWithTim
302.5K views•2024-05-26

1:42
Game of Thrones Opening Credits: A Cinematic Analysis
@gameofthrones
46.3M views•2011-04-18
Related Study Plans & Knowledge Roadmaps
Structured learning paths in General & Interdisciplinary Studies
general-studies
Elevator Engineering: History, Physics & Cities
01From Hoists to Safety Brakes: The Dawn of Vertical Lift
02Hydraulic vs. Traction: The Engineering Physics of Elevators
03Modern Speed, Safety, and Algorithms
+ 2 more learning modules
12h5 modules
Explore Roadmap
general-studies
Rubber: Material Science, History & Geopolitics
01Origins of Natural Rubber & Mesoamerican History
02The Chemistry of Natural Rubber & Vulcanization
03The Geopolitics of the Rubber Boom & Colonization
+ 2 more learning modules
12h5 modules
Explore Roadmap
general-studies
Containerization: Evolution, Logistics & Trade
01Ancient Trade & Bulk Cargo: Amphorae to Barrels
02The Industrial Revolution & Cardboard Packaging
03The Containerization Revolution: Malcom McLean
+ 2 more learning modules
12h5 modules
Explore Roadmap
general-studies
Textile Tech: Evolution, Labor & Global Impact
01Pre-Industrial Textiles: Handloom & Cottage Industry
02Mechanization: The Spinning Jenny to the Power Loom
03The Factory System & Global Labor Transformation
+ 2 more learning modules
10h5 modules
Explore Roadmap