









![Building an Autonomous Robot From Scratch – Perceptron 🤖| Motor Driver [Ep.04]](https://i.ytimg.com/vi/fgswH4akRd0/maxresdefault.jpg)












![dr. V. Petrík: Robotika (B3B33ROB1) – 06 [30. 10. 2023, ZS 23/24]](https://i.ytimg.com/vi/nv-07JsesXQ/maxresdefault.jpg)


This video demonstrates how to construct a two-degree-of-freedom (2DoF) robot shoulder joint by combining two planetary brushless actuators, using an ODrive motor controller and Raspberry Pi for closed-loop control. The assembly process involves mounting the actuators with modified aluminum pulleys and printed parts, configuring encoder CPR settings (4000 counts per revolution), performing full calibration sequences, and implementing closed-loop position control to enable smooth coordinated movement of both axes.
Building a 2DOF Robotic Shoulder Joint with Brushless Actuators
Added:Fundamentals of Degrees of Freedom (DoF) and basic rotational kinematics in robotic mechanisms.
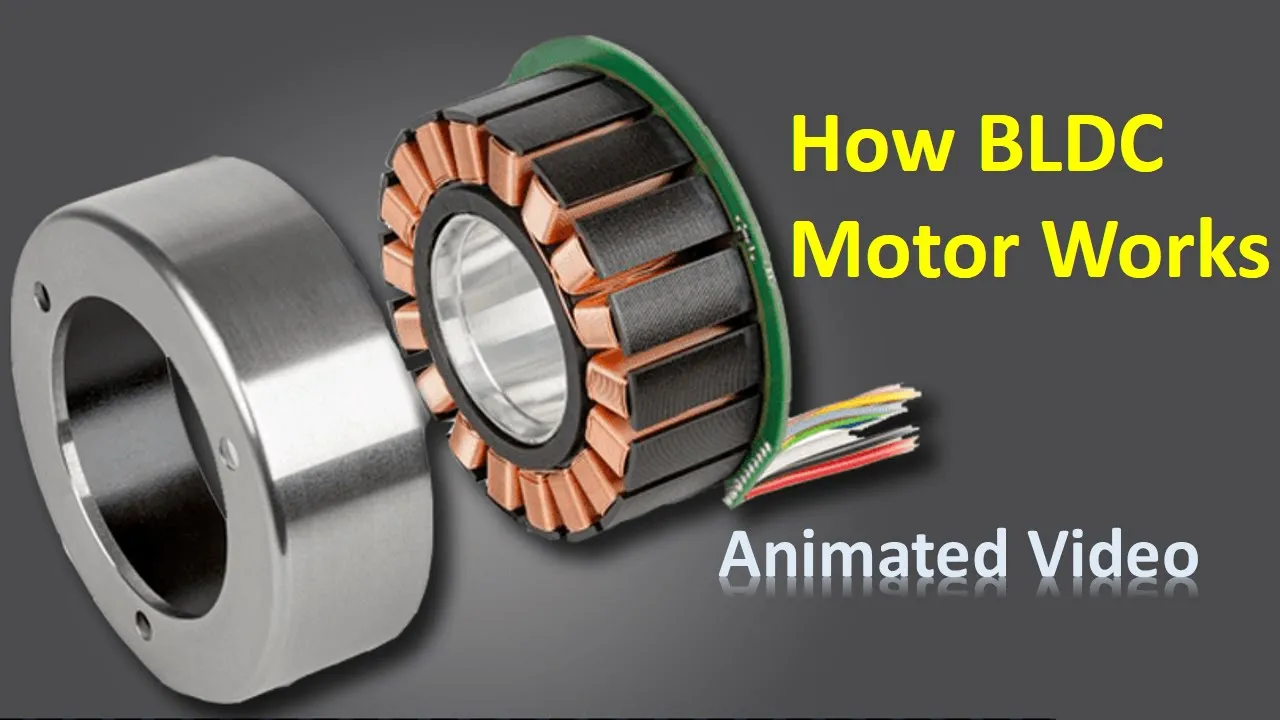
Working principles of Brushless DC (BLDC) motors, including the need for electronic commutation and specialized motor drivers.
Basic concepts of closed-loop control systems, specifically feedback loops, encoder feedback, and PID (Proportional-Integral-Derivative) controllers.
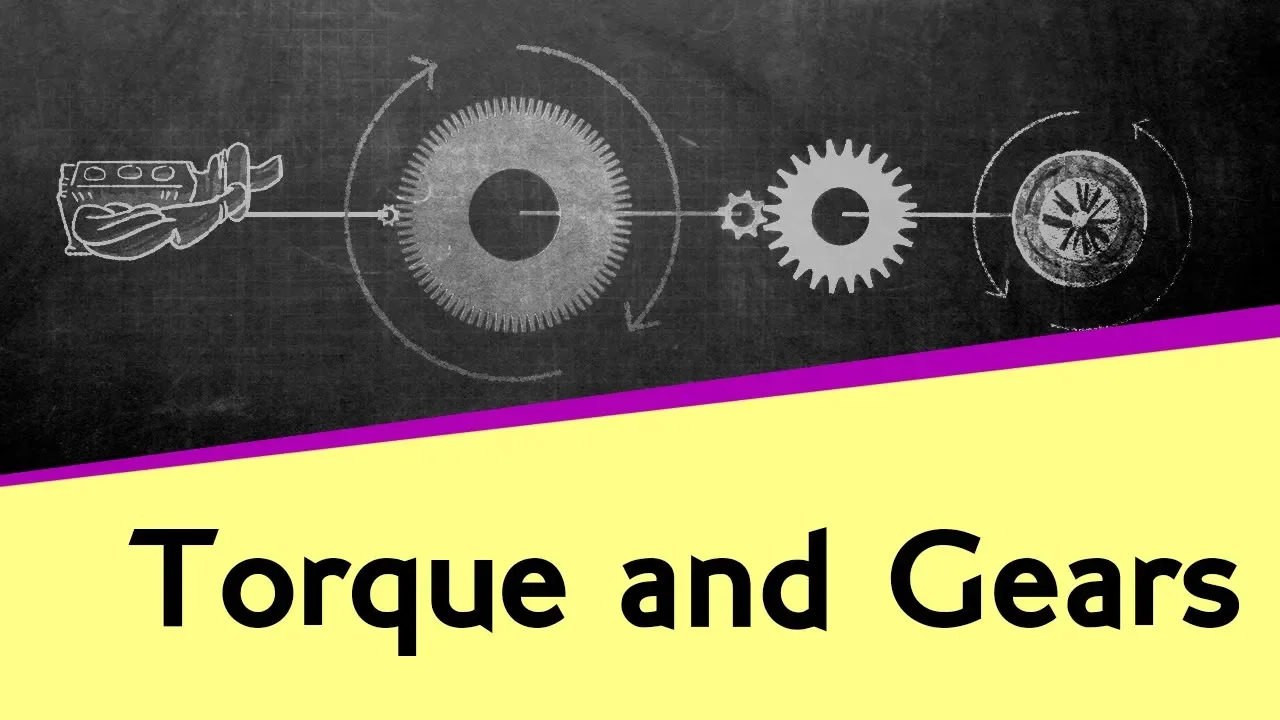
Mechanical fundamentals of planetary gearboxes, including gear ratios, backlash, and torque multiplication.
Multi-joint robot kinematics, specifically implementing Forward and Inverse Kinematics to coordinate the shoulder with an elbow and wrist.
Field-Oriented Control (FOC) algorithms for BLDC motors to achieve highly efficient, smooth, and precise torque control.
Dynamic modeling and gravity compensation techniques to dynamically calculate the torque required to hold external payloads.
Impedance and compliance control paradigms to allow the robotic joint to safely interact with human environments and absorb external impacts.
Trajectory planning and motion profiling (such as S-curve profiles) to ensure smooth transitions and minimize mechanical vibration.
61.4K views2.2Klikes10:11Original Release: 2019-06-18
hello and welcome to my channel recently we built these two actuators and last week we tested this one and we saw that it can handle 1.5 kilogram meter torque so now we have two actuators what we can do we can combine them together and make two degrees of freedom robotic joint like this we will be able to use this two degrees of freedom robotic joint it's kind of robot arm shoulder which will allow our arm to move in two degrees of freedom like this so let's get started and here there is some main parts which you would need today so first of all this is - our robotic actuators from the recent videos also I have a bidding over here this is 6710 bidding i have also this modified aluminum pulley it's modified at the same way as it was made for my previous video so it has a notch and it has six screws and I also have some soda printed parts but this is not all the parts because other parts I still have to print but this is enough to start the assembly so I would like to start with this part I think this is kind of main part because it connects to robot actuators and this part should be fixed over here and the second actuator will go inside this part is fixed and now I will put a bit ink over here so this bidding goes like this and this one goes on top and so this piece is installed and so this actuator goes inside the second actuator is installed and now I can fix it with the four screws which goes inside these holes the next we need to install on the output shaft of the second actuator this Pula so it goes like this and there is just enough space to fix the poor with the screws on the side and now this piece goes on top of this pulley and it should be fixed with the seven screws over here this blue piece goes here and it fixed with the screw here and from other side so it's a m4 screws looking good of course it's back durable the same as this one this is when you don't have electricity you have to rotate the motor by hand so there is a backlash in the second in this one gearbox and also in the first one this one I also printed this holder this is to hold the the first actuator and I printed it in blue like this it much this piece so it should go like this and four screws goes one two three and four and the embedded nuts goes here now I'm going to fix this actuator on this aluminum profile this arm which is just aluminum profile 30 by 30 millimeters goes inside here to fix this arm I will use this kind of nuts and bolt so the nut goes inside the aluminum profile I need to push it all the way in to the hole and now this blue goes here and the same for the other and also from the other side now everything is assembled and with these clumps I'm going to fix this base to the table the next step is to connect everything to the drive so the old Drive can handle two motors and we have two motors so this is perfect I move this robotic shoulder to the side of the table and I also connected the Raspberry Pi so this is the wires for the first actuator the motor wire the encoder wire this is the wires for the second actuator the encoder wire and motor wires and through the USB or drive is connected to the Raspberry Pi the drive is on I need to change the CPR configuration for the encoder of the first actuator so X is zero encoder config CPR equal 4000 X is zero this is this actuator calibration sequence full calibration sequence so now let's take care of the second text traitor the full calibration sequence for the second actuator so this is axis one motor rotates in one direction and into another direction now I can put both axes into the closed-loop control so X is 1/2 the closed loop control and now the motor holds its position the second actuator is in the closed loop control and it also holds its position there is of course backlash on both actuators ok now let's try to move with a little bit so set point for the axis one 3000 set point for the exes one 10,000 set point for the exes 2 1000 minus 1000 minus 10,000 who set point for the exes 130 thousand set point for the exes 2 20,000 exes 150 thousand X is 2 minus 50 thousand x is 2 0 X is 170 thousand X is 2 minus 17 X is 1 0 and exist too - 100,000 X is 1 - 30,000 and X is 2 0 and X is 1 is 0 - ok it does work great now let's try to move with a little bit faster so I put the speed limit on this actuator 80,000 and on this actuator 40000 this is nice great in order to see how to actuators moves at the same time I made a simple Python program which use or drive module and let's see what it does thank you for watching this video till the end today we built this beautiful two degrees of freedom robotic joint and all this was possible thanks to my patrons here is any names if you would like to support my channel you can do this either as my patrons source a patron or we are paypal all settings in the description to this video and also don't forget to like this video and if you new to my channel don't forget to subscribe to my channel like this you will see more stuff like this one see you next time you
Up Next

16:13
Building a Quadruped Robot: Electronics Assembly and Power-Up
@jamesbruton
92.8K views•2020-06-23

30:32
Ultrasonic Transducers: Resonant Frequency Measurement and Horn Design
@imajeenyus42
229.9K views•2017-02-22

54:16
Polymer Environmental Degradation: Mechanisms & Stabilization
@iit
1.8K views•2012-07-10

33:39
How a Student's Question Saved a NYC Skyscraper from Collapse
@veritasium
22.8M views•2025-04-26
Related Study Plans & Knowledge Roadmaps
Structured learning paths in Engineering
engineering
Building Acoustic Levitators: Physics & Arduino
01The Physics of Sound and Standing Waves
02Piezoelectric Transducers and H-Bridge Drivers
03Arduino Programming: Generating 40 kHz Signals
+ 2 more learning modules
14h5 modules
Explore Roadmap
engineering
Building Peltier Cloud Chambers: Particle Tracks
01Cosmic Rays & Cloud Chamber Physics
02Thermoelectric Cooling (TEC) Fundamentals
03Custom Liquid-Cooling Loop Design
+ 2 more learning modules
18h5 modules
Explore Roadmap
engineering
Yagi-Uda Antennas: Modeling, Build & VNA Test
01Introduction to RF and Antenna Fundamentals
02Yagi-Uda Antenna Design Principles
03Antenna Modeling and Simulation in 4NEC2
+ 2 more learning modules
18h5 modules
Explore Roadmap
engineering
ECG Monitor Design: Op-Amps, Filters & Noise
01Electronics & Breadboard Basics
02Op-Amps and Instrumentation Amplifiers
03Bioelectricity and ECG Fundamentals
+ 2 more learning modules
18h5 modules
Explore Roadmap