




![المراجعة الأخيرة [ كل الدروس ] الدقيقة 120 🥅](https://i.ytimg.com/vi/Lg330592dto/maxresdefault.jpg)




















Building an underwater ROV requires integrating multiple systems including a polycarbonate frame for structural integrity, buoyancy controls using floats and sealed boxes, propulsion motors (such as modified bilge pump motors with propellers), electrical systems with relays for motor control, and tether management with proper wire sizing and stress relief to prevent voltage drop and physical damage during operation.
DIY Underwater ROV Build: LED Design, Motors & Tether
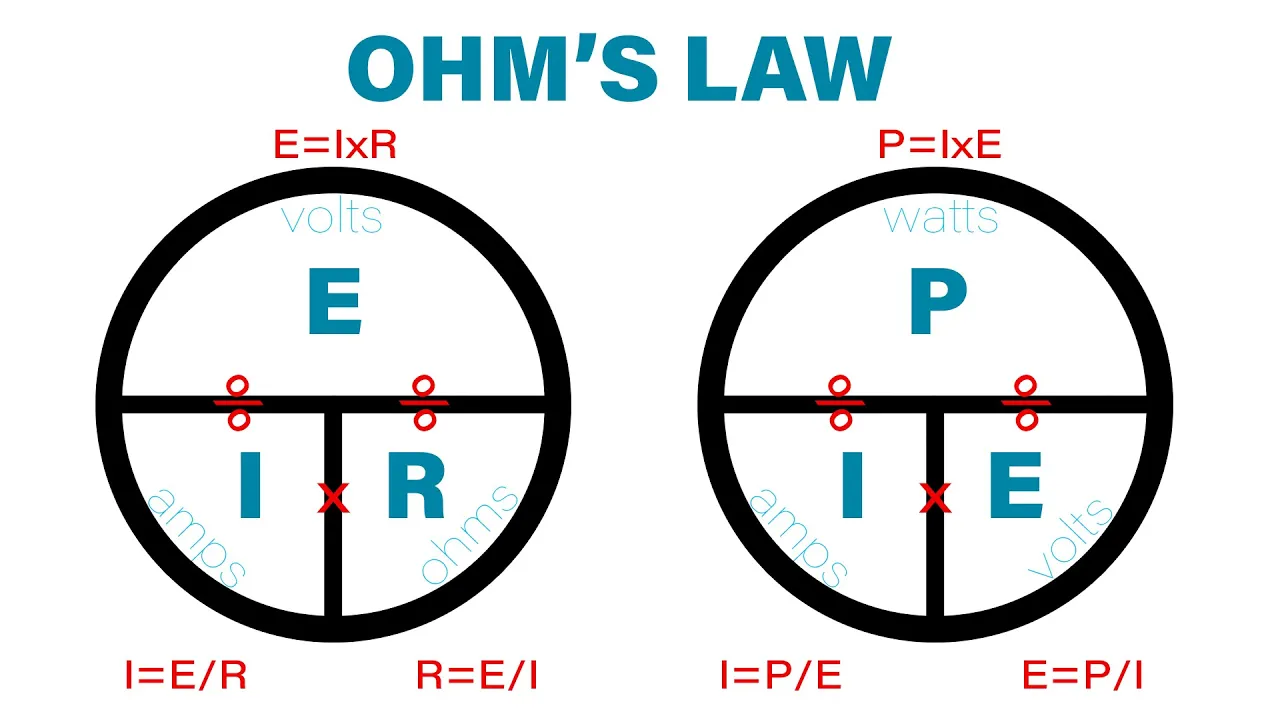
Added:Basic DC electrical circuit theory, including Ohm's Law, voltage drop, and safe wiring and soldering techniques.
The physics of buoyancy and hydrostatics, specifically Archimedes' principle, center of gravity, and neutral buoyancy control in water.
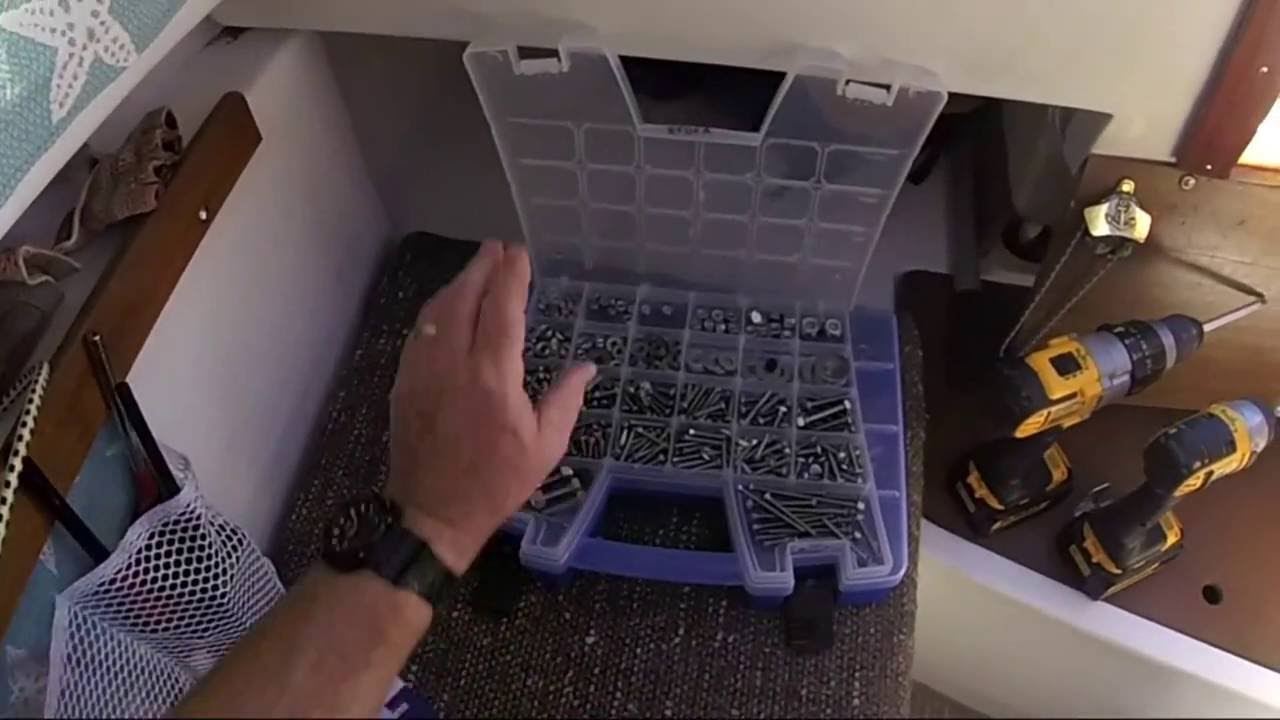
Fundamental concepts of waterproofing and sealing mechanisms, such as O-rings, marine adhesives, and pressure vessel design for subsea operations.
An understanding of how DC motors and motor speed controllers (ESCs) operate using PWM (Pulse-Width Modulation) signals.
Microcontroller programming (e.g., Arduino or Raspberry Pi) to decode control signals and drive the ROV's motors and LEDs.
Sensor integration, covering how to interface underwater cameras, depth sensors, and Inertial Measurement Units (IMUs) for telemetry data.
Power budget analysis and tether transmission engineering to minimize voltage drop over long cable distances.
Advanced subsea robotics concepts, such as designing autonomous navigation algorithms or transition paths from ROVs to Autonomous Underwater Vehicles (AUVs).
96.6K views513likes19:12Original Release: 2013-08-01
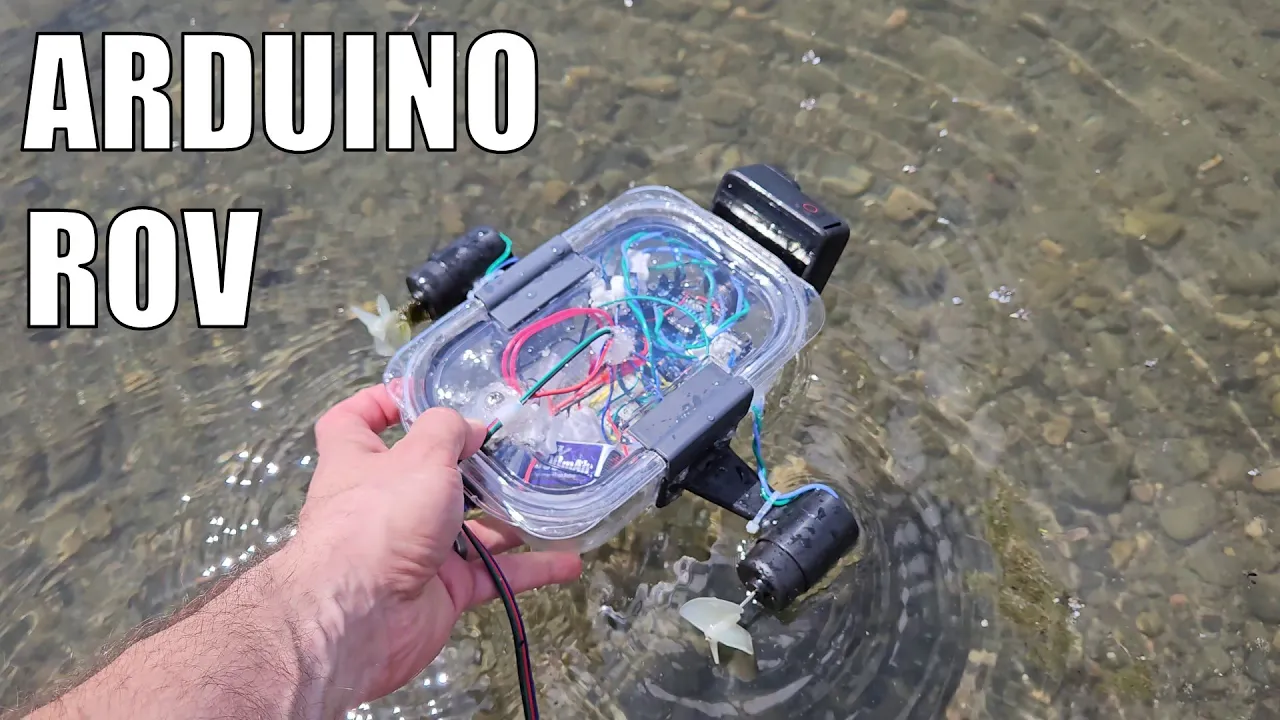
Here's the how-to video of how I built this ROV or remote controlled submarine.
Uh, it's Saturday morning, so let's uh let's start doing it.
[Music] Heat. Heat.
[Music] Heat.
[Music] [Music] Heat.
[Music] Heat. Heat.
[Music] Here's [Music] the the main floats right here. These two and this box which houses the electrical. These two floats also serve as headlights.
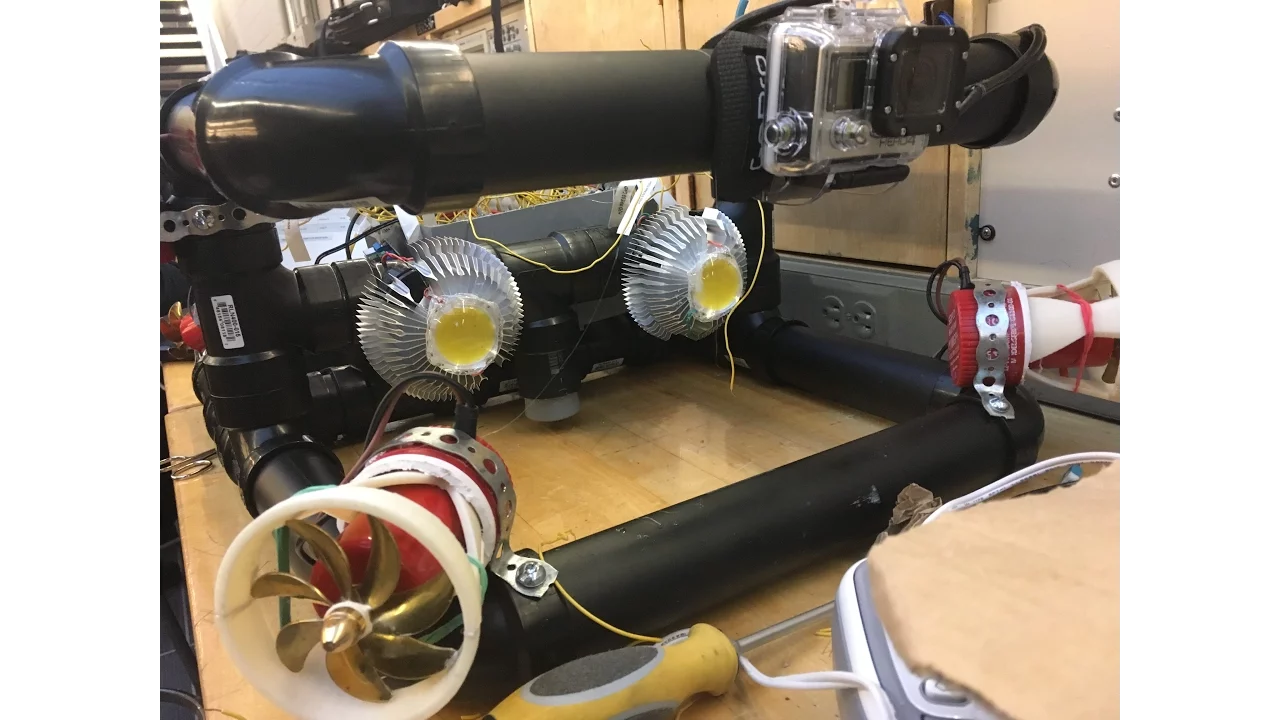
And also you can see on the front here we have a live feed camera which goes to the controller which has a video screen on it so you can watch what's going on in real time. And then we have a GoPro camera that records HD for saving video. Uh as you can see it's mounted upside down but GoPro has a feature that automatically switches the video so it's right side up. We have the two lights that serve as floats. We have the elevation motor and we have an otter box which houses all the electrical connections. The back here we have two more drive motors and this is where the tether comes out.
Basically what I did I gathered all the components that I needed. The motors which are billagege pump motors are 1250gallon per hour motors. Um, the live feed camera is a fishing camera, which I removed the weights.
I just had to add this float in here to provide a little more buoyancy in the front cuz this poly uh this PVC housing is actually pretty heavy. This whole thing is powered by a giant battery, 12vt marine battery.
The frame is made out of polycarbonate, which is Lexan. It's another name for it. The skids are stainless steel.
You have the one clamp plate up front.
These tubes run into the live feed camera.
These are the floats and headlights. All this is clamped by this polycarbonate frame here. It's a/ inch thick and everything slides into it through drilled holes and they're secured with set screws.
From there, we have three rails coming back.
Top two rails and a and a bottom single rail.
This frame is connected. I have this other piece. Here's a set screw for the elevation motor. This frame is milled and fitted into this two uh pipe here.
It's both polycarbonate. So, that was welded using methylene chloride.
And these larger holes were bored out using a boring tool on a milling machine. And I got it just to fit over this PVC. And that was before it painted. And then I actually painted it.
and then it didn't fit. So, added to open it up with the sander a little bit.
This frame is completely machined.
Uh there's a lot of coped fittings.
Polycarbonate was chosen cuz it's it's strong. Its density is a slightly heavier than water.
but it's not going to sink as fast as steel or anything like that. And as you can see up here, there's a slot that the screw li rid rides in. So this whole frame is fully adjustable. It can slide back and forth. And under here where this rod that holds the the elevation motor comes into the front can slide back and forth. And the reason being, as you can tell, the elevation motor in the center is not centered. That's cuz I have this big area right here.
And so when you're you're surfacing, you're going to have a lot of force coming down on this area and not as much up here cuz it's more open. So that's why the motor is closer to this. So an attempt to get it to come up straight and level.
[Music] So, the controller is built all out of the Lexan polycarbonate casing.
It's clear, which is nice. So, you can see if anything obvious has come this connected. This monitor, this is like a car monitor. Came straight from China.
It was I think it was 30 bucks.
Um, it's controlled by a joystick.
And basically how this joystick works is there's there's four limit switches under it. And when you go for see how it's at an angle, you push forward, you hit two limit switches. So that turns on the two motors forward. When you go left, it hits two limit switches. Two.
So this one will be forward. This one will be backwards.
and so on. Right here we have our water pressure gauge which uh connects to the sensor in the otter box. These are control the cam lights. These this controls the headlights and this is a momentary switch to surface and dive.
And here are all my connections.
Ethernet just plugs in.
This is all for the live video camera.
Video power for the lights.
Power for the camera. Here's the main power.
Plugs in with the trailer connector like so. Bam. You're hooked up. So on the side here, I have this wire coming out which leads to this guy. So you can plug it into your boat if you have one right in the dash.
Uh also I have this adapter which plugs in and that'll give you the uh the alligator clamps hook up to your battery. It's how I do most of my operation. This whole bottom screws off so you can get all the connections.
Everything else is chemically welded methylene chloride.
So, basically how this works is it's it's powered by BGE pump motors that have been modified to accept a prop using an adapter. I pried off the impeller and applied a prop that I got that's for remote control boats.
Now, I machined an adapter on on the lathe which will accept the output shaft and on the other end threads a remote control boat propeller onto it. So, I'm going to pop that on and just tighten down the set screw.
All right, there we go. Now you can see it's completed. Now I'm going to show you how much more propulsion it'll have with the propeller compared to the impeller.
It's got a bucket full of water.
You see it's got quite a bit of thrust propeller.
Is that going to have a housing around?
You know, both will be on for the sub to move forwards or one will be going forward, one will be backwards. And it drives like a tank.
Uh, and there's one motor for elevation that goes up and down.
All right. So, for each motor, I made this shroud. It's just another piece of PVC that came off this tube.
And I just clamped clamped this up in the vise and ran the mill across it to open it up. And the ring is as small as possible cuz you know as the com as the propeller spins the water needs to go into this opening right here. And this opening needs to be as large as possible.
Let's see the lights I made. Um, there's a guide on homebuilds.com that, uh, is very similar, but, uh, how works is this is a coupling, PVC coupling.
And to get the outer part of the coupling to screw on all the way, I had to come in with the lathe and just knock off this notch on the last thread. Uh, this this allows it to screw on all the way. I don't know if it was a defect or what if it was just the part I had.
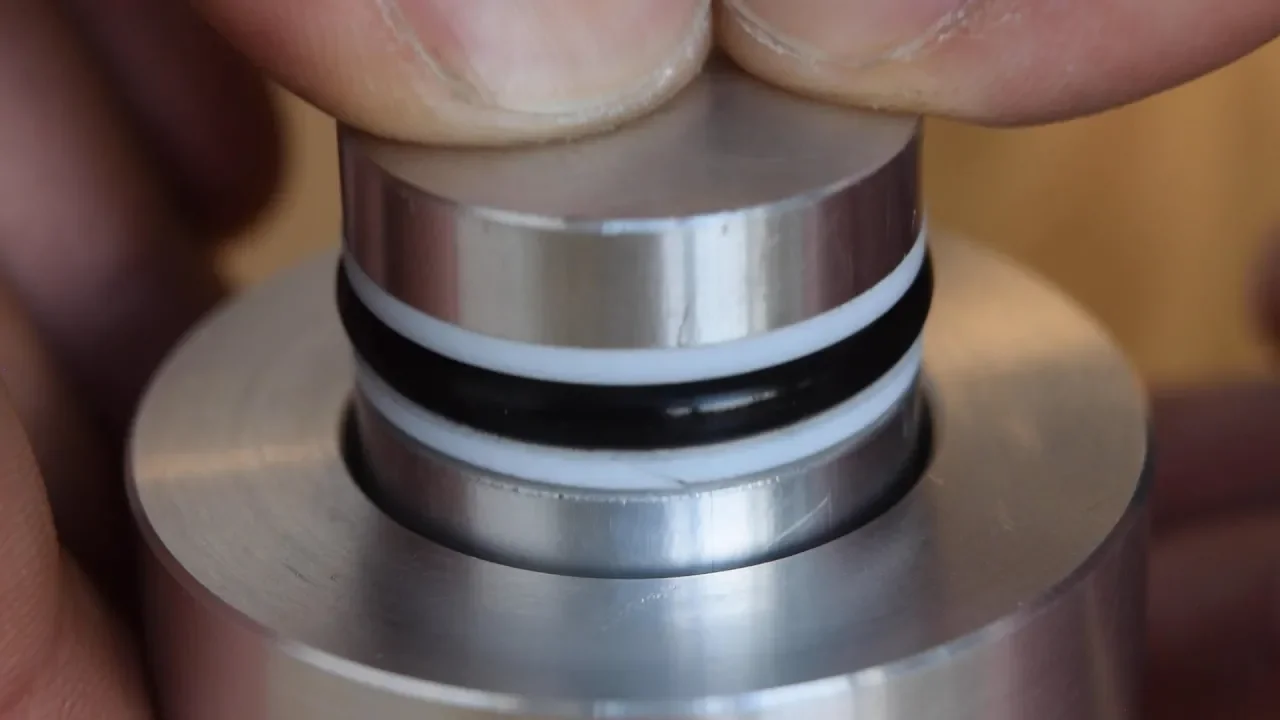
It's nice. There's a a rubber O-ring in it. And I mounted these panel mount LED lights.
And I took out the other part of the coupling. I cut this.
See it?
It's a round piece of polycarbonate, 1/4 in thick.
Fits right in to the lens. And that just screws on. And it as you as you screw it on, it presses the the lex hand into the O-ring, makes a seal.
[Music] What's housed in the outer box is the electrical And you can easily pop this open to perform maintenance and what have you.
Right here, a million wires.
Here are the relays.
And basically this relay setup is there's two for each motor. So I can work a forward and reverse.
And there's three motors. So here's the elevation motor.
The other two are for left and right.
This relay is for the headlights.
There's also a sensor that is going to go in here. It's not in here yet.
It's a oil pressure sensor which connects to a gauge on the controller so you can calculate the depth that it's at. The GoPro is just controlled. You hit start and then you drop it in the water and it records the whole time.
Then you have your live feed camera and the wire runs back under it on the frame back up into the tether.
Now, the way I connected these wires into the outer box is obviously by drilling holes, but I made this uh this is another piece of Lexan right here. 1/2 inch thick Lexan. And I basically it's it's screwed into the outer box almost, you know, every other wire there's a screw between it and then it's siliconed silicone bead to the uh outer box and there's there's a relief mil into this to house the silicone. It goes around each wire and screw. It's just a little milled slot that runs around it that the silicone goes into. So when I press it on, it's not going to ooze out. It's going to stay in that channel that that slot that's milled.
And then the wires come out through this. It's like a a trough that I milled, a big trough. Wires come out and this is sealed with epoxy. And this this works very well. There's absolutely no leaks.
Did the same on this side.
So that's where the lights motor motor motor lights.
And for the wiring, you should check you should check out where I got the idea for the wiring for the relays setup. You go to homebuiltrs.com and there's a complete how-to tutorial on unwiring that.
[Music] Okay, for the tether I'm running a I the batteries are not on board obviously. It's this giant battery that I had. It's a 12vt and I have Ethernet with eight wires in it and 24 gauge I believe. And then I have two main power wires which I use 12 gauge.
And then I attached this rope for stress relief. So you can you could pull it up by the tether. It's not going to pull the wires out or bend them too much or anything.
The tether goes back. And it's probably the main limitation of uh ROV is the tether. Uh I would have used thinner gauge wire than 12. 12 is pretty thick and I didn't want to have a lot of voltage drop cuz I got 100 ft right here and it's heavy and it'll sink. So, basically, I ran this closed cell foam down the whole thing to help try and float it, but this was not nearly enough.
I also attached some some cut up noodles, which is not recommended because the the foam cells are very weak and once you get it down to depth, they collapse and then it's not as buoyant as it was anymore. It starts getting hung up when you're driving around on the bottom and it's really annoying.
[Music] Yeah. So, to replace those floats, I got I bought these. You can buy a whole bucket of them on eBay. Foam key floats. I've yet to put them on.
But the idea is you put all the tether into a like a netted bag and then you just keep putting the floats in till the whole bag and tether and everything just starts to float.
Basically what this is that kept all the wires together. This is expandable mesh sleething. It was pretty cheap. It was just a pain in the ass because you have to slide it over 100 feet of wire.
[Music] [Music] There's floats on top. there. This is PVC right here. PVC. And this is an Otter box, which is a a box that's watertight. It's uh rated at 100 ft depth. And these things will float it. And then I have the heavy stuff on the bottom, which are the motors and the skids.
[Music] And the idea is that this is slightly buoyant in the water. So if you just set it in the middle of the water, it'll slightly float up very slowly.
Yeah.
[Music] [Music] Heat.
Up Next
21:21
DIY Underwater Scooter Thruster with Waterproof Brushless Motor
@ImJustDIYer
5.8K views•2025-02-07

30:32
Ultrasonic Transducers: Resonant Frequency Measurement and Horn Design
@imajeenyus42
229.9K views•2017-02-22

54:16
Polymer Environmental Degradation: Mechanisms & Stabilization
@iit
1.8K views•2012-07-10

33:39
How a Student's Question Saved a NYC Skyscraper from Collapse
@veritasium
22.8M views•2025-04-26
Related Study Plans & Knowledge Roadmaps
Structured learning paths in Engineering
engineering
Building Acoustic Levitators: Physics & Arduino
01The Physics of Sound and Standing Waves
02Piezoelectric Transducers and H-Bridge Drivers
03Arduino Programming: Generating 40 kHz Signals
+ 2 more learning modules
14h5 modules
Explore Roadmap
engineering
Building Peltier Cloud Chambers: Particle Tracks
01Cosmic Rays & Cloud Chamber Physics
02Thermoelectric Cooling (TEC) Fundamentals
03Custom Liquid-Cooling Loop Design
+ 2 more learning modules
18h5 modules
Explore Roadmap
engineering
Yagi-Uda Antennas: Modeling, Build & VNA Test
01Introduction to RF and Antenna Fundamentals
02Yagi-Uda Antenna Design Principles
03Antenna Modeling and Simulation in 4NEC2
+ 2 more learning modules
18h5 modules
Explore Roadmap
engineering
ECG Monitor Design: Op-Amps, Filters & Noise
01Electronics & Breadboard Basics
02Op-Amps and Instrumentation Amplifiers
03Bioelectricity and ECG Fundamentals
+ 2 more learning modules
18h5 modules
Explore Roadmap