





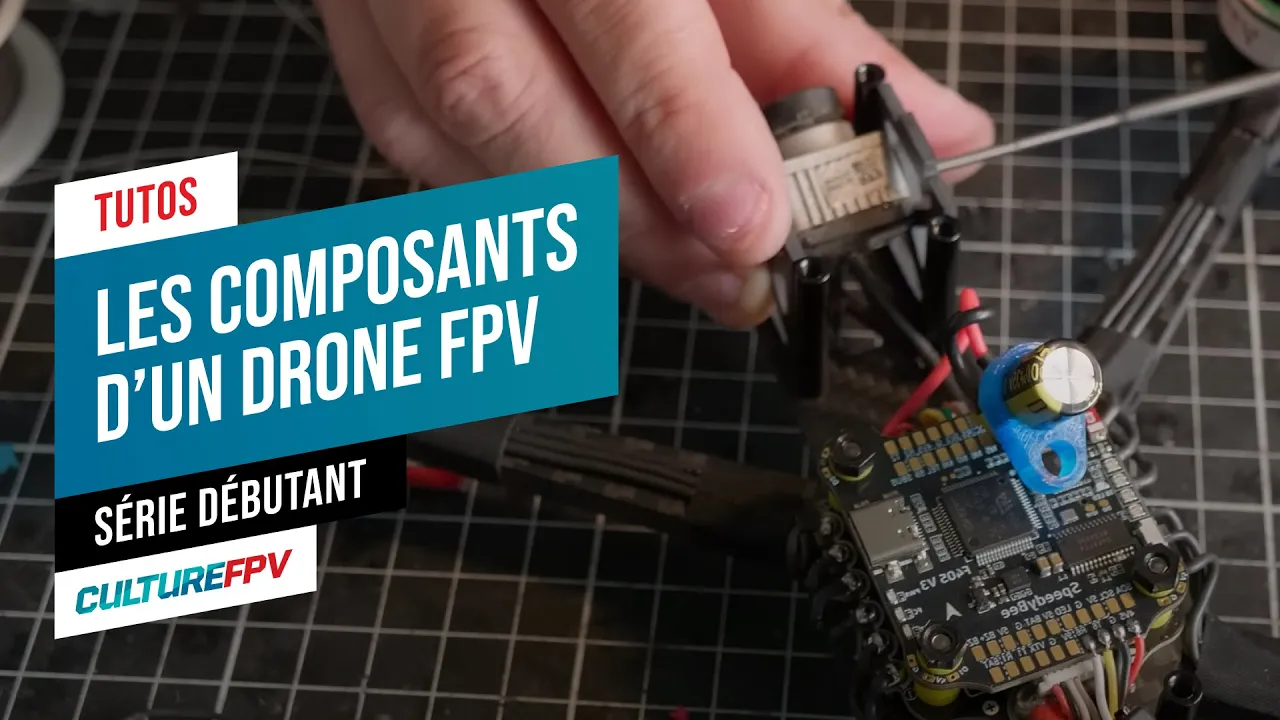
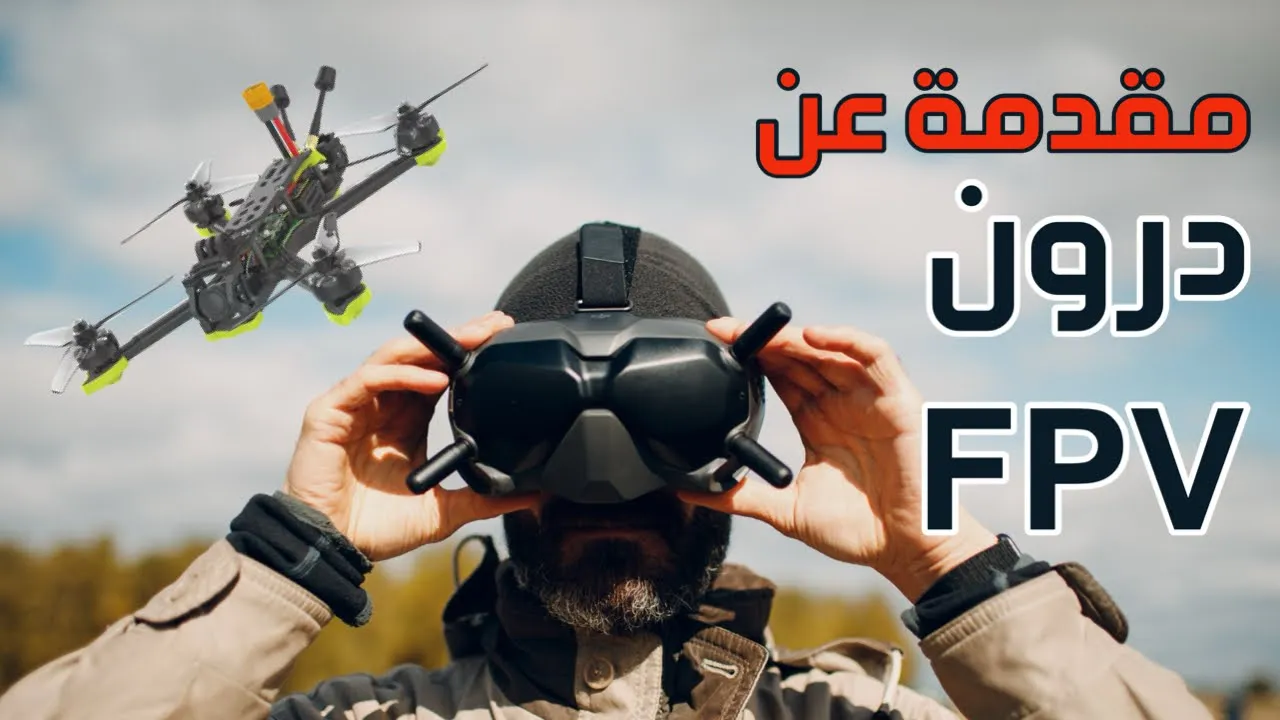
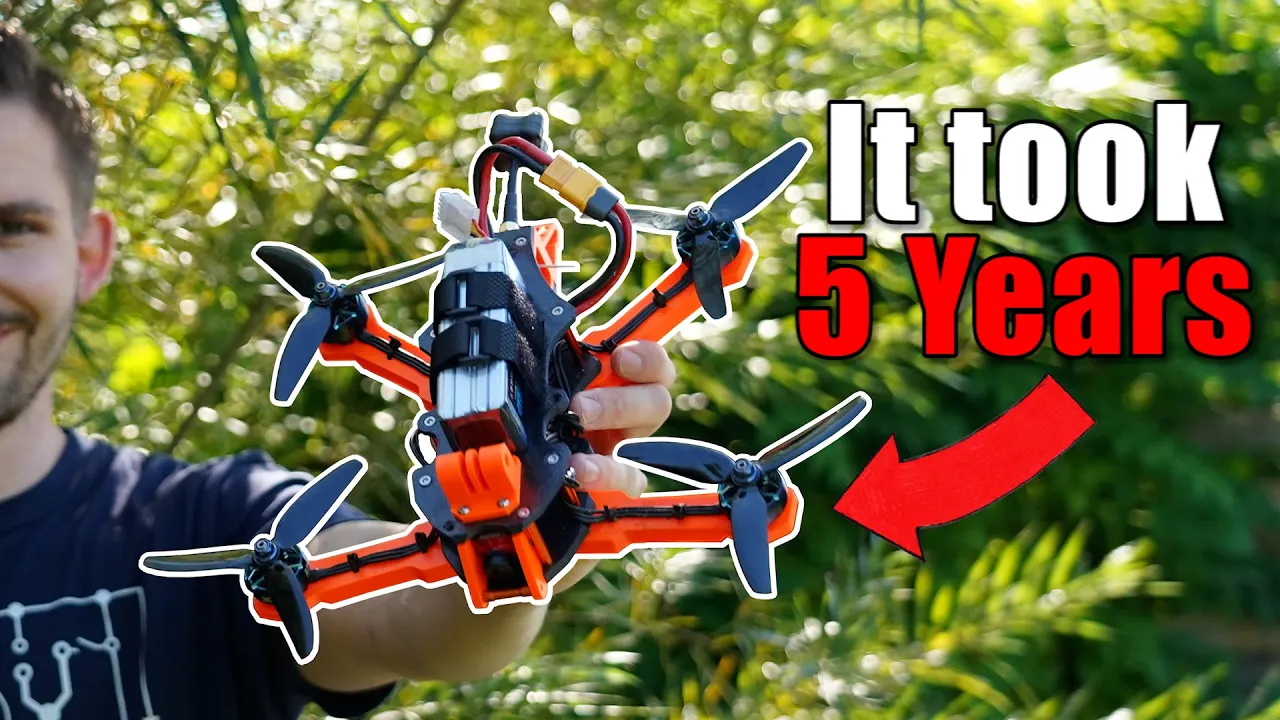









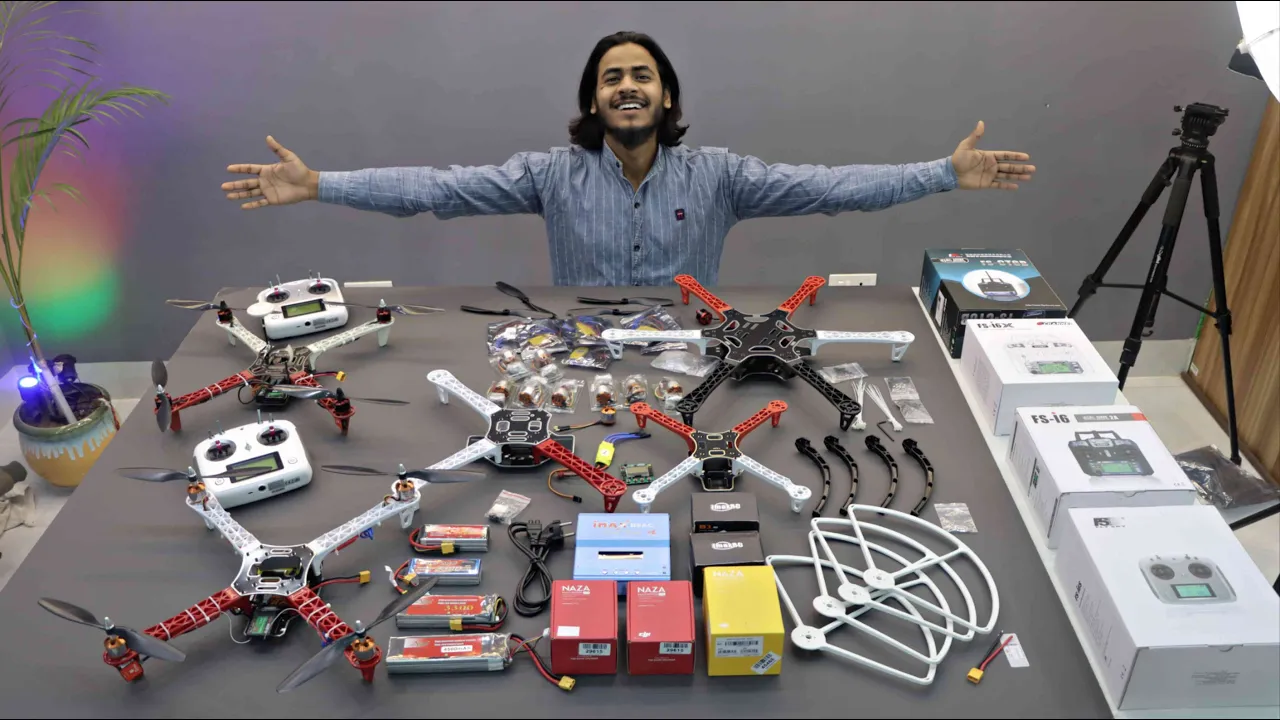






Building an FPV drone requires six essential components: a frame (Speedybee Master 5 HD V2), flight controller (MEPS F7 HD), ESC (MEPS 60A), four motors (MEPS SZ2306 1750KV), receiver (BetaFPV ELRS Nano), and video system (RunCam Link WASP). The build process involves soldering power connections to the ESC, installing the flight controller with proper orientation, connecting the ELRS receiver with TX/RX polarity, soldering motors to ESC pads, and installing the video system. After assembly, Betaflight configuration requires enabling ports for the VTX and receiver, reordering motors, verifying motor direction, and setting up switches. Initial flight testing reveals that untuned quads are nearly unflyable, making proper tuning essential for safe and enjoyable flight.
Build Your First FPV Drone: A Step-by-Step Guide with Betaflight Tuning
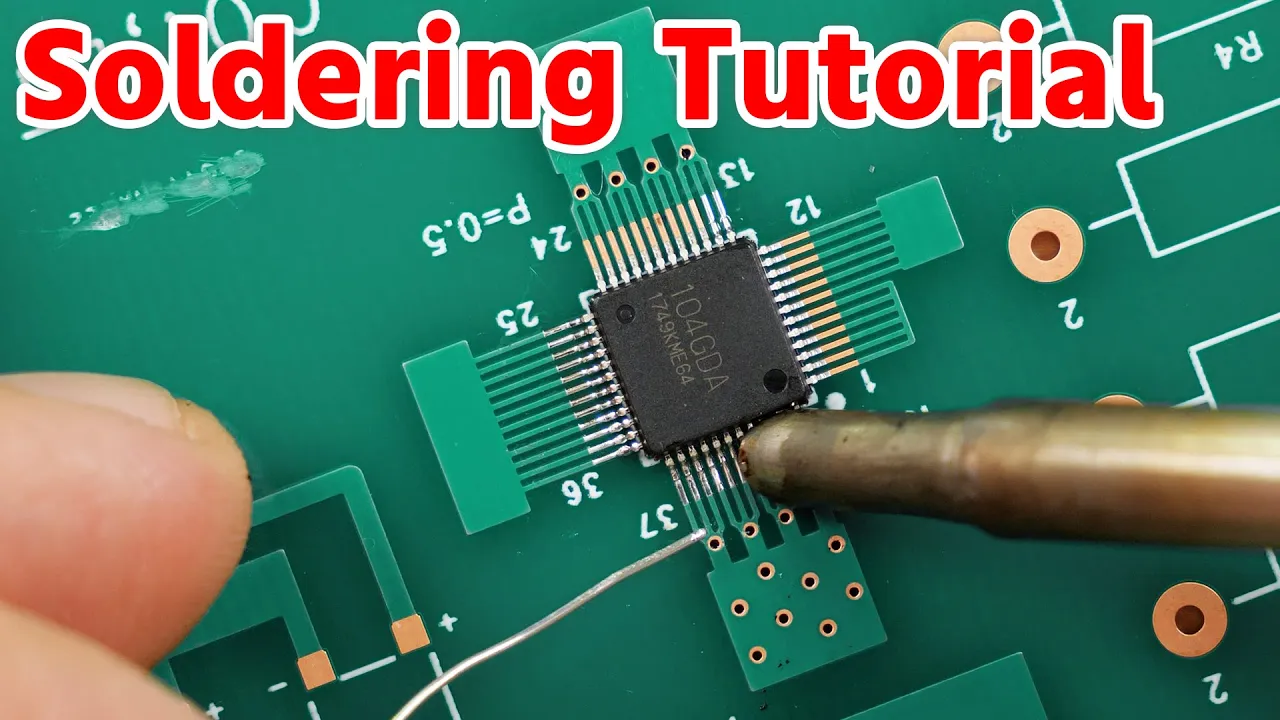
Added:in the year of 2024 if one of your goals is to make yourself a 5 in freest style fpv drone that runs on 6s batteries has the video system that is compatible with most of the DJI goggles family and has the most popular radio protocol as expresso s that this video is made for you we're going to go over the entire setup process from building this from scratch to this and then we're going to set everything up in beta flight we're going to tune it and then we're just going to go fly it to see how it performs by the way this is going to be a very long video so just feel free to jump around the time stamps to the place you like or take a break all right without further Ado let's get right into [Music] it before we begin let's quickly go over the essential parts for a fpv drone so for an fpv drone you're going to need a frame you're going to need a flight controller you're near a 41 ESC you need four Motors you need a receiver you need a video system VTX basically onboard camera that transmits video signal to your goggles otherwise if you don't have this it's not going to be F PV it's going it's just going to be a drone right all right so let's dig into a little bit more let's look at the frame so this Frame is going to be the Speedy be Master 5 HD version 2 I'm really looking forward to try this Frame as it comes with so much stuff in one single like relatively cheap price you you get TPU prints you get LED side guards and the newly design I think this is going to be a soft Mouse system for your ESC and FC so I'm looking forward to try this because theoretically this should reduce a lot of vibration all right done with the frame next thing is going to be the flight controller the flight controller we're going to use is the maps F SZ F7 HG I don't know which particular F7 this is but it just say F7 and basically you can see that this is going to be a plug and play for your video uh we can just basically plug the video system into this directly without have to solder it but yeah it's not that important if you know what you're doing all right so done with the FC and the second part is the ESC so ESC still we're using maps and this is going to be the sz60 M ESC you can see that this is a really nice looking USC that you don't see it in many places and then number three is the motors the motors still Maps because why because they are giving me these products for me to build this drone for them and this is going to be the maps SZ 2306 1750 1750 fpv motor so yeah I'm pretty sure that the quality is okay but you cannot argue that Maps do provide do produce like like really nice looking products just look at this motor come on I don't think there's other Motors that okay there's going to be other Motors that looks very beautiful but averagely I just really like the design of this anyway all right so this is done and let's look at the receiver so the receiver is going to be the beta fpv no 2400 RX and this is going to be elrs yeah so elrs receiver standard receiver and the last thing is going to be the Run cam link was combo so this is going to be a Vista like but it's going to be a Vista like system that works with DJI the only difference is it's made by runcam so it's called runam link but it's the same thing runcam link Vista DJI air unit they all work with DJI atpv goggles all right so done with explaining all the parts and we're just going to dive into the building okay so the first part we're going to start with is the ESC so generally the thing I always install first is install the power leads onto the ESC so that's generally I think everybody builds it like that but you can do it differently but this should be the first thing you need to do and the second thing is you're going to decide which side of the ESC you're going to face this at because you can see that obviously you're going to mount it in the middle like this right the balance lead the power cable is going to come up from here so you can decide you want the power lead to exit from here or exit from the top or exit from the side and since particular this one there are some guards already I'm not going to interfere with this and I think the best part is we are just going to let the power cable come out from the front and we'll also be able to hide it also has a built in this is a capacitor holder you can just put your capacitor in this so yeah very thoughtful of this Frame all right so let's begin the soldering okay so to get the solder going solder process going you're going to of course you're going to need iron I hope you have one that you can adjust the temperature what I used to like to do is you are just going to define the biggest solder tip you can find and because this is a very big pad which should require a lot of heat that you need to yet to need to melt the entire big ball of solder so after the tip you're just going to crank your iron to the highest temperature that it goes so it will make the soldering process a little bit easier and the second thing you're going to do is you're going to pull out this package that is going to come with the ESC you're going to have a this is a power cable basically power cable power cable so xd60 cable and then in there you're also going to Def find a capacitor and these are the little gummies for you to mount the ESC and we're just going to do it once we solder it so I don't accidentally melt the thing okay okay so we we are going to clip the ESC with a helping hand if you don't have one I strongly suggest you to buy a helping hand because it does makes life a lot lot lot easy next you are going to take out some flux and you're going to open it and basically use a little brush to get us some flux and gently apply them to the solder pads that you're are going to apply solder to so the flux is going to help the solder to better stick on the thing and it's going to make your solder joint look a little bit more beautiful by Theory I'm not a perfect solder person but it does help me most of the time and let's take out the solder iron no this is what take out your tin yeah take out your tin and then what we're going to do is you're just going to use your iron oh actually put some tin onto the iron use the iron to touch the solder pads and then melt the solder using the solder pads okay this one is not hot enough no good okay let's see I don't like it we can fix it later let's do another side it's always harder to do stuff when you are looking through you're looking through a cell phone to film stuff okay so this one is much better okay okay so you can see that we are having a connection a bridge in the middle what you have to do is you are just going to touch in the middle oh come on okay we're going to clean this first basically what you're going to do is you're just going to to use your solder to like kind of scrape it okay so now it's separates okay so it looks terrible so we're just going to apply a lot more solder past basically your flux onto it just p a lot more onto it and then let's put more solder onto it and clean your solder tip iron tip and then apply solder okay much better next we're going to take the other side what we're going to do is use the tweezer to clip it because it's going to be very hot right now and then flip it [Music] around so same drill let's apply some solder past onto it solder past solder flux same thing okay put your iron on top of the thing and then start building your solder onto it all right not the perfect job but it's going to work next we're going to prep the cables let's just make sure that on the tip you have enough solder they are already solder basically prepped but I just wanted to have a little bit more on there so it's going to to Joint easier later so always same drill solder paste solder paste okay and then burn it [Music] off okay one more [Music] time all right next we will be connecting the wire make sure that the red one goes to plus and the black one goes to minus use the tweezer to hold this otherwise it's going to be very hot okay [Music] H let's join it again this is the hardest part of the entire solder job because it's not that easy to deal with such a big ball of solder let's clean this up [Music] okay we are done tough job but we're done all right so first thing first you are going to bring out a multimeter and you're going to turn the knob to this location which basically when both of the tips touches each other it's going to make a beep sound and you know you will know that you will have connection which means short and that's the last thing you want all you have to do is to gently place these tips onto the sld ball just to make sure that these are not touching each other okay so I guess we are not touching each other so it's okay I'm going to fix this a little bit later because it's too hard to do it behind the phone all right anyway First Step has been completed next thing we're going to do is we are going to get this capacitor onto the thing okay so at the meantime what we're going to do is we're just going to add these little gummies onto the ESC so use a little tweezer squeeze it like that and you can squeeze it in like this just push it in and kind of like squeeze it on the top and it should be perfectly aligned [Music] I'm going to speed up and finish up the rest okay so we are done and then let's put let's do a quick fitting test so theoretically this is what I want it to look like and we have a little thing here that should be able to hold this perfectly including the wires coming out let's see if it actually works all right so we're going to add some tubings onto the capacitor so it does not touch does not accidentally touch the touch the carbon fiber okay so you can see that the one with color this is going to be your minus so we're going to color it with the black one we're just going to cut it to size let me [Music] see okay just right same for the other one okay so right [Music] here okay it works let's take out our Helping Hands use a little tweezer to hold the capacitor same drill the black goes to black red goes to [Music] Red this one just simply melt it into the solder and we should be good [Music] now we're going to mount the ESC to the frame and you're going to put it on this side for now you're going to pick up some of the these are the M3 M325 length screws M325 length screws and you're just going to put it start putting them in to the bottom like [Music] this next we will be able to melt our ESC on top of it actually let's put some of those little screws on the bottom so it kind of secures [Music] it all right so it's done it's going to be like this do not overtighten since we're actually putting the nuts in it kind of makes the thing go a little bit higher so we're going to put in these little gummies instead these are those kind of midsize ones so the next step we're just going to Simply Mount the ESC onto the frame slowly push it in so it gently sits on the thing and next let's secure this little thing here okay line it up like this but we can do it see here [Music] so the first step has been completed the next step we're going to take out our flight controller and you are also going to get a package of this kind of cables in the flight controller back and then you are going to apply these little gummies onto the little uh mounting holes I'm I'm not going to show you how to do it because too barring okay and once you're done basically it's going to go directly on top of that and we're going to pick up a cable that is meant for the ESC so it is going to be this one after you take out the little cable you're going to flip the es FP the flip the flight controllers to this side and you are going to see that there is a plus and minus sign so make sure that you plug it in in the right direction and it shouldn't be wrong because they already did it in this format so it's not going to be incorrect but just make sure you plug this right because if you because the last thing you want is to accidentally fry it okay and then let's look at the little arrow here which means the arrow the direction the arrow is pointing is going to be the front facing side and that is exactly the direction we want the flight controller to be faced to and at the ESC side same draw for this one I already checked the direction is the same so we can plug it in safely there's going to be only one plug for you to plug in for this particular ESC so just simply plug it in make sure it's tight and then we are going to flip it around okay this is a little bit short we're going to flip it around and squeeze it in like this so it's just going to be nice and snug okay so this is the first part and next we're going to test to see if this build actually have a short so you're going to take out something called a short saver if you don't have it I'm going to leave a link below so you can buy it this is only 10 bucks but this is going to be the best investment in your fpv life because it saves you a lot of smoke so what it does is basically if you plug in the Lipo via this board and into the quad basically if there's a short it's going to detect it and it's going to block the voltage right away block block the curveent I mean okay so we're just going to plug in this into our drone and we're going to plug in a lipo just to see if there's are going to be any short if it's green you are totally fine if it's red check something you have something wrong so you can see that the flight control is now powered on so this is ready to go to the next step okay let's unplug it all right so last step in this step is we are going to secure the flight controller with these little nuts so these are M3 nuts just screw them on after we have properly installed our flight stack the next step we are going to start by installing our Motors so this is how our Motors are going to look like you're going to have to secure the motors onto the arms and then solder these wires three wires each to the esc's and if you can see right here the ESC pads each three of these paths are considered one ESC so the first Motors will have to go one two and three and the second one one two and three it goes on the other side as well so very simple all right let's begin to install the motors onto the arms first okay at this step you don't have to secure all the screws it just you just have to make sure the motor is secure that it doesn't move so we're going to just use two for now done all right all right so next step as you can see that these motor wires are just simply too long so we are going to cut them one by one to fit the length just perfectly fit the length for these paths so very simple line it up pull it make sure you have the same sequence pull it straight line it up and then use a tweezer I use a cutter to just simply cut the wires just leave a little bit extra so you will have the room to actually have the wires stripped okay so that's the first one this one is the second [Music] one okay when you're doing this step make sure take your time because you don't want to accidentally cut extra in that case it will be very hectic that you will have to find erase wire to fix it okay so number three goes like that okay and we are done next we're going to take our a wire stripper to actually strip the wire so you're going to have the uh the iron part coming out so we get to solder it so this one is very easy to use you just have to clip it like this and then basically the bottom is going to hold it and the you can see that the head has been separated so very very easy okay second [Music] one okay so once we are done with this we're going to prep these wires and we're going to prep these solder pads so it can be ready for soldering same drill you're going to bring out your stter paste so basically fleux put a little bit on the top like that oops okay here we go put some flug onto the pad like this okay and then you are going to bring out your iron again wet the tip a [Music] bit and then place the S place the iron tip on the solder pad this is going to be a lot easier compared to the previous one okay make sure to give it a generous amount not too much not to [Music] less okay that's done and let's prep the wires okay save drill touch it [Music] okay okay so these has been prepped right now next step you're going to bring out one of those if you got the Speedy be frame just like me you will have these wire guards and you can basically put them in by the sequence just make sure we don't accidentally mix them up in there so it's going to look a little bit nicer compared to nothing so you can see that everything is going to be nice and neat okay then use a little tweezer to grab the wires first one by the way even if you are mixing up the sequence it should not be a problem because it will still work the motor is still going to spin but you just have to probably do a little bit more setting in beta flight later on but it's fixable so if you accidentally cut either wire too short or whatsoever it is totally okay we will be able to fix it as long you can solder them to the ESC so the first motor is done and the rest is basically going to be the same and I'm just going to finish it off screen so you don't have to waste time Ed it all right let's get going all right so we're done with the motors you can see all four has been installed in solder and we haven't secured this yet which we're going to be doing it later once everything is confirmed working and the next step we are going to install Our elrs receiver let's open it so this is going to be an antenna and this is going to be the elrs chip and our wires okay so before we begin the elrs chip installation there are I want you to know there are four connections that we will have to make the first one is obviously going to be your power and power you're going to have need a ground a minus and a 5 volts for plus so minus and plus and the next is going to be your data transfer so data transfer you're going to have a TX and RX the only thing that you have to pay attention is that the TX on your receiver will have to go to the RX on your flight controller and the RX on your receiver will have to go to TX so for connections next let's just look at the board so we know where we are going to stter this particular one I think I'm actually going to connect it right here so you can see that there's a ground there's a 5 volts there's a r and there is a t so R4 T4 and just remember where just remember the sequence because later on this will affect which Port we will have to activate on beta flight okay let's press the boards and the [Music] receiver that's done next let's go to the [Music] receiver next we're going to connect the wires the black one is going to go to the ground and the red one is going to go to your 5 volts okay and let's just use the yellow one s [Music] TX and the white one is going to be our RX all right we are done all right next let's connect the wires from the elrs receiver to our flight controller so the white one on our receiver is rx so on the on our flight controller it has to be TX and we're just going to to connect this to the TX pad it's done and then the yellow one is RTX on the receiver which we are going to have to connect the yellow wire onto the RX on a flight controller done and then the next two is going to be easy the red one is going to be our 5 volts and the black one is going to be our [Music] ground so after you're done with it you're just going to twist it to make the wire look better at least I think it looks better less messy okay that's first step and then you're going to put on the antenna actually we're going to put on these little shrink wraps onto it uh once we make sure everything is set up we will be able to just seal it later on and now is when you plug in the [Music] antenna okay so this is done should be looking like this actually I just discovered I made a mistake because this wire is not low enough to be harnessed into this TPU fill for these like ELR receiver chips later on I will fix this I will move this from here to here but just know the soldering is the same you're just changing the art that's it okay let me just do it real quick [Music] okay so yep it has been fixed and now we can actually twist it again to make sure it okay let's twist it again he [Music] okay so this is how the receiver is going to be tucked away very simple all right so after all these are done the last thing we have to install is going to be our fpv video system which this one this time we're using a run cam link which is going to to uh which is a basically the DJI system that it works with DJI obviously okay and in the Box you're going to get CL of the stuff you need you're going to get an antenna and some cables and some mounting screws and what we are going to do is we're simply just going to inst start installing this this is much simpler compared to an analog system because if you're doing analog you need to sold a lot more stuff but this one since everything is just one package much easier let's begin to prep this first to install this VTX still are still some solders that we have to do which is you basically have to solder the power and the data out from the air unit but after that it's going to be Plug and Play so they will provide you a cable with a lot of cables and the only portion you need is going to be this portion generally the last two you are not going to need them but just to make sure we are doing it correctly we what we're going to do is you're just basically going to put these two cables on the side make sure to take out the red and then you're going to plug it into the flight controller this is the only plug that is existing right okay let's just plug it in to briefly fit it to make sure it's right and you can see that the first pin is marking as 10 volts so red one is correct and the black one is going to be the ground and the white one on here is going to be T and this is a gray one the gray one is going to be the r these two cables the additional ground and additional R is for you to connect to DJI radio then this is the thing you wanted to solder but since we are using elrs these can be cut off later we're just going to put it on the side for now okay so same drill as the elrs receiver your T and R has to be reversed on the other side so if you have a t this T right here is white it has to go to the r and the r here which is gray has to go to the T on the air unit all right let's begin the soldering let's unplug this we're going to first connect this connect this cable to here so white one let me remind myself white one is T okay y1 is T same drill we're always going to start by prepping the board so that one is basically the red cable and this one is for the black one and this is the RX and this is going to be our [Music] TX done with that let's connect the [Music] cables the white one yeah the white one on the board is TX so it has to go to RX right here and that one is rx last one gray RX goes to TX right we are done all right so since we're not going to use these two cables we're just going to cut them off so it doesn't get in our way you can of course take them out if you have a use of it but I'm just going to take it out because I have spares it's easier this way okay G for good next what you're going to do is you're going to loosen this screw so later on it will be easier for us to plug in the antenna and then you can open it this is going to be your I think this is UFO plug that we can plug in our antenna too okay so after we're done with the soldering there's this little part that you will have to install right here this is the one that is actually going to come with the Speedy I think this is actually a heat guard that supposed to help the heat resolve better of the air unit I think it goes right here so it goes like that so which means we will have to make the air unit go a little bit higher by installing some of these little gummies with some of the longer screws okay so let's put in these and like that [Music] [Music] and then we are going to install the link system here this is just [Music] perfect done with this part then we're going to get the antenna thing I like about this Frame is everything has a place to go which is perfect let's [Music] see okay so we can secure this later fully once everything has been installed next let's get the camera first to get the camera we will have to remove the top plate okay so to get the camera you should be getting these little tiny little screws that came with your it should be coming with the runam link or if you bought a Vista it should come with it and what you have to do is we're just going to use a screwdriver like this okay okay so the words should F be facing [Music] up okay all right so basically after this everything that is essential have been installed next we will be able to start setting this up in our computer and I'm going to walk you through the entire process so this is going to be a long video if you have to take a break do it now okay so based on what we just said we are going to bring our quad to the computer and basically you're going to connect the quad to the computer using a USBC cable and then let's switch our view to the computer okay so once you're at the computer you're going to connect it to Beta flight so basically what we're going to do right now you're just going to hit connect once you have connected the first thing you wanted to see if the orientation is correct so basically the little arrow right here is going to indicate the front side of the Quad so if it's like that it's correct if you flip it like that okay so because we are putting it up on the backwards so it's going to give a different different motion but now we know that this is but we know that this is correct okay so once you're done let's leave it the next step we're going to to go is go to the ports tab this is where you are supposed to enable all the equipments that you connect to the FC there's two things that we have connect to the flight controller the first thing is going to be our air unit basically our VTX and the second thing is going to be our radio receiver so the first thing you are one if you look at the diagram right here the the ports we have connected to is going to be R1 and T1 this basically indicates is going to be U art number one and for DJI Vistas you'll have to enable MSP so basically you have to enable this one after this is done your VTX should be able to communicate with your flight controller the second thing we're going to enable here is going to be our radio receiver as you can see from the place we solder it's basically T T2 and R2 so so what we have to do you know what we're going to enable seral RX and once you're done with this you can hit save and reboot okay so the ports tab is done after we connect it back you're going to go to the receiver tab okay so receiver tab we're going to set up our receiver so basically if you are using a Express OS you wanted to make sure this thing is saying serial you art and then you wanted to make sure that you select like Crossfire and then you want it to save and reboot once this is done next let's go to the motors tab we're going to have to make sure that we set up the motors correctly this time you are going to be required to plug in a lipo so you're going to plug in a lipo to your quad right here with everything connected okay make sure no short Savers because you're going to burn your short Savers if you're going to do that okay so the first tool that we are going to use is we're you're going to use the reorder motor function okay let me just flip this so it's easier to understand orientation okay let's flip it this way and what we are going to do is we are going to go to the reodor motor function and you are going to say I understand the risk basically what we're doing right now is we're going to make sure that our Motors is lining up this one should be number one this one should be number two and this one should be number four number three should be this one so let's just make sure it's doing that and we're going to say start okay so very simple you're just going to play the game which one is spinning you're just going to click the Box okay so that one is spinning okay now is this one now is that one now is that one and by the way during this time since everything is going to be powered on I want you to find a fan to blow at the VTX so it doesn't overheat so it's going to make a little bit noise I apologize for that and once you're done hit save okay okay right same place let's go back to the motors tab this time we wanted to make sure the motor direction is spinning as the indication here so what you're going to do you're going to use the motor Direction tool click this one I understand the risk I like to do it individually okay so let's start with number two the one on the top okay so let's press it you basically hold it here and it's going to spin so okay I'm touching it so I know that this is incorrect so I want it to be reversed okay so now it's correct okay let's try number three make sure that okay number three still incorrect wait number three why is this feeling like that okay okay number three I wanted to reverse okay now is correct number four okay this is correct number one is correct okay so once we're done we can hit close and then our motor Taps has should have been set up let's just double check let's bring up all the motors just to make sure that it's actually spinning the place okay that is correct correct correct correct all right so we are done okay so after we have set up the motors you basically will be able to unplug the light pole because I don't think we're actually going to need it for now okay so we're going to set up the express LS receiver and we're going to set it up via Wi-Fi if you want a detail instruction you can go check out the link by below this is a different quad but it's the same process basically after you plug in your receiver after your receiver is powered on after 30 seconds of power it's going to go into like Wi-Fi mode so this one is already way in Wi-Fi mode before so what you're going to do we are going to switch back to the computer View and you are going to come down here and you are basically going to come to your Wi-Fi you're going to click the express RS RX and you're going to hit connect all right so this time we have connected successfully you can see that my firmware version is already at 3.x so basically 3.3 which is same as my radio so this is going to Bine directly to my radio directly but I'm just going to set up the binding phrase right here okay so if you wanted to know why we're doing this you can read the video below so it's going to make lot sense because I just want to run through this setup so we are on the same page and after you're done after you're ending the Bing phas H save and you're going to reboot it and then we are done for this step and the next step we are going to go back to Beta flight okay okay you can see right now the radio the receiver is now flashing very steadily so as long I power on my radio right now it's going to automatic collect because I have the same binding phrase you can see that once it's connected the light should turn solid you can see like that this is an indication of successful connection let's go into our beta flight again and this time same go to the receiver you can see that I'm going to be receiving stick inputs and this is a indication that is a successful bind and basically now we're going to go to modes we're going to set up our arm switch M switch basically I think these are the only two that we need to do so arm switch basically when it's out Auto you hit the button you want so I'm going to use this one so Auto a one okay hold the yellow thing so that this thing goes into the the perimeter and this is going to indicate that it's arming okay and then let's add an angle mode I'm going to use this button so basically same drill outo basically you just have to flip it okay let's move it to the bottom add a angle add a horizonal I never use it but I just add it for fun okay so we have B the basic switch setup and then you're just going to hit save okay and that's about it okay we're back to the bench the first thing we're going to do is to test to see if we actually successfully find our radial and if our motor actually spins this is a test you always have to do welcome to htx so let's hit the arm button just to see if our motor actually SS I never test this so okay no no more spin let's do it again press the arm switch okay so actually our Motors are spinning so this is a indication that this is ready to be flown and with the battery plugged in we are going to bring out our goggles to or your goggles Integra we're going to bind the air unit to this thing so what you're going to do is you are going to power on the goggles it's almost out of battery okay let's put it right here so we will be able to see it and then you can see that right here there is a little button that you will be able to press so you're going to press the button on your Vista unit or your run cam link unit you can see that it's going to be turning red and you're going to press the button right here that is in the middle and this will bring the goggles to start in The Binding mode you can see that now we are seeing footage so all good all right so let's put on some props and we will be able to test fly this thing first time okay some genfan props okay so since our motor are spinning like in inside so what we're going to do is you're going to make sure the the portion of the one that is tilting up you're going to face it inner okay make sure that we install it in the right direction okay this one should be same as this one put it here this one should be that way okay perfect oops a come on come on motor don't do that okay we are done so we are now at our local park right now so we're just going to test it to see how these motors F and how the components are so by the way everything's in currently is in a default setting no tuning or whatsoever has been done to it so let's just give it a rip and see what we [Music] got all right the footage you're seeing right now is coming out from the GoPro 11 mini with gyro flow stabilization and obviously this is going to be a voice over because I accidentally forgot to hit the record button when I was on site so yeah you won't be able to see my true reaction it was a lot more funny because I didn't expect it to be so bad to a point with untuned quads all right so if you're just trying to fly straight like this like cinematic straight without a lot of left and right movements yeah it is still flyable you will still be able to get some okay footage out from it of course stick inputs your stick inputs is going to be a little bit weird compared to like a F2 quad but the true issue is going to be revealed when you actually actually trying to apply Acro tricks like this one you're trying to do a split s you can see that it didn't even flip over it just kind of correct itself right here shoots back a little bit to a point that I don't think this is good yeah I kind of regret bringing this quad out like without any tuning so I wasn't able to get any usable footage out from this location so we actually have to head back to the bench and we're going to give it a Quick tune just so it give it some justice so just like it's not about equipment it's just about the tuning all right I will see you back in the bench okay so we're back to the bench again as you can probably see in the video that yeah it's not a satisfactory flight and with no tuning it's basically unflyable when you kill a throttle your shakes like crazy whatsoever so we're just going to come back to our computer I'm going to show you how to slap a basic tuning onto it so at least it will be much flyable okay so let's switch to our computer view okay so first you still will have to plug in the USBC cable to your quad so we will get to connect to Beta flight so let's switch the view to Beta flight after you have connected you have to make sure that you flash your firware to 4.4.3 the previous one is on 4.3 so we wanted to have a little bit more update firor so we wanted to go into here actually before we do so I want you to save a back up [Music] here so Billy hell yes backup and you're just going to click okay save okay so we're going to go to the firmware flasher you're going to use Auto detect to detect the board you can see that although Maps is actually Maps but it's still manufactured by t-motor so yeah so let's go into 4.4.3 this is one we want low firmware online and we're going to flash the [Music] firmware okay we're just going to wait for the flashing to be complete all right so once the flash has been completed let's connect it back to here you're going to come here we're going to load a backup that we just flashed so this is the one we want okay so yeah I'm just repeating the step because I already did it I just wanted to show you how the steps are done the next up we're going to go into the presets tab so presets tab you are going to do search for UAV Tech basically this is a very good tune that you can slap on so if you don't have a particular way of tuning or you just don't know how to read blackbox or you just don't know how everything works flashing the UAV Tech pre- tune like presets are generally pretty okay so let's go to the one that we want so this is a 5 in freestyle we GoPro okay so build quality I will say this is a high build quality so 40K ESC okay this is the one I want I want Dynamic idle as well okay and you can just pick and agree and save and reboot and the settings is going to be apply to your quad okay so once you have reconnected to Beta flight you're going to go to the pit tune and basically you can see that you're basically getting all the pit team profiles completed so normally it's going to to say current slider may cause fly away but generally it's fine and if you're just afraid of it you can adjust this to make it a little bit lower and we're just going to hit save and we're just going to disconnect all right let's head back to the field and we're just going to give it another go okay so we are at a local park again as there is quite some people in the Sun is setting I'm just going to do like a quick one pack rip to test out to see if the tune is okay and as soon as I apply the throttle I immediately feel the difference when you're trying to do like Acro tricks it now feels like it's on the ra that it's just not giving you some weird motions that like a jittery whatsoever it just feel way better compared to the previously untuned status and the difference is truly drastically I would say night and day so if you don't know how to tune your quads I would say using the UAV Tech preset is going to be a good starting point at least you will be able to to get the quad to like a pretty good flyable condition and you can start from there to make your small adjustments there to the ones you truly like okay so since now the tuning is good let's briefly talk about my thoughts about these Maps equipments let's start with the motors they are certainly the maps Motors are certainly not bad and they do feel pretty smooth but at this price point at around $10 to $15 each depends on if you have a sale or not this is all the stuff you should be expecting okay when you're spending $10 to $15 they should perform okay they should not be performing bad okay so this is a set kind of like when you're spending $15 on a Motors across the manufacturers they should perform somewhat similar in my opinion so the maps motor I would say they are going to be a very good daily communed Workhorse for you but if you're looking for a specific flight purpose like racing or you wanted to do like even crazy Bando something like like that I would say probably check next store like the t-motor F40 or the f60 Seri Motors or something like RC power mkk they are going to be way more expensive but they are going to be built even better and should give you even better performance next let's briefly talk about the fly stack first of all right on the bat I have to say this is probably one of the nicer looking stack on the market they even have a 3D Engravings on their ESC which not a lot of people actually do so yeah this one I pretty like it as for the quality wise in the previous setup section you can see that when we plug in the F7 flight controller basically says t- Motors so yeah obviously this is going to be a t- motor OEM products so I don't think there should be any concern about the quality since t- Motors has been in the market of fpv for so long next let's talk about the performance after the tuning the performance I would say I'm liking it so far and especially when your flight controller is a F7 board the processing speed is going to be the fastest currently on the market as for the ESC when it is 60 amps you basically will be able to handle any 6s quads without any issue but there is one thing that I do not like about the ESC is I think the solder paths for the battery wires are just too close and it just makes it really easy to bridge when you're soldering like the previous video when you see that I'm trying to clean it up it's such a pain in an ass this is something I think Maps should be able to improve on their future releases okay so I think this is about it and I hope this long tutorial is beneficial if you're trying to build your quad and if you have additional questions or just needed some advice on your builds why not just hit me up in the comment section or you can just message me at my Ig accounts the detail contacts are going to be listed at below so all right enjoy flying and I will see you in the next video bye for now oh [Music]
Up Next
How to Design a Drone Frame in Fusion 360: Tutorial
@primitivefpv6660
40.1K views•2020-04-09

Triumph of Orthodoxy Icon: Byzantine Art & History Explained
@BenCallan
2.1K views•2024-08-06

FastAPI vs Flask vs Django: Choosing the Right Python Web Framework
@TechWithTim
302.5K views•2024-05-26

Game of Thrones Opening Credits: A Cinematic Analysis
@gameofthrones
46.3M views•2011-04-18
Related Study Plans & Knowledge Roadmaps
Structured learning paths in General & Interdisciplinary Studies