



![[ VẬT LÍ 12 - ÔN TẬP KIỂM TRA GIỮA KÌ 2] Chữa đề GK02 - số 01 | IPCLASS](https://i.ytimg.com/vi_webp/Vuk8yhSi73s/maxresdefault.webp)


![Antenna Final Revision [Dipole Antenna ]part 3](https://i.ytimg.com/vi/xw2DcqRTtJ0/hqdefault.jpg)
















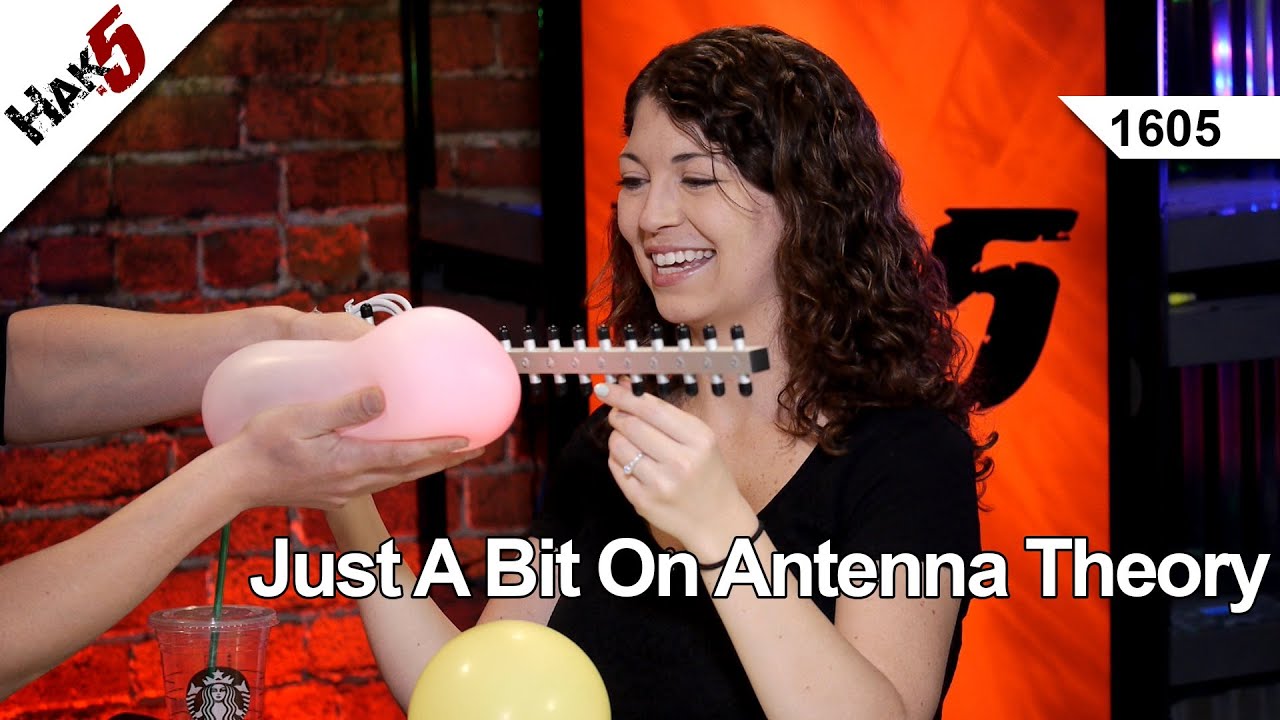
A Yagi antenna is a directional antenna that can significantly improve WiFi range compared to omnidirectional antennas; this 2.4GHz Yagi antenna was built using 3D-printed isolation blocks to hold aluminum elements, garden wire for the elements, and an SMA connector, achieving approximately 107ms latency compared to the standard adapter's 150ms and laptop's over 300ms, demonstrating how directional antenna design can extend wireless connectivity distance.
Build a 2.4 GHz Yagi WiFi Antenna: Design & Performance Test
Added:Understanding of electromagnetic wave theory, specifically how frequency (such as 2.4 GHz) relates to physical wavelength (λ = c/f).
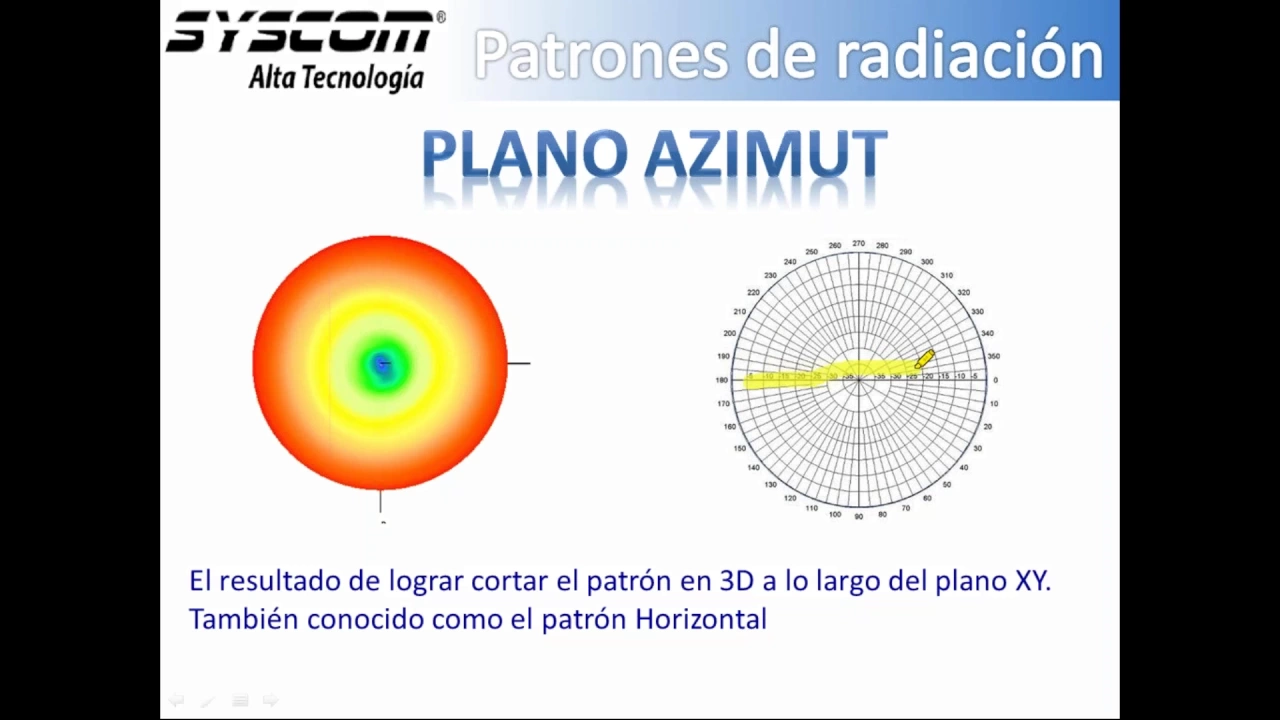
Basic concepts of antenna theory, including gain (measured in dBi), directivity, polarization, and radiation patterns.
The anatomy of a Yagi-Uda antenna, including the distinct functions of the driver, reflector, and director elements.
Fundamentals of transmission lines, characteristic impedance (e.g., 50 ohms), and the concept of signal attenuation in coaxial cables.
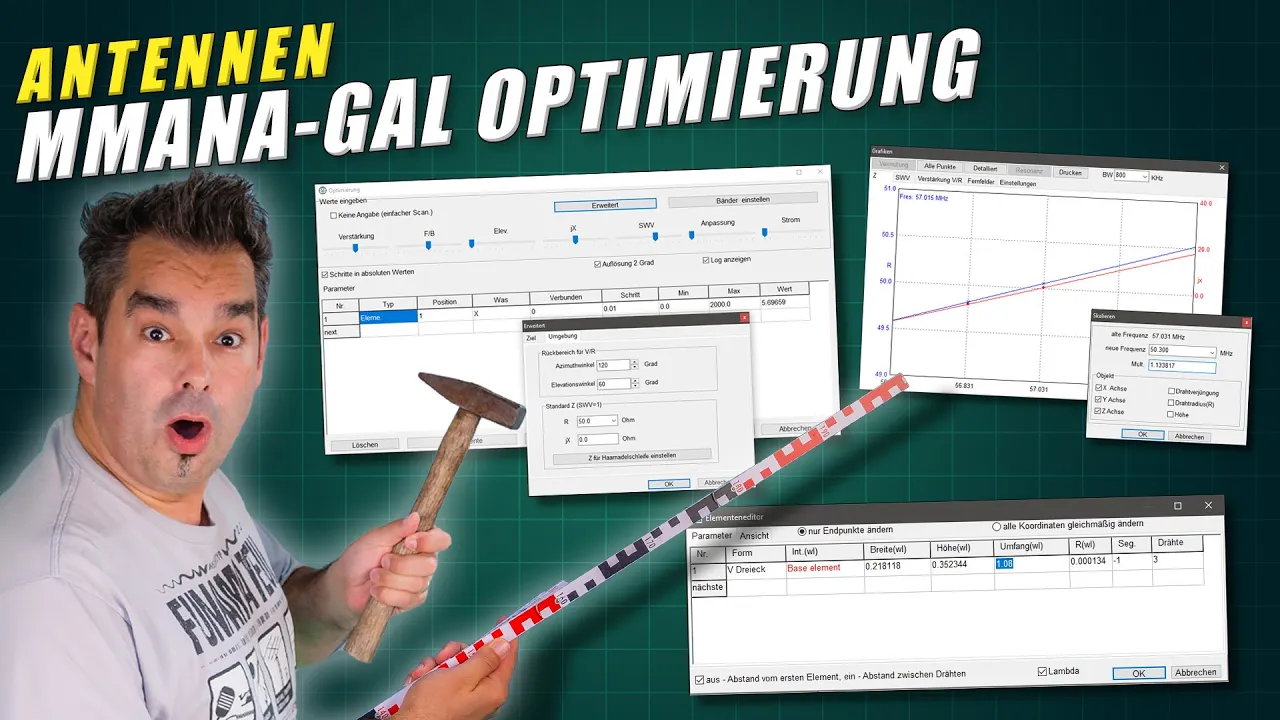
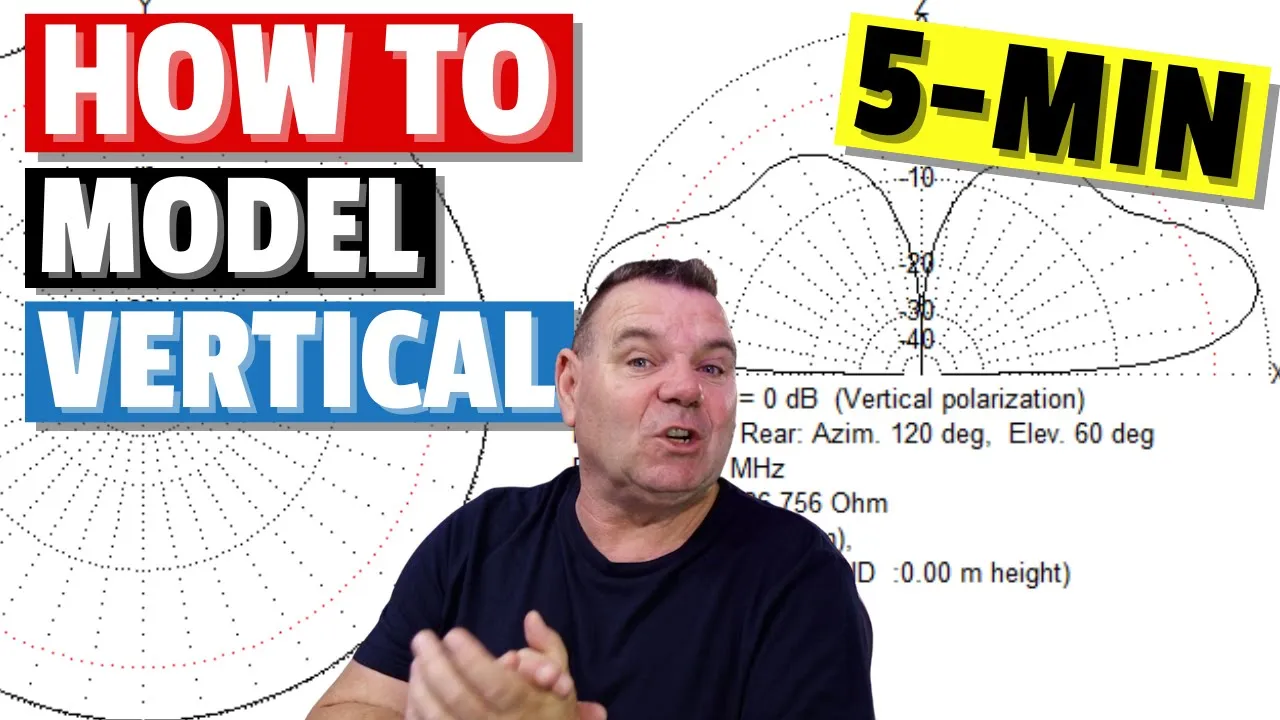
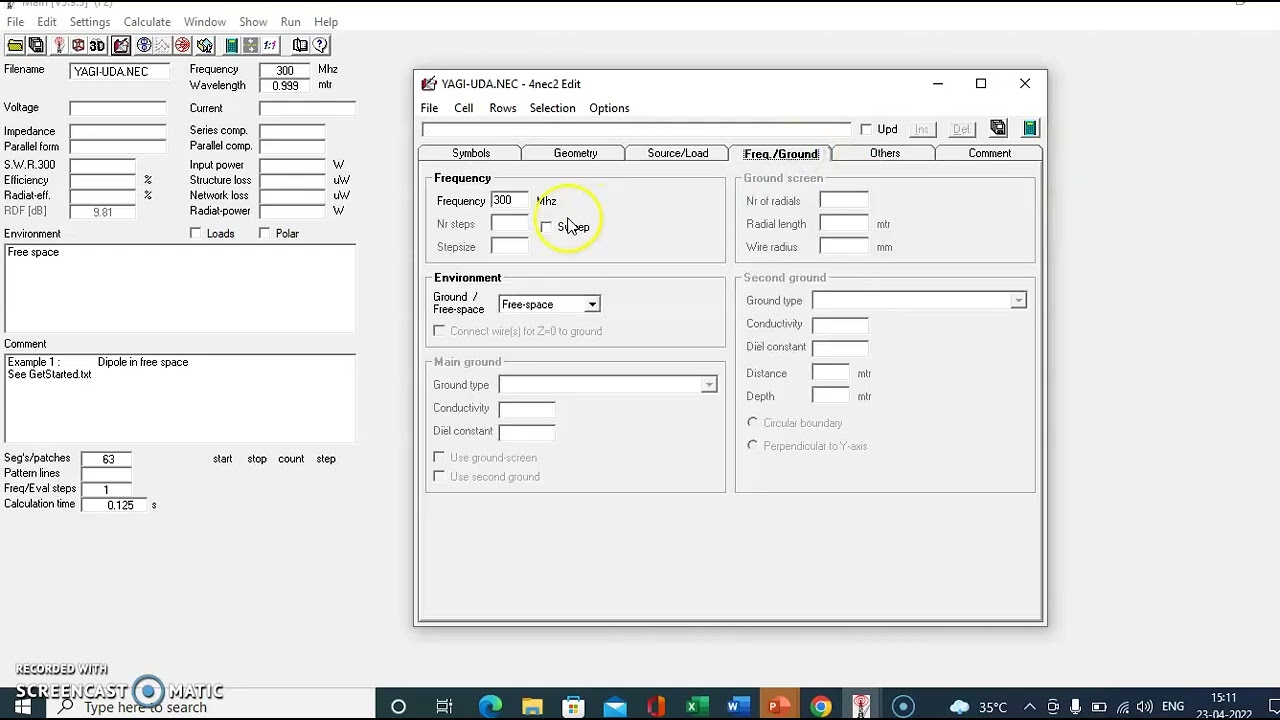
Utilizing antenna simulation software (such as 4NEC2 or MMANA-GAL) to model, analyze, and optimize antenna dimensions numerically.
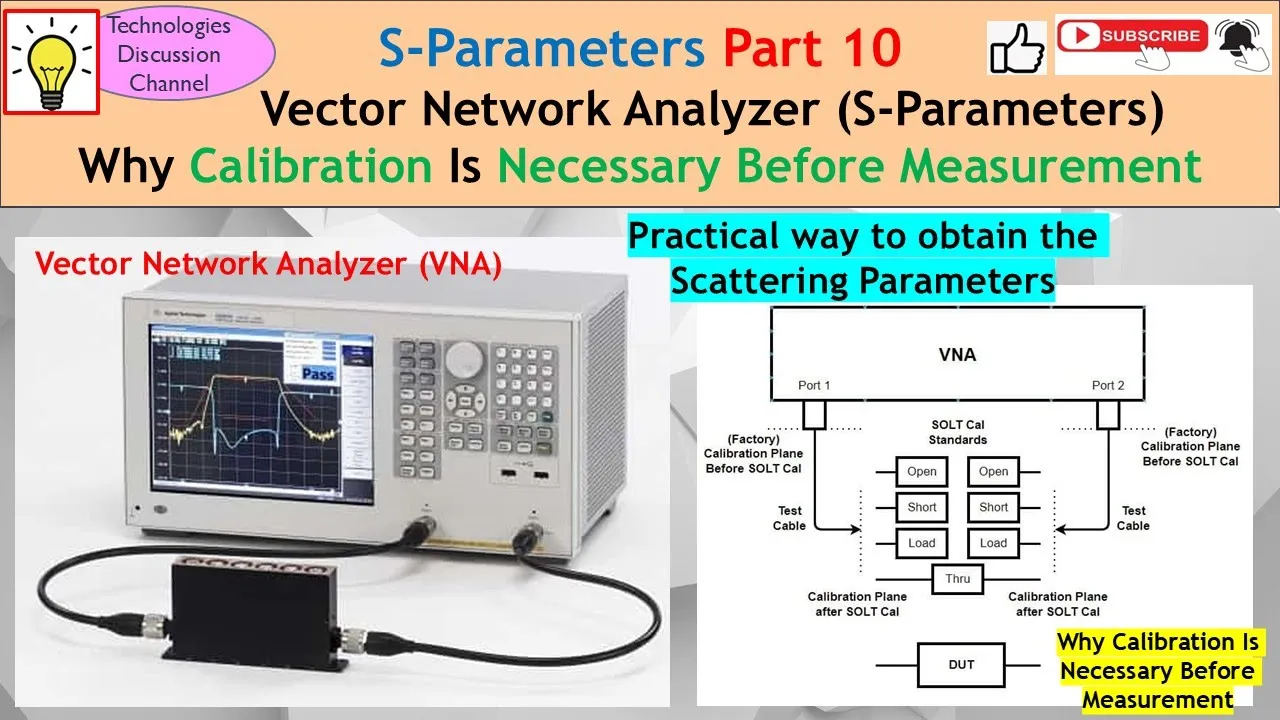
Advanced RF measurement techniques using a Vector Network Analyzer (VNA) to measure S-parameters (like S11 return loss) and VSWR.
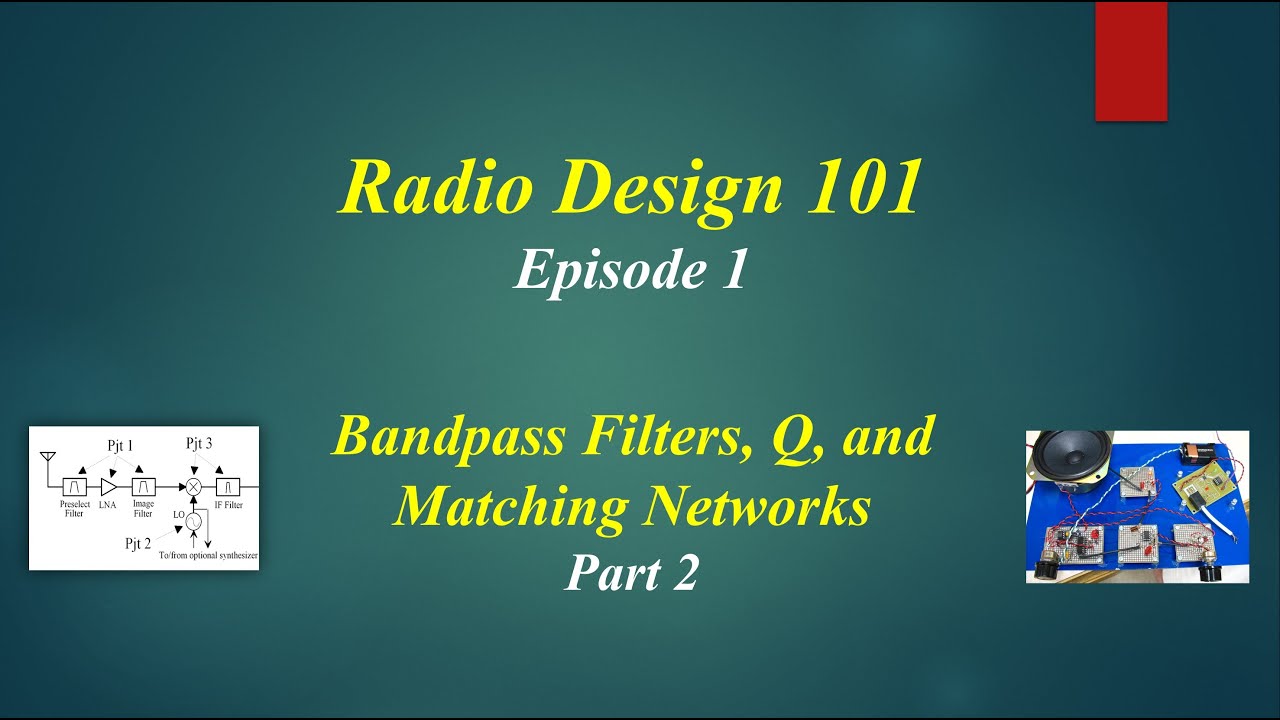
Designing and constructing impedance matching networks, such as baluns or gamma matches, to maximize power transfer to the transceiver.
Exploring active RF components, including Low Noise Amplifiers (LNAs) and power amplifiers, to further enhance wireless range and signal quality.
45.6K views468likes5:18Original Release: 2020-05-31
here's the Wi-Fi antenna I built it works at a frequency of 2.4 gigahertz and it's the yagi style and includes a lot of 3D printed parts and it's mostly metal. It has an SMA connector on the end and I'll show you how I built it.
here's my plan for the antenna there's really no one way to design any antenna but this is how I did it I'll include specific details of my design in the description once I had the design figured out I was ready to put it all together so to hold all the elements as one piece I decided to go with this angle aluminum I had just because it was laying around and then since aluminum conducts electricity I want to keep all the elements isolated to do that I designed some blocks so that I could 3d print so then I was ready to print it out I started by printing just one because I wanted to see if it worked so it took about 10 minutes to finish and when I tried it out it took a little bit of filing but it fit eventually at that point I realized like a print more of them so I printed another 7 of them even though this is a 9 element antenna I only printed a total of 8 of these blocks that is because I wanted a separate one for the the dipole did the driven element which is what you see here it's essentially the same as the other blocks except I cut a notch at the top of it and there was a little bump to keep the two elements the dipole isolated then it was back to filing all of them which certainly took a while but they all fit eventually the good thing about having them press fit is that there's no extra hardware required and they won't move if you don't want them to but you can certainly adjust it if you need to so I was able to get them all on and then for the actual elements of the antenna I used this 2 millimeter diameter garden wire which I cut with an cutting pliers in a bag I did this so that nothing would fly into my eye and then I designed the block so the holes in them was were pretty much 2 millimeters in diameter so that meant that everything was a press fit I usually had to use pliers to help me get him in but after some time I was able to get all the directors and reflector in which is what you see here and then I also spaced all of the blocks apart and then here you could see the two elements of the dipole they're not connected to anything which is why I'm getting this SMA cable I cut a reasonably sized piece I didn't want it to be too long but I didn't want it to be too short either so I cut that and then I stripped it so I could take the ground wire and connect it to one side of the dipole and then connect the signal wire and connect it to the other side and then for a better connection I stripped a little bit more of the wire so I could loop it around the dipole and I also shaved off of it from the element so I could loop the wire around it so then it was time to solder so here it is before I had it all taped up so it was more easy to solder and here disaster I'm just checking all the connections to make sure everything is connected to where I want it to be and also that nothing is connected to where I don't want it to be I was pretty thorough with this but in the end everything seemed to work out and then once I knew that everything was connected correctly I covered everything with hot glue to make sure it wouldn't come apart and then I also colored over the top of the hot glue with sharpie just because I thought it would look better and would blend in with the rest of the blocks and then once I removed the tape I realized that there was some exposed wire so I covered that with electrical tape and then I also put some more hot glue to reinforce it so the wires going to get ripped out and that was it this is the final antenna here I do think there was also some things that could have improved upon the biggest thing probably being my soldering since I don't feel like the garden wire is the best material to solder I don't think was designed for that and then you may be wondering how I'm gonna hold it up I'm just gonna use my third hand I'm not gonna do a hole through it so then I was all ready to test it out to do that I bought this USB Wi-Fi adapter so I could connect the antenna to my computer it has an SMA connector on the end so I could just connect it right to it it looks a lot like a software-defined radio but the thing with most SDR is is they don't work at a frequency as high as 2.4 gigahertz so my plan was to take the antenna and this adapter out as far away from the router as possible which in my case was my deck so that meant that I could test my death pretty much through my entire house then to measure actually how well the antennas performed I used latency which is essentially how quickly the antenna can communicate with my router so when I tried the standard in town came with the adapter I got a little over 150 milliseconds which isn't very good but then again it's going through my entire house and my foundation and then I tested out the I intend I built which is very directional so I don't think I got it entirely lined up but I did had to do some measurements to see how far away it was and I used some basic trigonometry to figure out good angle to point it at and then when I tested that out it was about 107 milliseconds which was definitely better than the omnidirectional antenna that came with the adapter and it was certainly better than the internal antenna on my laptop which was how the latency of well over 300 milliseconds and that was it I hope you enjoyed watching me put this antenna together I certainly enjoyed making it and I'm also going to compare it to another antenna that I made I used an algorithm that I wrote to design an antenna I used Python to do that so keep an eye out for that and thanks for watching you
Up Next

54:48
Smith Charts and the NanoVNA: Antenna Impedance and Matching Network Design
@w2aew
40.6K views•2022-02-24

30:32
Ultrasonic Transducers: Resonant Frequency Measurement and Horn Design
@imajeenyus42
229.9K views•2017-02-22

54:16
Polymer Environmental Degradation: Mechanisms & Stabilization
@iit
1.8K views•2012-07-10

33:39
How a Student's Question Saved a NYC Skyscraper from Collapse
@veritasium
22.8M views•2025-04-26
Related Study Plans & Knowledge Roadmaps
Structured learning paths in Engineering
engineering
Building Acoustic Levitators: Physics & Arduino
01The Physics of Sound and Standing Waves
02Piezoelectric Transducers and H-Bridge Drivers
03Arduino Programming: Generating 40 kHz Signals
+ 2 more learning modules
14h5 modules
Explore Roadmap
engineering
Building Peltier Cloud Chambers: Particle Tracks
01Cosmic Rays & Cloud Chamber Physics
02Thermoelectric Cooling (TEC) Fundamentals
03Custom Liquid-Cooling Loop Design
+ 2 more learning modules
18h5 modules
Explore Roadmap
engineering
Yagi-Uda Antennas: Modeling, Build & VNA Test
01Introduction to RF and Antenna Fundamentals
02Yagi-Uda Antenna Design Principles
03Antenna Modeling and Simulation in 4NEC2
+ 2 more learning modules
18h5 modules
Explore Roadmap
engineering
ECG Monitor Design: Op-Amps, Filters & Noise
01Electronics & Breadboard Basics
02Op-Amps and Instrumentation Amplifiers
03Bioelectricity and ECG Fundamentals
+ 2 more learning modules
18h5 modules
Explore Roadmap