



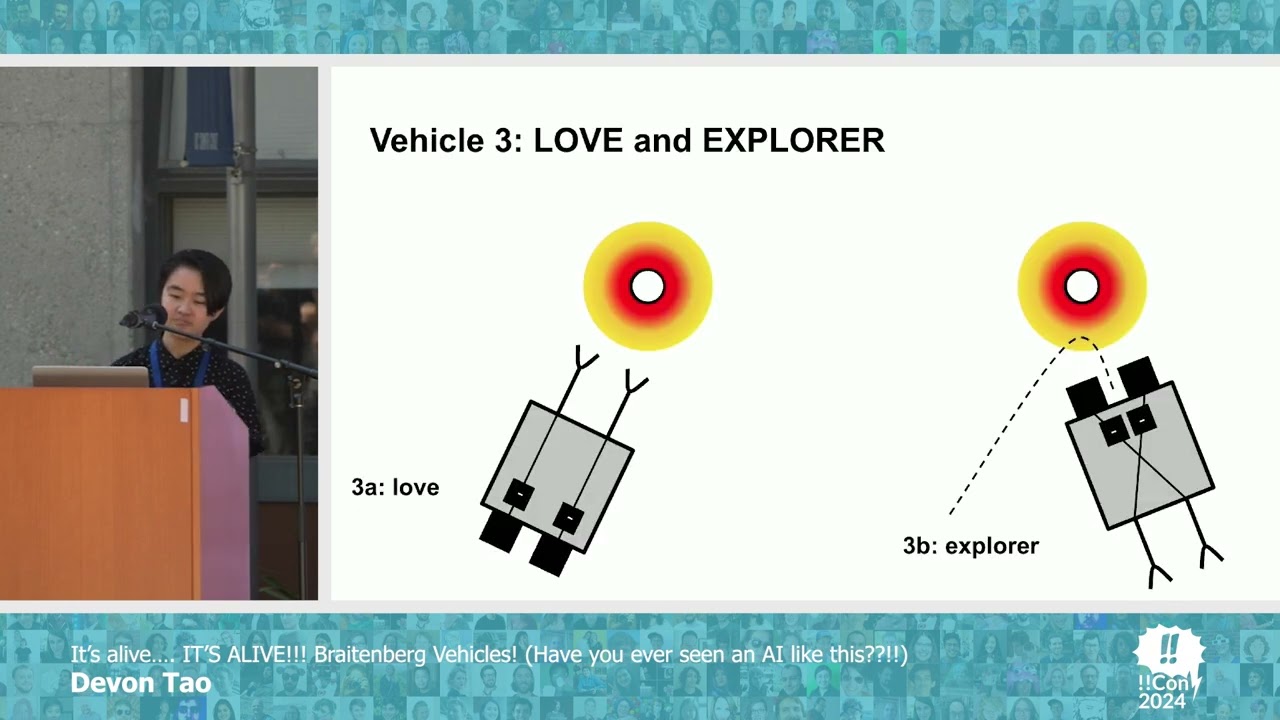












Braitenberg vehicles demonstrate that complex robot behaviors emerge from simple sensor-to-motor connections; by mapping light sensor readings to wheel speeds using different mathematical relationships (direct, inverted, or cross-mapped), robots can exhibit diverse behaviors such as approaching light (love), avoiding light (coward), or exploring environments (explore), showing how abstract principles of neural organization can be implemented in physical robots.
Implementing Braitenberg Vehicles in Python for Webots Simulation
Added:Intermediate Python programming, including object-oriented programming (OOP), control flow, and interfacing with external APIs.
The theoretical foundation of Braitenberg Vehicles, specifically how sensor-to-motor mappings (excitatory vs. inhibitory, ipsilateral vs. contralateral) generate emergent lifelike behaviors.
An introductory understanding of the Webots robotics simulator, including its interface, node structure, and the relationship between world files and controller scripts.
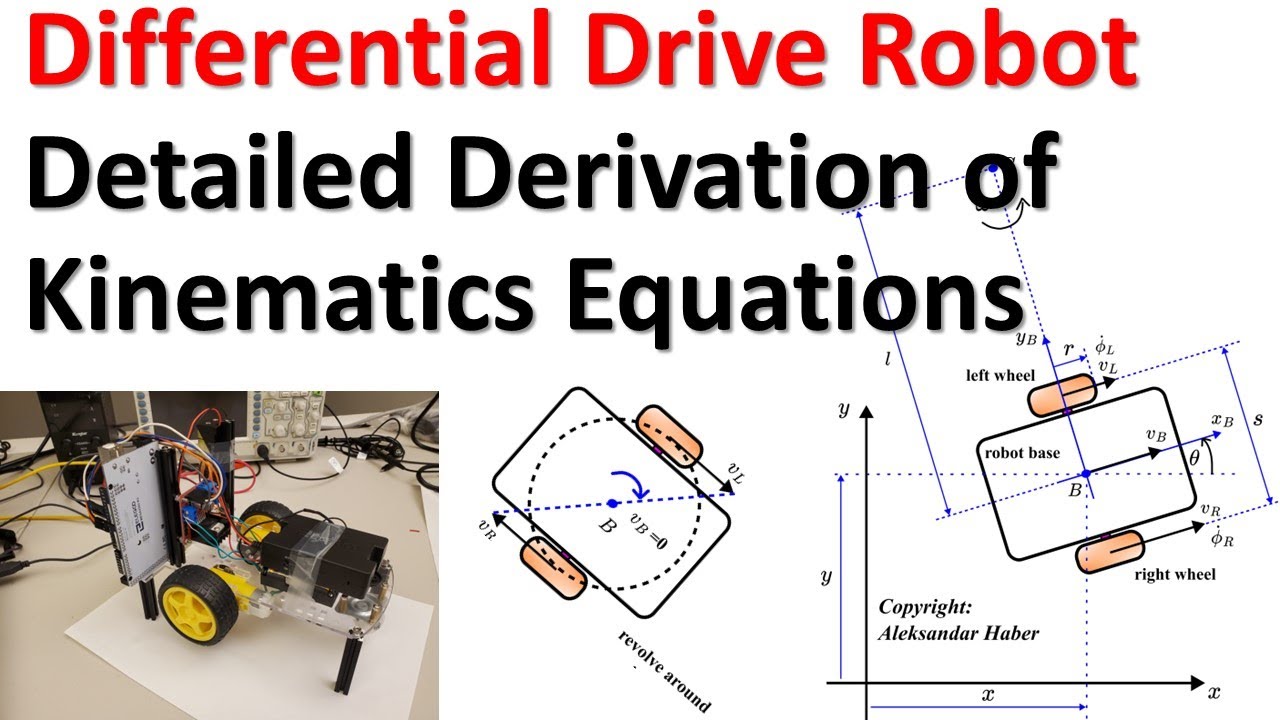
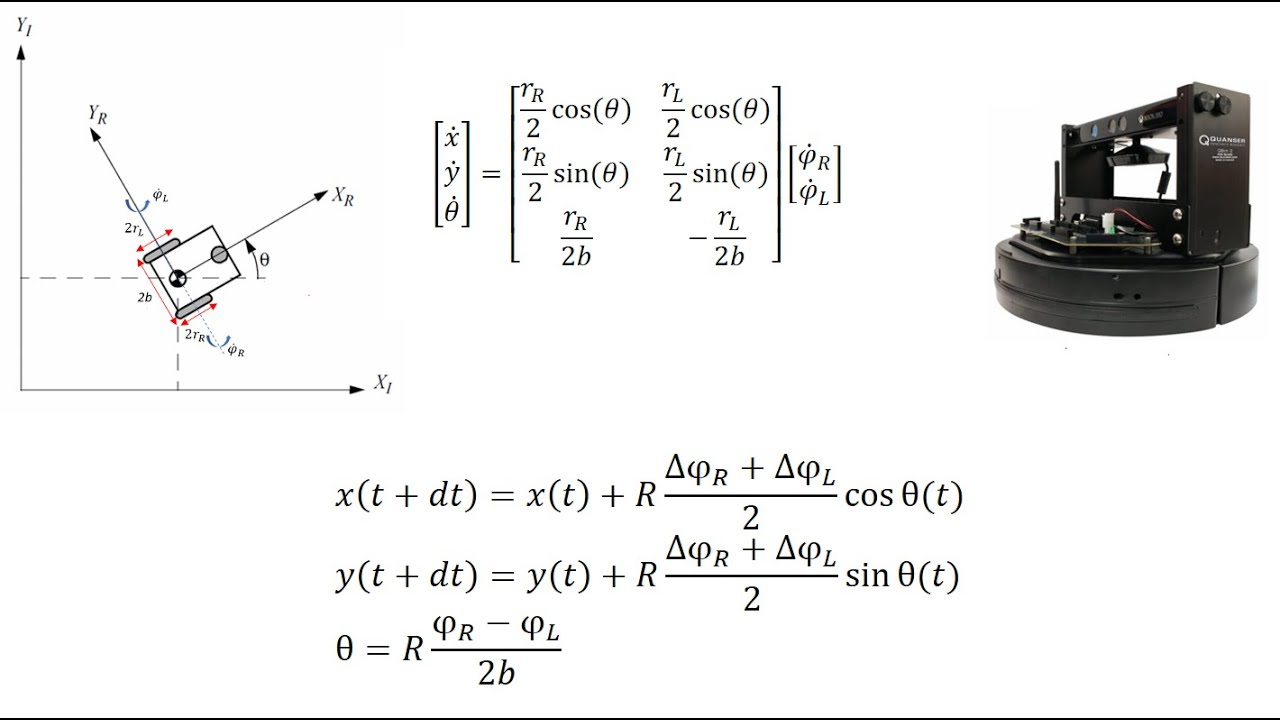
Fundamental concepts of differential-drive robotics, including how manipulating independent left and right wheel velocities controls steering and speed.
Transitioning from reactive behaviors to classic navigation control algorithms, such as PID controllers, wall-following, and finite state machines.
Integrating sensor fusion techniques to process and filter noisy sensor data (e.g., using Kalman filters) for more robust robot navigation.
Applying Evolutionary Robotics or Reinforcement Learning to automatically evolve and optimize the neural weight matrices of the Braitenberg vehicles rather than hardcoding them.
Deploying simulation-tested Python controllers onto physical hardware platforms, such as the e-puck or custom Raspberry Pi robots, to study the simulation-to-reality gap.
4.3K views67likes13:22Original Release: 2021-03-12
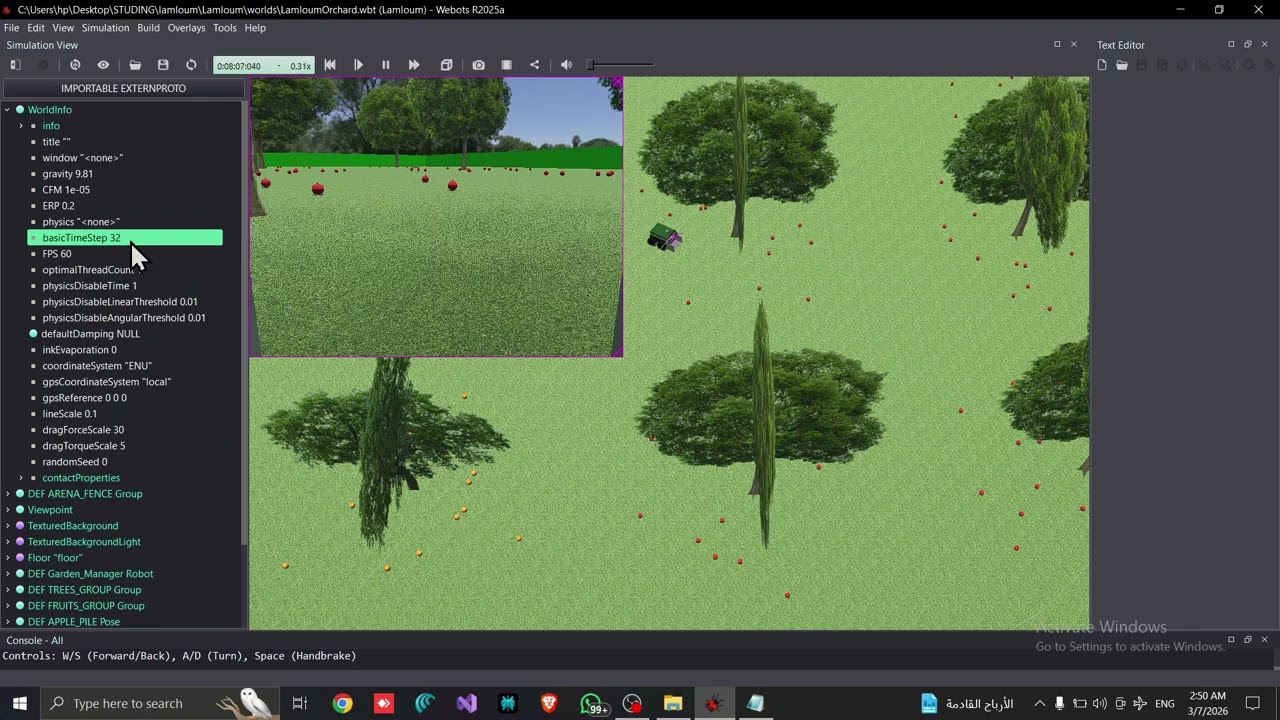
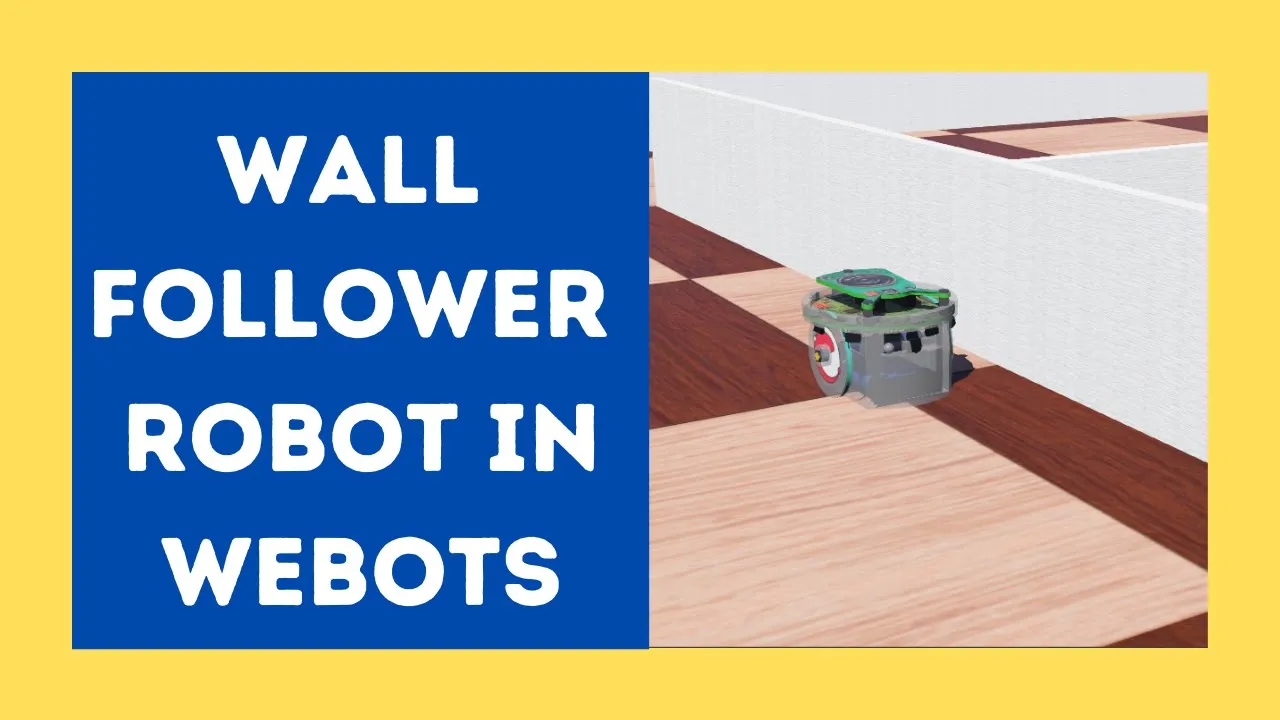
hey everyone my name is kajal and welcome back to another Webots tutorial video in this tutorial we will write a controller code in python for our braitenberg vehicle in Webots i'll include all of the timings and relevant resources in the description below so without further ado let's get into it to write a controller in Webots go to the top menu bar click on wizards new robot controller continue choose python as your programming language and click continue you can choose to name your controller Braitenberg vehicle tutorial click continue and then click done as you can see you'll open a editor in Webots on the right side Braitenberg vehicle tutorial i'll start by writing a main function let's convert time step into a global variable and also create a variable for max speed next as mentioned we'll have to enable all of our motors now if you go to the Webots scene tree and you go under robot children you'll see the four wheels if you click under the wheels under device you should be able to see the rotational motor as well as the name so we have wheel 1 Braitenberg vehicle tutorial wheel 2 Braitenberg vehicle tutorial wheel 3 Braitenberg vehicle tutorial and wheel 4.
let's enable our motors Braitenberg vehicle tutorial i'm creating a list of all the motor names Braitenberg vehicle tutorial now instead of enabling them one by one let's just write a for loop because the process is same i'm using get motor to create an instance of the robot motor we'll move our robot by giving velocity so let's set the position to infinity and the initial velocity to zero Webots tutorial next let's enable our light sensors once again go to the Webots scene tree as you can see we've named them ls left and ls right going back to our webots controller code Braitenberg vehicle tutorial next in our while loop will read the sensors process the sensor data and determine speeds to give to our motor Webots tutorial based on the sensor value we will determine the left and the right speed and give it to our wheels in the Webots world in Webots our left wheel is represented by these two wheels and our right side will be represented by these two wheels if we go on the Webots scene tree we can see that wheel one is on the left side wheel 2 is on the right side wheel 3 is again on the left side and wheel 4 is on the right side so wheel 1 and wheel 3 will get left speed now wheel 1 is at index 0 and v 3 is at index 2.
similarly the right side is represented by wheel 2 and wheel 4 in the Webots world wheel 2 and wheel 4 are represented by index value 1 and index value 2.
Braitenberg vehicle tutorial before moving ahead let's try and see if our code works so far so in your Webots controller code make your left speed and write speed as the max speed make sure to save your code in your vbot scene world under robot go to controller click select and then select a controller code which is braitenberg vehicles click on ok and once again make sure to save your Webots world let's try this by running the simulation we have an error on line 26 it seems i made a typo once again save your code and let's try that again as you can see the robot is moving straight now our current light sensor reading is between 0 to one thousand to scale it to a max speed of ten let's divide it by one hundred Braitenberg vehicle tutorial now let's try different things so now first option we connect our left sensor with left wheels and right sensor with right wheels let's equate the left speed to the left reading and the right speed to the right reading Webots Tutorial make sure to save your Webots controller code click reset and then click on the play sign to run your simulation in Webots to make it easy to see the changes let's print some values make sure to save your code and let's run the simulation again now as a robot moves it's continuously getting the high light intensity and so it's moving fast right from the start to make it interesting let's move the robot a little further out and run the simulation again as you can see the light sensor is detecting different intensity and giving out different speed and once it reached the target the intensity becomes zero and it stops Braitenberg vehicle tutorial you can also move the robot a little further out and change its location in the x direction with this the intensity on the left side and the right side would differ let's run the simulation again as you can see the robot started out pretty slow because the intensity was low now there's a difference between the intensity on the left side and the intensity on the right side this causes one wheel to move faster than the other causing the robot to go away from the light source and eventually coming to a stop as the light intensity is significantly reduced now let's try another model where we switch the left and the right side make sure to save your code and clear the console in Webots once again with high intensity the robot moves straight with full speed towards the light source once it has reached light source and the value has come down to zero the robot stops let's reset the Webots world and change things around a little bit once again let's move the robot further out and also change its location in x direction clear the console and run the simulation Braitenberg vehicle tutorial in this case when the robot was far away and the light intensity was slow the robot was moving slowly as the intensity increased it was able to drive faster once again the difference in the left and the right wheel caused the robot to move differently instead of going straight in the previous case it moved away from the light and in this case it's moving towards the light there's one more interesting way to reverse the relationship between the speed and the light intensity value because we know our maximum is 10 let's subtract the value from 10 and get an inverse relationship Webots tutorial make sure to save your controller code and hit play to run the Webots simulation as you can see the robot is not moving at its current location the light intensity is maximum giving it zero speed and the robot is unable to move let's reset the Webots simulation and move the robot around let's run the simulation again in this case as the robot was very far out it started speeding up the moment it got closer it started slowing down and eventually coming to a stop now let's see what happens if we move the robot in x direction as well such that the light intensity on the left side and the right side is different clear the console and press the play button to run the Webots simulation once again when the robot was further out and the light intensity was low the robots started speeding up but the moment it got closer and the intensity went too high the robot came to a stop interestingly the robot also tried to drive towards the light source Braitenberg vehicle tutorial let's try another simulation where we provide the inverse value to opposite wheels make sure to save your Webots controller code clear the console and press the play button to run the Webots simulation once again the robot is not moving as the light intensity is high let's reset the world clear the console and move the robot i'm taking it further out and moving it in the x direction such that the light incentivity on one side is greater than the other press the play button to run the simulation in Webots Webots tutorial this time around the robot drove away from the lights for source and as it got further and further away and the intensity reduced it was able to speed up more and more so there you have it braitenberg vehicles simply by changing how the light sensor source is connected to the wheels you can change the behavior of a robot thank you for watching and i hope you found this video helpful if you enjoyed this video make sure to give it a like and if you haven't already don't forget to subscribe and hit the bell notification if you have any questions feel free to use the comment section thank you for watching and i'll see you in the next video you Braitenberg vehicle tutorial
Up Next

30:59
Designing a Simple ADSR(-ish) Envelope Generator From Scratch
@MoritzKlein0
87.4K views•2021-06-14

30:32
Ultrasonic Transducers: Resonant Frequency Measurement and Horn Design
@imajeenyus42
229.9K views•2017-02-22

54:16
Polymer Environmental Degradation: Mechanisms & Stabilization
@iit
1.8K views•2012-07-10

33:39
How a Student's Question Saved a NYC Skyscraper from Collapse
@veritasium
22.8M views•2025-04-26
Related Study Plans & Knowledge Roadmaps
Structured learning paths in Engineering
engineering
Building Acoustic Levitators: Physics & Arduino
01The Physics of Sound and Standing Waves
02Piezoelectric Transducers and H-Bridge Drivers
03Arduino Programming: Generating 40 kHz Signals
+ 2 more learning modules
14h5 modules
Explore Roadmap
engineering
Building Peltier Cloud Chambers: Particle Tracks
01Cosmic Rays & Cloud Chamber Physics
02Thermoelectric Cooling (TEC) Fundamentals
03Custom Liquid-Cooling Loop Design
+ 2 more learning modules
18h5 modules
Explore Roadmap
engineering
Yagi-Uda Antennas: Modeling, Build & VNA Test
01Introduction to RF and Antenna Fundamentals
02Yagi-Uda Antenna Design Principles
03Antenna Modeling and Simulation in 4NEC2
+ 2 more learning modules
18h5 modules
Explore Roadmap
engineering
ECG Monitor Design: Op-Amps, Filters & Noise
01Electronics & Breadboard Basics
02Op-Amps and Instrumentation Amplifiers
03Bioelectricity and ECG Fundamentals
+ 2 more learning modules
18h5 modules
Explore Roadmap