




![المراجعة الأخيرة [ كل الدروس ] الدقيقة 120 🥅](https://i.ytimg.com/vi/Lg330592dto/maxresdefault.jpg)







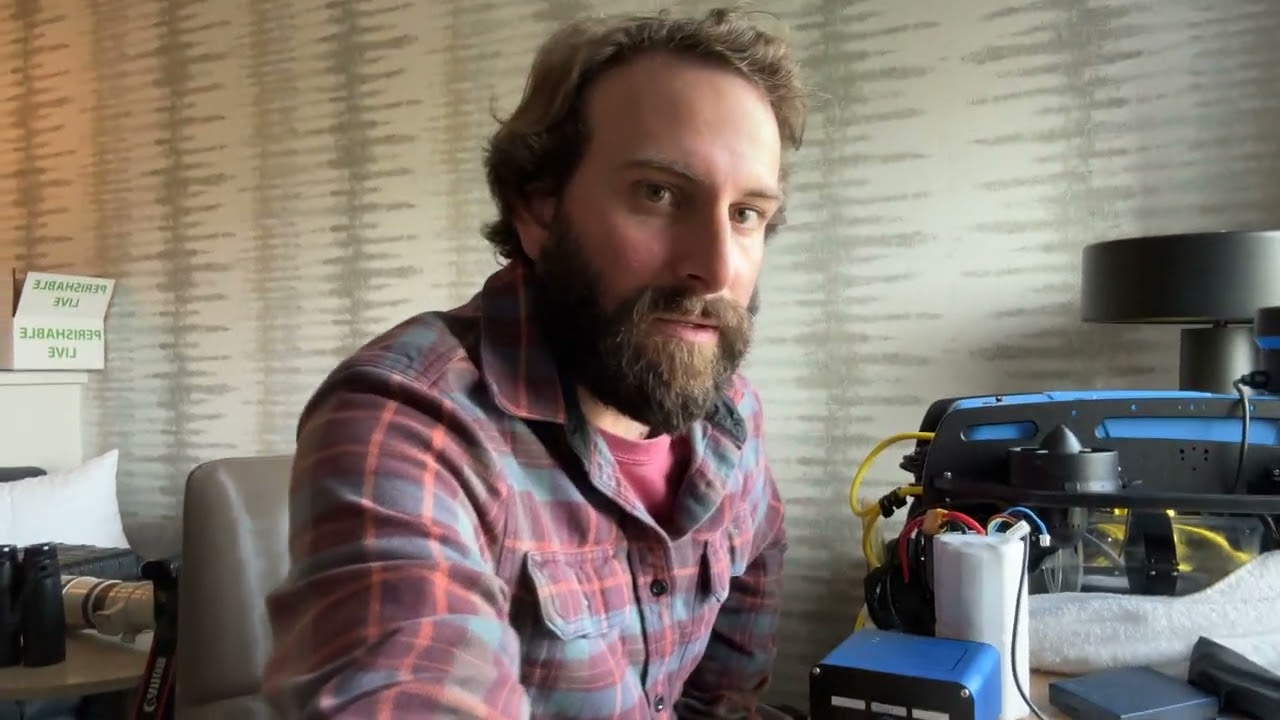











Building the BlueROV2 submersible requires careful attention to component orientation (front/back identification via light cutouts), proper screw tightening to avoid cracking HDPE plastic, correct motor rotation direction identification, and thorough watertight seal testing using a vacuum pump method; the process involves assembling the frame, installing electronics (Pixhawk, motors, camera), managing cables, adding buoyancy foam, and mounting the tether system before final submersion testing.
BlueROV2 Amateur Submersible Build Guide: Advanced Assembly
Added:Basic DC electrical circuit theory, including voltage, current, polarity, and safe wire crimping/soldering techniques.
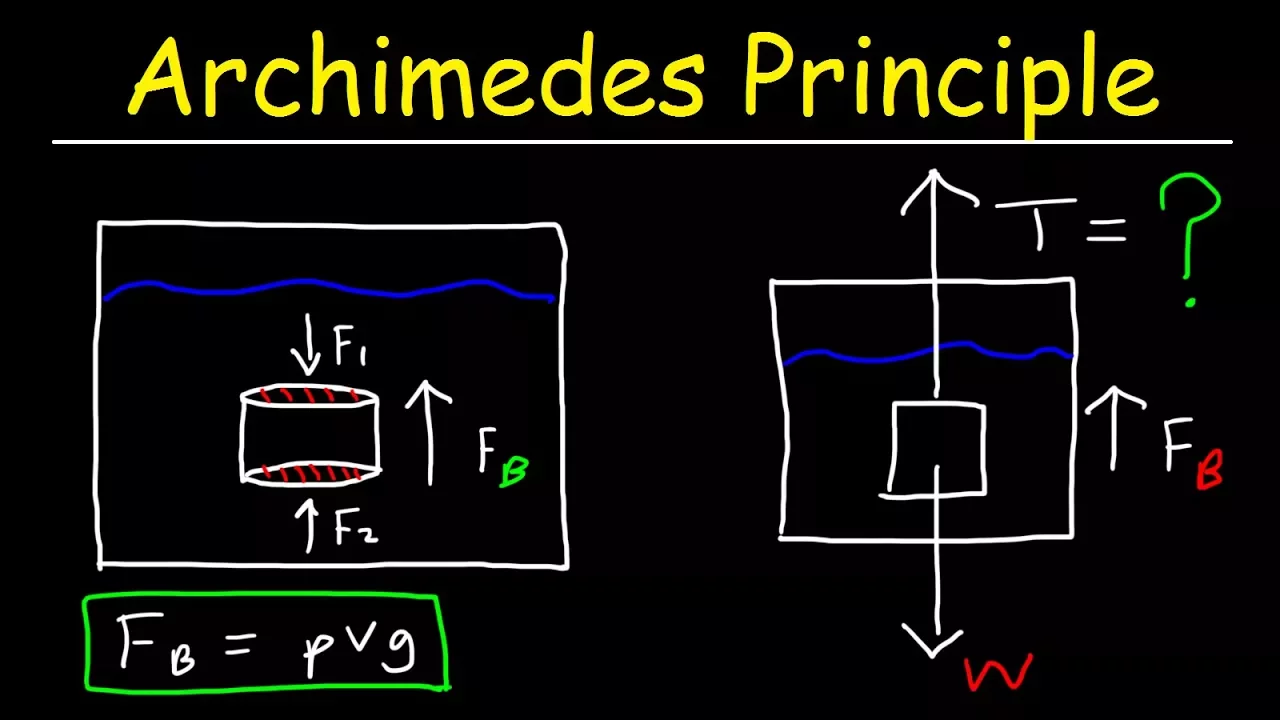
Fundamentals of fluid mechanics, specifically Archimedes' principle, buoyancy, displacement, and center of gravity versus center of buoyancy.
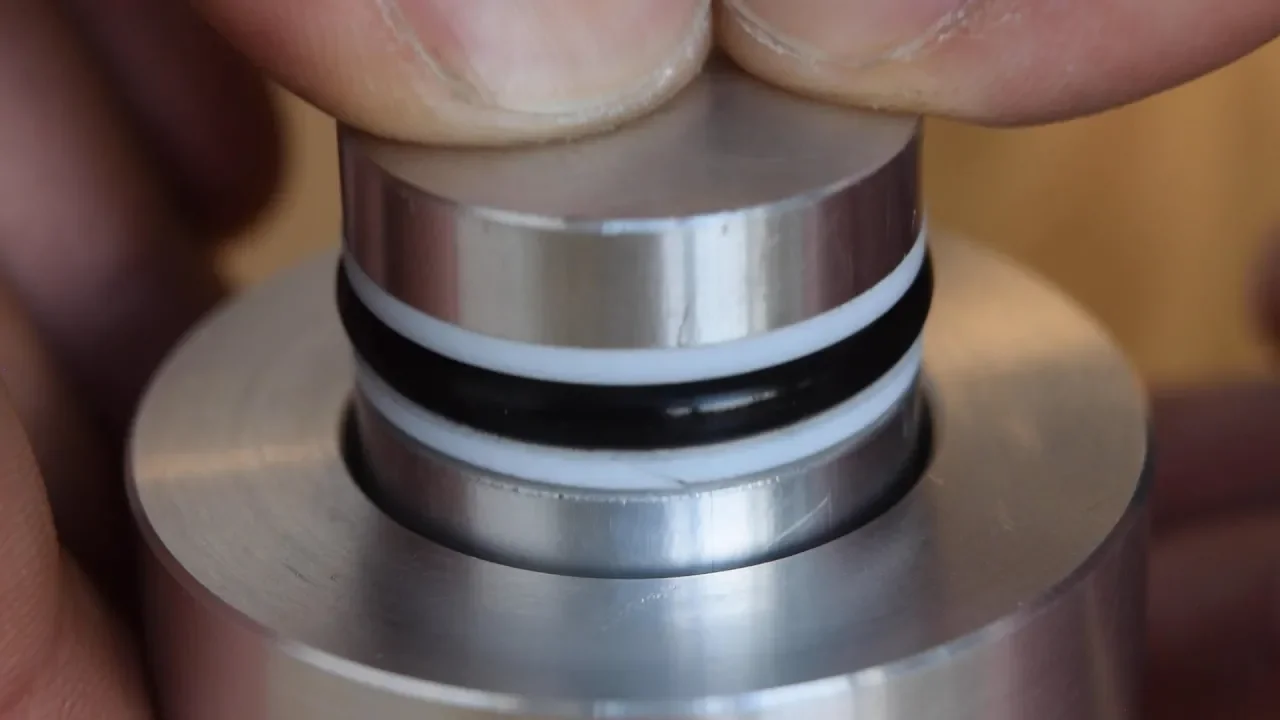
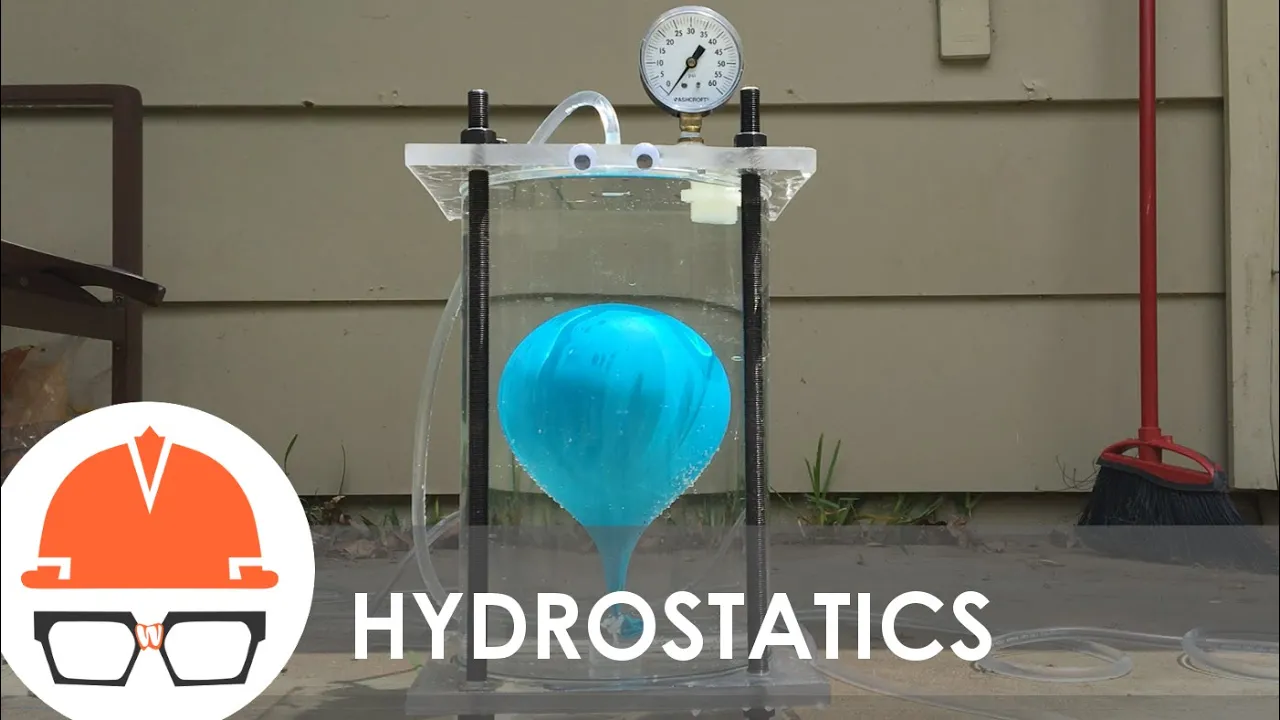
Principles of hydrostatic pressure and marine sealing mechanisms, such as O-ring lubrication, face seals, and cable penetrators.
Introduction to modular robotic control systems, microcontrollers, and electronic speed controllers (ESCs) used for thruster actuation.
Software configuration and calibration of underwater vehicle firmware (e.g., ArduSub and QGroundControl) for sensor alignment.
Methods for performing vacuum leak testing and in-water ballast and trim tuning to achieve neutral buoyancy.
Integration of auxiliary payloads, such as acoustic pingers, scanning sonars, and robotic manipulator arms.
Transitioning from manual piloting to autonomous underwater vehicle (AUV) operations using the Robot Operating System (ROS).
77.4K views962likes20:33Original Release: 2017-06-05
hello youtube and welcome to this build guide for the blue ROV - unfortunately there will be no unboxing because the box that the ROV came in was too large to put in the frame however here's a view of the box that it arrived in the blue ROV itself arrives in one of these boxes and if you order any accessories such as the payload skid an identical box that this one will also be shipped the first step is to assemble the paper babe it's quite nice because all the screws are actually labeled so it isn't too difficult to find them so here we are at 4 by 14 and it tells you the screw sizes and where they go as well you have to use Loctite which is this special removable adhesive that you put on the screws in order to prevent them from shaking loose so the manual just says to put a drop of Loctite on the bottom of every screw that you screw in to prevent any damage later on so just a small drop and that should be sufficient and that also says to just roll around on a paper towel to remove any excess so like this [Music] the short-term four screws just put them into the recess and screw them in very nice and easy and perfect fit so just three more to go [Music] now you don't want to over-tighten the screws either because this plastic HDPE I think it is might actually crack on if you put too much pressure so just tighten but not overtighten okay that is the first step complete so after doing that what the manual has to do is to actually install the battery tube itself and the top part of the bracket as so I'll get the battery tube so here's about YouTube it comes assembled like this in order to top of the covers all you do is you just push it off and I would assume that since it goes underwater the pressure will of course be greater on the exterior so that is the reason why no folding mechanism is needed to retain bees because of course the pressure of the water will be pushing upon them so actually securing them further but anyway to secure this just simply put it roughly in the middle and use the smaller screws which are these ones use them to secure the four holes around the bracket and I can see from the manual that two of them will go from under and on the other side they will go from over [Music] I'm just trying to get them level also the spacing on either side is actually the same [Music] and there we go as a battery tube is now secured now the manual wants you to install the center kernels so actually we're going to set this aside for a moment and get out the other parts so I'm going to now ask for the manual take the ones with the openings and place them like so and now screw in the screw in the bracket like this so here we go m4 so slightly larger [Music] along types done put the screw in from above answered and very nice and simple okay and now the same exact thing for the other side we've got the two of two sets of central panels completed so the next step is to assembly frame here the frames and they go like this however it's important to note that the frame you can tell the front from the back by looking at these cutouts which are for the light so you want that facing the front and the front overhears this side so they'll be positioned as so there we go foresters now completed I'll just adjust the camera slightly uh yeah okay that looks better forest is completed so I'll go ahead and mount the one of the side panels so once again are the opening for the lights should be at the front so it'll look something like this it's quite a big piece so it's quite difficult to get it to frame but I think it's small to run [Music] another thing to mention is that on the instruction manual it says it is very important to avoid over-tightening these screws so yeah just tight but not too tight ok and so at the front end you want to have the oh of course now we're assembling the center panels so as I was saying at the front end you want to have the panel's without the holes so like this and on the other side you have ones with the holes [Music] [Music] and there we go the sender panels are mounted now that they're put in place that's the frame is actually a lot more rigid so there's no way I'm going to be able to bend this whereas when they were not here it was of course a lot weaker okay so here's the electronics cube I have the advanced electronics kit which has the Raspberry Pi and the operated camera so taiji beam which isn't that great so I'll still be using my GoPro on the bottom of the ROV but it's better than the 720p analog camera which comes with the standard kit anyways to remove the electronics base from the actual enclosure take your fingers like this and just push over here there are slots which you can put a flathead screwdriver into it to make it easier but I don't really want to dent the acrylic tube so I'm just going to use my fingers hopefully there we have okay and here are the electronics first thing new according to the manual is to remove these screws over here so all around there should be six screws okay so the end cap is off and they both look really solid this isn't going to break anytime soon um once you remove the end cap it says to actually install the moocher penetrators so yeah I'll bring out the motors and I'll do that now in order to install three motors you actually have to figure out which type of motor each one of them ADA's so there are forced to types are clockwise and counter clockwise this one is anti-clockwise so counter clockwise and you can tell that because we if you look at it this way the topmost part of the blade is actually to the left hand side are rather than to the right hand side it might be a bit difficult to see ah but if you look at the pictures on the instruction manual I'm sure you'll figure out the instruction manual also gives you a full of view of what the back plate should look like so it's not too difficult or tense all everything [Music] [Music] what you want to do is take the silicone grease so just apply a small amount on the o-ring not too much not too little just enough to coated and wrap the other side and just put the o-ring into its a little indent on the Patrick and then just put it in pretty sure all the connectors are in the correct places so I'll go ahead and tighten them I develop novi blue ROV actually came with its own penetrator tightener so I ordered one as well an extra one but I didn't know that at the time so now I have two so just bear that in mind when ordering the lure we will actually get your own penetrator tighter regardless [Music] at this point I came to a standstill in the assembly process because in the instruction manual there is no documentation about how to connect the pixhawk to all the wires coming out of the back plate as the kit is designed to be assembled with the pixhawk already installed if you're going to provide your own pixhawk then you're going to need to connect every individual wire to it correctly and since there's no documentation you're going to have to use several diagrams which are shown here on the screen in order to figure that out using these diagrams you can figure out which ESC goosed which port on the pixel so using the main output pins on the pixel you can wire off pin one to motor one pin to the motor to and etc this does of course sound pretty straightforward and easy to do however the problem comes when you're trying to determine which wire comes out of which ESC because all the wires seem to be coming out of one place and it's very difficult to tell which one is which in order to solve this minor issue blue robotics could easily just label the various ESP wires and that would completely alleviate the problem but for the time being a bit of trial and error will have to take place what I did was connect all of the motor wires that are pixhawk and then disconnect them one by one marking each time which more stopped working that way I would know exactly which wire went to which murder okay so it's an hour or so later and I finally managed to connect up the electronics so hopefully everything sparked up in there correctly now according to instructions are the next thing to do is to actually mount the electronics or to on be on the frame of the ROV the frame will go this way just like just like this so now what I'll do is install the electronics peg onto the trail so it's slightly different from the battery bay because actually this time the endcaps will be secured using screws not just relying on pressure there we go the electronics bay is now secured next up is the motors on the left hand side middle over here we have one clockwise propeller so let's see essentially the way it'll mount is it'll go like this I'll go ahead and secure that now so this one is complete now I'll mount the other lateral thrusters on the left hand side [Music] okay so there we go finally I've got the six thrusters installed there's quite a lot of wiring just hanging around it'll be very important to do some cable management here because as you can see the cables from the water from the motors are absolutely everywhere it looks like the next step of the process is to actually install the underwater lights it appears the Illumina lights are actually not screwed into place instead they use rubber bands these kind of earrings in order to hold them in place so first things first is to install the the bracket for the o-ring to hold on tape okay so it's an hour or so later and I finally managed to cable manage all of the thruster wires and light wires so mostly what I did is I wrap them around these openings and zip-tied the coils into a neat pattern and for the lumen lights I just added them like this I'll get some more photos linked in the description below so you can exactly see where the fires were going but yeah you won't be able to see anything like this so I'll just take some photos later on okay so that is pretty much everything apart from the ballast and the floatation actually small change of plan I used some of these holes such as these ones and this one in order to cable manage actually what they're for is to install the special foam so that's wrong so I'll have to do that in order to make the film fit there we go the ROV is finally properly cable managed so now for the synaptic foam I believe it's called anyway the plastic enclosure I just has this kind of foam it's quite pretty dense but it won't implode when it's at extreme depths so that's why it's pretty heavy anyway it just slides in here and the idea is that you put like this and it should remain flush but actually I see a bit of an issue these screws over here are going to prevent that and on all four sides it's the same and also be the zip ties will also prevent it from being flushed so I'm just going to try to figure out how I can solve this problem unfortunately I did not find the fix for this problem so perhaps the idea is that you skewing the enclosures so tightly that the foam would deform around the screws although I'm not completely sure on blue robotics website you can see that the enclosures are actually completely flush with the panels so I'm not quite sure how they go to that stage self-tapping screws are used to install the buoyancy foam so just bear in mind that it's going to be a little bit more difficult than using normal machine screws and unfortunately I actually stripped several the screws whilst installing Ruby buoyancy foam so perhaps in the future of blue robotics could actually replace these with hex screws because currently there philips has ones in order to prevent this issue because right now I won't be able to remove the foam it mean it another important thing to do is to ensure that the tether is correctly mounted so as you can see the tether penetrator goes out of here and the teller as I have routed it right now goes around this special plastic piece that will later have it clamp like this using zip ties the reason for this is because of course the penetrator its watertight but unfortunately it can't hold that much pressure so when you pull on the penetrator it could come loose so instead of applying pressure to the penetrator using this piece with the cable wrapped around it it will apply pressure on the frame instead of on the penetrator the last thing to do before submerging your ROV is ensuring that all of their housings are in fact watertight to do so unscrew all the pressure vents there are two of them one on each housing and assembly your vacuum pump blue robotics will provide you with the connectors so this part over here a second identical piece and the 3-way connector however you will have to survive your own pump they aren't very expensive I think mine costs $15 off of ebay anyway simply plug each of the connectors into each of the ports and pump the pump until it gets to are this number 10 and now let it sit for roughly 15 minutes as long as the dial does not fall below 9 then the seals are watertight enough overall I would say that the build of the ROV is not particularly difficult and total it took me four to five hours to complete and unfortunately there were some issues mainly with the buoyancy foam however no critical errors in the actual assembly process which is always nice a full review of this new RV will be posted on this channel very soon so please consider subscribing and hopefully exceed in another video [Music] [Music] [Music]
Up Next
22:34
Blue Robotics Cockpit GCS: An In-Depth User Interface Review
@philparisi_
7.5K views•2024-10-16

12:54
Triumph of Orthodoxy Icon: Byzantine Art & History Explained
@BenCallan
2.1K views•2024-08-06

9:49
FastAPI vs Flask vs Django: Choosing the Right Python Web Framework
@TechWithTim
302.5K views•2024-05-26

1:42
Game of Thrones Opening Credits: A Cinematic Analysis
@gameofthrones
46.3M views•2011-04-18
Related Study Plans & Knowledge Roadmaps
Structured learning paths in General & Interdisciplinary Studies
general-studies
Elevator Engineering: History, Physics & Cities
01From Hoists to Safety Brakes: The Dawn of Vertical Lift
02Hydraulic vs. Traction: The Engineering Physics of Elevators
03Modern Speed, Safety, and Algorithms
+ 2 more learning modules
12h5 modules
Explore Roadmap
general-studies
Rubber: Material Science, History & Geopolitics
01Origins of Natural Rubber & Mesoamerican History
02The Chemistry of Natural Rubber & Vulcanization
03The Geopolitics of the Rubber Boom & Colonization
+ 2 more learning modules
12h5 modules
Explore Roadmap
general-studies
Containerization: Evolution, Logistics & Trade
01Ancient Trade & Bulk Cargo: Amphorae to Barrels
02The Industrial Revolution & Cardboard Packaging
03The Containerization Revolution: Malcom McLean
+ 2 more learning modules
12h5 modules
Explore Roadmap
general-studies
Textile Tech: Evolution, Labor & Global Impact
01Pre-Industrial Textiles: Handloom & Cottage Industry
02Mechanization: The Spinning Jenny to the Power Loom
03The Factory System & Global Labor Transformation
+ 2 more learning modules
10h5 modules
Explore Roadmap