














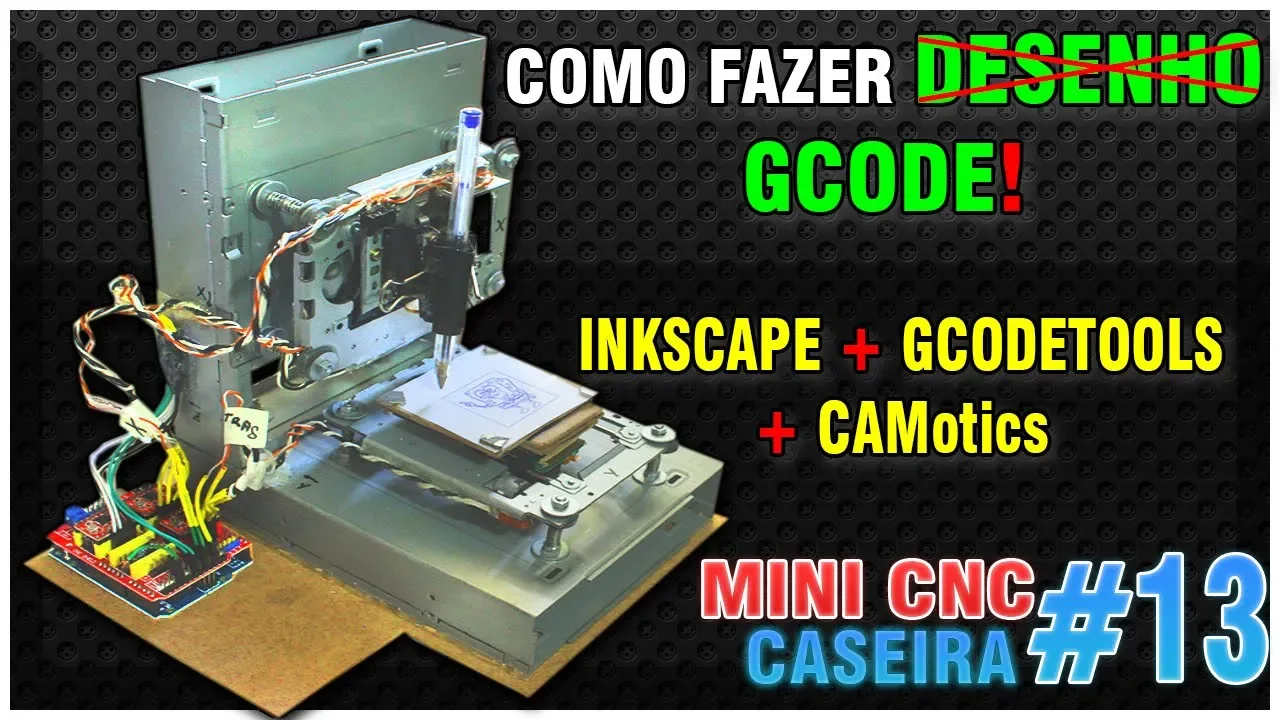






This tutorial demonstrates how to convert Inkscape vector designs into CNC machine instructions using the Gcodetools extension, covering key steps including setting document units and boundary dimensions, configuring orientation points for machine coordinates, converting text to paths, defining tool parameters (diameter, feed rate, depth), generating area toolpaths with offset functions, and exporting the final G-code file with safe height and depth specifications.
G-code Tools Tutorial Part 1: Inkscape Setup and Engraving
Added:Basic concepts of Vector Graphics: Understanding paths, nodes, and the difference between vector and raster formats.
Fundamentals of G-code: Knowing what G-code is, how coordinate systems (X, Y, and Z axes) work, and basic command structures.
Core Inkscape operations: Familiarity with drawing tools, path modification, and especially the 'Object to Path' function.
Basic CNC machining principles: Understanding concepts like feed rate, spindle speed, and depth of cut.
Advanced G-code Tools features: Learning how to create area pockets, 3D surface contours, and handling multi-tool operations.
G-code simulation and verification: Using external tools (like CAMotics or NCViewer) to visualize and troubleshoot toolpaths before physical execution.
Material-specific feed and speed optimization: Adjusting machining parameters for various materials like wood, acrylic, or soft metals.
CNC Machine Integration: Setting up a G-code sender (e.g., UGS, Candle) to execute the generated files on physical hardware safely.
84.5K views694likes12:03Original Release: 2012-05-23
Okay, here's a quick G-code tutorial using Inkscape and a neat extension called G-code tools. If you do a search on Google for G-code tools, you'll probably come up very quickly uh code tools. First link is this plugin. And here's where you can download it.
Uh the tools are here. You could unzip it. Even though I'm on Windows, I can handle a GZ and Atarara. I just use sevenzip and I I put it in the right place. It tells you how to install it. I want to get to actually how you use it though once it's installed. Here is uh Inkscape and forgive me I'm American. We use inches a lot over here still. So I have gone to document properties and I've set my default units to be inches.
But all this works with millimeters if that's what you like to use. It's really not a big deal. Uh I've also set my uh boundary my width and height of my page in Inkscape to a custom size that represents the addressable area that my engraver can hit. I have kind of a small engraver that I'm using for small things. So that's keeps me uh that border there will change to those units or to those sizes uh as soon as you type them in. Kind of keeps you uh honest.
Make sure you're inside and gives you an idea of scale as well. All right. So actually let's get started. Also, by the way, under extensions, G-code tools, that's where you'll find it. I'll be going here a lot over the course of this tutorial, and you'll see. Okay, so let's say I want to draw a rectangle. This is not an Inkscape uh tutorial, by the way.
There's plenty of Inkscape tutorials telling you how to draw shapes and so forth. I'm just going to assume you know how to draw circles and squares and so forth. Uh here's a square. Why don't I lock it down to a specific shape? I'll make it or size 2 in by 2 in. Enter.
There you go. And I'm okay with those rounded corners. They look good. So, that's a good start. And what I'm going to do next is uh let's make some text.
I'll click here the font and I don't know my name's Matt so we just put an M in there. Make it a little bit bigger and let's make it a more interesting font.
Uh that's fine. Sure. Okay. I'll hit close.
So let's use this as a starting point.
Let's say you want to engrave this. You want this to be engraved as well as the M itself. Well, the path here is no problem. Uh there's really not much to do with that. But the M is a is a font.
We have to turn that into paths. Well, luckily the G-code tools uh takes advantage of a neat uh of the offset tool built into Inkscape to make this not too difficult. But before I do that, I need to set some ground rules for how G-code tools is supposed to work. I'm going to go to extensions. I'm going to go to G-code tools. And the first thing I do is I do orientation points. I click on that. I don't know what these other things do, uh these other options, but I keep this here as such. And uh here's where you set where the beginning of your surface is. Um the zero point, where does your surface that you're engraving start on your Z-axis? And then how far down into it total are you going to go? Um you might have to take several steps to get there. We'll cover that in a minute. But the ultimate uh depth will be right there. Again, your inches, your units here. I'll hit apply. And it just throws down those two coordinates.
Notice the depth down here. First of all, 00 and 5 0. This five does line up with the five on the axis. So it's that's that location. But there's your depth of 625 and negative is conventional what you usually drop down to. So and that's what my machine works.
So I'm going to leave it like that. You could if you wanted to if you wanted to change the depth let's say 75,000 75,000.
Um you could do that. No problem. So we've done our our orientation. Next thing we're going to do is go to G-code tools and then also uh go to tools library. We're going to associate a tool with this uh path that we're about to do. I'm not sure what these guys do. I'm just going to click on default and hit apply. And what it does is it actually spits out a uh somewhere. There it is.
This green box.
And you can identify the tool. You'll see that in your your tool path. I don't really care what the name of the tool is. Diameter. I do care. And I'm in inches. So 10 inches is a big diameter.
That's not what I have. I have a 10 thou actually. Pretty small tool at the moment. So, I'll just stay with that.
Uh, your feed when you're walking your your tool around. Uh, is it 20? I I'm doing 20 inches a second. Finally, the uh if you're passing, moving around. You can go a little faster uh above the surface. But here's what's really important here. Your depth set. How far down can the tool drop through the part uh each plunge? Uh you obviously sometimes you can't go all the way the whole depth. Uh I'm going to say my engraver can go uh let's say 10,000. I haven't really experimented yet, so let's just go with that. Notice if I can only go 10,000 per step and I'm going a total of 75, I'm gonna have to do many uh uh passes to get to that ultimate depth. You'll see that happen in a second. Okay, so tool is defined. Um the uh I don't know what a lot of these other things do, so I'm just going to leave that alone. Let's talk about this M for a minute. This is still an Inkscape uh shape. Uh so it doesn't really have a path associated with it.
What we can do is we can actually go to path and say object to path. I'll do that. Now what happen if I double click on it? Oops. I think it's grouped. I'm going to right click on it and say ungroup. Now I can just double click on it and you can see all the nodes that define the path. It has now become a simple path which means you can't edit it. I can't change this letter from a M to a R or something like that anymore unless I undo what I just did. It's an exploded path. In other words, an exploded object. Okay. So, what I'm going to do now is I need to fill this with area with actually get the G-code tools to create many paths inside.
I'm going to go to extensions, G-code tools, and I'm now going to use the area function up here. And you have a few different things. Uh, area is the one I like, the first one, because it actually follows the contour. If I use fill area, the next one over, it actually just goes up down, you know, just does either spiral or up down. uh which could work in some cases for a really fast pocket, but if you want a nice looking um area shape, you probably want to stick with the first. This value here is how many offsets it's going to try to do before it gives up. It's not going to try going any further. That's good to have because sometimes you can get into a point where it just goes on forever. Uh area width, you might not want to fill the whole area of this M. You may be from the offset, you might only want to do a quarter inch or an eighth inch or something like that. If that's the case, if you don't need the whole area inside filled, you can change that. What I do is I have this be a fairly relatively large number. You can see here's an inch from two to three. So obviously this is way thinner than an inch. So if I give it a big number, it'll just fill it all in. Finally, this is kind of interesting, the area tool overlap. When it offsets, how much should each each offset be? If you're using like an endmill or something, maybe you can get away with a full tool diameter. Um or if it's a ball mill, then you're probably going to have to do smaller steps to make up for the fact that the the mill is curved. So this is that value right there. I'm going to do I have kind of an endmill looking thing. So I'll have a relatively uh uh small overlap 0.1.
Okay. Now I have to say apply. Make sure that you are this is selected and that you're here. If you're over here and you say apply, it's not going to work. Um you have to be in area. Watch. Here we go. It's thinking about it. And you can see what it did. It actually made a whole bunch of curves. I have a a fairly small engraving tool. So, it's uh you know, took a while, took a few of them.
And what I what's neat is I can hit close and I can go in after the fact and fact and fix some of these things I see here. I'm going to click on this uh and say ungroup because all those curves are grouped together. And this will then I'll click on my node tool here. And I can actually get rid of some of these things. Maybe I could just uh this is uh not so much G-code tools fault. This is the Inkscape offset tool making some extra stuff that we don't need.
you know, just uh hopefully the algorithm continues to get better. It's pretty good now, but uh you know, you can see like this stuff we don't need.
So, a little bit of uh post-processing here.
Oops, I deleted too much. this um this guy here appears to see.
Not sure why I can't click on this.
That's actually not going to harm anything because that's already there and I could spend a while trying to figure out why I can't select that point, but I'm going to ignore that for now. Everything else looks pretty good.
So, I'm going to I'm ready to go. I'm now going to select my uh overall. Oh, I haven't turned this into a path yet.
This is still a rectangle object in uh Inkscape. So, I'm going to click on this path. Object to path. So, now that's all set. And where my mouse go? I'm going to grab that. And the curves we've already defined. Oops.
By the way, we have this uh black shape still behind everything.
And I'm not sure if that's going to hurt us or not. I forget. So, I'm just going to grab everything. And then let's see what happens. I'll go extensions, G-code tool. The final thing is to actually convert all these shapes into G-code.
And that's where this option path to G-code comes in.
Where is it going out to? Again, your units. Um, there's some interesting stuff for post-processing. I don't quite understand yet. Uh, Zcode though, sorry, Z safe height. So, when the tools moving around above your part as it's trying to go to different places, what's a safe distance? Um, 50,000 is fine with me.
Anyway, some other stuff. I'm not sure what this is. Although there's some interesting depth functions where you can use the color of the geometry to actually cause the depth to change.
We'll talk about depth uh in another tutorial where you can have multiple depths, but I don't haven't used this approach yet. I'm going to hit apply and let's see what happens because I didn't get rid of that black shape which is really if you think of it without the black just the outer outline I might have a double path on the outside which is not a big deal. Uh, but you can delete that shape and then um uh you'll be fine. You won't have a double.
So, you can see what happened here. It made a whole bunch of um curves. And if I go to my G-code directory, there it is. And let's take a quick look inside.
I'm going to use a text editor. Nothing fancy. You can see that we go to a we started at a safe height of 50,000. Then we move to this location. And then we actually plunge to 10,000.
uh in this case and we stay at 10,000 because 10,000 was a safe step size. If you remember if we go over here there's my death step 10,000. So we'll go back and what happens is it does this whole path and then you see it does everything at 20,000. Uh it's actually repeating the same thing. If we go up and look at this number you'll see that it appears at the top. There it is up there. So it's doing the same path until it finally reaches the ultimate depth that we we located in those orientation points. Here's 30,000s, 40,000s, 50, 60, 70, 75. So, got it up to 75 and it was done with that path. Now, it goes on to the next one. So, it did exactly what we asked it to. Um, all right. So, I think that's a good start for a tutorial. I'm going to my next tutorial will talk about having multiple uh depths where you can actually have all this stuff on one layer and then have another layer that has another tool and another orientation point which allows you a different depth. Uh, so you can actually have in the same file lots of different things going on, but this is a good start. All right, thanks for um if you have any questions uh or anything, you can put anything on the YouTube chat.
And if you have any tips, something I forgot to add, I can re-record this and and bring that in. Um, definitely want to make this better because this is a neat tool. Um, documentation is kind of hard because it changes so much. Uh, this program is still in heavy development, it seems. Uh, but it's working well for me. I really think it's a awesome tool. I really appreciate all the programmers, developers involved.
All right. Thanks,
Up Next

42:10
G-Code Basics for CNC Beginners: 11 Essential Commands
@weitlingD3P
463.1K views•2022-11-12

12:54
Triumph of Orthodoxy Icon: Byzantine Art & History Explained
@BenCallan
2.1K views•2024-08-06

9:49
FastAPI vs Flask vs Django: Choosing the Right Python Web Framework
@TechWithTim
302.5K views•2024-05-26

1:42
Game of Thrones Opening Credits: A Cinematic Analysis
@gameofthrones
46.3M views•2011-04-18
Related Study Plans & Knowledge Roadmaps
Structured learning paths in General & Interdisciplinary Studies
general-studies
Elevator Engineering: History, Physics & Cities
01From Hoists to Safety Brakes: The Dawn of Vertical Lift
02Hydraulic vs. Traction: The Engineering Physics of Elevators
03Modern Speed, Safety, and Algorithms
+ 2 more learning modules
12h5 modules
Explore Roadmap
general-studies
Rubber: Material Science, History & Geopolitics
01Origins of Natural Rubber & Mesoamerican History
02The Chemistry of Natural Rubber & Vulcanization
03The Geopolitics of the Rubber Boom & Colonization
+ 2 more learning modules
12h5 modules
Explore Roadmap
general-studies
Containerization: Evolution, Logistics & Trade
01Ancient Trade & Bulk Cargo: Amphorae to Barrels
02The Industrial Revolution & Cardboard Packaging
03The Containerization Revolution: Malcom McLean
+ 2 more learning modules
12h5 modules
Explore Roadmap
general-studies
Textile Tech: Evolution, Labor & Global Impact
01Pre-Industrial Textiles: Handloom & Cottage Industry
02Mechanization: The Spinning Jenny to the Power Loom
03The Factory System & Global Labor Transformation
+ 2 more learning modules
10h5 modules
Explore Roadmap