






![مراجعه Bio Material 1 [شرح وحل ]||تدخل جحش تتطلع وحش](https://i.ytimg.com/vi/giMtbr8rqqM/maxresdefault.jpg)










This tutorial demonstrates the complete process of preparing a PDMS microfluidic test pattern, including printing test structures on heat-treated transparency, pouring and curing PDMS at controlled temperatures, creating inlet/outlet ports using a lure stub adapter, performing corona treatment for surface activation, and bonding PDMS to glass slides for final testing.
PDMS Microfluidics Tutorial: Preparing a Test Pattern
Added:Basic understanding of microfluidics physics, including laminar flow, low Reynolds numbers, and fluid behavior at the microscale.
Fundamentals of Polydimethylsiloxane (PDMS) chemistry, specifically its properties as an elastomer, biocompatibility, and optical transparency.
The principles of photolithography and master mold fabrication (such as using SU-8 photoresist on silicon wafers) which precede the PDMS casting step.
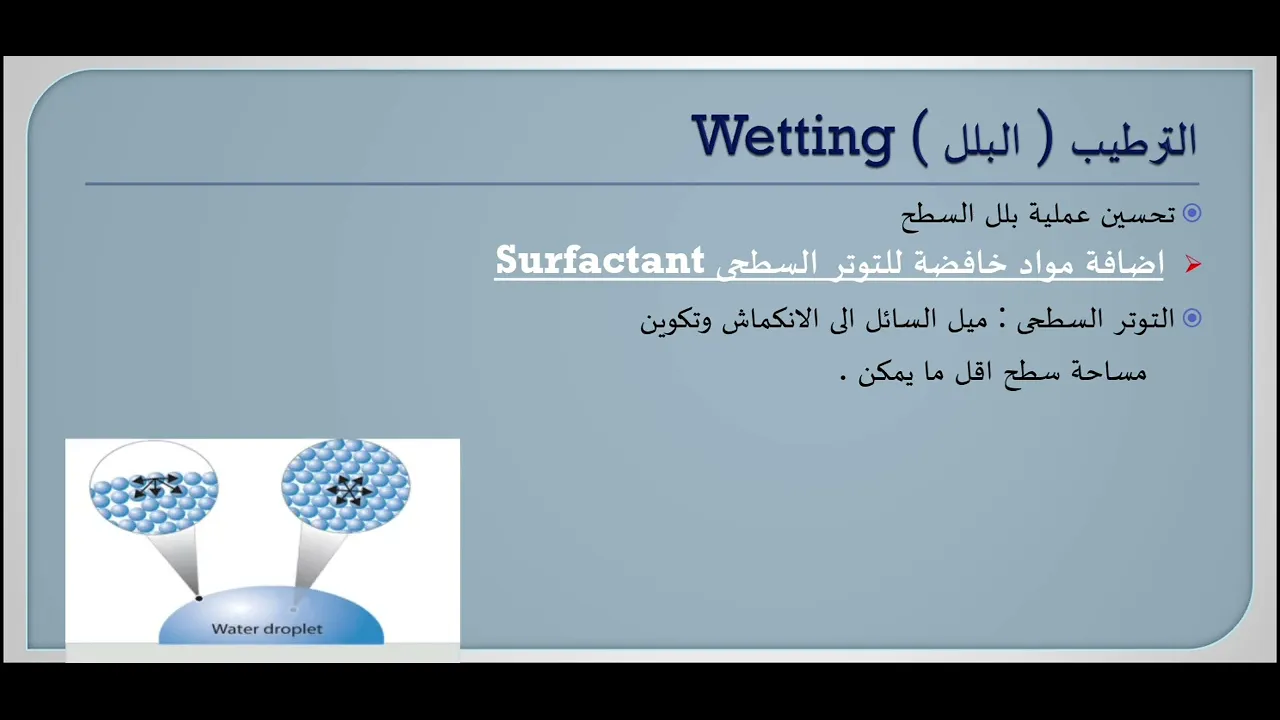
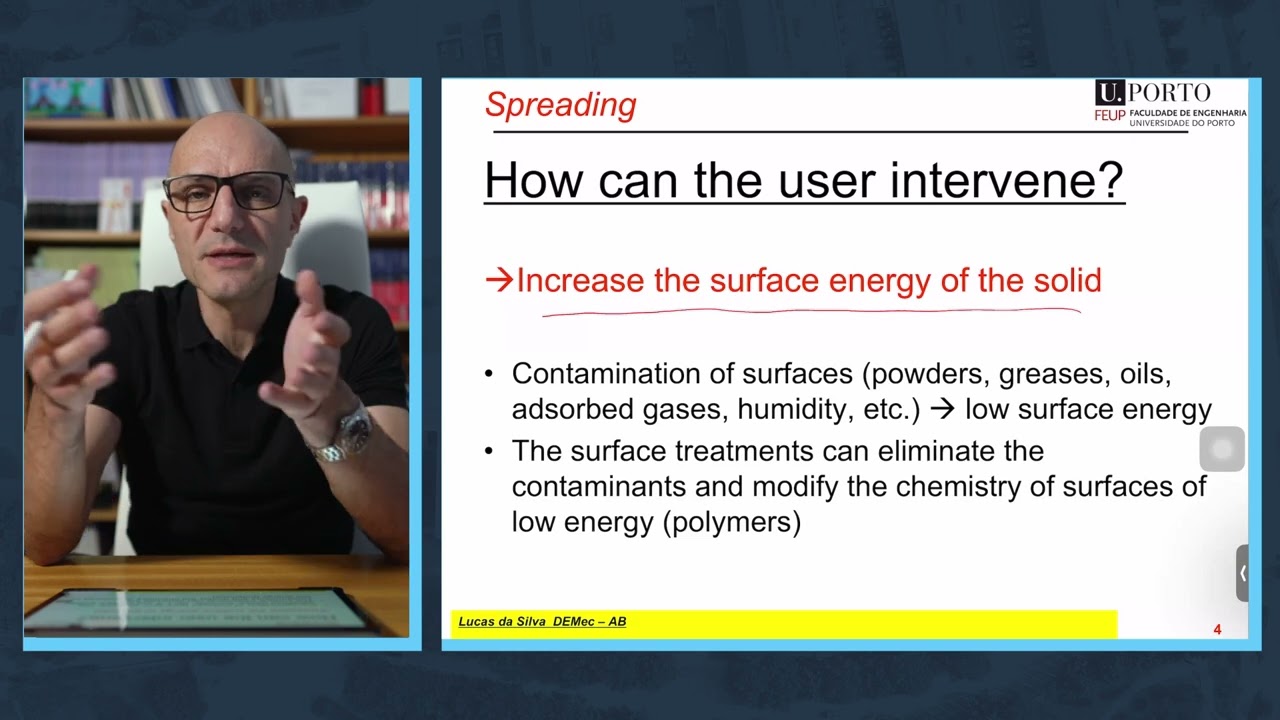
Introduction to surface chemistry, specifically how surface energy affects wetting and bonding of polymeric materials.
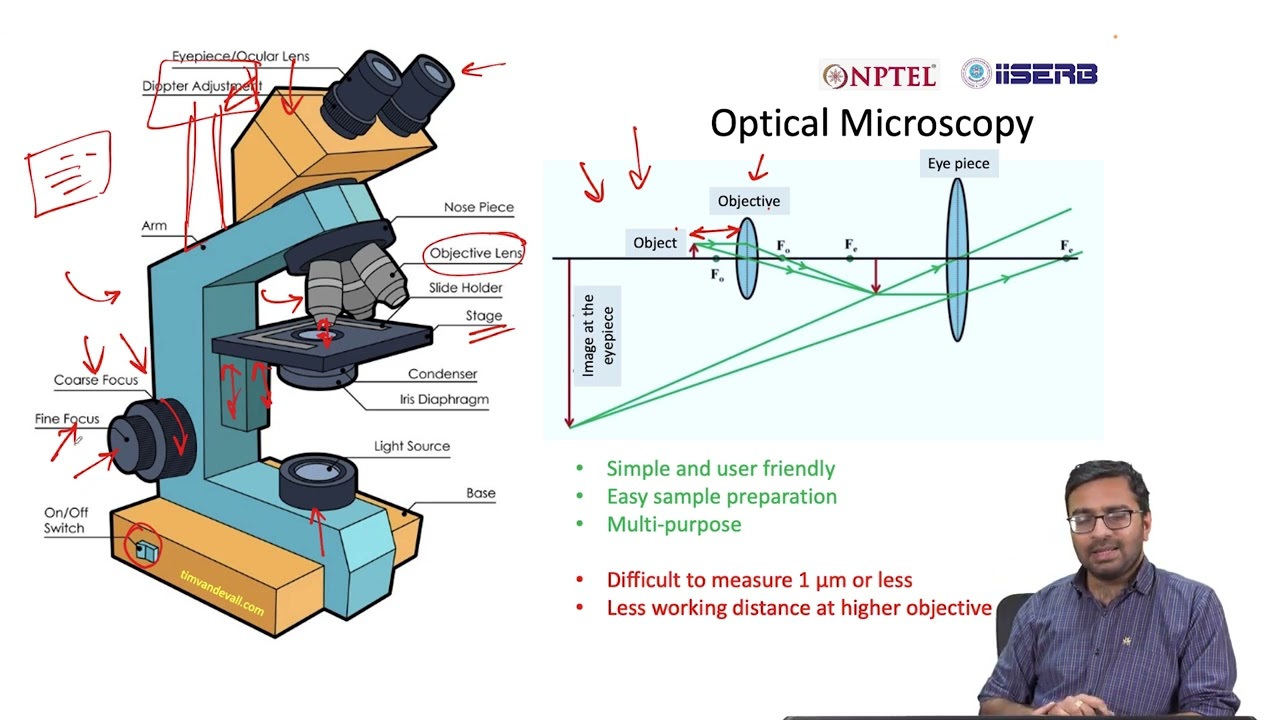
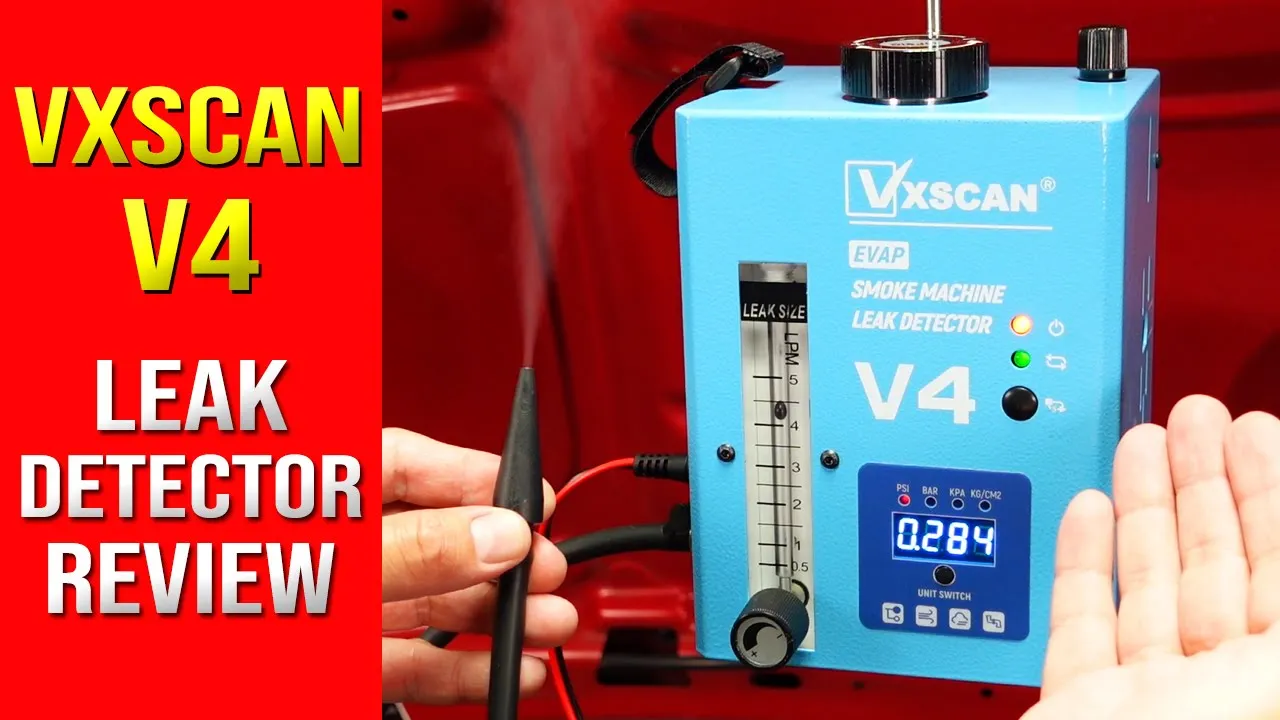
Techniques for device characterization, such as flow rate testing, leak detection, and optical microscopy inspection of the bonded channels.
Methods for surface modification of PDMS channels (such as silanization or surfactant treatment) to control hydrophobicity and prevent non-specific protein adsorption.
Integration of active microfluidic components, such as micro-valves, pneumatic pumps, and integrated electrodes for advanced fluid manipulation.
Design and execution of practical Lab-on-a-Chip applications, such as droplet generation, cell sorting microenvironments, or organ-on-a-chip systems.
41.1K views210likes6:51Original Release: 2013-11-15
Micrfluidic test structures are provided in a PowerPoint slide deck that is available on the website. Print out the test structures on a high temperature transparency using a solid ink printer.
First, set a hot plate to 100° C.
Next, place the pattern transparency on the hot plate.
Heat the transparency for 4 minutes.
This will allow the wax to reflow and will reduce roughness in the micrfluidic channel.
Place a couple of pieces of double-sided tape on the bottom of a plastic petry dish.
Cut out a test pattern from the heat treated transparency and firmly attach it to the double-sided tape pattern facing up.
Next, pour the PDMS precursor into the paper dish over the test pattern.
You may tilt the pastry dish to help ensure that the PDMS precursor evenly coats the pattern.
Lower the hot plate temperature to 90°.
The lower temperature will prevent the solid ink from reflowing while the PDMS cures.
Place the patry dish on the hot plate.
The PDMS will take 15 to 20 minutes to cure. It is finished curing when it is solid and the surface loses its tackiness.
After the PDMS has fully cured, remove it from the petry dish. You will likely have to break the petry dish.
Carefully peel the transparency from the PDMS. Residual ink on the PDMS can be removed using isopropyl alcohol and a cotton swab.
Remove the excess PDMS at the edges of the test pattern using a razor blade.
A flat PDMS surface will make it easier to bond the PDMS to the glass slide.
Next, locate the micrfluidic inlet and outlet ports. These ports are indicated by the small circles on the test structures.
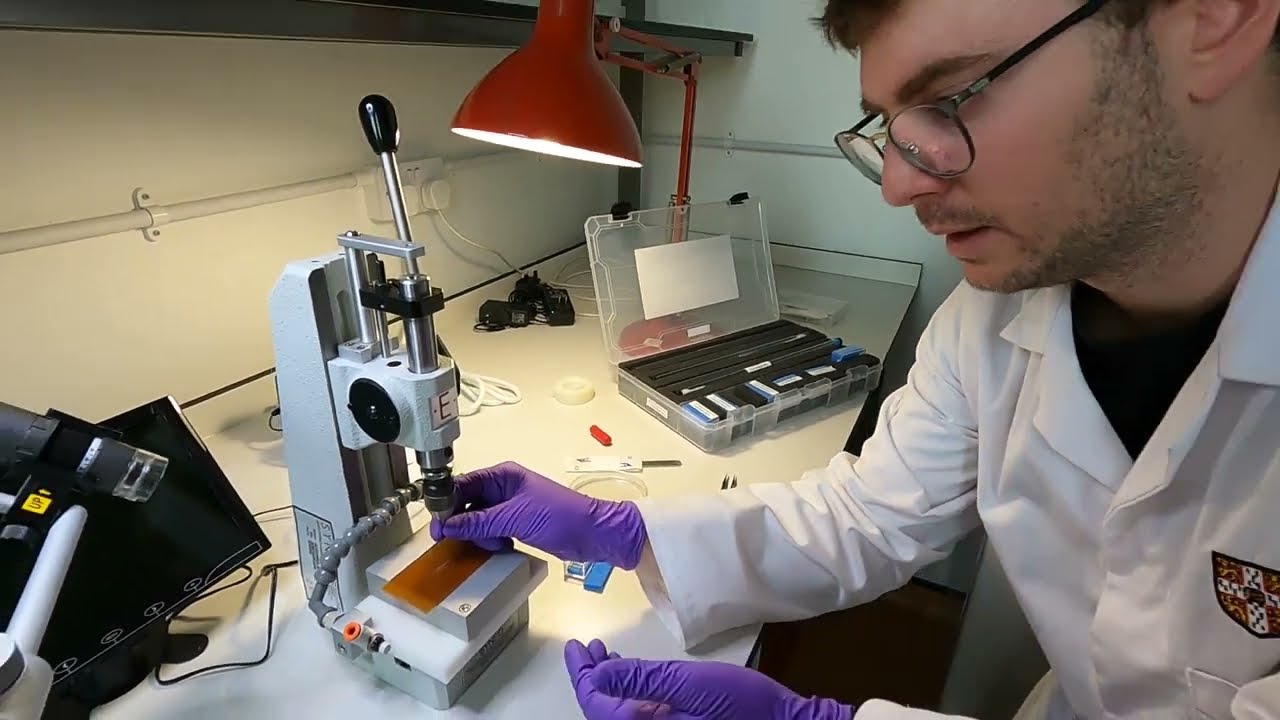
You will use a lure stub adapter to punch holes through the PDMS. The metal tip of the stub should be filed or sanded to help prevent tearing of the PDMS.
Now create inlet and outlet ports by using the lure stub adapter to core holes all the way through the PDMS.
Punch through the center of the circles.
Using a piece of scotch tape, remove debris from the pattern side of the PDMS.
Place a glass jar on top of a table upside down. The jar will serve as an insulating boundary between the corona and any metal on the table.
Lay the PDMS test structures on top of the glass jar, pattern side up.
Treat the surface of the PDMS with the corona.
The corona discharge should be kept approximately 1 cm above the surface of the PDMS.
The PDMS test structure is now ready for bonding to glass. Place a glass microscope slide on a table.
Gently lay the PDMS on top of the glass slide, pattern side down.
Use a Q-tip to remove any air or bubbles between the PDMS and the glass.
Take care not to press down on the frosted white pattern as this may collapse the micrfluidic channels.
Finally, place your completed micrfluidic test chip on a hot plate at 90° for 20 to 30 minutes. This will remove moisture from the interface and improve the bond between the PDMS and the glass.
Your micrfluidic chip is now ready for testing.
Up Next
13:30
Microfluidics Soft Lithography: Inlet/Outlet Punching Technique
@dk-hu3er
952 views•2022-05-13

12:54
Triumph of Orthodoxy Icon: Byzantine Art & History Explained
@BenCallan
2.1K views•2024-08-06
74:43
Cryptocurrency Signatures: Hash-Based to Elliptic Curve Systems
@mitocw
40.5K views•2019-07-12

1:42
Game of Thrones Opening Credits: A Cinematic Analysis
@gameofthrones
46.3M views•2011-04-18
Related Study Plans & Knowledge Roadmaps
Structured learning paths in General & Interdisciplinary Studies
general-studies
Elevator Engineering: History, Physics & Cities
01From Hoists to Safety Brakes: The Dawn of Vertical Lift
02Hydraulic vs. Traction: The Engineering Physics of Elevators
03Modern Speed, Safety, and Algorithms
+ 2 more learning modules
12h5 modules
Explore Roadmap
general-studies
Rubber: Material Science, History & Geopolitics
01Origins of Natural Rubber & Mesoamerican History
02The Chemistry of Natural Rubber & Vulcanization
03The Geopolitics of the Rubber Boom & Colonization
+ 2 more learning modules
12h5 modules
Explore Roadmap
general-studies
Containerization: Evolution, Logistics & Trade
01Ancient Trade & Bulk Cargo: Amphorae to Barrels
02The Industrial Revolution & Cardboard Packaging
03The Containerization Revolution: Malcom McLean
+ 2 more learning modules
12h5 modules
Explore Roadmap
general-studies
Textile Tech: Evolution, Labor & Global Impact
01Pre-Industrial Textiles: Handloom & Cottage Industry
02Mechanization: The Spinning Jenny to the Power Loom
03The Factory System & Global Labor Transformation
+ 2 more learning modules
10h5 modules
Explore Roadmap