
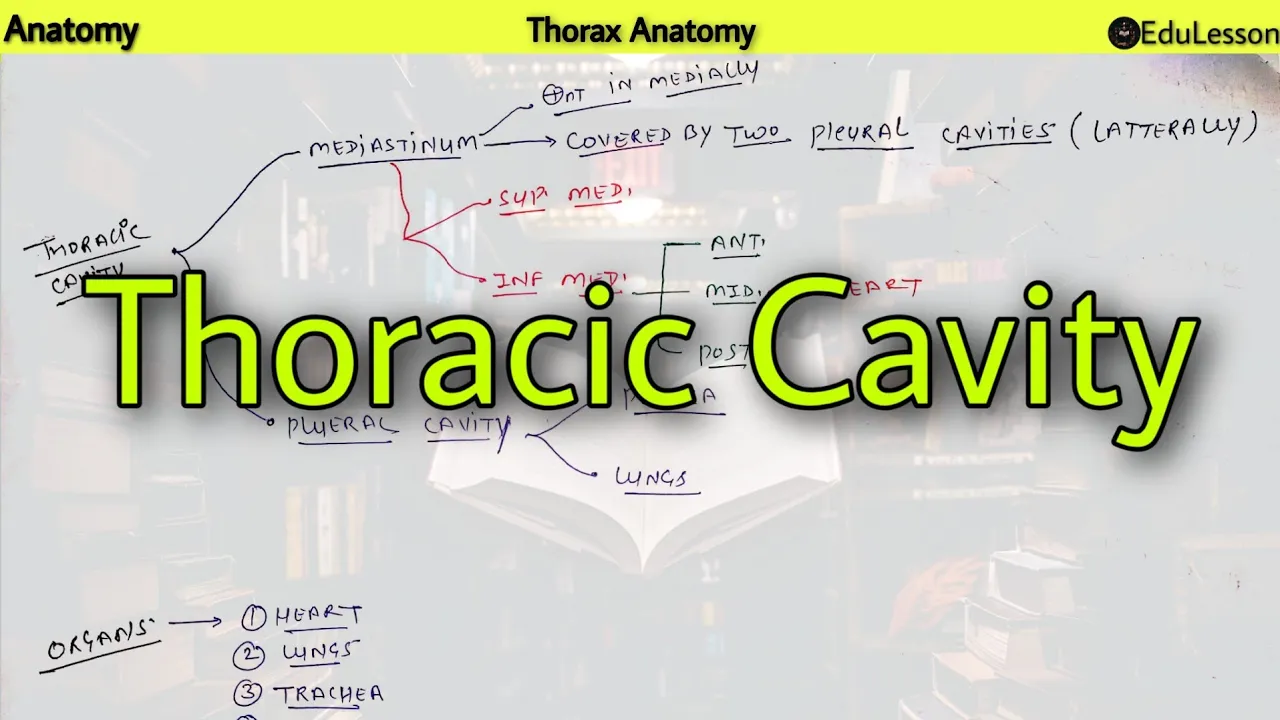












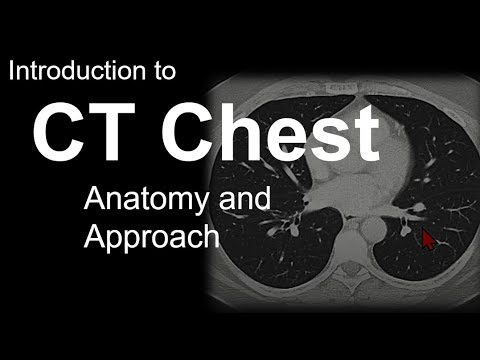


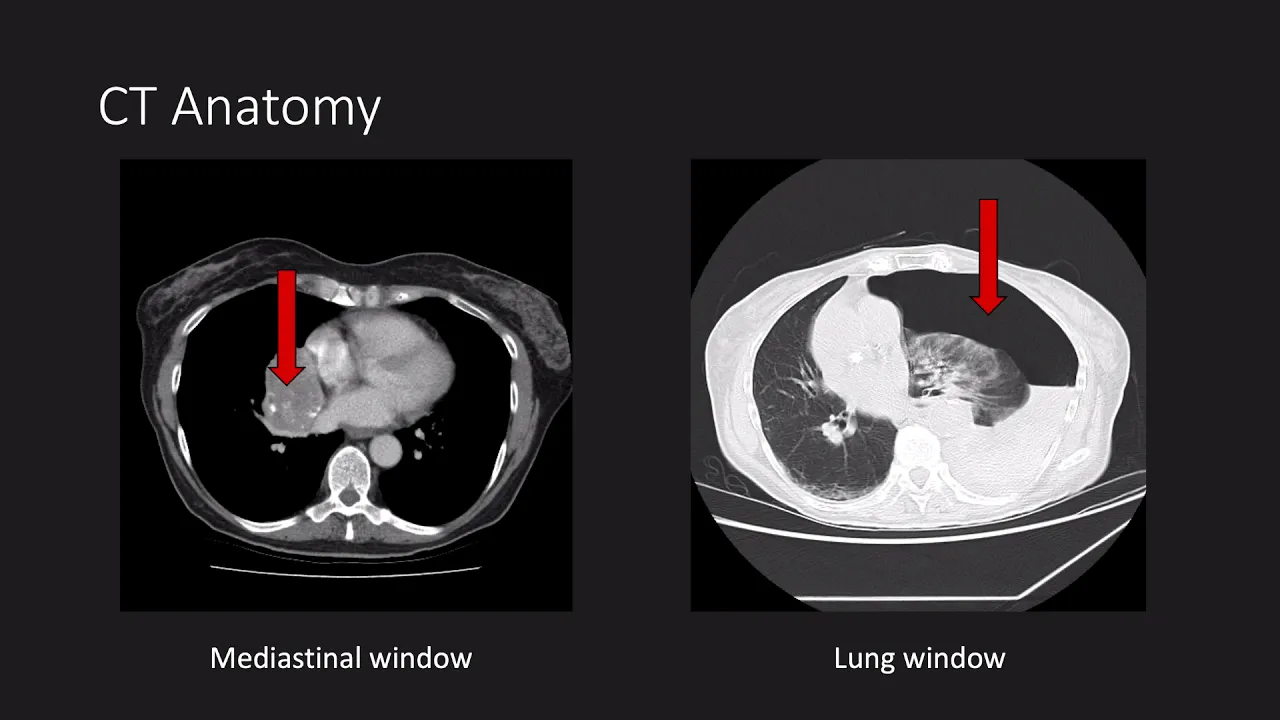

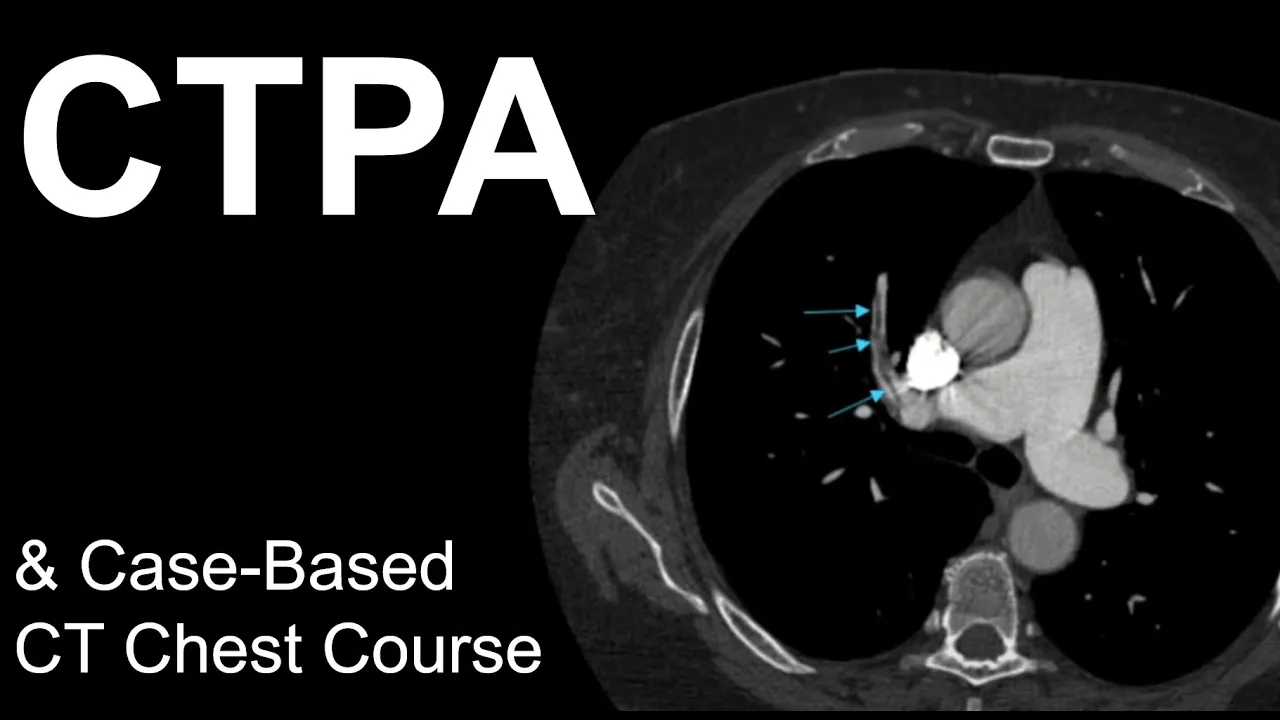


This video provides a comprehensive introduction to chest CT anatomy, covering the technical aspects of CT scanning including scan coverage from lung apices to upper abdomen, contrast administration timing for different investigations (pulmonary embolism vs. aortic imaging), and reconstruction algorithms (soft tissue vs. lung algorithms). The anatomical content covers the thoracic skeleton (12 paired ribs, scapulae, sternum with manubrium, body, and xiphoid process, and 12 thoracic vertebrae), pulmonary anatomy (trachea bifurcating at the carina into right and left main bronchi, with the right lung having three lobes separated by major and minor fissures, and the left lung having two lobes plus the lingula), and thoracic vasculature (superior and inferior vena cava, brachiocephalic veins, pulmonary arteries and veins, aortic arch with its three branches, and descending thoracic aorta), as well as the esophagus located posteriorly between the trachea and spine.
Chest CT Anatomy: A Comprehensive Introduction for Medical Students
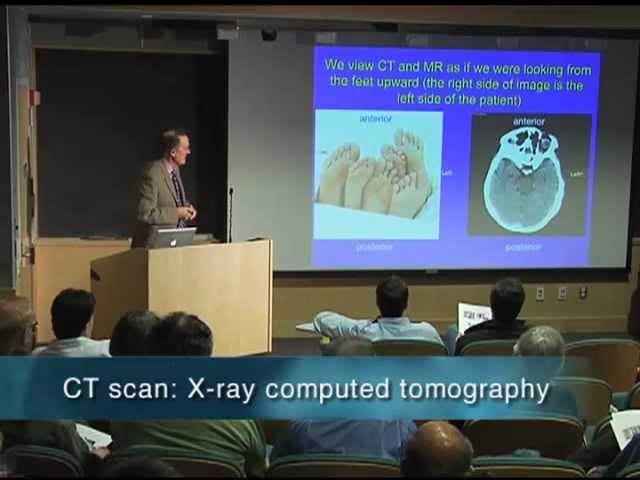
Added:hi i'm chris lack and this video is to serve as an introduction to the anatomy of the chess ct this will be the first review video that we do for the anatomy course during first year medical school but this video can also be used to refresh your chest ct anatomy as you will see in these review videos i will use both axial images scout images and both coronal and sagittal reformats and as i scroll on the axial images when i think it's appropriate i'll have a reference image in this case a scout image of the patient with a localizer bar showing you at what level we're investigating so when you do a chest ct the first choice is to decide what anatomy to cover and so for this chest ct you will see that the technologist scan from above the lung apices to below the bottom of the lungs into the upper abdomen to make sure you cover all of the lungs the second option is to choose whether you should have contrast or not as a contrast is delivered through the veins and it contains iodine which will show up as dense material within the vasculature first and then go to the soft tissues and highlight the different soft tissues you can see them better and when you do give contrast you usually inject it from one of the arms then you have to choose when you scan the patient after starting to give the contrast and that depends on what you want to investigate if you want to investigate the pulmonary arteries which the scan is in a ct angiogram to look for a pulmonary embolism you want lots of contrast in the pulmonary vasculature as in this case but not so much in the more distal arteries in the aorta or even in the pulmonary veins but if you want to see the aorta you want to wait a little bit longer so the contrast can make its way into the aorta or if you want to investigate maybe a mass in the mediastinum you want the contrast to go out into the arteries and then go into the soft tissues so you can better see that mass so the patient is usually scanned one time through the anatomy and then you have different ways of displaying that information and so the computer will do reconstructions in typically both soft tissue and then lung algorithms and so here on the left side we have a soft tissue algorithm and you can see that for example the muscles and the fat you can tell them nicely apart while the one here on the right is a lung algorithm and you can see that it's a little more grainy you still can see muscle apart from fat but it's just not as pretty to look at as the soft tissue algorithm now from these algorithms you can choose how to display the images you can manually window and level the scan to highlight certain anatomy most programs come with pre-existing presets for these algorithms so if i'm going to look at the lungs i'm going to have a lung algorithm like this and now when you try to look at the lungs you will see that as i zoom in the lung algorithm ct will have sharper lines and give higher detail of the anatomy and this is something you see throughout ct scans of the body we have different reconstructions of the area coming over as different scans even though the patient is just scanned once and then on each scan you have the option to window it to whatever it is you're looking at from there we can take these images and reconstruct them for example we can can make a coronal reformat of the patient and as you scroll up and down you can see where you are in the chest you can also do a sagittal reformat and certain things for example the spine here is nicely seen in the sagittal reformat all right so let's talk about the anatomy and let's start with the bones and so the first thing is to evaluate the ribs yes you typically have 12 ribs paired ribs one on the right side and one on the left side and remember when we look on a ct scan we're looking at the patient from the feet up and as we scroll down and up we're still always looking at the patient from the feet and because the patient's laying on their back right to the patient is on the left side of the screen and the left side of the patient is on the right side of the screen so here on the right side i've created a 3d model of the anatomy and you'll see right now we're showing the soft tissues but i'm going to zoom in and show you the osseous structures and so here on the right side you'll see as we cut in and we only show the really bright structures such as the bones and the heart that has contrast in it and the aorta you can also see the leads that the patient has outside along the skin contain metal and those leads will show up here as well so what you can see here is the ribs start high up curve around the thorax and then descend anteriorly so if we go from the top we can see on each side the right side and the patient's left side that the ribs originate back here from the spine first rib the second rib third rib and as they course as you're scrolling down they take a turn of course in fairly and anteriorly and most patients have 12 paired ribs next up is the scapula and you have two scapula and they're located here posteriorly and are part of the shoulder shoulder girdle and so here is the patients we're looking from behind the patient's left and the right scapula and on the ct scan you can see the scapula posteriorly here and they will articulate with the humerus as well as the clavicles now the humerus in the upper extremity will come cover much at a much later time point but the clavicles here at the acromioclavicular joint will course inferiorly in this case because the patient's holding their arms up coursing inferiorly down to articulate with the manubrium now the manubrium is the upper part of the sternum and it's this triangular part up here that articulates with the clavicles as well as the cartilage of the first and second ribs below the manubrium you will have the body of the sternum and then lastly the xiphoid process inferiorly as you will notice as you scroll down the manubrium will be wide and then it will come to more narrow point and then you have the body of the sternum and then you have variable amount of uh xiphoid process extending down here the last osseo structure we're going to talk about is the thoracic spine and we'll cover it in more detail at a later time point but typically you have 12 thoracic spine vertebral bodies and you can see them here as you're scrolling down and they're nicely seen on the sagittal reformats going up and down here in the midline next let's cover the lungs in the airway and so all the air goes from the top through the trachea and the trachea extends in fairly into the chest and it's going to split and where it splits this anatomic point is called the carina the split of the trachea into a right and a left that's a right and a left main stem bronchi so those are the pulmonary bronchus on each side now the anatomy right to left is not the same in the chest as it is in most of the body so the right part of the lung is going to be different than the left so on the right the main stem bronchus comes down and then it gives off the right upper lobe bronchus the portion that continues inferiorly for a short segment is called the bronchus intermedius and we can see that here on the axial from the corina the right main stem comes down gives off the right upper low bronchus continues as the bronchocenomedias then the bronchus intermedius is going to split into a right middle and right inferior lobe bronchi let's take a look at the on the coronal here's the bronchus intermediates and because the way they split the right middle lobe bronchus is going to come anteriorly but as you scroll posteriorly the right lower lobe bronchus is going to come off so it's a little easier to see in the axial plane bronx intermediates right middle and then right lower lobe bronchi now on the left side is a little more simple so from the left tracing it from the trachea going inferiorly into the left main stem bronchus and it's going to split into a left upper low bronchus and a left inferior lobe bronchus let's take a look at that in the coronal plane so main stem bronchus splitting into a left upper low bronchus and the left inferior low bronchus now let's talk about the lobes of the lungs so on the right side you have three lobes and on the left side you have two main lobes and then you also have the lingula so let's start on the right side so here we are on the right side you see i've got scout line on the right side of the patient and here is a sagittal reformat showing the lungs the lungs are separated by fissures and so you have the major fissure running from superior posterior to inferior and anterior and then you have the minor fissure or the horizontal fissure separating the superior lobe from the middle lobe and then the inferior lobe is separated from the other ones by the major fissure so when you scroll on the axial images when you're up top all you're going to have is the superior lobe now note that i use superior and upper interchangeably for the lobes as well as inferior and lower lobes but as you come down the first thing you'll see is that posteriorly you'll have the major fissure and you see the beginning of the inferior lobe of the right lung but as you keep scrolling you'll see here on the right image the minor fissure should start to appear and as you do you almost cut it across the top and you'll see that as a hazy area of increased density here as you go from the superior lobe above to the middle lobe as you're scrolling down and as you get below the minor fissure now you're going to be in the right middle lobe here in the front and the right lower lobe in the back now let's go to the left side so let's go over to the other side and here you just have one major fissure running from superior poster to anterior and inferior separating the lung on the left into a superior and inferior lobes you also have the lingula now the lingula it could be thought about almost like a metal lobe on the left side but it's actually part of the left upper lobe and what it is it's two segments that are supplied by the lingual segments of the left upper lobe best way to explain it is here on the left side the main stem bronchus comes down and it splits into a left upper and again the left lower bronchi on the in the left upper lobe you're going to have superior directed bronchi going up here that's part of the left upper lobe and the ones that go inferior are the bronchopulmonary segments or these bronchia that supply lung tissue and this is called the lingulin so the lingualite is located right next to the heart here the inferior aspect of the left upper lobe the last thing we're going to talk about is the vasculature within the thorax and i'm also sure going to show you the esophagus so in the ct scan we've been working with it's a pe study or a ct angiogram of the chest and this patient was injected from the left upper arm which we can see here and because of the dense contrast uh it interferes with the x-ray beam and it creates these streaks through the adjacent areas and so it becomes hard to see some of the vasculature so i'm going to show you a different ct scan which is not an angiogram but just a contrast enhanced ct where we waited a longer time and so this contrast has been washed out so here's the ct scan you can see that the amount of contrast in the pulmonary arterial tree is about the same as it is in the aorta and so let's cover some of the vascular structures here so when i think about learning the anatomy of the vasculature i usually start with a vein and i think about being a red blood cell and how would i flow from the veins through the chest and get back out into the body and so the first thing is we have to find the structures that bring blood back to the heart so as we scroll down from the abdomen we have the inferior vena cava coming up into the chest going in to the right atrium and we'll cover the rest of the heart at a later time point now superiorly we have the superior vena cava now the supreme vena cava are formed from a few structures one is the azigus vein now the aziz vein does not have a lot of contrast in it because it originates from down in the abdomen and it's taken a while for the contrast to go through the system and coming back up so the azigus and hemiazigous system comes up and dumps into the supre vena cava but the upper aspect of the supreme vena cava are formed from the brachiocephalic vein the left brachiocephalic vein and the right brachiocephalic vein so as they come down from the neck and the arm they come together going down the left one and the right one forming the superior vena cava now retrograde going back each brachiocephalic vein are formed from a right subclavian vein that comes from the arm and the right internal jugular vein coming from the neck so all the blood draining from the head or most of it goes through the internal jugular vein and from the arm the subclavian vein and as you go down the joint to form the brachiocephalic vein the brachiocephalic veins join now draining the whole head neck and both arms into the supra vena cava supervie mechanic continues inferiorly joined by the aziz vein and then terminating in the right atrium now in reviewing this scan you'll notice that the right subclavian vein still has contrast in it because the patient was injected from the right side while the left subclavian vein so let's go back up here's the left brachiocephalic vein coming across and it splits or it's formed by the left subclavian vein which hardly has any contrast in it because the blood has not returned from the arm the contrast that we injected has not and so here will be the left subclavian vein and the left internal jugular vein and the jugular veins both have contrast in them now the blood is going to go through the heart go out the pulmonary vasculature through the pulmonary arteries come back through the pulmonary veins go through the heart again and then go out through the aorta and so here is the aorta originating from the left ventricle the aorta the ascending aorta and we can see that here here's the ascending aorta coursing superiorly to usually give off three main vessels the innominate or brachiocephalic artery and just two names for the same thing the left common carotid artery and the left subclavian artery so if you have a left comic rotary and left subclavian artery you should have a right one and that's what the brachiocephalic artery splits into so as the brachiocephalic artery continues up it splits into a subclavian artery and a common carotid artery while on the left side they originate directly from the aorta the left common carotid artery which is going to go up in the neck and the left subclavian artery which is going to go out in the arm from the aorta as you get up now is part of the aortic arch and it's the turn here in the upper chest where the vessels originate the brachiocephalic artery the left common carotid artery and the left subclavian artery and you can see this patient has a little bit of atherosclerotic disease calcified atherosclerotic disease in their aorta the aorta then takes a turn to the left and posteriorly and then descends in the posterior thorax adjacent to the thoracic spine and this is the descending thoracic aorta it's gonna of course go down through the diaphragm into the abdomen the last structure we're going to show is the esophagus and so the esophagus is a muscular tube that transports food and water from the pharynx that you've ingested down to the stomach so the esophagus lies here posteriorly between the trachea and the vertebral bodies of the spine and as you course inferiorly occasionally contains gas and that will be depending on what you've swallowed gas or gas coming from below and you will see the esophagus here laying in the posterior mediastinum here's the esophagus continuing in fairly and then takes a little bit of an anterior course to terminate into the stomach and you can see the part of the esophagus here and the sagittal reformat coming down into the stomach so that concludes the brief overview of the anatomy of the chest not including the heart thank you so much
Up Next

RAD Crash Course Part 2 | CT Imaging & Clinical Applications
@ThePALProgram
827 views•2023-04-07

Graphic Medicine: Comics for Collaborative Healthcare Communication
@nationalpatientadvocate
189 views•2023-12-04

Neuroanatomy: Central and Peripheral Nervous System Divisions Explained
@AKLECTURES
136.2K views•2014-09-20
Stages of Labor and Vaginal Birth | Childbirth Animation
@nucleusmedicalmedia
52.1M views•2017-08-18
Related Study Plans & Knowledge Roadmaps
Structured learning paths in Medicine