
















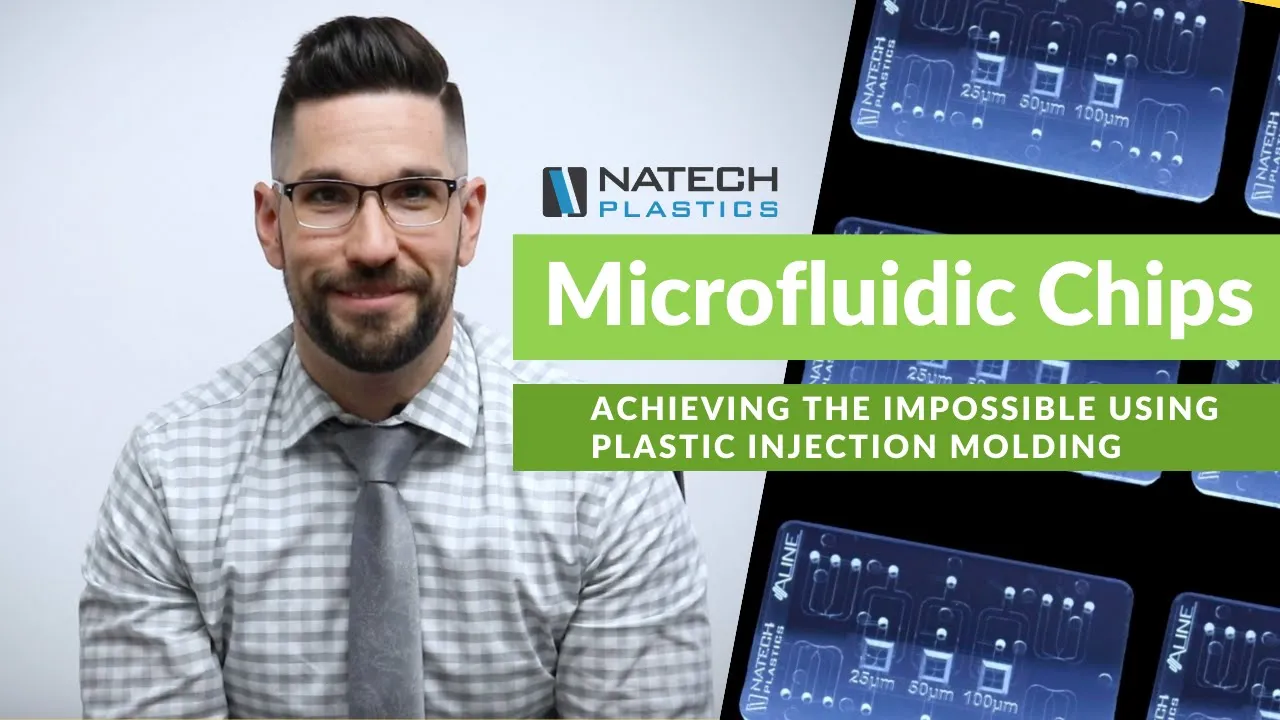


This lecture presents four primary methods for fabricating microfluidic devices: (1) Glass microfluidics, which offer excellent chemical stability and optical transparency but require external manufacturing with long lead times and high costs; (2) PDMS-Glass replica molding, developed by Whitesides, which enables easy lab fabrication using photolithography and plasma bonding; (3) PDMS-PDMS microfluidics, providing flexibility essential for organ-on-a-chip applications and wearable sensors; and (4) ESCARGOT (Embedded Scaffold Removing Open Technology), a simplified 3D printing method that creates monolithic PDMS devices without requiring clean rooms or specialized equipment, using acetone to dissolve sacrificial scaffolds.
Microfluidics Fabrication Methods: Sensors & Devices Lecture
Added:Fundamental concepts of fluid dynamics at the microscale, particularly laminar flow, low Reynolds numbers, and capillary action.
Basic materials science of polymers (such as PDMS) and silica-based glasses, including their thermal and chemical properties.
An introduction to soft lithography and cleanroom fabrication processes, specifically photolithography using SU-8 photoresists.
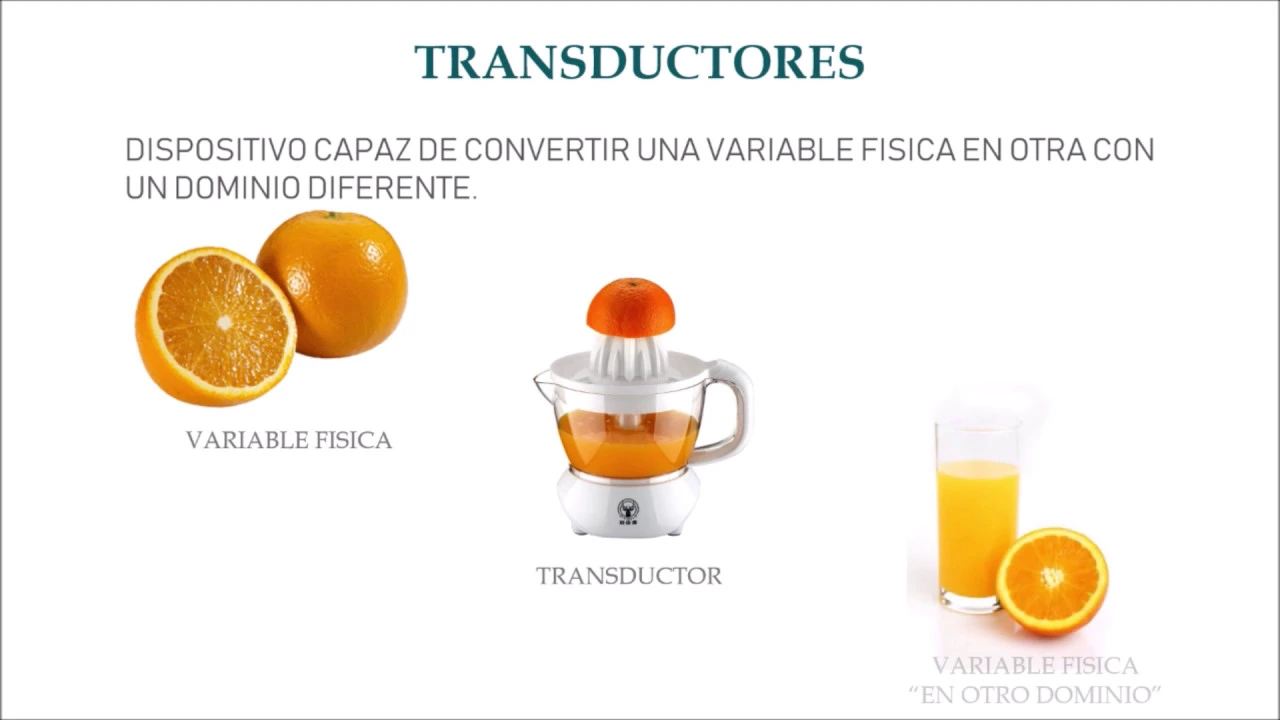
The basic principles of sensor transduction, understanding how physical or chemical stimuli are converted into measurable electrical or optical signals.
Advanced organ-on-chip design, including cellular co-culture, extracellular matrix (ECM) patterning, and mechanical stimulation of tissues.
Surface modification and chemical functionalization techniques to alter channel hydrophobicity, prevent biofouling, or immobilize biomolecules.
Active fluidic control strategies, including the integration of microvalves, micropumps, and external pneumatic actuators.
Translational microfluidics, focusing on the scale-up from laboratory prototyping (PDMS/3D printing) to industrial mass production techniques like polymer injection molding.
29.3K views716likes25:41Original Release: 2020-10-25
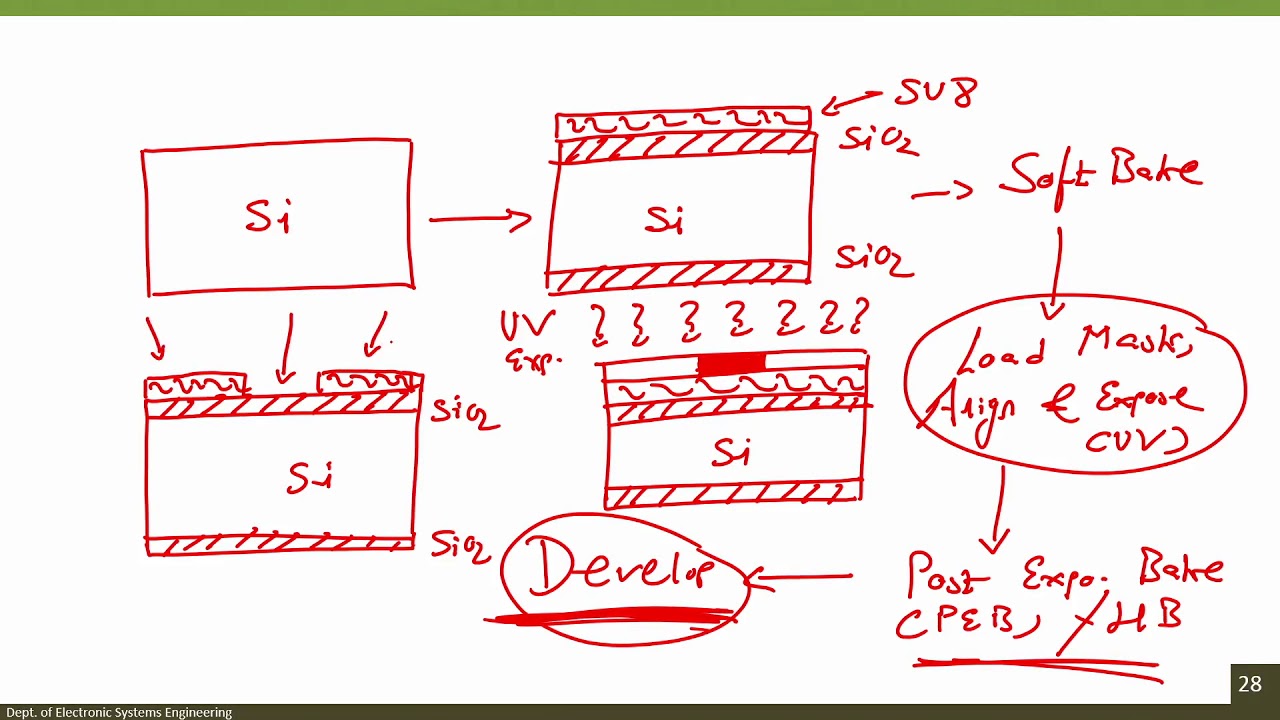
[Music] hmm [Music] hello people and welcome to the last lecture of this course today we are going to talk about microfluidics so first of all why you want to use microfluidics for sensor that's quite easy because we are using less reagents less analytes less volume and those are really thin microfluidics channels in which you can have a really high sensitivity to your analyte you can do a lot of different things but today we are focusing mostly on the fabrication and which kind of microfluidics you can make if you look at the field of microfluidics and you look at the paper that have been published in the last 10 20 years you can see that the field is super broad you can move from physics to chemistry to synthesis so part of organic chemistry but also bioengineering chemical engineering a lot of different fields are actually moving towards microfluidics how to make those microfluidics let's start with the easy one that are glass microfluidics this lecture works in this way i will present you four different methods of making microfluidics and i will ask you which one do you think are the pros and which ones are the cons about each single fabrication method then on friday we will discuss and this one practically will be the last slide of the course so the comparison between the four different methods and when you should use one compared to another first method it's glass microfluidics glass microfluidics are those small devices you can just buy them and most of the time you are using them with something that can close them and you can make the connection with your chip so something like this you close it and then you make the connection with the fluidics so with the tubing from this distance you can definitely not see them so i will put the macro lens and we take a deeper look at this all right as you can see here those are the glass microfluidics you can still barely see them this one is obviously the broken one let me check with the other lens and now you can definitely see them so this one was the y channel so this one it's for two different inlets then you have this one for a long reaction and then you have one outlet this is how it looks like and this is obviously the broken one so this one was a droplet generator so you can see the internal part this one is for making small droplets and broken those microfluidics of the glass microfluidics are extremely stable to for example solvents you can use organic solvents they can be super small and the problem of those is that you can rarely do it in the lab so the things that you usually do it's by them and if you want your special design you want to make the design yourself then you need to send the design to someone that can produce them it will take a couple of weeks if not more and then they are extremely expensive because they have to produce it for you so if you want to have your own design this is not the way to go and the other problem as probably you can see here they are obviously fragile so it means that you can break them quite easily honestly those are usually done by etching the glass so make the channel and then attach another piece of glass on top that's the standard way of making the glass microfluidics first one so think about the pros and cons of having glass microfluidics then the field of microfluidics really exploded when you gave the possibility to scientists to make their own design and this was mostly due to white sides who is one of the highest cited scientist in the world and you can see that after he developed this method which is called replica molding the field practically exploded because it's easy you can do it in lab you can make your own design and then you can make your microfluidics how to do this um how to do this first of all the material that he used was pdms and use pdms because it's quite similar to glass so the refractive index it's very close so it's really transparent the chemistry it's also very similar so you can use steel cellenization for making reactive surfaces and it's it's very similar to glass but it's flexible that's also another important point how to make them so this method that it's the replica molding it's part of pdms and part of glass so you want to have your open channel on pdms and then you seal them with glass so for making this uh this is why it's called replica molding actually you need a master so a master it's something that we have seen with the transistor so i have a surface i have something on top of the surface i put my pdms on top cure it remove it now i have grooves on the pdms and this pdms then i will attach it on glass for making the master it's still lithography method and it's exactly the same of the transistor the methodology for making transistors that we have seen so you are spinning a substrate on top of a wafer you use a mask for curing it you remove the rest that it's uncured and now you have the positive part on the master for doing this you naturally need a clean room most of the time if you want to go really low in microfluidic channel you need a clean room because again if you have one specks of dust it's completely clogging your channel and you can see here again you put your pdms which is a liquid you put it in the oven it cures so it means it cross link you can peel it off from your master and then you must seal it on top of the glass this is done um with plasma with plasma cleaning so when you put the pdms on glass it will be covalently attached there and this is important because you don't want to delaminate if i put just a piece of plastic on top of glass it will just i mean you can just remove it this in this case the idea that he had was that it's covalently attached the covalently attach works with the plasma so i'm oxidizing both surfaces uh both the glass and pdms are now reactive hydroxyl group when i put them together and put them in the oven then i will form another ceiling ether for um for the bond between them so now they are covalently attached this looks like pick up one this one so this is quite big because we had connection on top but you can see the top part is pdms which is transparent and the bottom part is glass and if i try to remove them i cannot because they are covalently attached also in this case i will put lens the macro lens and we will take a deeper look at this pdms on glass and let's see if you can see it yeah you can see it this is a y channel and again i can put pressure but i cannot remove this pdms from top of the glass from the top of the glass this is because it's covalently attached this is one and as you can see i need to save them otherwise the grass glass will break so also in this case you see two inlets two inlets and one outlet let me check again and this is how it looks like the nice thing of those is that you can use the bottom part for using the microscope so as the bottom is glass i can use those slide directly on top of the microscope and that was microfluidics sorry pdms on top of glass also in this link you can see how um the full fabrication works because again this one you can do it in the lab so this one it's a standard lab and you can do it in standard lab and you can see this video in this video how they do it and this is pdms glass microfluidics what do you think are the pros and what do you think are the cons after this i told you that the glass reacts or actually the pdms reacts more or less as the glass so the next idea was okay why i cannot just attach pdms on pdms and attaching pdms on pdms it means now that i have a very flexible material i don't have the glass anymore it's not fragile anymore and i can have something more interesting because both materials so at the end it will be one material it's flexible and this is extremely important if you're thinking about organ on a chip most of the cells don't like to be on glass they like to move a little bit to stretch a little bit especially if you're talking about for example lungs if you're talking about muscle cells they don't like that much glass or stiff material they want to have some some flexible material in this video for example it's explaining how the lungs on the ship works and for giving you a fast introduction it works on two different chambers so one will be the oxygen and the other one will be cell and in in the middle you have a membrane and uh you can stretch this material in all the direction so when you're stretching you can check um the air versus the epithelium so that it's the part in the middle and on the lungs cells but please see this video because it's extremely interesting and i think it was the first flexible organ on the ship another interesting things of having pdms on pdms is that again it's stretchable so now i can use it for sensor for example on skin because i don't have glass anymore i can stretch i can bend and nothing happens to the microfluidics this is for example one sensor that you can put on skin and it will detect different analytes in sweat i will also link this paper here in the video or on brightspace and you can see how interesting have is now to have a sensor a wearable sensor we will talk about wearable sensor a lot in nano medicine in the next course but just for giving you an idea how interesting is to have pms pdms just take a look at this paper another super interesting thing if you have pdms and pdms is the field of soft robotics so if i'm using now materials with two different stiffness but still bendable i can have movement so for example if i have something on the bottom which is kind of rigid but still flexible and on top something extremely flexible i can flex this one and this one will bend a little bit this is the field of soft robotic this one i think was the first actuator ever done and it works um with the stiff material on the bottom and soft material on top and if i apply like if and if i apply pressure air pressure on the top this one will bend there are no hard parts in this soft robotic this is why it's called soft robotics it's practically indestructible so you can drive a car on it it will not break so you can have actuators that are extremely strong and flexible but you can have also something like a soft robotics which will mimic the heart movement those one are also videos that you should watch because they are extremely interesting and lately um this field is moving in everything 3d printable so which you can 3d print the full the full soft robotics but also inside you can have chemicals that when they react they will make pressure because they will evolve um carbon dioxide or other gases so you cannot move this is one of the example of those soft robotics so this is part of edms pdms so i'm using the same methodology i use for pdms class but i have pdms pdms again pros and cons think about them naturally when the 3d printer started to be a little bit better we had 3d printed microfluidics like this one yeah this one maybe you can see it this is a 3d printed microfluidics it's in our plastic it's somehow transparent it's not really transparent but all the materials for 3d printer are have some problem with transparency you can make them more transparent but the nice thing of 3d printing is that now you can make the design in 3d so far we have seen channel which are flat if you use 3d printers then you can have way more space used in three dimension this is interesting also for having better mixer because if you want to have two liquids that are mixing together having three-dimensional channel is always better than have a flat channel and again using 3d printer you need you need just to design and 3d print so it's as simple as it sounds the problem is that you never know which material are you using because you can buy the material but they rarely tell you they rarely tell you which material it is so chemically you have no idea how this will react there is another thing that you can do with 3d printer and actually it's printing the master itself so before we have seen that you can make the master with lithography but actually you can 3d print the master let me see if you can see this but apparently not so again i will take a new lens and i will show you how to how those master looks 3d printed microfluidics this one actually you can see it from here so it's quite big as you can see hard plastic again two inlets and one outlet so this one it's also another um mixer and for making a reaction for making a reaction and nothing really to say here you can see this pretty clear as you can see it's not fully transparent so i cannot use those one for microscopy for example because i cannot see anything through those but with the 3d printer i can actually make molds for pdms so instead of using the lithography and making all the difficult steps with lithography i can just use a 3d printer for making those the master for pdms on glass or pdms and pdms so you can see here those one are linear channels or just a single straight channel but i can put five or six of them on a single slide that was the that was why we designed those kind of channels and you can see this one this one it's a little bit smaller and probably you can see maybe you can you can barely see let's again put this lens on top and now you can see this is one inlet this is the other inlet and then you have a long outlet this is again was 3d printed but this is now 200 microns so the new sla printer have a really good resolution for reaching those kind of sizes so in those cases i put pdms on it i cured the pdms i removed the pdms and then i attached them on glass but i use the 3d printer instead of using lithography which is quite nice so in this case i'm not printing the final microfluidic device but i'm printing the master so it means that i again again put pdms on top cure the pms remove it and attaching and attach it directly on glass or or another piece of pdms so this also simplifies a lot the master fabrication those ones were done with sla and masked sla so both of them are working and have a position that you can use for making masters so 3d printed microfluidic device pros and cons then few years ago we were thinking okay you can use a 3d printer for making either the master of the microfluidics device but i told you the material is always kind of random which one which material you can get from different vendors on the other hand we know a lot about pdms pdms was studied for more than 20 years we know extremely well how the pdms behave so we are thinking can we make the 3d printer working with pdms and we developed this method that it's called actually we called escargo which is a method scaffold removing open technology and you print abs with the normal fdm printer so with a really standard ftm printer also standard material then you put it inside the liquid pdms you cure it and then you leave everything in acetone the acetone will dissolve the abs but not the pdms so this will leave you a channel inside the single block of pdms something like this still see this this is now a monolithic block of pdms so it's completely flexible it's practically indestructible and you made this one without using um without using lithography without using harsh chemicals without using plasma this is something practically you can do in any laboratory without any um specific instrument just a 3d printer and acetone and that will be mess i will pick up the lens and i will show you this one in a few minutes because first i want to show you what you can do we also make a video this video is also interesting to watch for understanding the method hopefully we will manage to this one in the laboratory at the university if we have the possibility of going to the laboratory in in a few weeks interesting things of those is that you can make 3d design again because we are using a 3d printer so you can make really complex structure inside a single block of pdms but also you can make something that other method cannot make so this one for example it's an channel encompassed not you cannot see this is for example a heating coil uh around a microfluidic channel and you can make some channel so some electronics embedded in the pdms with microfluidics on top again i will show you this in one minute and as i told you we have the escargo method you can see the channel here this is a single block of pdms this has not been pdms on pdms so it means that it can be completely three-dimensional because i don't need two flat surfaces for attaching one on top of the other and i can make something really strange like this channel is so here you have a heating coil around the channel i don't know if you can see properly this is something that you cannot do with practically any other methodology or you can make but it's really difficult and as i told you you can have electronics embedded in the pdms with the channel on top so what you see here is let me take my classical spaghetto what you see here is again a colorimetric sensor but at this point it's on the bottom of this channel so i can check the color of this channel by using an arduino this is an arduino nano or micro now this is an arduino nano this is a colorimetric sensor and i can just use this one for checking the flow again it's a pdms so it means that it's also instructable compared to the glass i can throw it from an airplane nothing is going to happen you can make a lot of different design by using this methodology it's extremely simple that everyone can use it and make it this is for example from a high school project and they can make those microfluidics in a really simple and easy way this is another project i love it was used from an artist in london emmy winters and she actually made a t-shirt with all of those channels inside and the liquid was moving inside the channels with music so escargot once more pros and cons so from this side this was it on friday we will have a longer discussion on all those methodology hopefully in the lab we will manage to make the escargot and um we can have a final slide on which is the best method for what thank you and see you next week no see you on friday
Up Next
5:06
How to Build a Stacked Peltier Cooler Reaching -50°C
@BrianDhvTinkerer
51.8K views•2017-11-03

30:32
Ultrasonic Transducers: Resonant Frequency Measurement and Horn Design
@imajeenyus42
229.9K views•2017-02-22

54:16
Polymer Environmental Degradation: Mechanisms & Stabilization
@iit
1.8K views•2012-07-10

33:39
How a Student's Question Saved a NYC Skyscraper from Collapse
@veritasium
22.8M views•2025-04-26
Related Study Plans & Knowledge Roadmaps
Structured learning paths in Engineering
engineering
Building Acoustic Levitators: Physics & Arduino
01The Physics of Sound and Standing Waves
02Piezoelectric Transducers and H-Bridge Drivers
03Arduino Programming: Generating 40 kHz Signals
+ 2 more learning modules
14h5 modules
Explore Roadmap
engineering
Building Peltier Cloud Chambers: Particle Tracks
01Cosmic Rays & Cloud Chamber Physics
02Thermoelectric Cooling (TEC) Fundamentals
03Custom Liquid-Cooling Loop Design
+ 2 more learning modules
18h5 modules
Explore Roadmap
engineering
Yagi-Uda Antennas: Modeling, Build & VNA Test
01Introduction to RF and Antenna Fundamentals
02Yagi-Uda Antenna Design Principles
03Antenna Modeling and Simulation in 4NEC2
+ 2 more learning modules
18h5 modules
Explore Roadmap
engineering
ECG Monitor Design: Op-Amps, Filters & Noise
01Electronics & Breadboard Basics
02Op-Amps and Instrumentation Amplifiers
03Bioelectricity and ECG Fundamentals
+ 2 more learning modules
18h5 modules
Explore Roadmap