















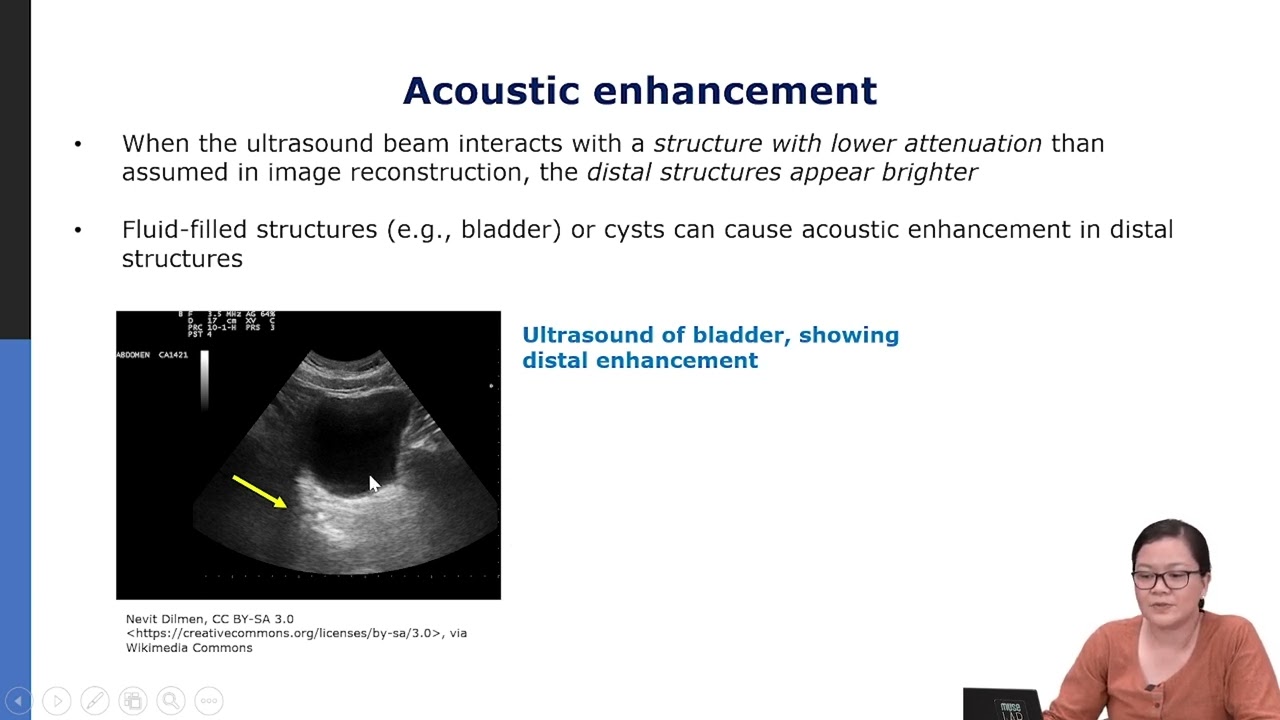

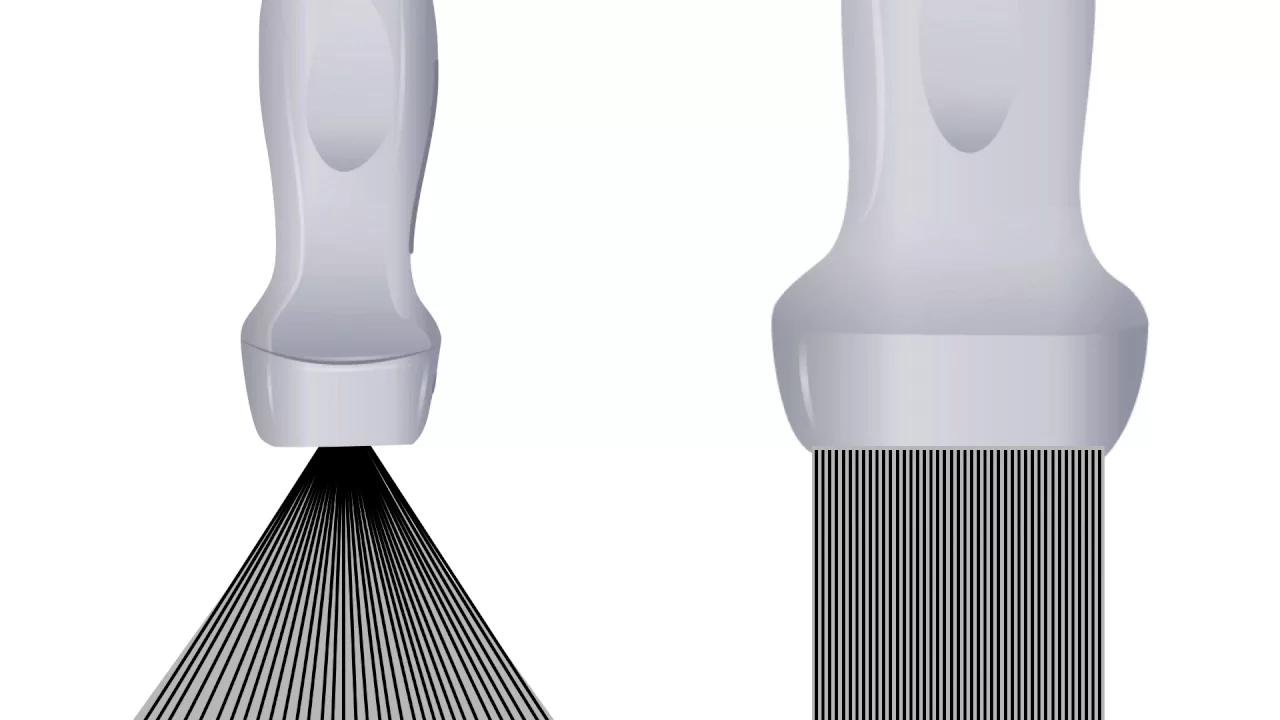




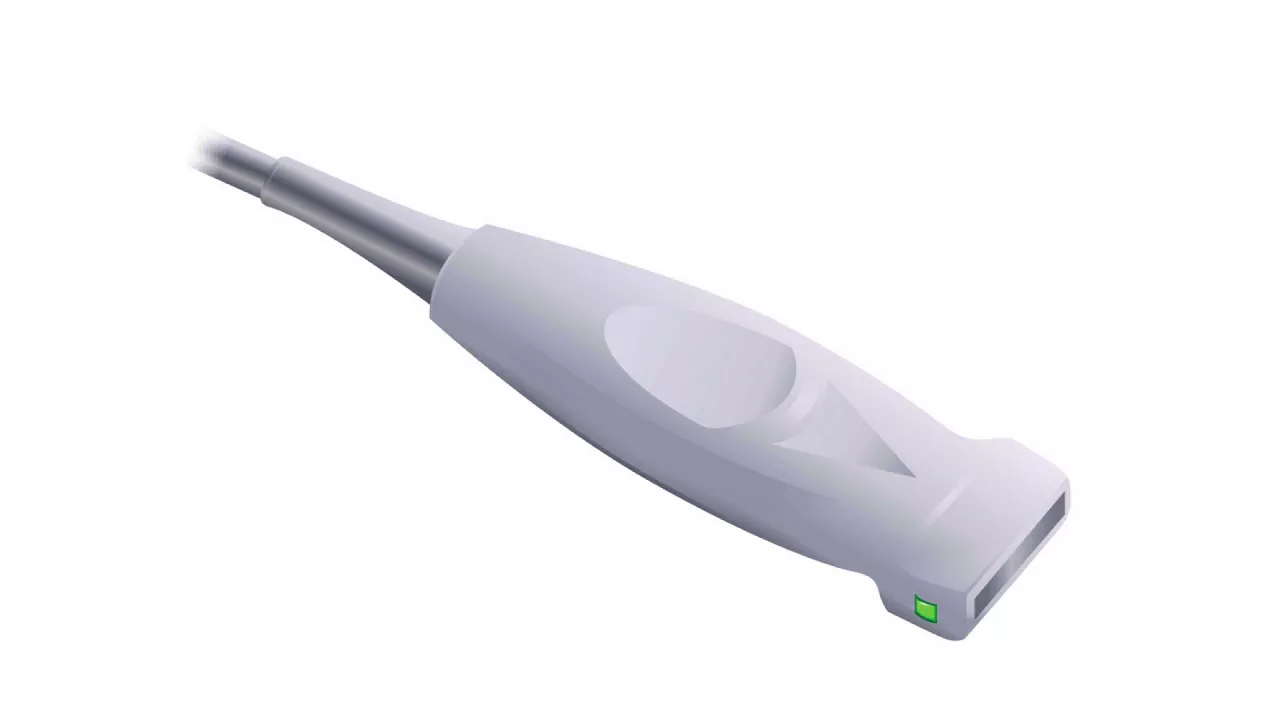


This video introduces point-of-care ultrasound fundamentals, teaching how to select appropriate probes based on clinical needs: linear probes (high frequency, 6cm depth, excellent resolution for superficial structures like veins) for procedures; curvilinear probes (low frequency, 30cm depth) for abdominal imaging of organs like liver and kidneys; and phased array probes (small footprint, rib-spaced imaging) for echocardiography and pleural assessment. The instructor demonstrates basic machine operation including probe attachment, auto gain, manual gain, depth adjustment (positioning structures centrally for best resolution), freeze frame for measurements, and save functions on both Sonosite S and M Turbo models.
Introduction to Point-of-Care Ultrasound | Stanford Medicine 25
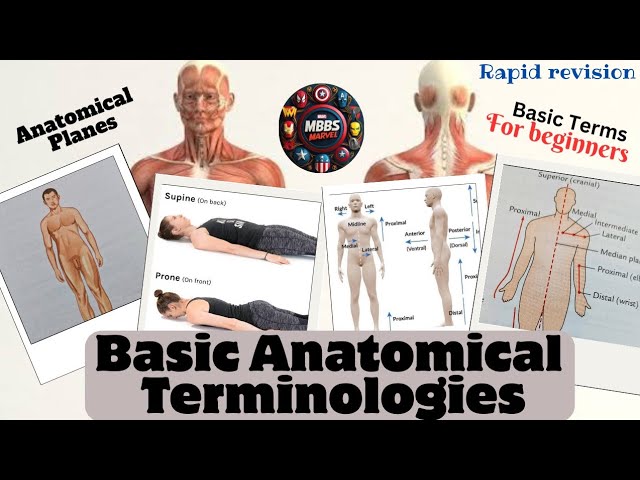
Added:Basic human anatomy and anatomical terminology (planes of the body, directional terms).
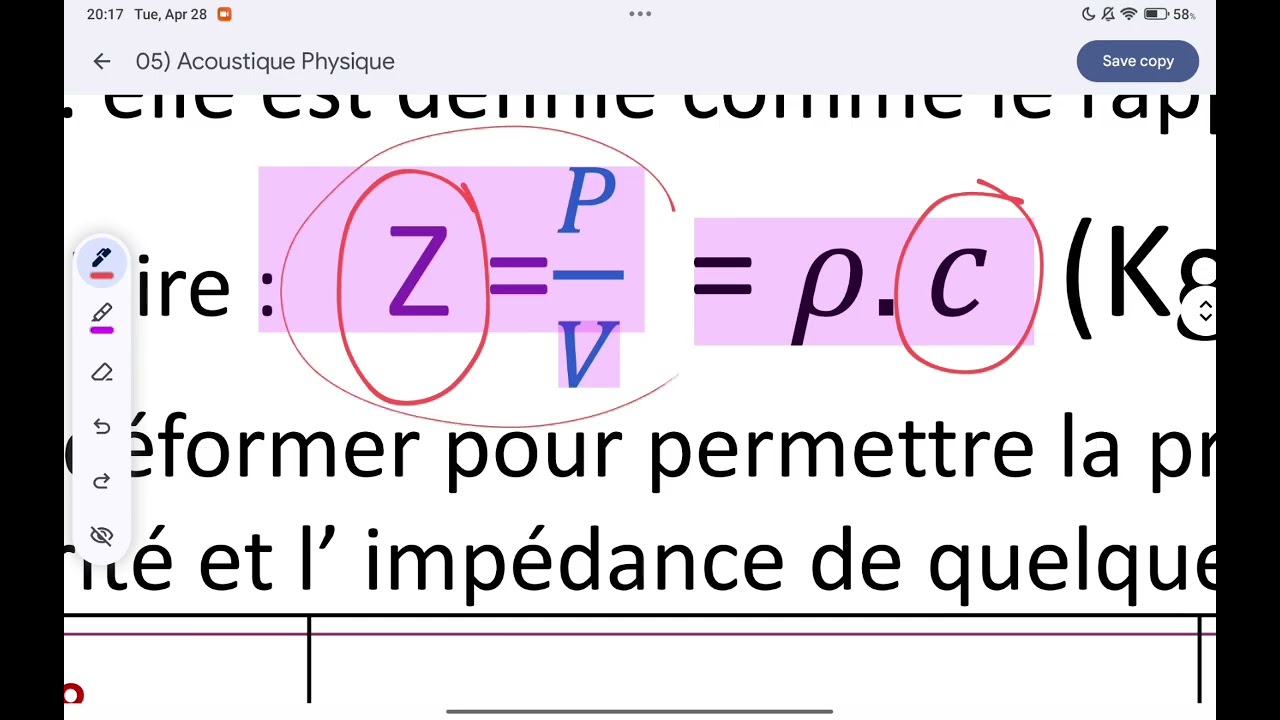
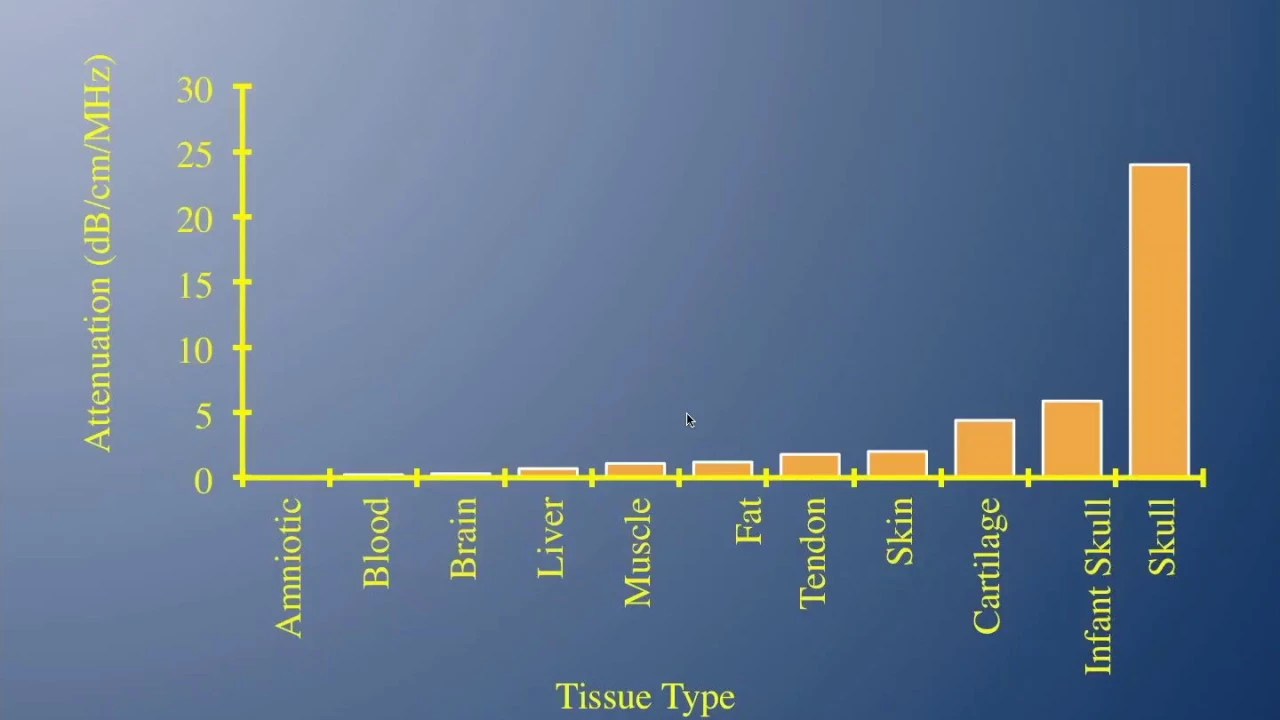
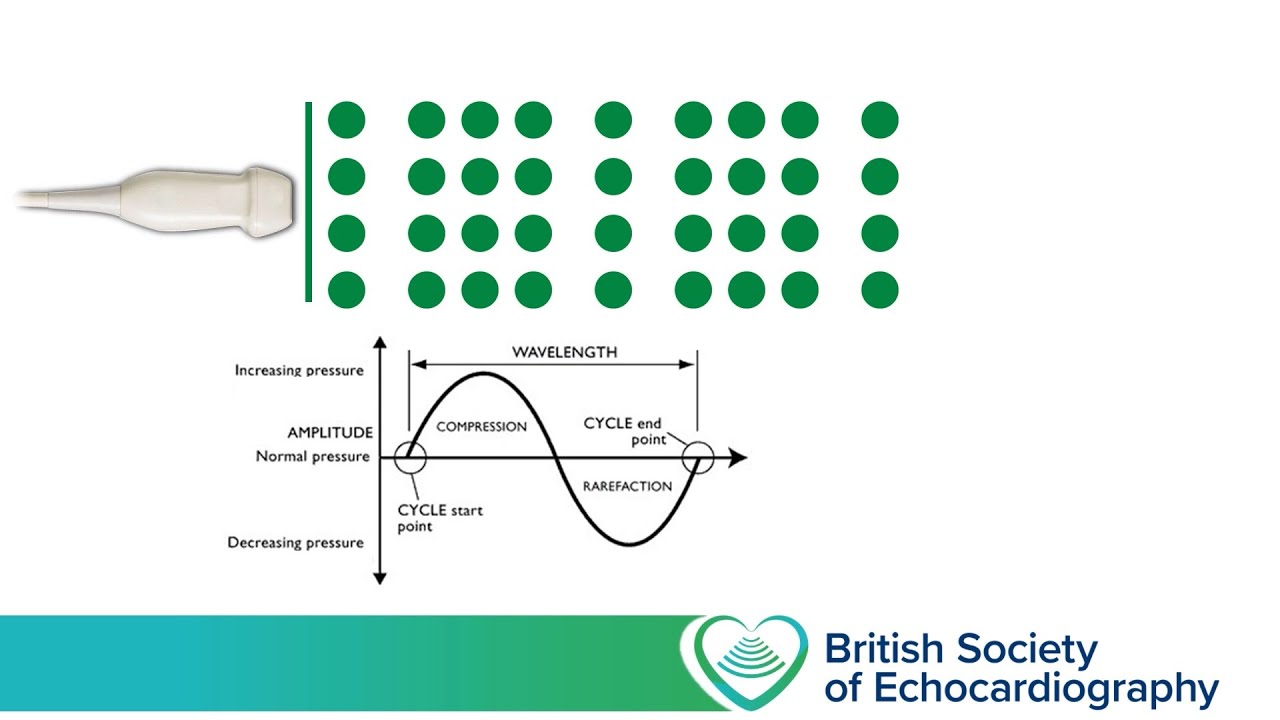
Fundamental physics of sound waves, including frequency, wavelength, and acoustic impedance.
The clinical role of Point-of-Care Ultrasound (POCUS) versus comprehensive diagnostic imaging.
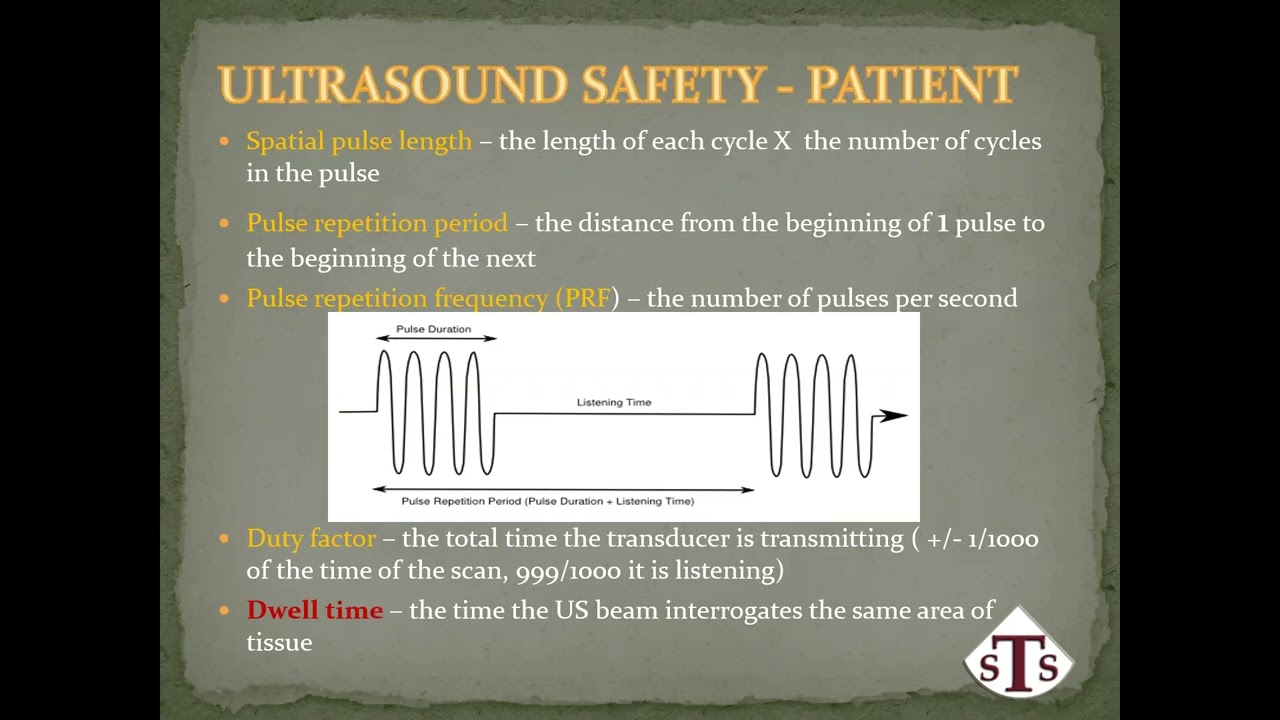
Basic safety guidelines in medical ultrasound, particularly the ALARA (As Low As Reasonably Achievable) principle.
Standardized POCUS scanning protocols such as the eFAST (Extended Focused Assessment with Sonography for Trauma) exam.
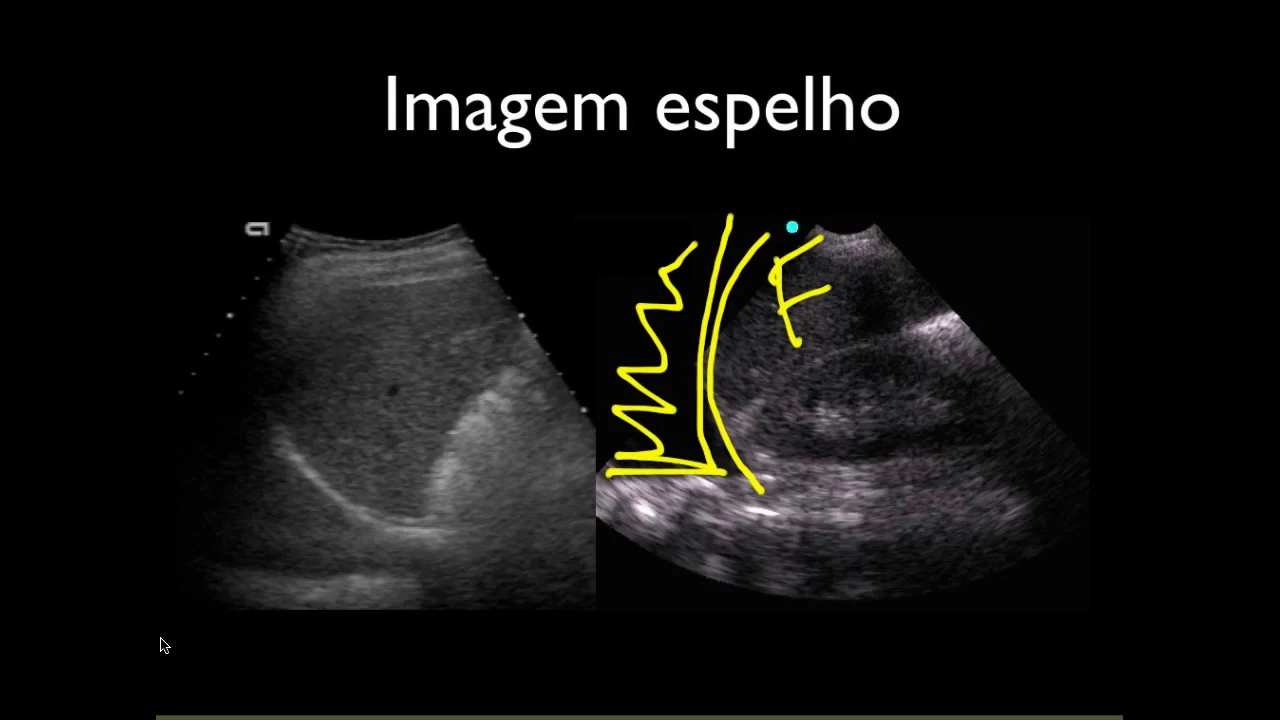
Identification and troubleshooting of common ultrasound artifacts (e.g., acoustic shadowing, reverberation).
Focused cardiac and lung ultrasound assessments to evaluate acute dyspnea or hemodynamic instability.
Ultrasound-guided clinical procedures, including vascular access (peripheral and central lines) and paracentesis.
104.9K views346likes5:57Original Release: 2011-12-14
welcome to a Stanford medicine 25 video on introduction to the [Music] ultrasounds hi my name is Dr John couler and this is the introductory to point of care or bedside ultrasound as part of the Stanford 25 series today our goal will be for you to learn how to use uh the ultrasound machines we have available here which is going to be the sonosite model S and the sonosite M turbo our goal will be for you to learn how to correctly choose a probe uh depending on which exam you're doing and how to use the what we call knobology or to use the buttons that are available on the machines uh to give you the best possible exam you can all right let's get started with choosing a probe the first probe that I'm going to show you here is What's called the linear probe this is going to be the probe you want to reach for if you're doing procedures the reason for that is it has high frequency ultrasound beams which don't give you a lot of depth you can only go as deep as 6 cm into the body but it gives you very very high resolution to see fine structures so when you're looking for veins for the central Venus line catheter um this is the probe that you want to use what you do need to know about it is it does have a probe indicator on the side that will correspond to the uh dot on the screen there and that'll let you know what your orientation is the next probe I want to show you is what's referred to as a the abdominal probe is what many people refer to it as uh or the curval linear probe is its technical name this is going to give you a much uh broader depth of field because it has a very wide footprint um and it has very low frequency ultrasound beams which gives you a lot of depth so you can see up to 30 cm into the body this is going to be a great probe if you want to look at the liver if you want to look at the kidneys or if you want to look at other structures in the abdomen the last probe that we use in Internal Medicine uh is this probe which is a phaser probe or other people refer to it as the cardiac probe the reason we call it that is because it's really good at doing echard echocardiography the reason for that is it has a small footprint this allows the ultrasound beam to effectively go between the ribs and to give you uh a view of the heart without any rib Shadow this is a great probe for doing Echo um you can also into the abdomen with it as well um but it's going to give you a smaller field than the curv linear probe it's also excellent for assessing sizes uh of plural fusions because again you can look between the ribs to assess the size once you've chosen the probe you need to make sure you know how to attach it correctly right now the linear probe is in place and if we want to switch that out for the cardiac probe we going to lift up this bar here on the back of the machine we're going to twist it and it comes right out very simple we'll take take our new probe and we'll place it in like this twist and we lock it into place and that's all all right on the model S machine this is available on uh Ward B3 in room 9 um this is the onoff button very straightforward plug the machine in um hit the button to turn it on it actually has a battery so you don't always need to plug it in um in terms of the buttons you need to be familiar with let's just start with auto gain um this button is actually very useful once you plug the probe in this will essentially uh be working you may need to adjust the gain manually down here but usually just hitting the auto gain will reset it uh and give you good quality the gain down here will essentially make the screen more white it amplifies the signal sometimes you do need to manually adjust this in order to make the image as clear as possible the other button that you're going to need to know really well as depth this is one you'll probably need to adjust for every patient um this essentially gives you more depth as you rotate it and you can see the numbers going up here in the in the corner these are set to centimeters essentially you want to make sure that what you're most interested in what you're focusing on Falls essentially in the middle of the screen that's going to give you the best resolution so you want to adjust your depth so your image Falls in that area the other buttons you should be familiar with here going to be your Freeze Frame so if you're looking at something and you want to take a measurement you can hit the freeze button in order to do measurements and the save button if you want to save a loop to review that later um really with just these few buttons you should be able to take care of almost everything you'll need to do onto the M turbo this is the machine that you'll find in the ICU and in the ER here at Stanford for this machine you'll find the onoff button right here um it opens like a laptop and then just to review the same buttons as we saw in the Model S um you're going to find the auto gain button here and then this is your manual gain control uh here in the corner again if we want to turn this up we'll see that we're going to increase the signal and Dan will do less signal the other buttons again you should know about are the depth this one instead of a dial you actually have buttons so if I want to give a greater depth of field again I just press down it gets deeper and this takes it the other way if I want to freeze it has a nice big freeze button that I can hit and then if I want to start it again I just hit the freeze button again and here is your save button over here in the corner again very easily marked this has been another Stanford 25 medicine presentation thanks for watching the proceeding program is copyrighted by the Board of Trustees of the Leland Stanford Jr University please visit us at med.stanford.edu
Up Next
10:47
Focused Echo in Critical Care: A Practical Guide
@PhilipsHC
27.5K views•2020-12-10

12:54
Triumph of Orthodoxy Icon: Byzantine Art & History Explained
@BenCallan
2.1K views•2024-08-06

9:49
FastAPI vs Flask vs Django: Choosing the Right Python Web Framework
@TechWithTim
302.5K views•2024-05-26

1:42
Game of Thrones Opening Credits: A Cinematic Analysis
@gameofthrones
46.3M views•2011-04-18
Related Study Plans & Knowledge Roadmaps
Structured learning paths in General & Interdisciplinary Studies
general-studies
Elevator Engineering: History, Physics & Cities
01From Hoists to Safety Brakes: The Dawn of Vertical Lift
02Hydraulic vs. Traction: The Engineering Physics of Elevators
03Modern Speed, Safety, and Algorithms
+ 2 more learning modules
12h5 modules
Explore Roadmap
general-studies
Rubber: Material Science, History & Geopolitics
01Origins of Natural Rubber & Mesoamerican History
02The Chemistry of Natural Rubber & Vulcanization
03The Geopolitics of the Rubber Boom & Colonization
+ 2 more learning modules
12h5 modules
Explore Roadmap
general-studies
Containerization: Evolution, Logistics & Trade
01Ancient Trade & Bulk Cargo: Amphorae to Barrels
02The Industrial Revolution & Cardboard Packaging
03The Containerization Revolution: Malcom McLean
+ 2 more learning modules
12h5 modules
Explore Roadmap
general-studies
Textile Tech: Evolution, Labor & Global Impact
01Pre-Industrial Textiles: Handloom & Cottage Industry
02Mechanization: The Spinning Jenny to the Power Loom
03The Factory System & Global Labor Transformation
+ 2 more learning modules
10h5 modules
Explore Roadmap