

![Explained: Center of Pressure [Aerodynamics]](https://i.ytimg.com/vi/3FKN3WfGFYc/maxresdefault.jpg)















![[EN] Webinaire | RWIND 2 - Calcul des charges de vent avec la simulation CFD](https://i.ytimg.com/vi/jg2W7E15e7U/maxresdefault.jpg)

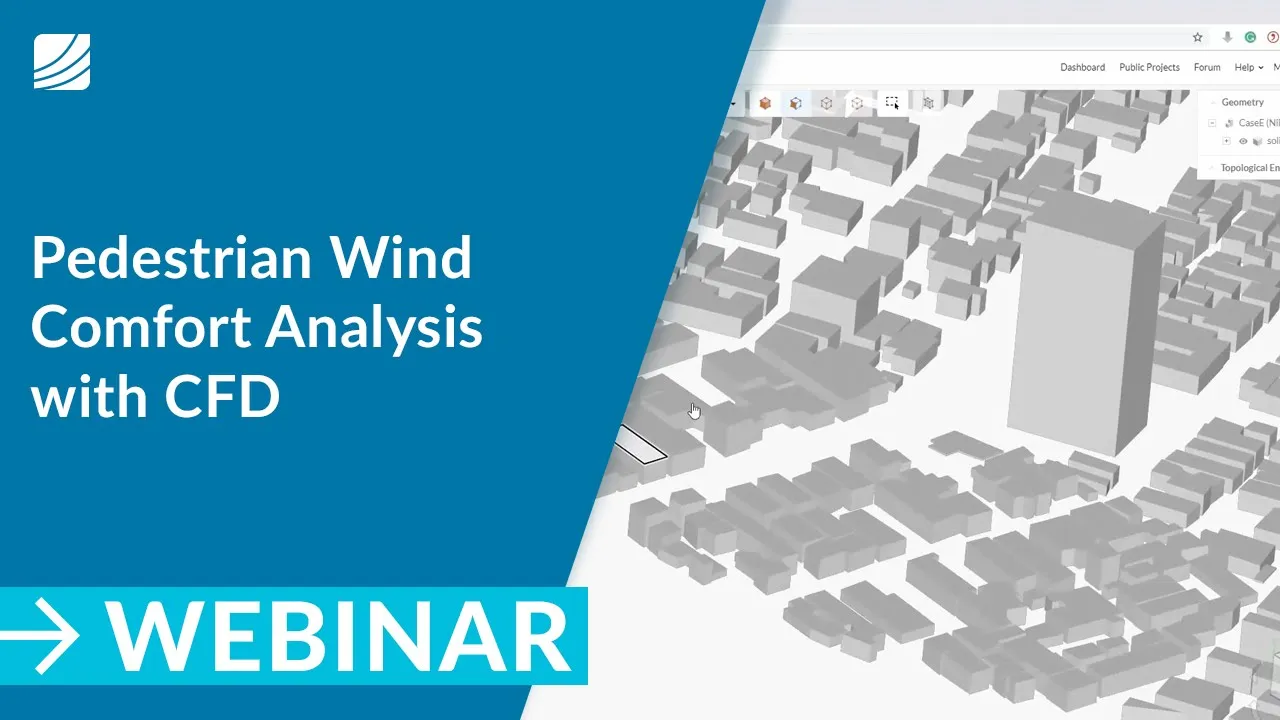
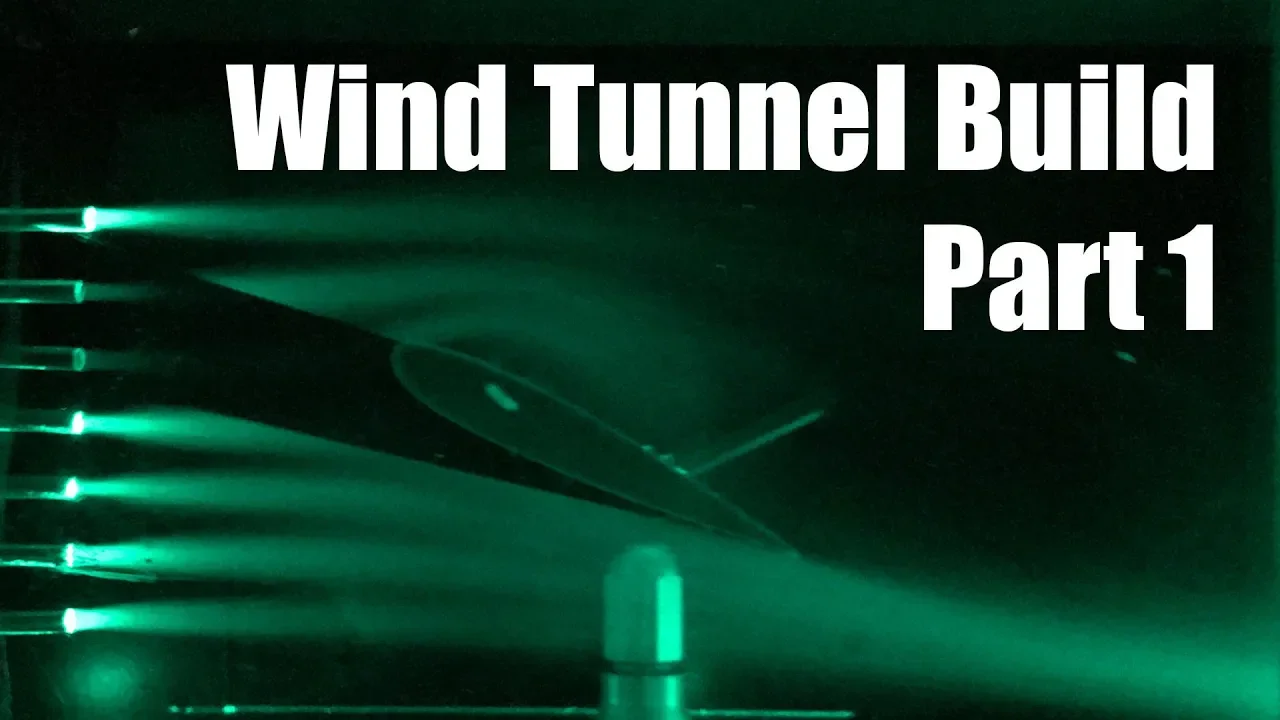
Building a functional wind tunnel requires designing an adjustable airfoil support structure using servos and 3D-printed components to control angle of attack, along with a smoke visualization system using fog machines and copper tubing manifolds to make airflow patterns visible, and proper lighting solutions including lasers and LED work lights to illuminate the test section while minimizing unwanted reflections.
Wind Tunnel Build Part 2: Airfoil Support, Smoke & Lighting Systems
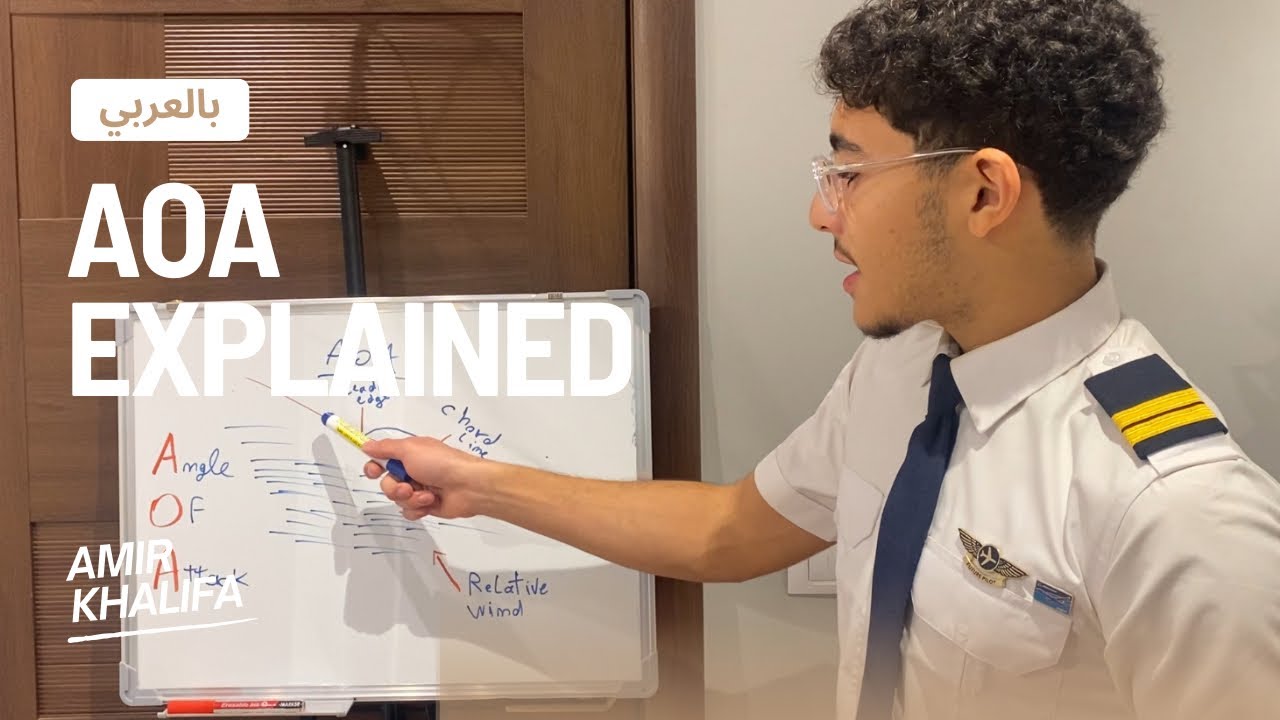
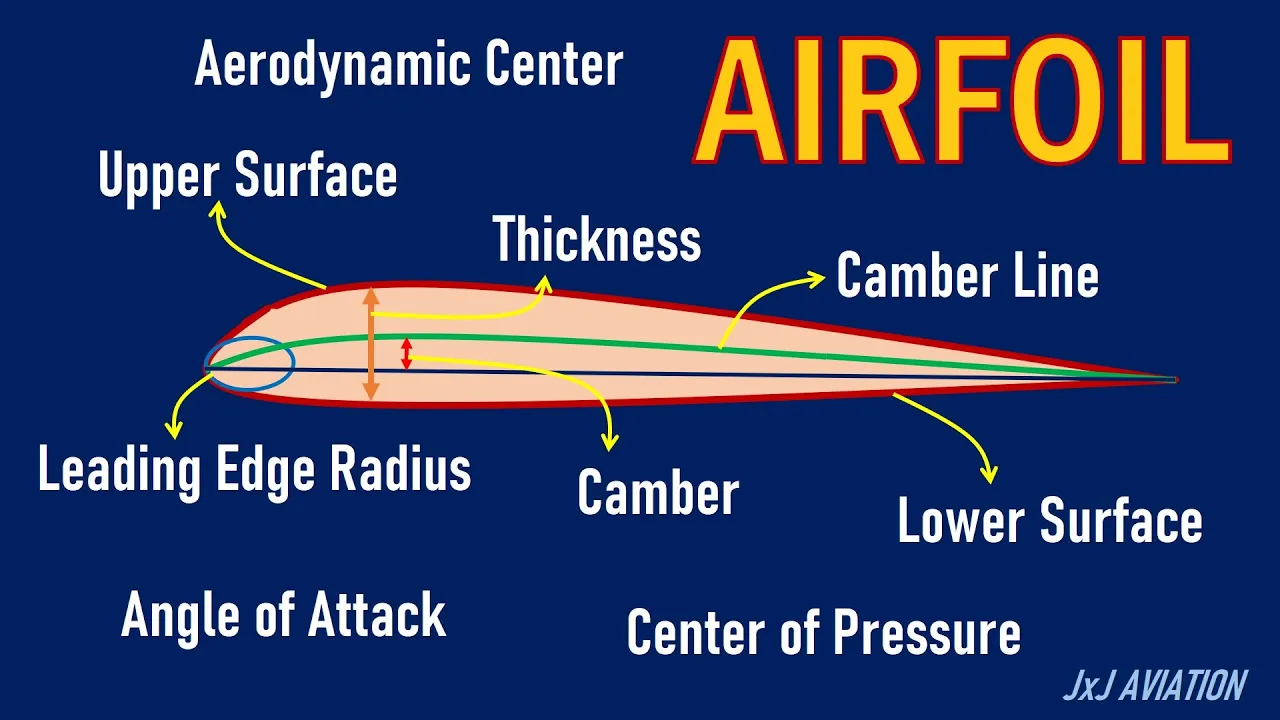
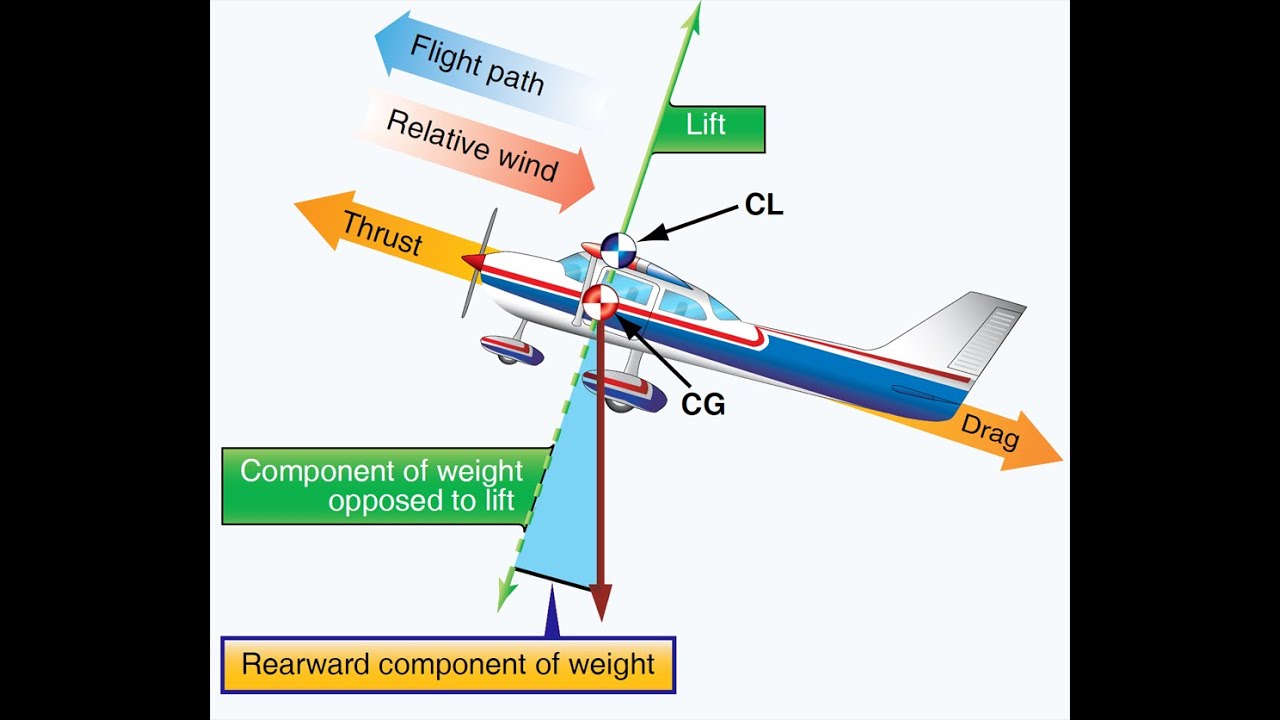
Added:Fundamental aerodynamic concepts, including airfoil geometry, lift, drag, and angle of attack.
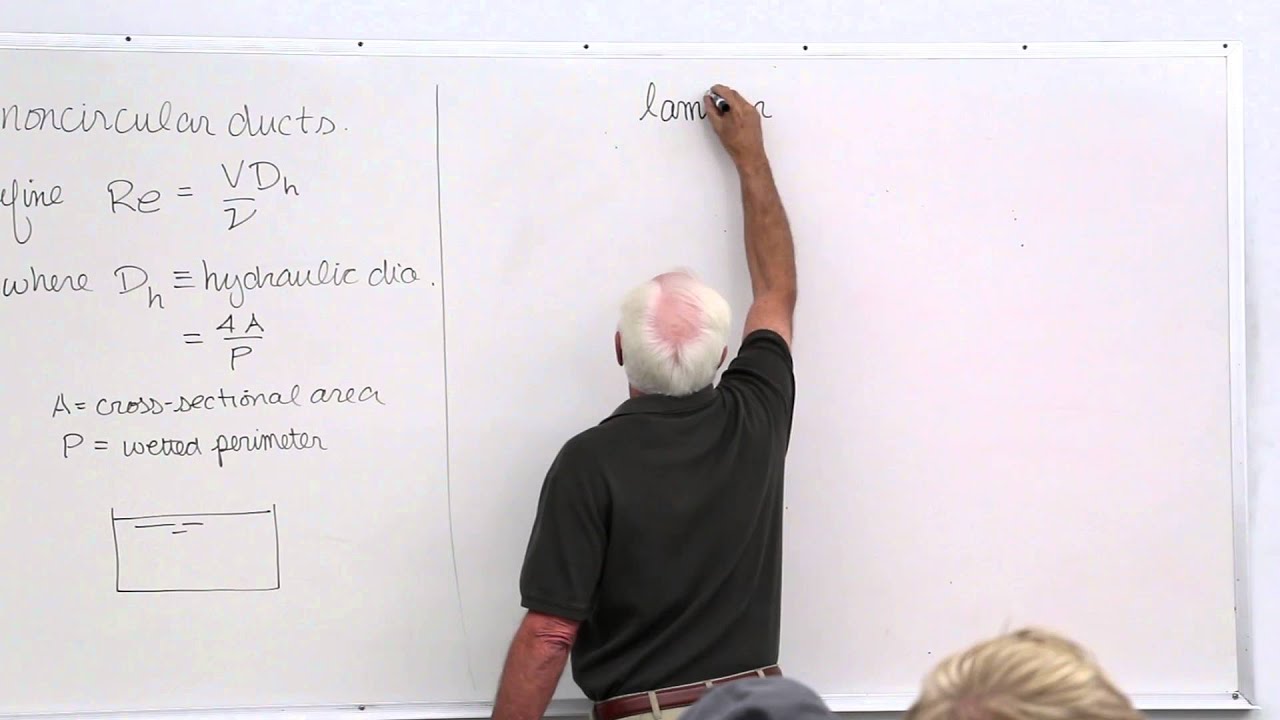
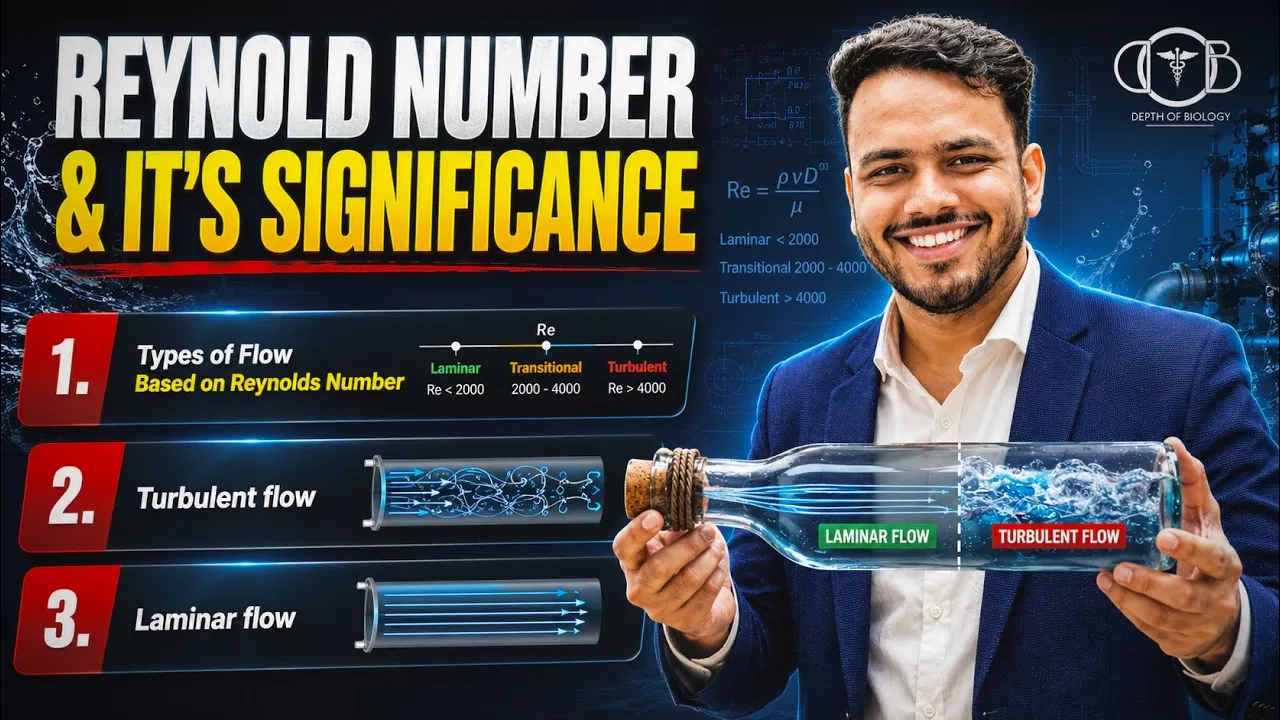
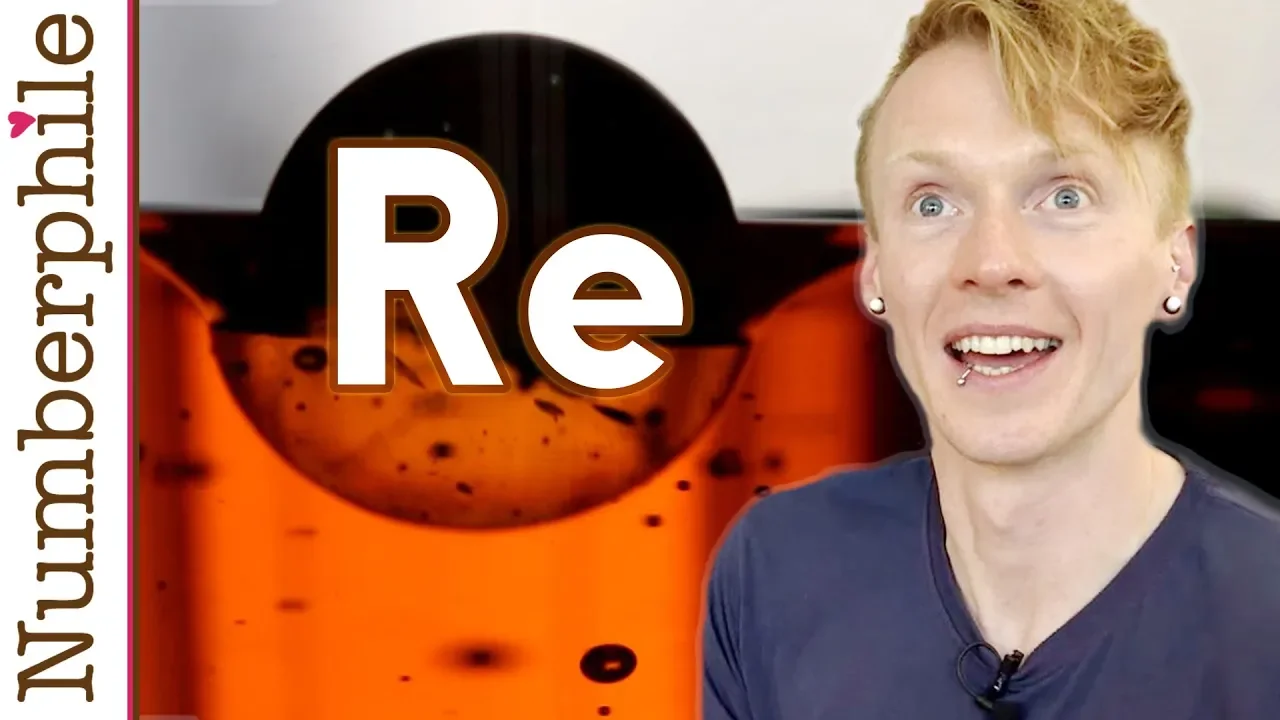
The physical significance and mathematical definition of the Reynolds number in fluid mechanics.
Basic wind tunnel architecture, including the functions of the test section, contraction cone, and diffuser.
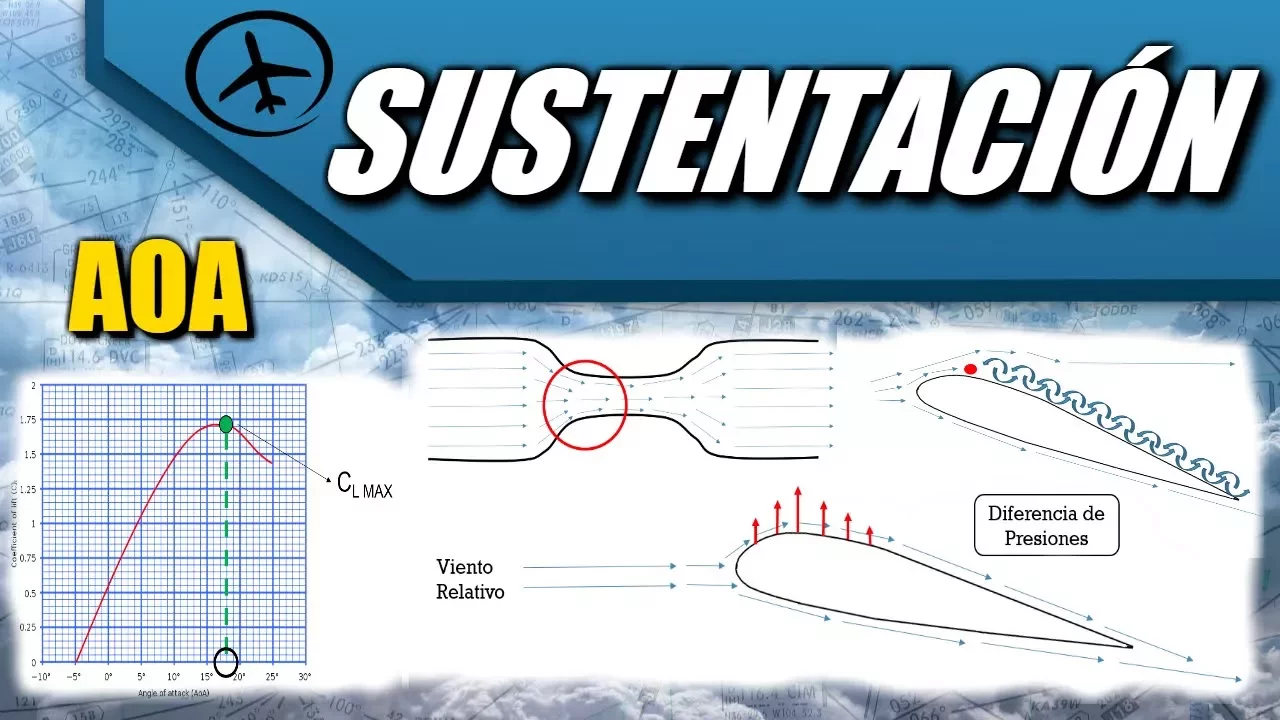
The principles of flow visualization and how streamlines indicate laminar versus turbulent flow regimes.
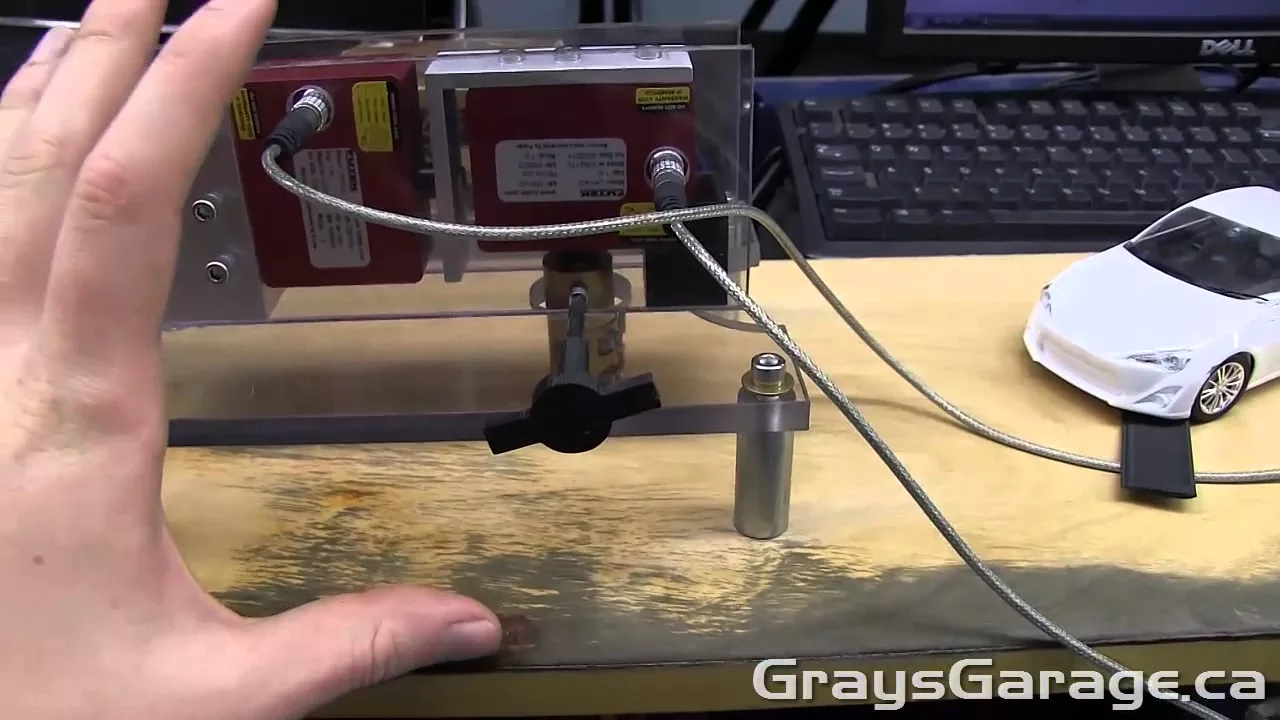
Integrating electronic force balance systems, such as load cells, to quantitatively measure lift and drag forces on the airfoil support.
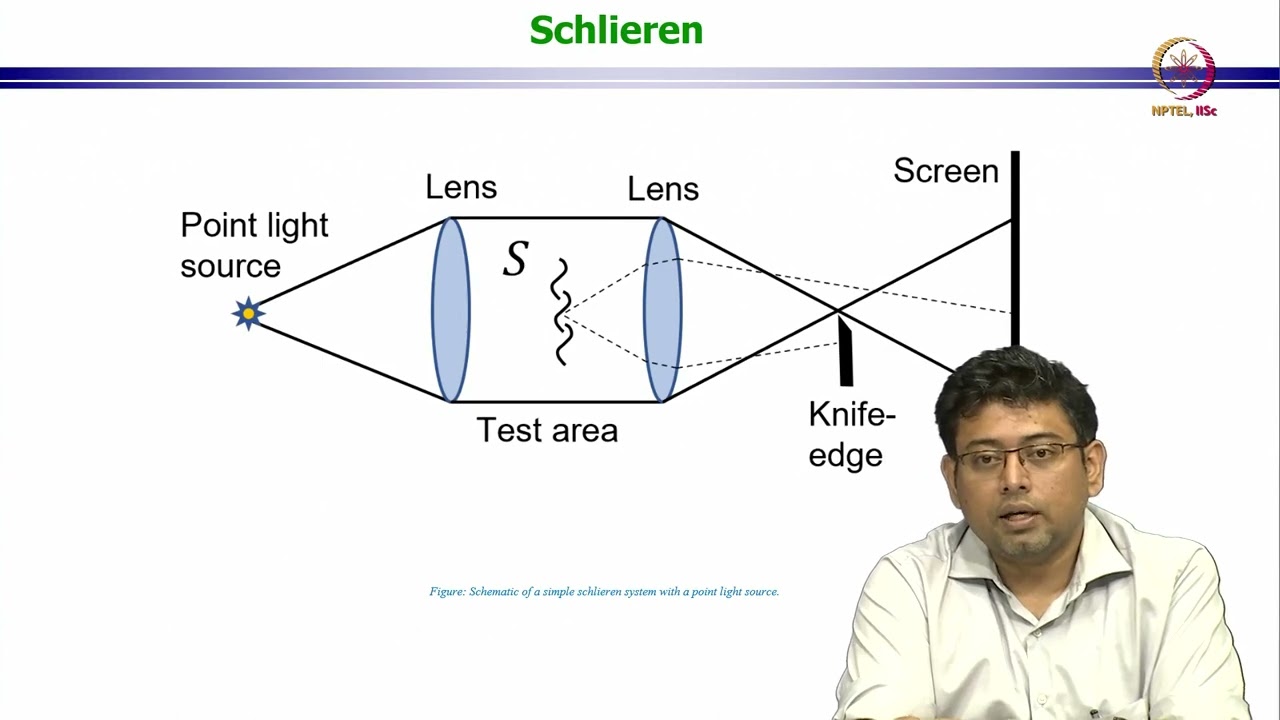
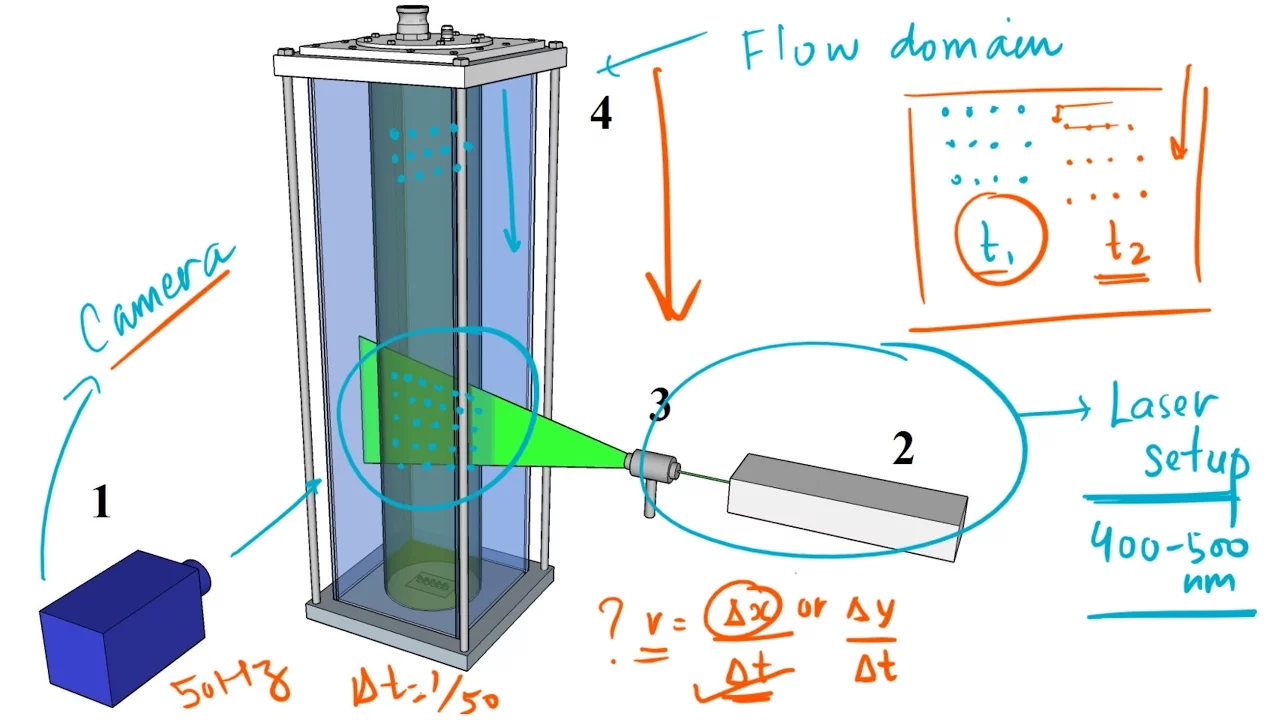
Exploring advanced flow visualization techniques, such as Particle Image Velocimetry (PIV) or Schlieren photography, for quantitative velocity mapping.
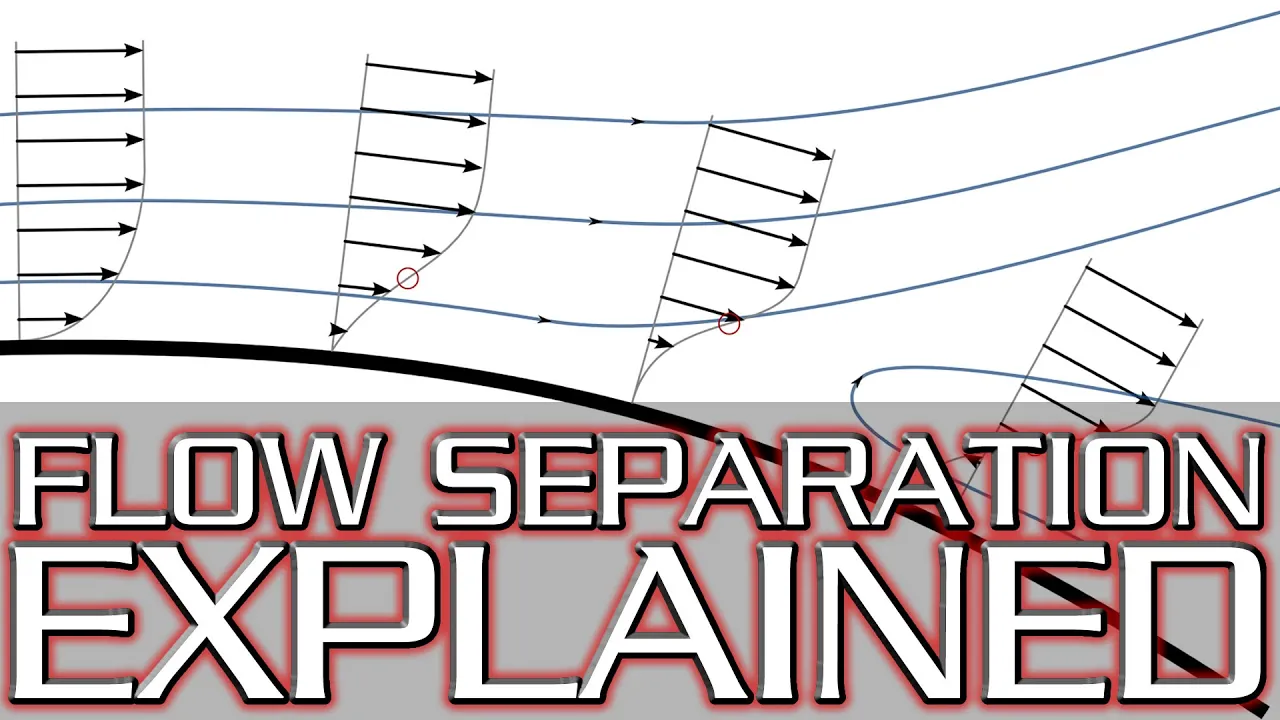
Analyzing boundary layer behavior, flow separation, and stall characteristics under varying flow velocities.
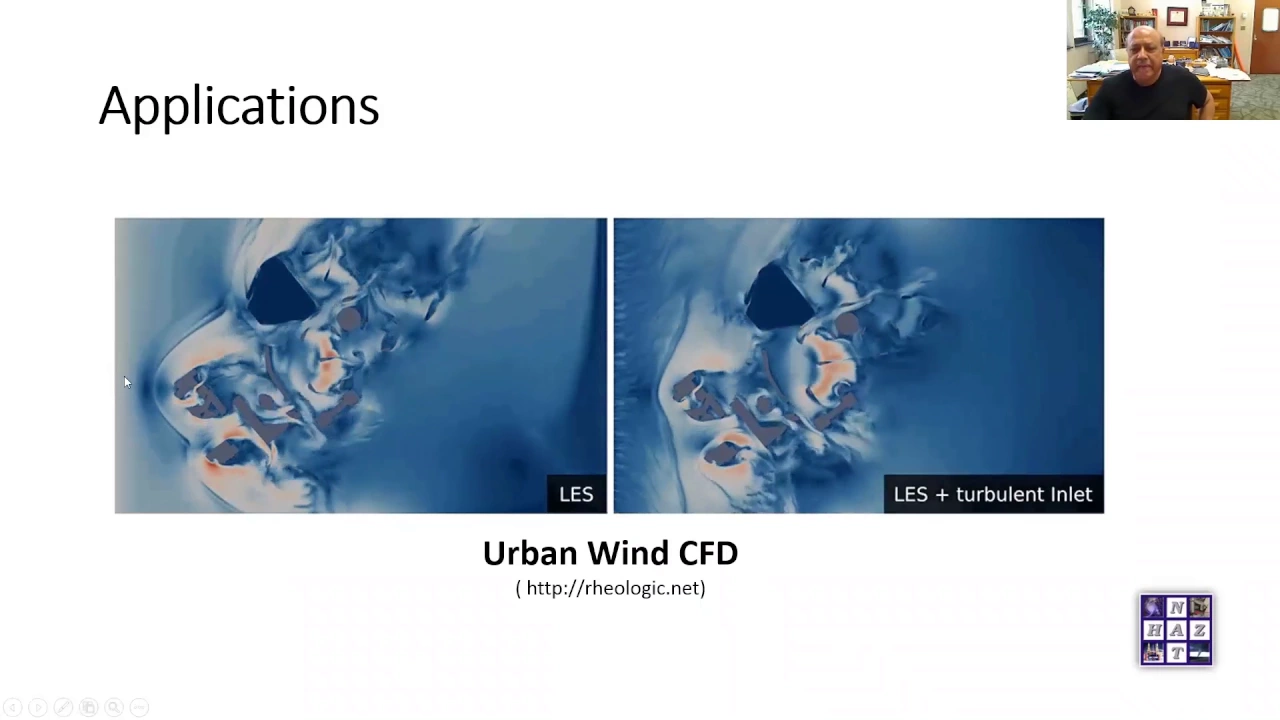
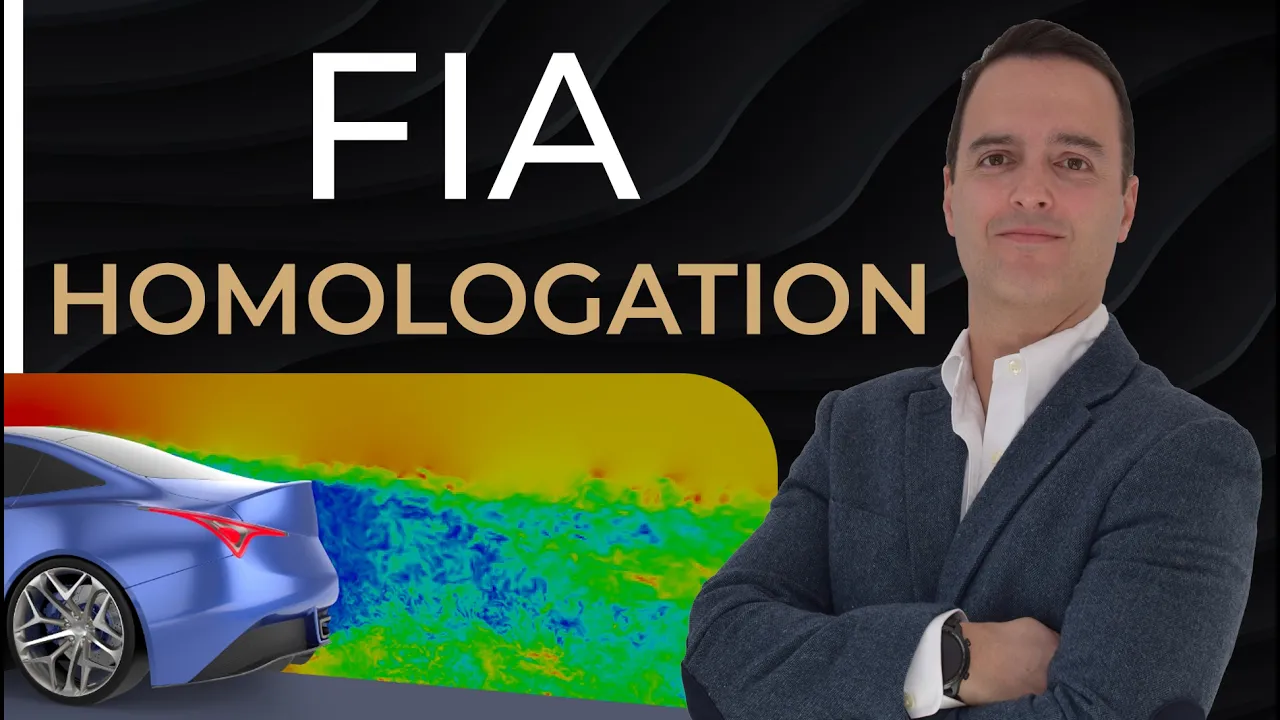
Validating Computational Fluid Dynamics (CFD) simulations using the empirical data and visualization captured in the physical wind tunnel.
50.2K views1.1Klikes20:08Original Release: 2020-03-20
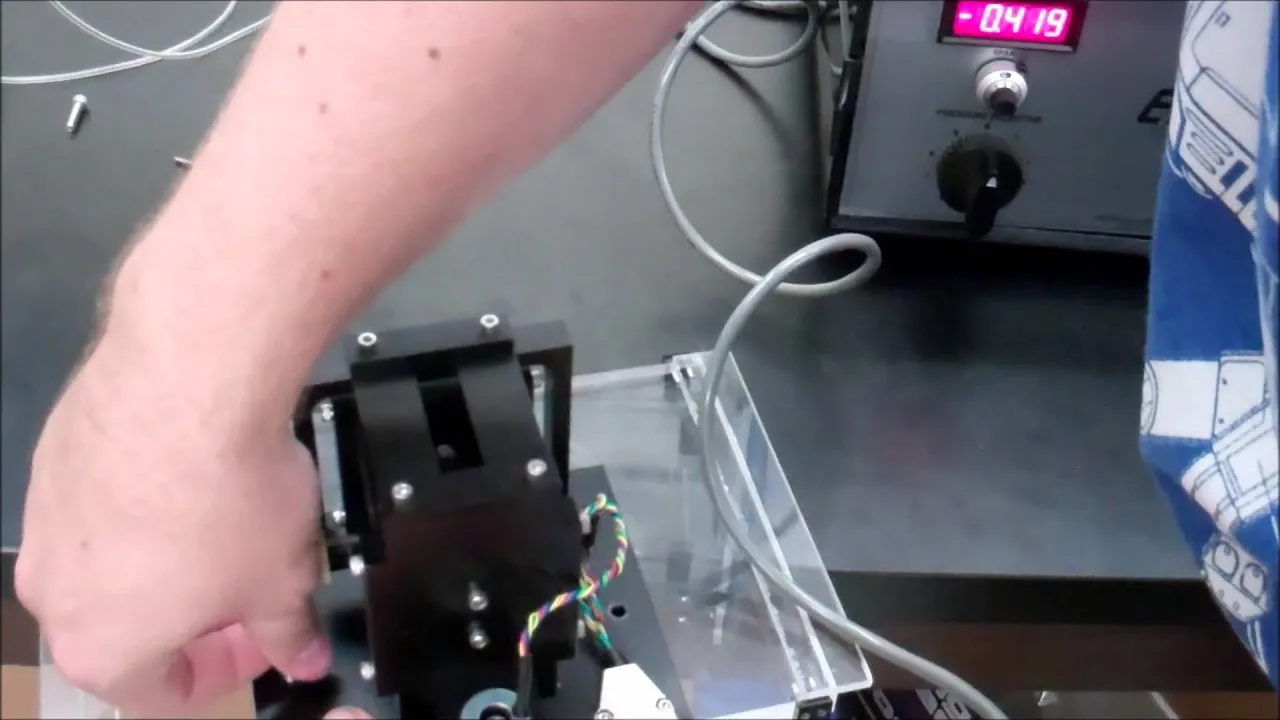
hey guys first of all let me start off by saying I'm really sorry that this video took so long to pull together and get out to you the smoke system and the lighting system were far more complicated than I thought they would be and by the time I got them figured out I had run into winged production season which got into flying season which got into I don't feel like doing anything season and yes in New England that is a season sometimes a pretty long one okay so this is part two of the wind tunnel build series and if you have no idea what I'm talking about or you'd like to refresh your memory and watch episode 1 I'll go ahead and link it up here go ahead and watch that and hopefully this will make more sense to you in this video I would like to cover the build of the airfoil support structure the ongoing saga of the smoke system and the trials and tribulations of lighting so without further ado let's get to it [Music] [Music] one more thing we need to talk about before we get on with the build and that is this wind tunnels applicability to real-world full-scale quantitative results if you watch the first part of the video then you know that the test chamber is 12 inches by 12 inches so it's not a very large test chamber I'm not going to be able to get anything very big in it in fact my smallest model the sprite is too big to fit in one piece so you might be thinking well we could just create scale models put those in and test those and yes yes we could that would be pretty simple but for us to be able to get real-world results we have to understand that air doesn't scale models do air doesn't scale air doesn't scale so in order for us to get any real meaningful results we would have to do something called Reynolds number matching and if you're not familiar with what a Reynolds number is we'll take a quick look at that Reynolds number is named after a 19th century fluid dynamicists aimed Paz born rental without getting too deep into it it's essentially a ratio of inertial forces to viscous forces and a fluid we use it as an indicator of fluid flow regimes for instance low numbers indicate a laminar flow and higher numbers indicate our turbulent flow for a meaningful correlation we would have to have our model Reynolds number match our full-scale Reynolds number let's take a look at the equation for Reynolds Reynolds number is directly proportional to the product of the fluid velocity in our case air and the length of the cord of the airfoil the problem is that as the cord length decreases the velocity must increase so in our case if we look at a half scale model at 60 miles per hour we would need an airspeed of 120 miles an hour so for my little wind tunnel if you do the math that means we need a 10,000 cubic feet per minute fan and that is a 10,000 CFM fan and I can tell you that is definitely outside the budget of this project there are a few other things that can be done such as lowering the temperature of the fluid or air in this case or increasing the pressure both of these go to lowering the kinematic viscosity which is the number that's in the denominator of the Reynolds number equation unfortunately both of these would require a recirculating wind tunnel that's a wind tunnel that constantly recirculates its own air and that is definitely far too big for my basement and far too big for my wallet so with that out of the way let's get on with the building let's take a look at the airfoil first I wanted something to support the test object or airfoil that would make it easy to test and allow me to change its angle of attack and this is what I came up with I can use a servo mounted on the rear of the door to change the wings angle I started by building the rear door panel to fit as tightly as I could I wanted to make sure it didn't affect the airflow in the Test section it then attached a large panel to keep the inner panel in place [Music] next I glue the inner surface of masonite to match the existing tunnel cross-section and this gives me a nice smooth inner surface a few screws to secure it if it was a bit too type of with a little love from a block plane it's all good to make the smoke easier to see I painted the back wall including the door panel flat black the support strut made out of 3/8 inch aluminum rod that goes through the panel into a bronze bushing I printed the control horns for the outside and the airfoil support bracket for the inside I drilled and tapped the side of both so I could add a set screw this makes it easy to adjust and mount the air foils I mounted a standard size servo to the back and attached it to a receiver that is bar bound to a spare transmitter you this allows me to control the angle of attack of the wing from the front while I'm viewing through the front window also if I wanted to add things like control surfaces and such I could hook them up to the same receiver and control them from the same transmitter the smoke system is where things got really complicated I looked at several different ways to generate smoke or fog and found that the most were either too complicated too expensive or potentially toxic I settled on a Halloween fog machine these are inexpensive simple to use and non-toxic remember this is going in my basement it's a walkout basement that's Jill I don't want any more toxic fumes in my house the system works by injecting a fogging liquid into a heater the nozzle on this machine doesn't seem to work well when there's any kind of back pressure or any kind of tight orifice that didn't sound too good what I mean is that it needs an air gap to work correctly so I can't seal it inside the reservoir I didn't want to seal the whole Frog machine inside the reservoir either because the fogging liquid residue that builds up on the machine I imagine wouldn't be very good for the electronics went through a few different reservoirs and eventually settled on an 18 gallon tub that I sealed with some weather stripping and duct tape real high-tech I wanted to add a pressure tap and pressurize a reservoir from the tunnel itself spoiler this was a complete failure you are the dumbest smart person I have ever met in my life also I added a PWM motor controller to the main fan so I could control the air speed I found that visualizing the smoke is best done at low velocities okay so this leads me to the smoke Rick this was the most complicated part of the build so far it's the part that took the longest and the reason this whole video got pushed off so long it was extremely frustrating I'm going to show you two different options that I did believe me there were a lot more than two the idea of the first-rate design was to design a streamline shape with holes along one side I figured this would be an area of the rake with lowest pressure and would help pull the smoke into the stream so I printed this up and set two fitting it into the wind tunnel I attached it with a flexible hose and added a sealed slider to the top of the wind tunnel so that it could be moved side to side from outside the Test section as you can see the results were less than stellar I think that the whole system was too small especially the holes in the rake this caused the smoke flow to be too turbulent I just couldn't get a decent flow [Music] okay after a few more failures and a lot more research I came up with this next design spoiler this one worked this design consists of a three quarter inch PVC pipe manifold a 3d printed attachment and several pieces of quarter inch copper tubing this gives me much more volume and the long smooth pieces of copper tubing helped to maintain the laminar flow of the smoke [Music] again I started by printing the attachment block that would hold the copper tubing I drilled holes in the PVC manifold to line up with the holes in the block I cut lengths of copper tubing that I bought from Home Depot and then bent on the shape of the tubing bender as you can see this worked much better [Music] this is the configuration that I'm currently using okay with the smoke system done now on to the thing that was the next thing pain in my ass can I say yes I mean it's my video right okay so the next big hurdle better was the lighting and I went through a lot of different iterations of putting lights inside outside combination of both I even used one of these laser this is actually a construction laser and the reason I chose this is because it uses a flat sheet or line of laser rather than a point I first tried different LED lights in different locations this was tough because there was a lot of reflection off the Plexiglas I did some research who found that lasers are sometimes used so I went and bought a contractors laser level this was an expensive purchase and yielded very cool results for images but because it had to be dark for this to work it made videoing a challenge eventually I added another plexiglass viewing window to the top of the Test section and added a very bright LED work light I built a black shade for it so that I could keep it from shining on the front window or the rear wall this did the trick you okay now that everything is in place I'm finally starting to get some good result [Music] [Music] [Music] so at this point I'm really happy with the results I'm getting but I think I want to take this a little bit further the visualizations are great and I'm really enjoying seeing the different flow patterns around the different objects but I think I'd like to start getting some quantitative data out of this and to that end I've decided to go ahead and build a to access balance basically this will be a mechanical balance with some digital strain gauges that'll be connected to an Arduino board and while I'm at it I'm going to go ahead and get some air speed data some temperature data and some angle-of-attack data all of this is going to feed through an Arduino controller so there'll be some Arduino programming and then this will all go to a computer interface so that I can record the data and graph it so that means I'll be developing an interface also to run on the laptop and with any luck all of that will be in part three of the video and I promise that it is not going to take me a year to give that video pull together and out to you guys so with that I think that does it and I will catch you on the next one [Music] by the time I got him figured out I was running into winged productions every season one thing before we go any further into the build there's one thing about this model wind tunnel all right one last thing before we get to the build there's something I want to clear up about okay so everything seems to be working but you should know by now that I'm not going to stop either
Up Next
5:43
Embedded C Based Automated Guided Vehicle for Industrial Automation
@Emtron_Technologies
38.8K views•2016-08-30

30:32
Ultrasonic Transducers: Resonant Frequency Measurement and Horn Design
@imajeenyus42
229.9K views•2017-02-22
17:07
DIY Wind Tunnel Build Part 1: Design and Aerodynamics
@DefiantWings
77.5K views•2019-04-06

33:39
How a Student's Question Saved a NYC Skyscraper from Collapse
@veritasium
22.8M views•2025-04-26
Related Study Plans & Knowledge Roadmaps
Structured learning paths in Engineering
engineering
Building Acoustic Levitators: Physics & Arduino
01The Physics of Sound and Standing Waves
02Piezoelectric Transducers and H-Bridge Drivers
03Arduino Programming: Generating 40 kHz Signals
+ 2 more learning modules
14h5 modules
Explore Roadmap
engineering
Building Peltier Cloud Chambers: Particle Tracks
01Cosmic Rays & Cloud Chamber Physics
02Thermoelectric Cooling (TEC) Fundamentals
03Custom Liquid-Cooling Loop Design
+ 2 more learning modules
18h5 modules
Explore Roadmap
engineering
Yagi-Uda Antennas: Modeling, Build & VNA Test
01Introduction to RF and Antenna Fundamentals
02Yagi-Uda Antenna Design Principles
03Antenna Modeling and Simulation in 4NEC2
+ 2 more learning modules
18h5 modules
Explore Roadmap
engineering
ECG Monitor Design: Op-Amps, Filters & Noise
01Electronics & Breadboard Basics
02Op-Amps and Instrumentation Amplifiers
03Bioelectricity and ECG Fundamentals
+ 2 more learning modules
18h5 modules
Explore Roadmap