














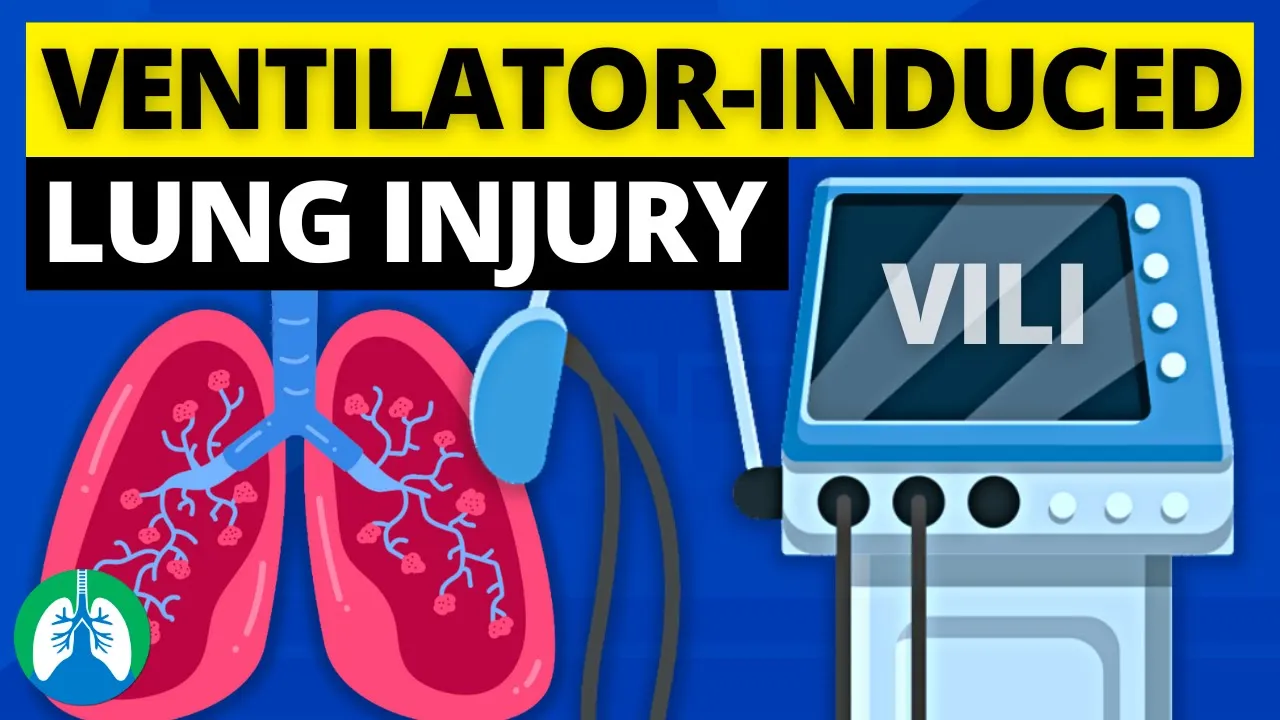






This video explains the three primary mechanical ventilation modes used in intensive care units: Volume Control (where tidal volume is constant and pressure varies with lung compliance), Pressure Control (where pressure is constant and tidal volume varies with patient effort and compliance), and Pressure Support (a weaning mode where both tidal volume and rate depend on patient effort). The key distinction lies in what parameters are set versus what are measured: in Volume Control, tidal volume is prescribed and constant per breath; in Pressure Control, pressure is prescribed and tidal volume varies; in Pressure Support, pressure support is prescribed and tidal volume depends entirely on patient effort. Understanding these modes helps clinicians choose appropriate ventilation strategies for different clinical scenarios, such as using Volume Control for initial intubation and ARDS management, Pressure Control for patients who cannot tolerate Volume Control, and Pressure Support for weaning trials.
Ventilator Modes Explained: Volume, Pressure, PS | UCSF
Added:so what we're showing you here is a freeze frame of uh a ventilator that we use at zsfg it's the cavidan ventilator uh p and B ventilator and just to sort of frame to you what elements of the screen you'll be looking at that match up with the modes and the prescribed uh uh modes that you're setting so if you look at the bottom frame here bottom of the frame the this is the area of what is set on the ventilator these are the numbers that the respitory therapist punches into the ventilator this portion of the slide the top portion that is what is measured uh on the ventilator okay and then finally you have the graphs here to look at okay so if we focus on what is uh prescribed what you write in what are the settings of the mode of the ventilator you can see here that we're in assist control volume VC assist control VC is volume control you can see that the therapist has entered the weight of the patient and the tidal volume that's been prescribed is also given to you in terms of milliliters per kilo which will be important when we talk about ards later on here you can see the set rate the set frequency right of 14 set title volume of 550 the fi2 of 21 in this particular case and the peep of five also you'll notice the respiratory therapist has set the maximal flow rate at 55 L per minute now let me show you what some of these numbers look like on the graph gra themselves so the first thing you'll see is uh we want you to focus on the pressure waveform here okay and roughly this yellow line when it the flat portion of it is your peep it is your set peep down here okay when you want to figure out what your Peak pressure is that equates to the peak here of this pressure waveform and that measurement it's not a it's not something you dial in as a setting on the ventilator but that measurement is also expressed numerically here in the upper left hand corner the plateau pressure is this shoulder of the pressure wave form here and that number is expressed numerically here these are both measurements that are made by the ventilator and that's why they're expressed up here in the top bar as opposed to a setting which would be Expo expressed down here in the lower bar the next graph I want you to look at is the volume or the flow uh waveform here and that equates to this sort of number here of 55 here we're using a square wave form so you can see that the waveform of the flow is square right there are some uh modes of ventilation where you can have a decelerating waveform which would look sort of more like this okay decelerating okay but for the most part we set them up with a square wave form and you can see that the the peak of that square wave is 55 now remember this is the rate at which the volume will be going into the patient to achieve the volume that you've set okay and then finally the last waveform you'll see is the volume waveform here and again since we're in assist control volume it this is the same every single every single breath is the same volume they all Peak out at 550 so let's go back to the COPD patient you put the patient on volume control at a rate of 16 and a title volume of 600 which one statement is true of the title volume delivered if the measured rate is 22 so the correct answer here is a every breath will be 600 ml per breath whether it's the set rate of 16 or the additional six breaths that the patient is taking now this is a product of uh the mode that you're in which is volume control ass Cy control uh so every breath in that mode is the same exact breath whether the patient wants a big breath or a small breath we'll talk a little bit about the differences now so this table uh sort of highlights uh or at least summarizes for you the three most important modes of ventilation that we use in the the Intensive Care Unit every other mode every other fancy mode that you hear about in the ICU will be a spin-off of one of these modes so if you really understand one of these three modes you'll be able to think about derive and figure out all the other modes that are out there with just a little bit more information so the first one we want to highlight here is volume control uh here at zsfg and actually within the UC system as a whole volume control is our go-to mode especially for when we initially place people on the ventilator so what you'll see here is that in comparing the volume right the breath of uh the volume of every breath in volume control will be exactly the same the pressure that's measured on the on the ventilator itself will depend on lung compliance uh so if the lung is very stiff the volume that you prescribe will uh cause a very uh will will equate to a very high Plateau pressure if the compliance improves such that the lung is more compliant the same volume that you deliver will actually uh equal a lower pressure and following the plateau pressures is actually a useful thing sometimes when you're diuresing the patient or when you're trying to see if their ards is improving that kind of thing the rate in volume control is set they will get the minimum rate that you prescribe but the patient can trigger a rate above that at whatever uh they prefer whatever their physiology or uh dictates the flow rate again is the same for every single breath in volume control and this is the key feature of volume control in comparison to the others we set a constant flow rate throughout the inspiratory time for the volume that you're giving uh and we'll show the other ones in a second so the waveforms if you think about the waveforms that we care about most on the ventilator when someone is in volume control it's the ones that are going to change breath to breath so namely we're looking at the pressure time waveform it's very important there and the pressure volume Loop but for the most part we're looking at the pressure time waveform that's the top waveform uh that you see on the slide before and we'll show in subsequent slides as well if we look at pressure control um this is a mode that we will use from time to time when the patients cannot tolerate volume control for whatever reason we'll use this one but we don't use it as much but it's important to know that it exists and how to use it um the volume and pressure control will depend on the patient's effort and the lung compliance so if you contrast that to volume control where the pressure depended on lung compliance here the volume in pressure control will uh the amount of volume that they get in the title volume will depend on the effort and the lung compliance of the patient itself we give a set pressure and that's the same every single breath but if the patient wants to augment that pressure they can pull harder and they can get a larger volume than you might normally achieve with a volume control so sometimes patients will be giving efforts in pressure control that will equate to really large volumes and that may not be what you want to do depending on the clinical situation the rate is very similar to volume control it's has a set minimum rate but the patient can breathe and Trigger the ventilator spontaneously above that but the key is they'll get the same pressure breath pressured cycled breath every single time so because of that when you put those three things together you can see that the minute ventilation or at least the tital volume can change breath to breath and subsequently the minute ventilation can change breath to breath so if you're focusing on ventilation or CO2 pressure control might not be the most reliable way to ensure the patient gets a set Min of ventilation that you think they need the flow rate in pressure control depends on the patient's effort and lung compliance again so they can set their own flow rate which is why it's so much more comfortable than volume control they can take a huge uh tital volume and they do that by achieving a much higher flow rate which when you think about it is the way that we breathe normally when we're uh breathing a negative pressure ventilation when we're going out and running or running up the stairs or running a marathon or whatnot we can augment the that we give per each breath we can set it we do it based on our own needs and what we want you can do that in pressure control which is why some people think and it it's born out when you look at the patient pressure modes are more comfortable mode to breathe on but again that may not be what you're trying to achieve such as in the case of ards potentially you want to lower title volume and you don't want to allow the patient to breathe huge big title volumes in that particular case so because of that and pressure control the waveform you care about most is the volume time waveform so what is the tidal volume per breath and what is the flow rate uh per each breath those are the things those are the two graphs that are going to change with time and these modes finally pressure support this is p primarily a weaning mode uh of ventilation and we use it quite uh quite a bit when we're weaning patients from the mechanical ventilator here the volume will depend completely on the patient's efforts and the lung compliance big effort will equal big volumes little effort will equal little volumes the pressure that get is the same and in that sense it's very similar to pressure control but the way the pressure is delivered is slightly different for reasons we don't need to get into right now the rate is completely spontaneous you don't set a rate the patient sets their own rate they determine how fast or how slow to breathe it's totally up to them if they become apnic on this on this mode and they stop breathing entirely the ventilator is set up with a backup mode and will switch to a volume cycled uh mode uh to protect the patient uh in the case of prolonged apnea flow rates again are dependent purely on the patient's efforts and lung compliance and finally the waveform you care most about in this mode because you're weaning is the volume what is the volume they're getting per breath and are are they able to maintain that consistently throughout the entire spontaneous breathing trial so here are the graphical representations of what you're going to see on the ventilator depending on the mode so again if we're going to focus on the lower left hand corner you know what mode you're in right but once you get really good I should be able to completely cover up the bottom portion here and you should be able to tell me what mode you are in on the ventilator but just to highlight a couple things so we're on assist control here you notice you have a nice Peak here right very stylized drawing there right we've got Peak and Plateau just like before we have a set flow rate and a set volume okay this is very similar to the slide I showed before when I annotated or described the the the anatomy if you will of the screen itself here's an example of pressure control and again we know we're in pressure control cuz we're down here PC right but here you already see a difference in what the waveform looks like we have a more if we're looking at the pressure waveform here we have what looks to be more of a square pressure uh uh form here in the sense that the ventilator delivers a pressure gets ramped up to pressure holds that pressure for the complete I time which here is listed as 0.9 seconds so it holds it there for 0.9 seconds then the flow is stopped and the pressure is allowed to come back to the Baseline peep that you said here there's your Baseline peep then the next breath looks exactly like the one before it so you get the same breath looking just like the one before it and contrast that to the volume or the flow waveform what you see here is that you see a a waveform that is not square like you saw with the um volume control mode it's a more sort of gradual ual increase and a flattening out gradual increase and flattening out or decreasing a little bit throughout the life of the breath itself and then again is the same here every single time now this we're assuming that the patient is paralyzed and not do giving any efforts whatsoever and then finally you have the volume here as well and in this representation because it's the patient who we're assuming is paralyzed and not providing any efforts the volume is the same every breath and we'll show you later on some examples where the volume is not the same every breath then finally moving on to the spontaneous mode and this is what we would consider a spontaneous breathing trial this is pressure support you can tell again you're in a spontaneous mode fully spontaneous mode here and you're in pressure support there okay so we've set the F2 and the peep here but we haven't set a rate and all we've done is set a pressure support above the peep so in total what the patient will get is if this is the peep they'll get an additional Delta 7 to to achieve this peak right here okay so in total they get 12 CM of water of pressure per breath that's what they get the flow is very similar to as you can see here the flow is very similar to pressure control and the volume again because we're assuming this is a a patient that's not providing any additional efforts the volume is the same right but the important thing here to know the difference between spontaneous breathing uh on this SBT with pressure support and pressure control is down here okay the spontaneous and the p s that's where you're going to see the biggest difference so that's a brief introduction to the modes of ventilation we'll get into more specifics uh in terms of different medical conditions later and we'll also include uh some clips for you to look at and answer some questions based on those
Up Next

Patient-Ventilator Dyssynchrony: Causes & Solutions
@RespiratoryCoach
31.2K views•2019-10-08

Graphic Medicine: Comics for Collaborative Healthcare Communication
@nationalpatientadvocate
189 views•2023-12-04

Neuroanatomy: Central and Peripheral Nervous System Divisions Explained
@AKLECTURES
136.2K views•2014-09-20
Stages of Labor and Vaginal Birth | Childbirth Animation
@nucleusmedicalmedia
52.1M views•2017-08-18
Related Study Plans & Knowledge Roadmaps
Structured learning paths in Medicine