
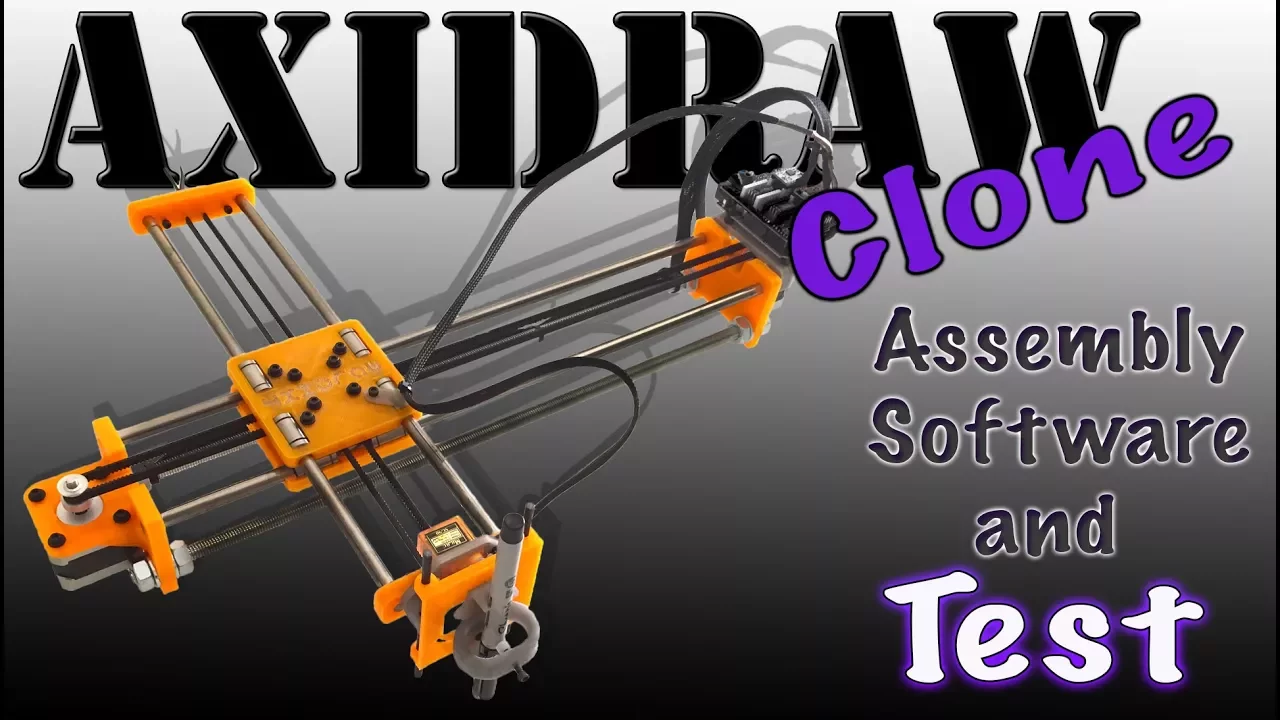

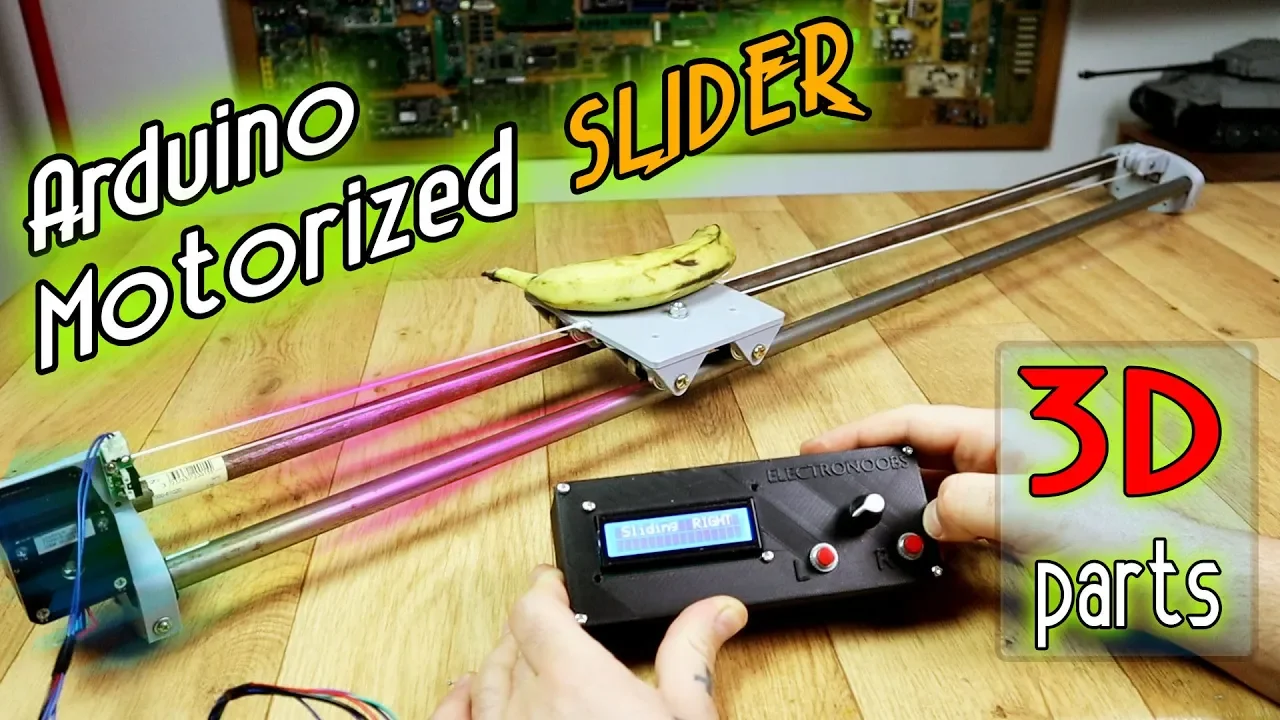












This tutorial demonstrates how to construct a budget-friendly 3D-printed CNC drawing machine using an Arduino Uno, GRBL firmware, and basic electronics components. The machine features an X-axis driven by a NEMA 17 stepper motor with GT2 timing belt and linear rail, a Y-axis controlled by a servo motor, and a Z-axis for pen lifting. The design allows users to draw on various surfaces including paper, cake icing, and fabric by converting digital designs into G-code using software like Inkscape and GRBL. The project requires minimal soldering skills and can be assembled with readily available components from online retailers.
DIY 3D Printed Arduino CNC Drawing Machine | Build Guide
Added:Basic microcontroller programming, specifically using the Arduino IDE to upload and configure firmware like GRBL.
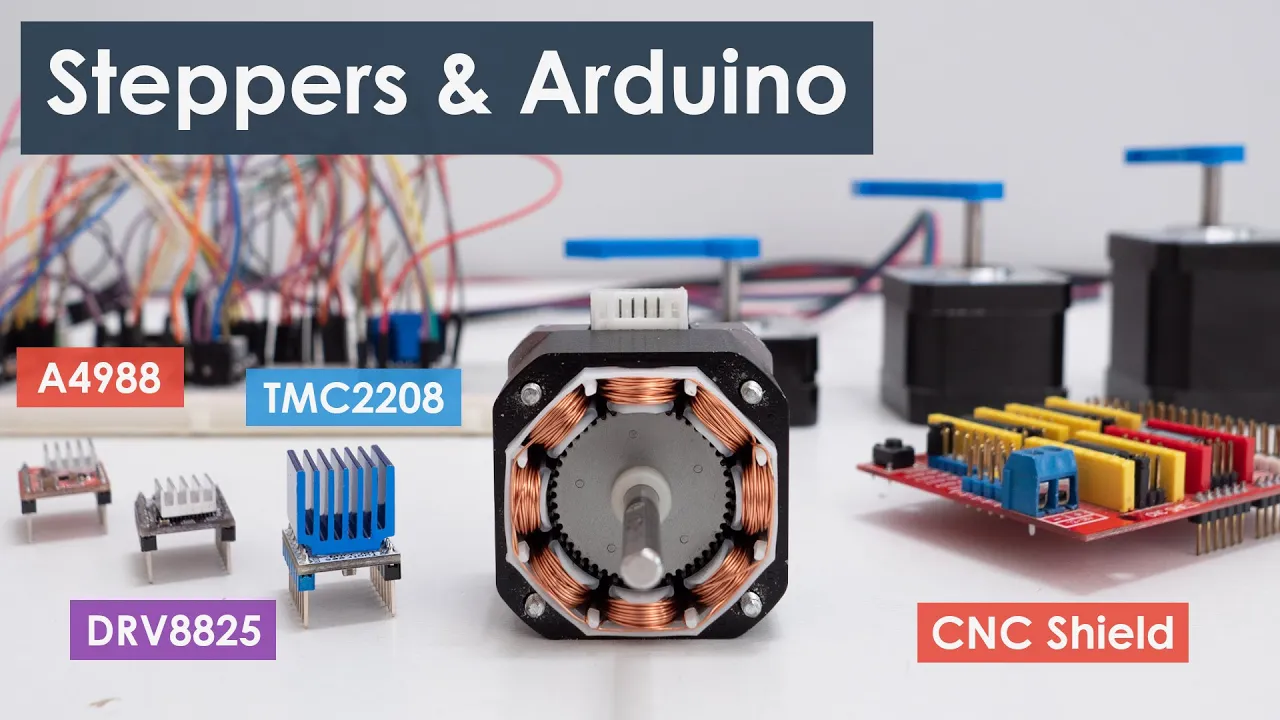
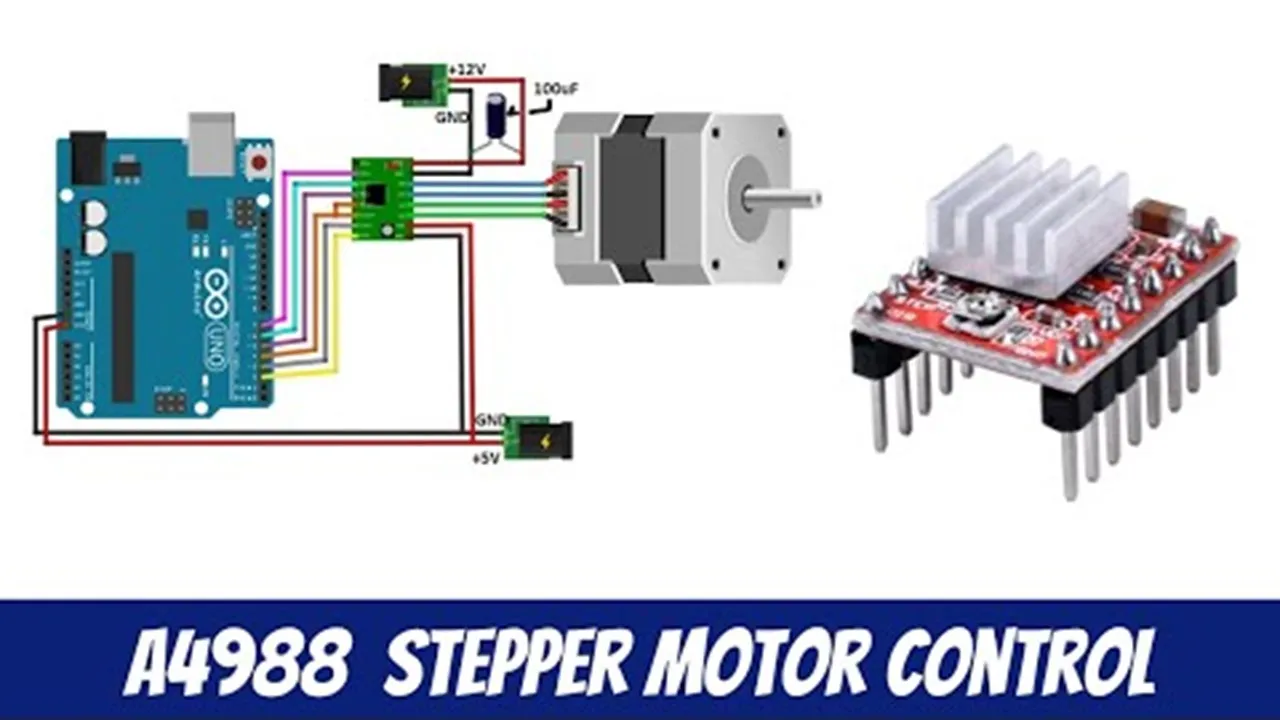
Fundamentals of stepper motors and motor drivers (such as the A4988) to understand how digital signals translate into physical rotation.
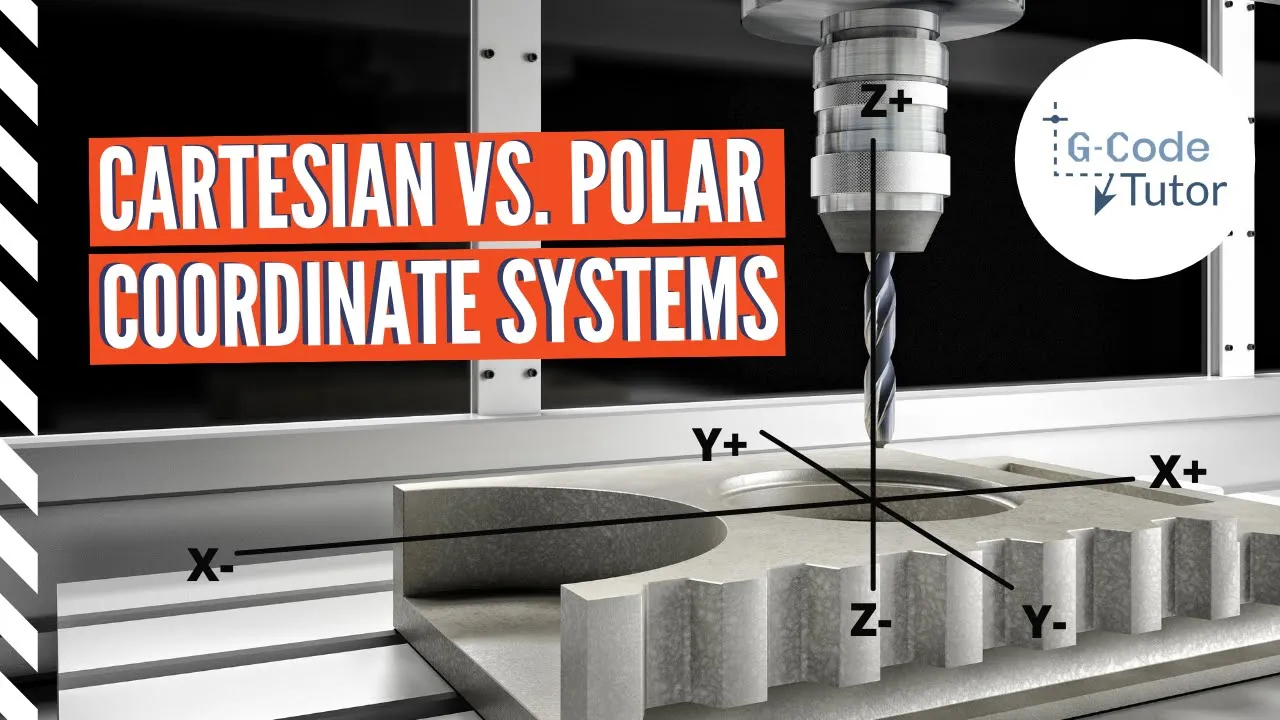
Understanding of Cartesian coordinate systems (X, Y, and Z axes) and how G-code instructions direct machine movement.
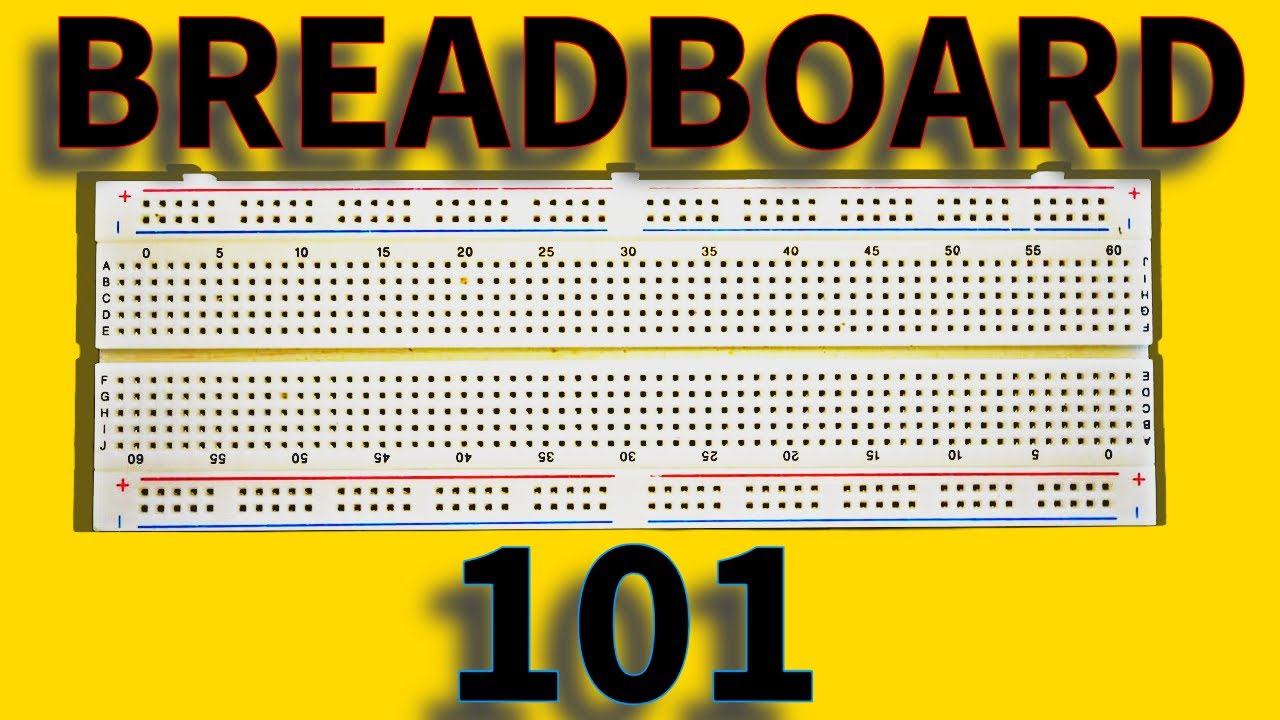
Basic electronics circuit design, including breadboarding, power distribution, and safe wiring practices.
Advanced calibration techniques, such as calculating steps-per-millimeter and fine-tuning stepper driver current to prevent overheating.
Mastery of Computer-Aided Manufacturing (CAM) software pipelines to convert vector artwork (SVGs) into optimized G-code.
Upgrading the CNC architecture to handle mechanical load for subtractive tasks like laser engraving, PCB milling, or vinyl cutting.
Implementing closed-loop feedback systems and hardware interrupts (such as limit switches) for automated homing and safety.
919.3K views20.9Klikes19:28Original Release: 2020-07-11
hello I'm Luis and welcome to DIY machines where in today's episode I'll show you how you can build your own mostly free D printable CNC drawing machine this project has a relatively low cost and can be used to draw on as many different surfaces as you can think of you can make letters drawings coloring in templates invitations and phone cases just to name a few it's also a very quiet machine with the noise coming from the servo and the pen on the paper only have a listen and to create a multicolored print you can change the Pens easily thanks to the thumb screws during the print itself swap them for some add the link and you can draw onto a sheet of icing which can then be used to decorate a cake perfect for any parties or special occasions and by a dense and thick permanent pens into the head you can create your own custom t-shirts huh you're supposed to make a t-shirt here you'll only need a few components and some 3d printed parts to build one of your own you'll find the link in the description below where you can download the files for printing and see where you can find these on Amazon you'll also need to find yourself a large wooden board it will need to be at least 36 by 42 centimeters and we'll use this to mount the project on you're also going to need some NEMA 17 stepper motors free 8 mil chromed steel rods some electrical wire at least a 2 amp 12 volt power supply and a 30 centimeter linear rail with block you'll also need three linear bearings - gt2 idler pulleys one smooth idler wheel two stepper drivers - contact switches an Arduino CNC shield and an Arduino Uno some lengths of gt2 timing belt the mini hobby servo a 30 millimeter fan and a selection of nuts bolts and screws we'll start off by sampling the x-axis this is the one that goes side to side for this we'll need the first of our free 3d printed parts that's the base empowered Basin idol and raft mount I printed all three of these with a naught point one five millimeter layer height and with a 40% infill for improved strength once printed we can first add the idle pulley to the idle end this is achieved by fretting one of the m5 bolts through this opening then through the idler and finally tightening the nut at the other end be careful not to over tighten the nut and risk deforming the 3d printed part we only need to hold the bolt in place now attach our lenny rail between the two supports for the x axis using an m3 by 12 bolt and nut at both ends to hold it firmly using the wood screws we can then fix the printed parts to our wooden board the left edge of the idle end should run up to the edge of the board and at least 28 centimeters from the front edge the powered end can also then be fixed the board the raft mount can then be positioned over the linear sliding block and is secured to it using free m3 by 10 bolts through these holes use 4m 3x6 bolts to attach the stepper motor you want to ensure that the wires are exiting away from the drawing area the timing pulley can then be added to the shaft of the stepper motor but don't tighten it up just yet we can now take our 80 centimeter length of timing belt and attach it to the raft that slides side-to-side to do this take one end of the belt and loop it back round on itself you can then push this loop that you just made in and around the column at the bottom of the raft the two teeth sides of the belt will lock together in the narrowest section you can give the bow a gentle tug to check that is correctly held now pass the belt over the idler back around underneath it and then around the toothed pulley attach the stepper and back again to the other side of the raft repeat the same steps to fit this end in but this time you need to keep the belt under tension when you insert it you can now rotate the stepper pulley by hand slightly back and forth to check that the raft responds instantly without hesitation if you notice that when you turn you're set the motor by hand you can turn it a bit before the raft moves backwards and forwards then your belt is probably too loose and you should go back and tighten it before carrying on you can now slide the powered pulley along the shaft of the stepper motor so that it aligns comfortably with the belts position firmly tighten the grub screws ensuring that one of them tightens against the flat face of the shaft we'll start to fit some more components onto our raft now start by securing the idler by placing it in line between these two holes and securing it in place by feeding the M free by 18 bolt through it the second motor is presented from underneath the raft with its wire facing out towards this small arm secure it in place using free m free by ten bolts now add the timing pulley on top and secure it to the shaft so that it sits flush with the tip slide the two long linear bearings into the housing depending on how tight your print is it may need a firm push to fit or if you find that they're too loose you can use four zip ties through these hogs to help hold it secure like so we now need to solder a few wires has very little soldering required in this project and the first part will be connecting some wires to our two contact switches solders some 55 centimeter long wires onto the normally open and common connections of your first contact switch if you're not sure which pins these are on your contacts switch and you can easily check it with a multimeter set it to continuity test attach it to the legs of the switch then check that the circuit is complete when the switch is pressed but broken when unpressed thread the wires through the channel here and then use some glue to position the switch at the end of its recess make sure that the glue does not interfere with the operation of the switch attached from 60 centimeter wires to the same normally open and common connections of the second switch this one can then be attached underneath the panel against this protrusion so that closes where the raft meets the ID will end with the x-axis the Y can be routed around the stepper motor and then over this arm slide the wire from the stepper motor over the arm as well to keep the wires together and tidy you can use a few wraps of installation tape spaced out along their length now we'll start to work on the y-axis of our machine this is the one which push and pulls the pend forward and backwards for this we'll need three more 3d printed parts this will be the servo end the pen end and the pen holder itself [Music] start by inserting an m3 nut into these two holes in the servo end followed by partially inserting two M three by six bolts the two long rods can then be inserted and secured to the print by tightening the bolts the other ends of the two rods can then be carefully inserted to the two linear bearings that we have already added to the assembly take some care when you install the steel rods to make sure they go in as straight as possible this is so that we can avoid dislodging any of the ball bearings inside the linear bearings when you slide this back and forth you should hear it engage the contact switch before coming to the end of its travel insert the remaining bearing into its space on the pen end put it down as far as it will go insert 2 m3 nuts and six millimeter long bolts into their respective places ready to grip onto the rods as we did with the other end of the y-axis we will also add an m3 nut and six more bolt here on the pen slider the Pens slider can then be fitted over the wipin end by placing the end with the nut and bolt over the slot and then gently but firmly sliding the bottom end of the print under the pen slider at this point the 55 millimeter long metal rod could be inserted from below through the bearing and into the recess at the top tighten the bolt against it to secure it into place this assembly should be able to slide up and down freely there is some friction in yours you'll need to reduce it by using some fine sandpaper where they rub we can now glue two of our freely printed finger dials to a couple of em free by 18 bolts once the glue has dried this can then be added to the assembly using 2 m3 nuts to hold them these will be used later to hold the pen in position we can now attach our newest sub assembly to the rest of our machine at the end of these 2 rods were secure in place by tightening up the two bolts that we added earlier and while we have our clutter hand we'll attach one end of our 50 centimeter long timing belt until the top of the pen holder ensuring that the smooth side is attached to the print now add the remaining idle pulley with the 5 millimeter internal diameter to the arms at the top of the print using the M 5 by 25 bolt the timing belt can then be laid back over the top of this pulley to connect the y-axis to the stepper motor take the 60 centimeter long timing belt fold one end back on itself and insert this into the slot of the pen end ensuring that the toothed side is facing inwards feed the timing belt through the tunnel in the main raft and then do a u-turn around the stepper motors will feed it back out under the bridge do another u-turn around the idling pulley and head back towards the other end of the y-axis when you reach the other end we need to fold the belt back on itself again so that it's toothed side grips itself and feed it into the loop to hold it in place now just like the other belt this one needs to be neither too slack and of too taut an easy way to check this is to turn the stepper motor of the y-axis by hand and check the issue turn it the y-axis moves back and forth instantly when you change direction and if you find that you're having to put too much effort to turn it with your fingers then your belt is probably too tight now let's complete our work on the z-axis this is the one which moves the pen up and down for this we'll need to take our servo and cut the connector off the end use three new lengths of wire to make up the total length to 55 centimeters you should also use some heat shrink tubing or insulation tape to prevent these free Y's from shortening out on one another or breaking as our machine moves back and forth we can then add the freely printed servo on on to our survey to fit it at the ideal angle hope the survey said the wire is exiting out at the top fit the arm and then gently and slowly turn it clockwise until some resistance is felt stop and remove the servo arm then reattach it so that the arm is positioned at the five-minute position we can then drop the servo into place on the end of the y-axis okay now we're ready to use this length of timing belt to connect the servo to the pennant take the belt coming from the pen holder and pass it over the top of the idler wheel at the loose end of the belt fold it back on itself and then slide this into the printed arm on the servo so that the pen slider is almost fully raised when the servo is at the extent of its counterclockwise rotation when you gently return the server arm to the upright position the pen sled should be fully lowered and there should be some slack in the belt confirming this this is now the bulk of our mechanical assembly complete it's also a great time for me to extend my gratitude to my patreon a special thank you goes out to my first ludicrously awesome patreon Titan from California thank you ever so much I'm also grateful for the continued support of my current patrons who are not only joined by Titans this video but also by aaron ice herald alia martin Pierre and the Frieda geeks app thank you everyone your support is invaluable for helping me make these projects let's start to work on the electronics housing and in electronics themselves for this you'll need two more 3d printed parts that's the electrics housing in the electronic housing lid for the power on my project I will be adding a barrel connector to the housing this means I can easily connect and disconnect the power whenever I like if you don't want to do this or you want to permanently connect your power supply then you can just polish your wires through this opening in place of the barrel connector and a barrel connection will first add two 12 centimeter lengths of wire to the bottom and right most side pins of the barrel when looking at it from behind I'm going to use red and black wires to make it easier to follow the polarity throughout the project once attached it can then be inserted from inside the housing and secured in place using its nut our fan can be added next this is used to keep our electronics cool use the screws that should have been included with your fan to mount it on the outside of the housing the wise should pass into the housing where the squared off edge of the circle is it is only secured at three of the four corners before we install some more electronics inside our housing the fix is down onto our backboard this step is optional if you don't mind yours being loose you can skip this when choosing where to places you want to make sure that the wires from your electronic components can reach the housing also that the housing isn't in the way when the machine moves back and forth so I'll be mounting mine up here in this corner next we will install the Arduino Uno this is loaded onto the standoffs in the print and secured in place with some em three by six bolts I only anchored mine in a couple of places your stepper motor drivers might come as the heatsink already attached or as to set for items few to attach yourself now they're not attached just peel off the sticky back and place it carefully onto the center of the board we then attach one to the X and to the y-axis on our CNC shield make sure that when you insert them onto the headers but they are orientated correctly there is a pin on the motor driver labeled as en for enable we should line up with the same marked pin on the CNC shoot the wires coming from our barrel connector are then added to the terminal block on the CNC shield paying attention to the correct polarity as marked the wires from the fan are then connected to the 5 volt and ground points on the CNC shield found behind the power supplied terminal blocks will add the wires for our contacts which is next now there are several ways of connecting these to your CNC showed you can either solder them directly to the pins or you can add some female DuPont connectors to the ends of the wires I have added some female DuPont connectors to my wise as I wanted to be able to reuse the shield whilst designing the prototype for this project and again now whilst I film this video for you if you'd like to know how to add your own DuPont connectors twice now I've made a separate video showing you how you'll find a link to it in the description below or follow the card up here in the corner the wires coming from the limits which mounted beneath the raft should be first threaded through the large hole beneath the letter D on our freely printed lid and then connected to the white and black pins adjacent to the end stock connection labeled x- on the board the wire is from the contact switch on top of the raft are also passed for the same hole in the lid before connecting to the white and black connections adjacent this time - why - the orange wire from the servo connects to the white pin next to the dead plus the brown wire to ground and the red to 5 volts the y-axis motor this is the one from underneath the raft is passed through the center slot in the lid and connects to the rower pins for the Wye stepper driver on the CNC showed the red wire should be closest to the outer edge of the board the x-axis motor cable passes through the other hole and onto the row of pins next to the X stepper driver the CNC shield itself can then be inserted on top of the Arduino taking care to align the pins the lid can then be lowered in place being careful not to trap any wires and secured with four M free by six bolts okay so that's how a hardware finish now join me in the next video where I'll guide you through how to install and configure garble onto the Arduino Uno and I'll give you an overview of how to use Inkscape and chili pepper to control your machine from your PC if you haven't already please consider subscribing to the channel and sharing this video with anyone who may find it interesting I'll put the link to the next video in the description below otherwise until then ciao for now
Up Next

8:57
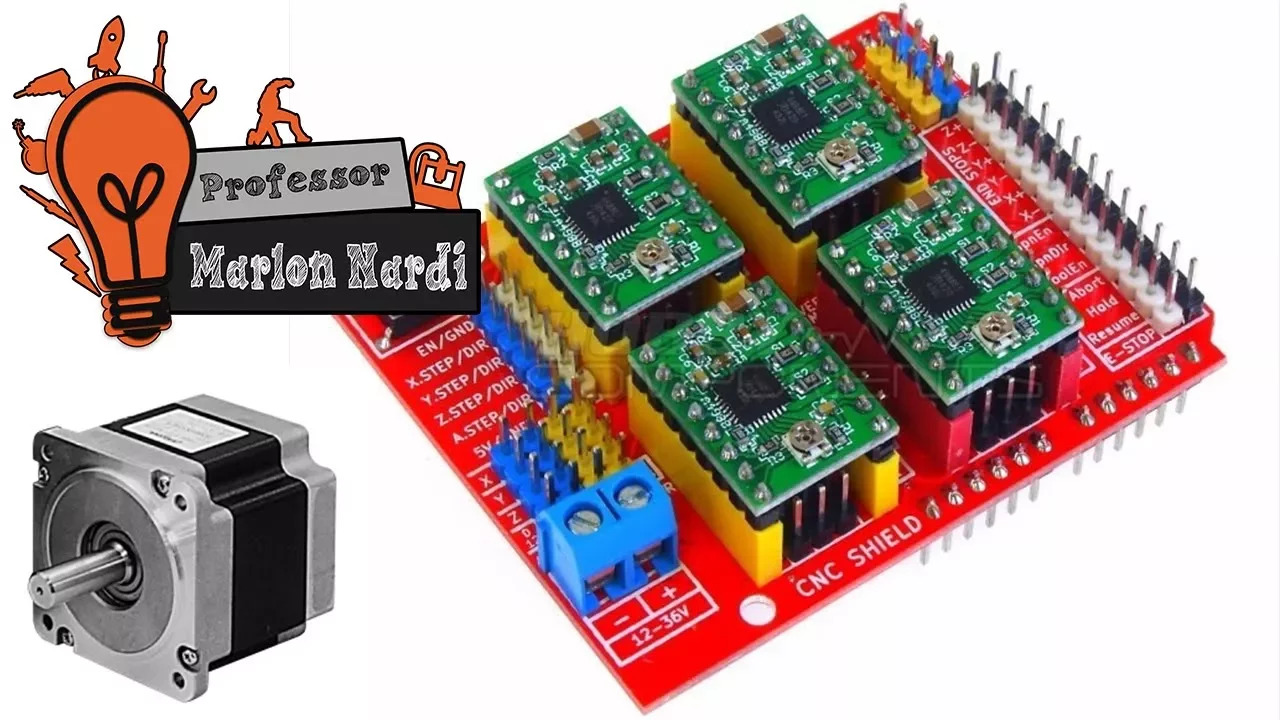
Arduino CNC Shield V3.0 & A4988 Stepper Driver Guide
@TakimMallick_25
1.7K views•2022-03-12

26:22
Walking in the City: Urban Rituals and the Flâneur in Contemporary India
@PSBTIndia
1.9K views•2016-08-02

9:49
FastAPI vs Flask vs Django: Choosing the Right Python Web Framework
@TechWithTim
302.5K views•2024-05-26

1:42
Game of Thrones Opening Credits: A Cinematic Analysis
@gameofthrones
46.3M views•2011-04-18
Related Study Plans & Knowledge Roadmaps
Structured learning paths in General & Interdisciplinary Studies
general-studies
Artificial Light: History, Tech & Human Impact
01The Pre-Electric Era: Fire, Oil, and Gas Lighting
02The Incandescent Revolution and Grid Electrification
03Gas Discharge and Fluorescent Illumination
+ 3 more learning modules
14h6 modules
Explore Roadmap
general-studies
Elevator Engineering: History, Physics & Cities
01From Hoists to Safety Brakes: The Dawn of Vertical Lift
02Hydraulic vs. Traction: The Engineering Physics of Elevators
03Modern Speed, Safety, and Algorithms
+ 2 more learning modules
12h5 modules
Explore Roadmap
general-studies
Rubber: Material Science, History & Geopolitics
01Origins of Natural Rubber & Mesoamerican History
02The Chemistry of Natural Rubber & Vulcanization
03The Geopolitics of the Rubber Boom & Colonization
+ 2 more learning modules
12h5 modules
Explore Roadmap
general-studies
Containerization: Evolution, Logistics & Trade
01Ancient Trade & Bulk Cargo: Amphorae to Barrels
02The Industrial Revolution & Cardboard Packaging
03The Containerization Revolution: Malcom McLean
+ 2 more learning modules
12h5 modules
Explore Roadmap