





![[2/10/2023] 4x02: Circuit Analysis Workshop](https://i.ytimg.com/vi_webp/ixbeBommpc8/maxresdefault.webp)


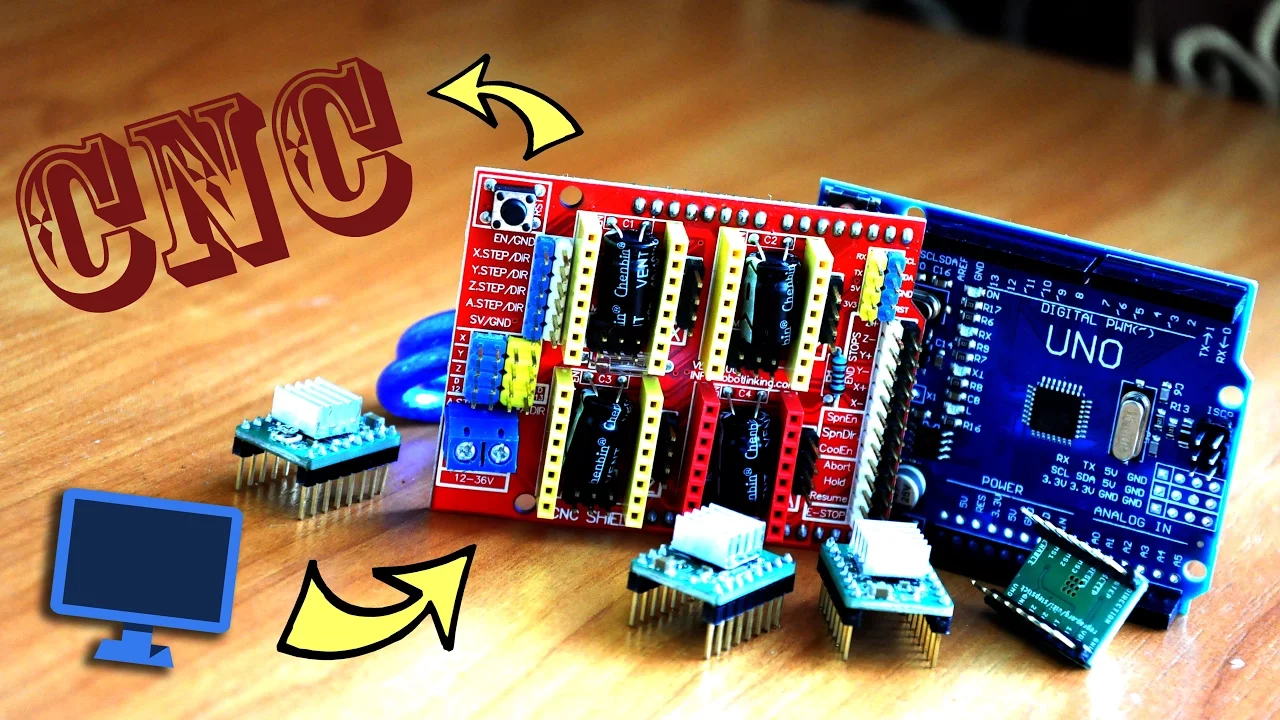
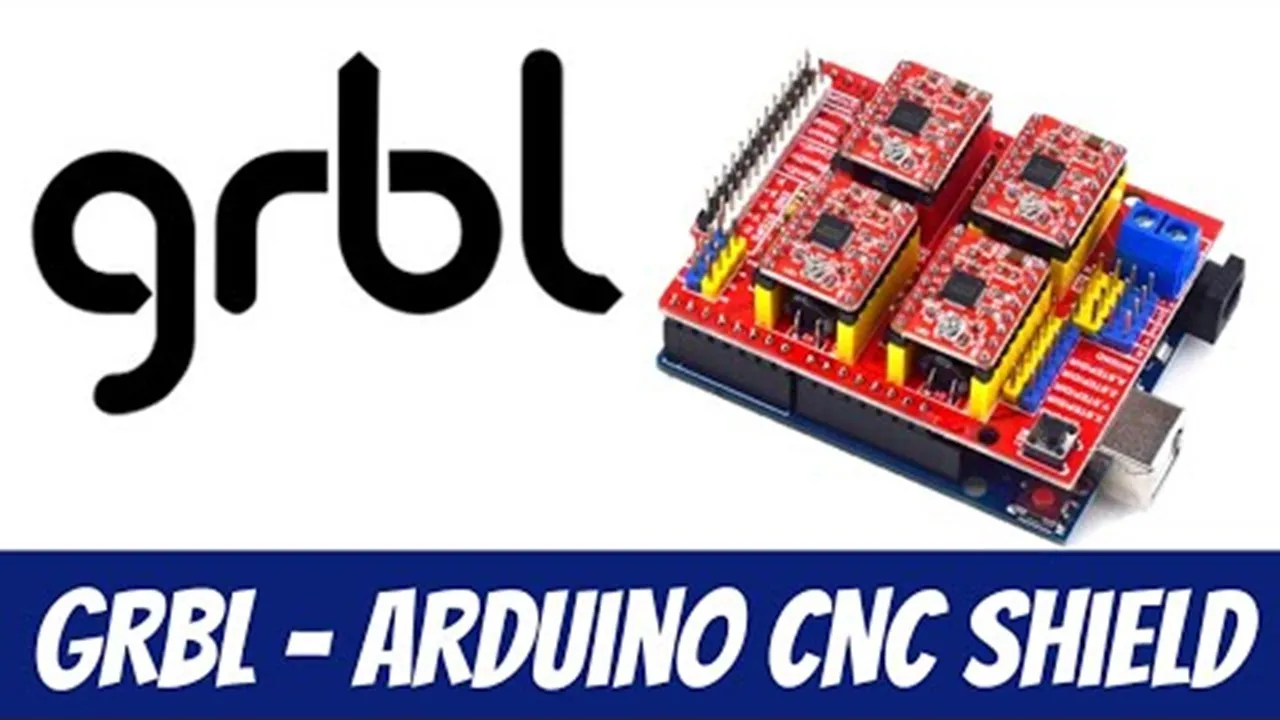






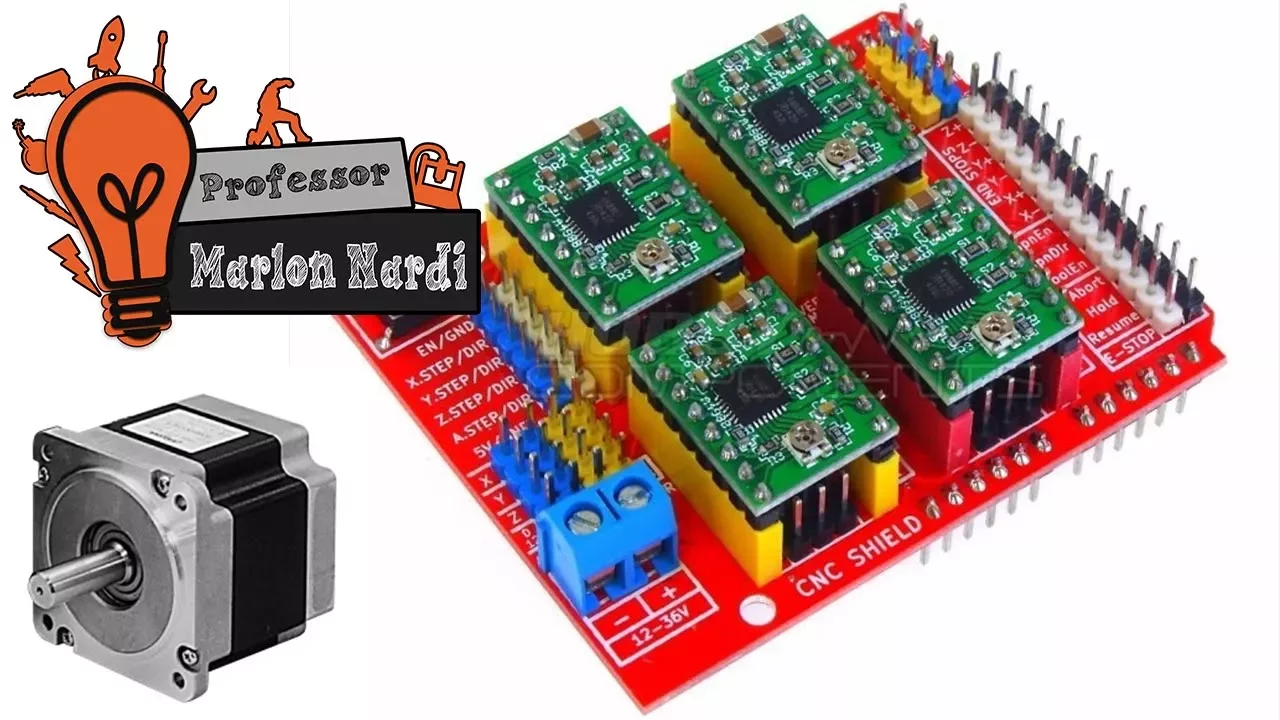



The Arduino CNC Shield V3.0 is an expansion board that enables Arduino to control stepper motors for CNC applications, featuring three A4988 drivers for X, Y, and Z axes, each capable of handling up to 2 amperes of current; the A4988 driver uses bipolar stepper motors with four wires connected to two internal windings, and includes control pins for direction, step, sleep mode, reset, and microstep resolution selection (MS3, MS2, MS1), while the CNC shield integrates additional features like spindle control with PWM, limit switches, and emergency stop functionality, requiring a separate 8-35V DC power supply for the motors and careful placement of drivers with proper orientation according to silk-screen labels.
Arduino CNC Shield V3.0 & A4988 Stepper Driver Guide
Added:Basic microcontroller concepts, specifically how to program and upload sketches to an Arduino UNO.
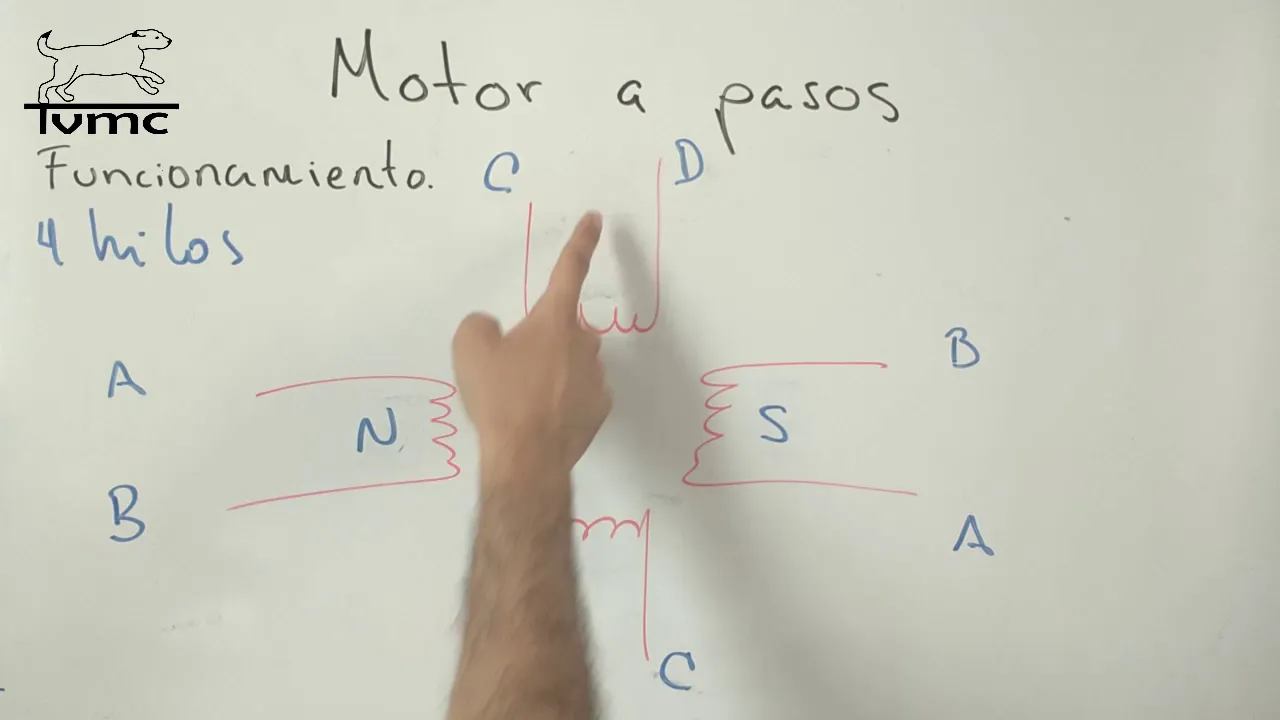
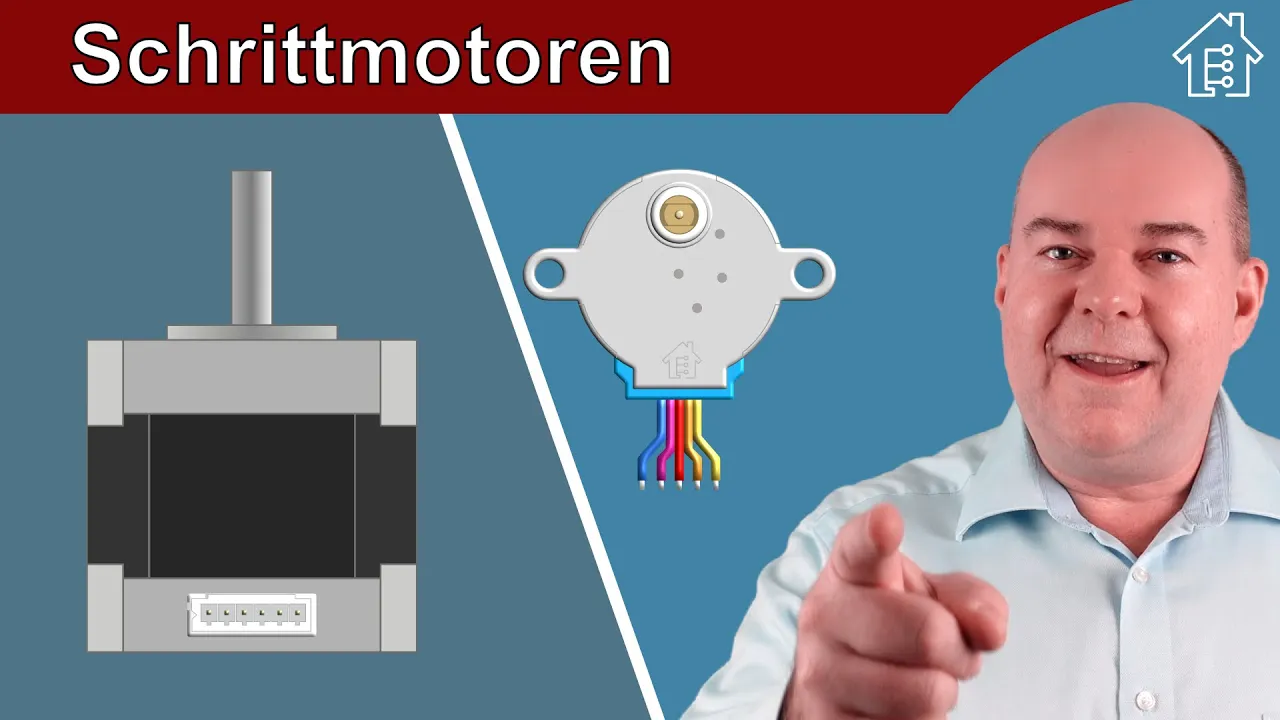
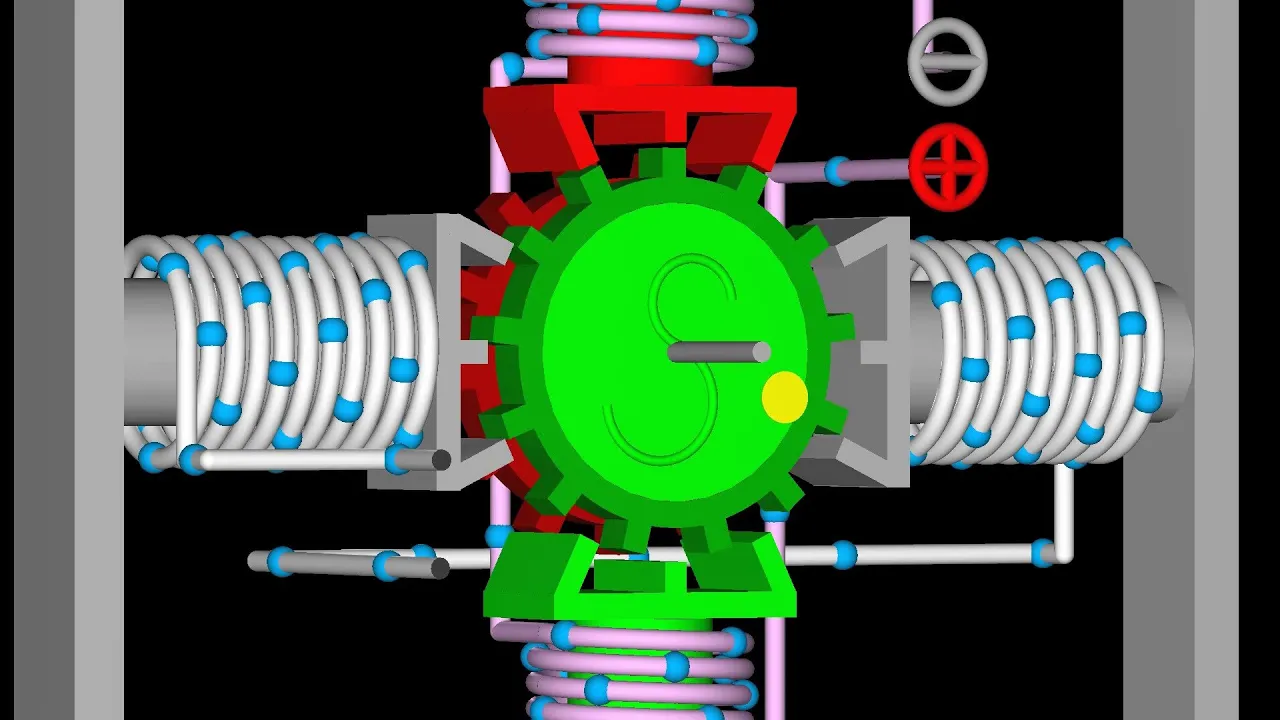
The working principles of stepper motors, including bipolar coils, step angles, and how they differ from standard DC motors.
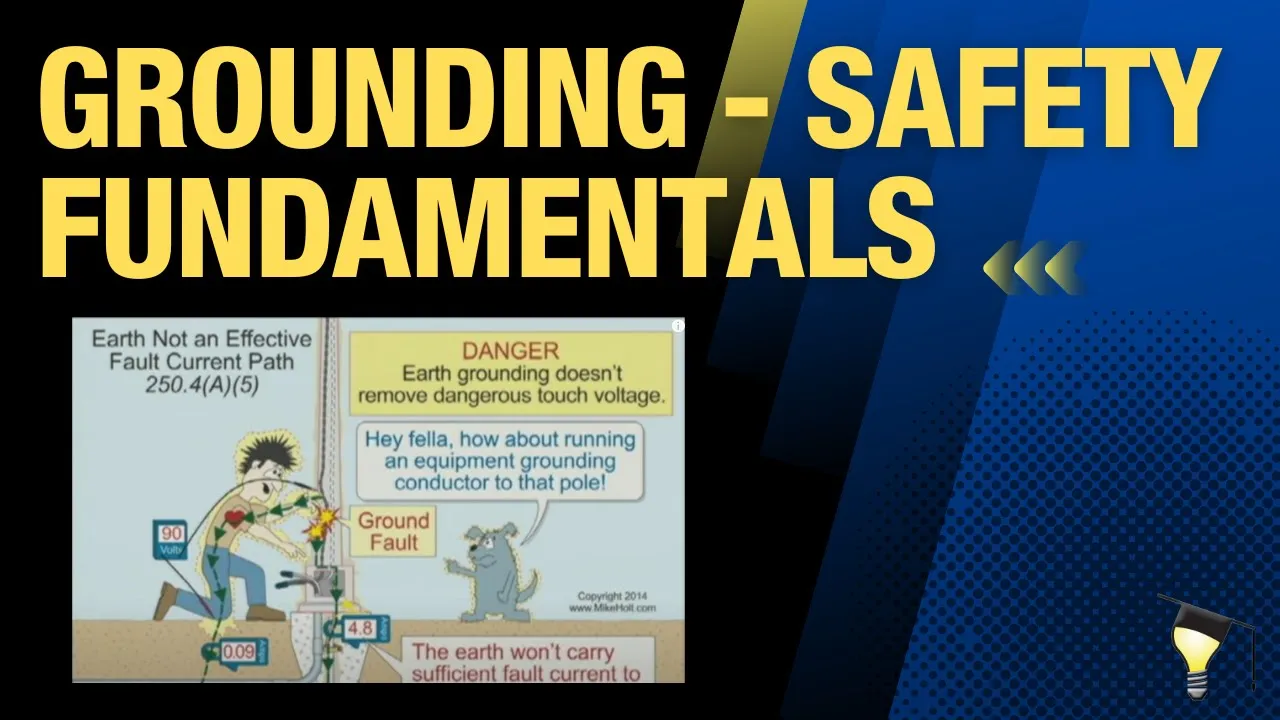
Fundamental electrical concepts such as voltage, current, power supply safety, and the importance of common ground.
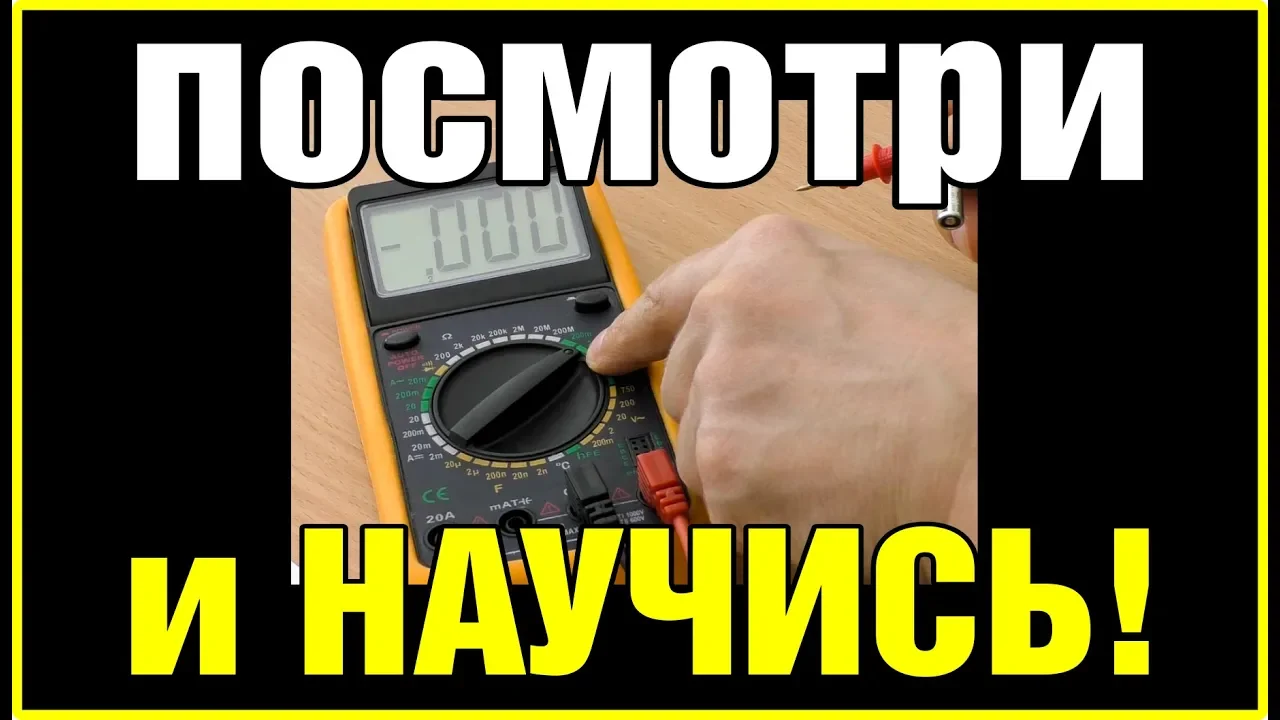
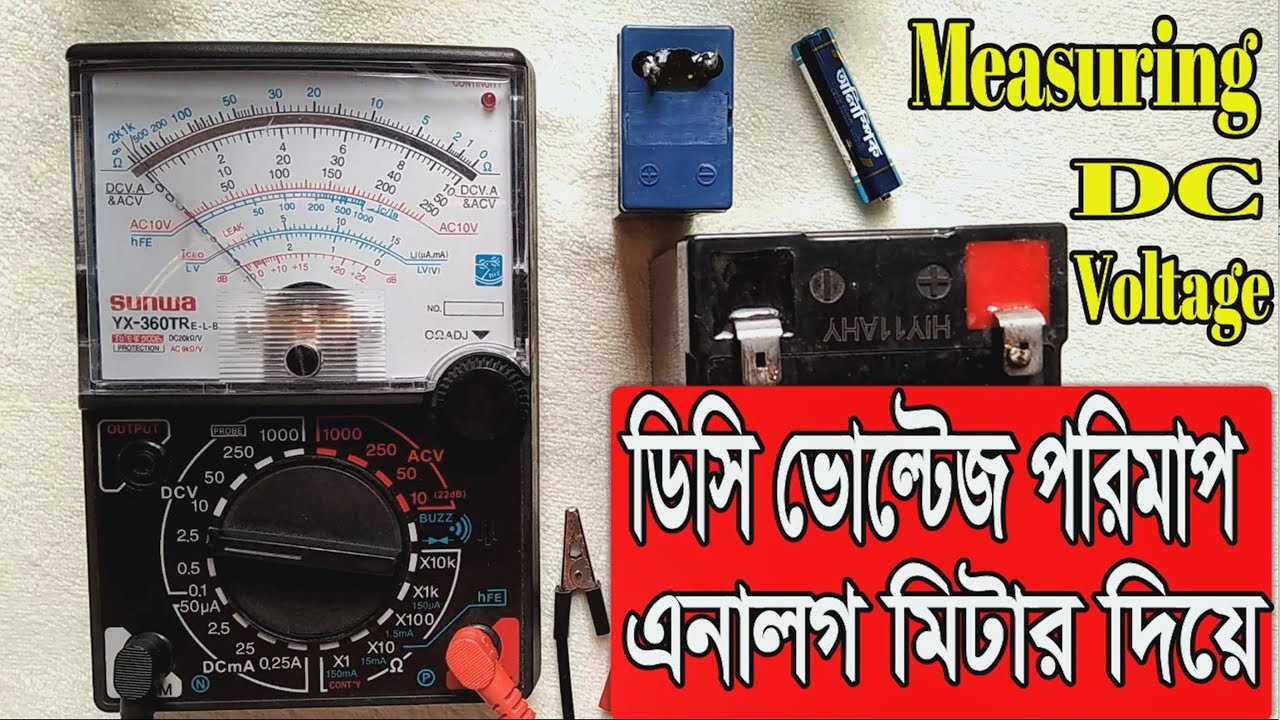
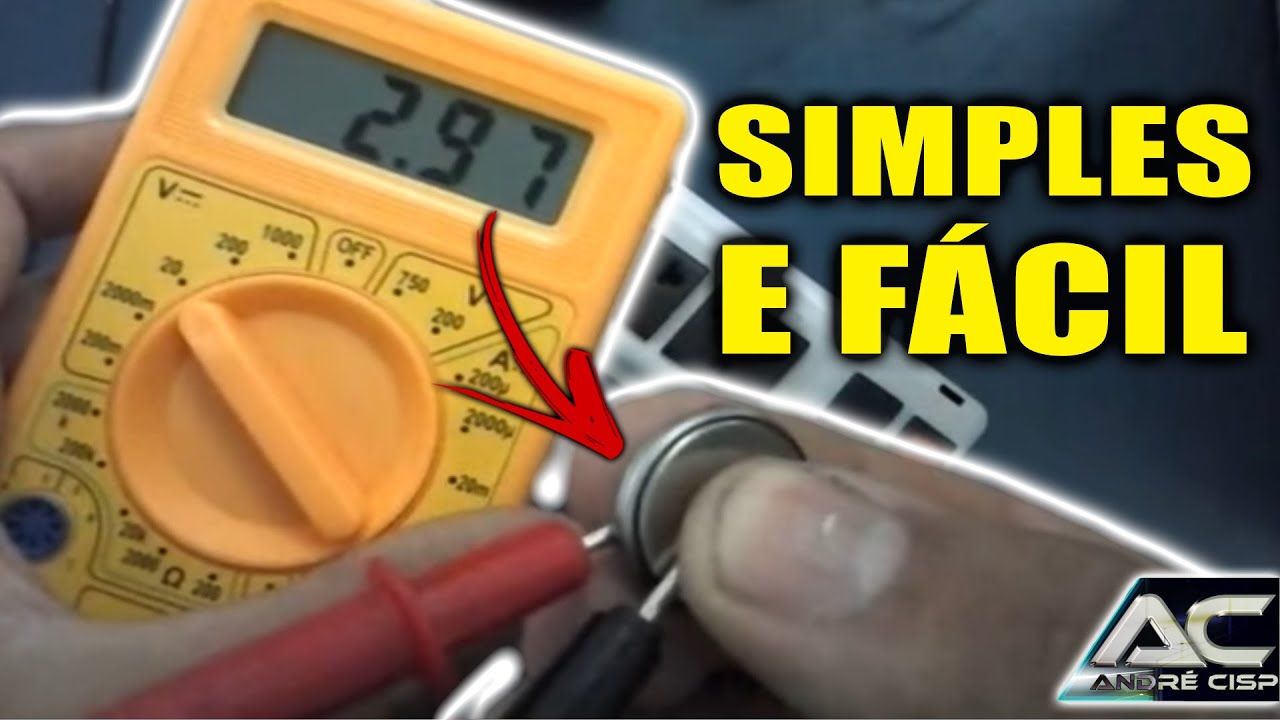
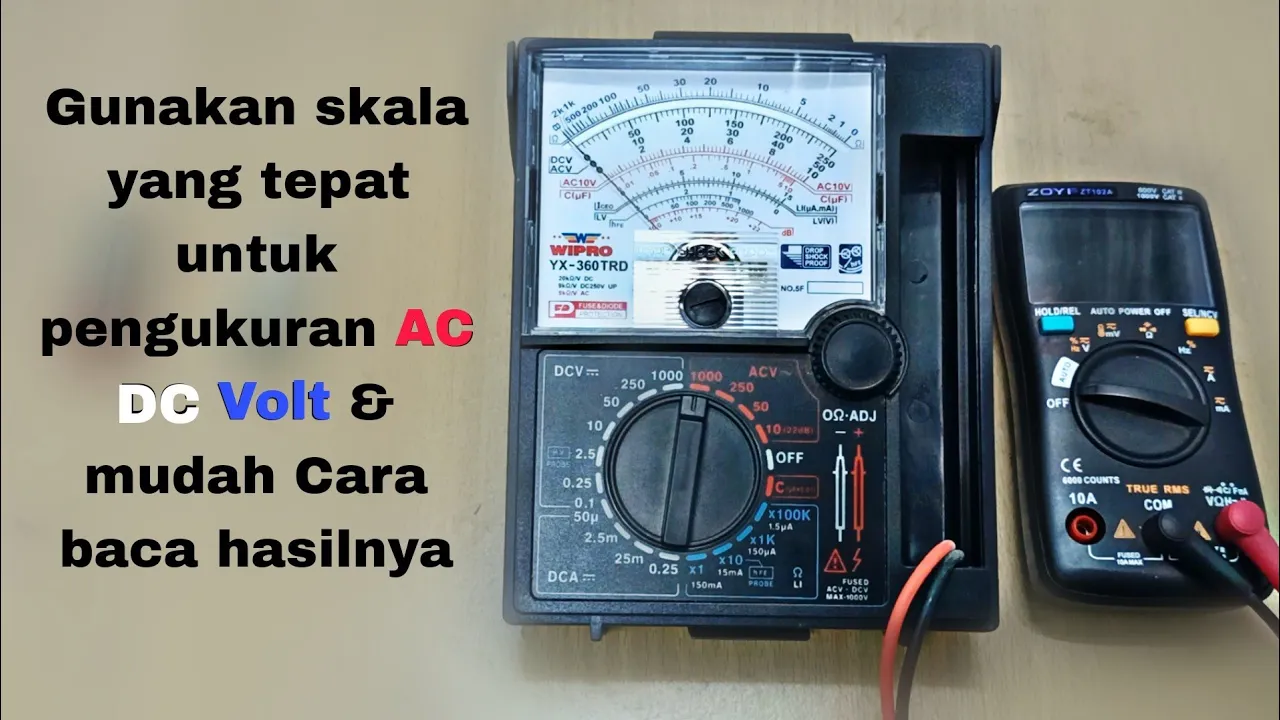
How to use a multimeter to measure DC voltage, which is essential for adjusting driver reference voltage (Vref).
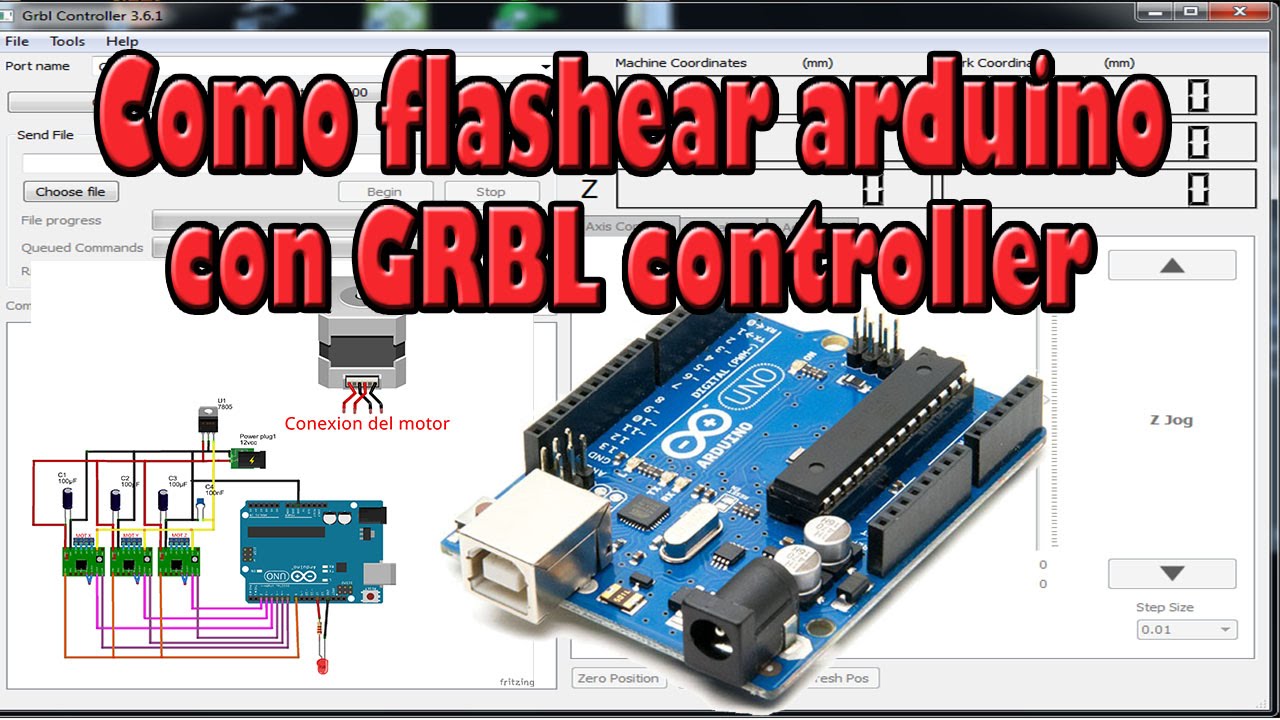
Flashing and configuring GRBL firmware on the Arduino UNO to act as the CNC controller.
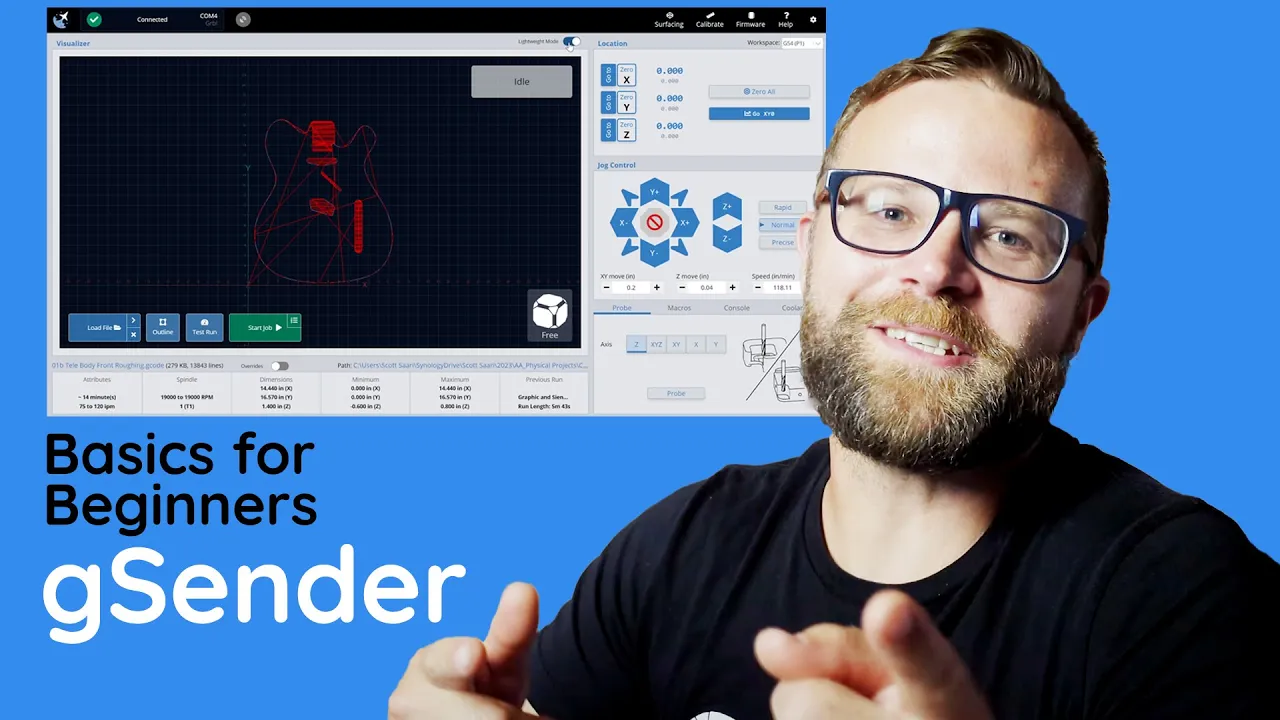
Interfacing the hardware with G-code sender software (such as Universal Gcode Sender or Candle) to control axes movements.
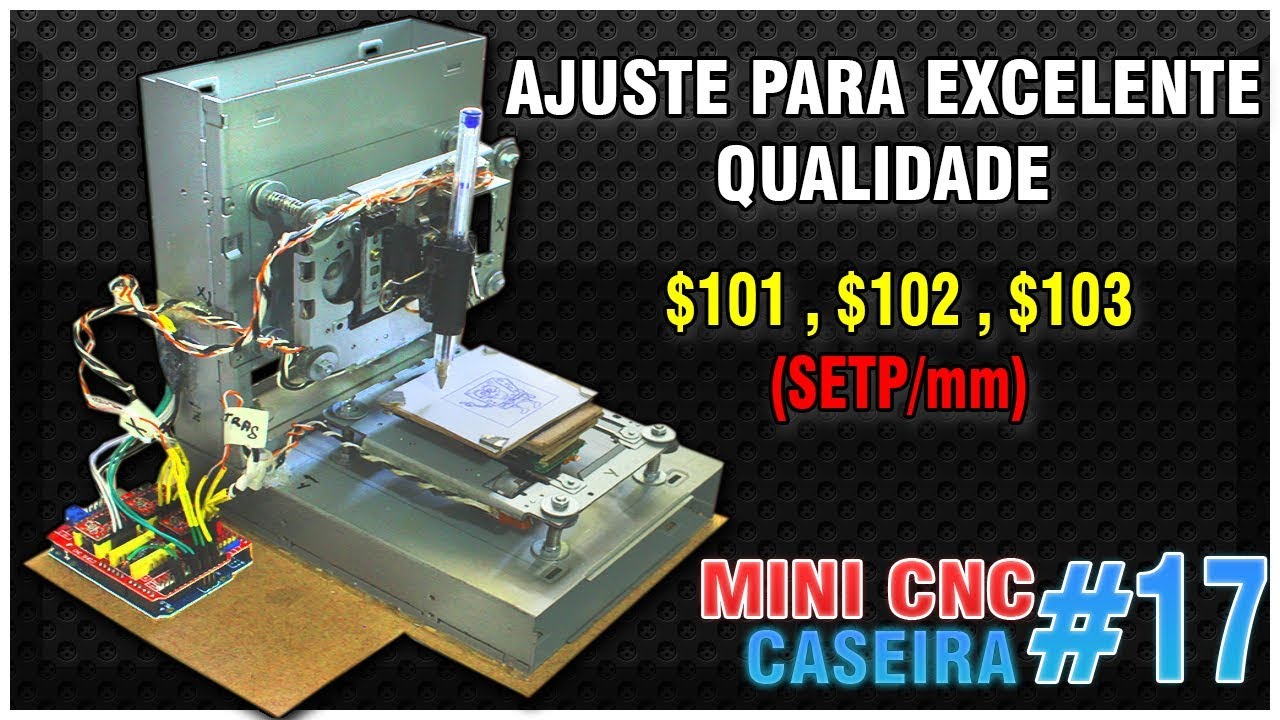
Calibrating the steps-per-millimeter ($100, $101, $102 GRBL settings) to ensure dimensional accuracy of the CNC machine.
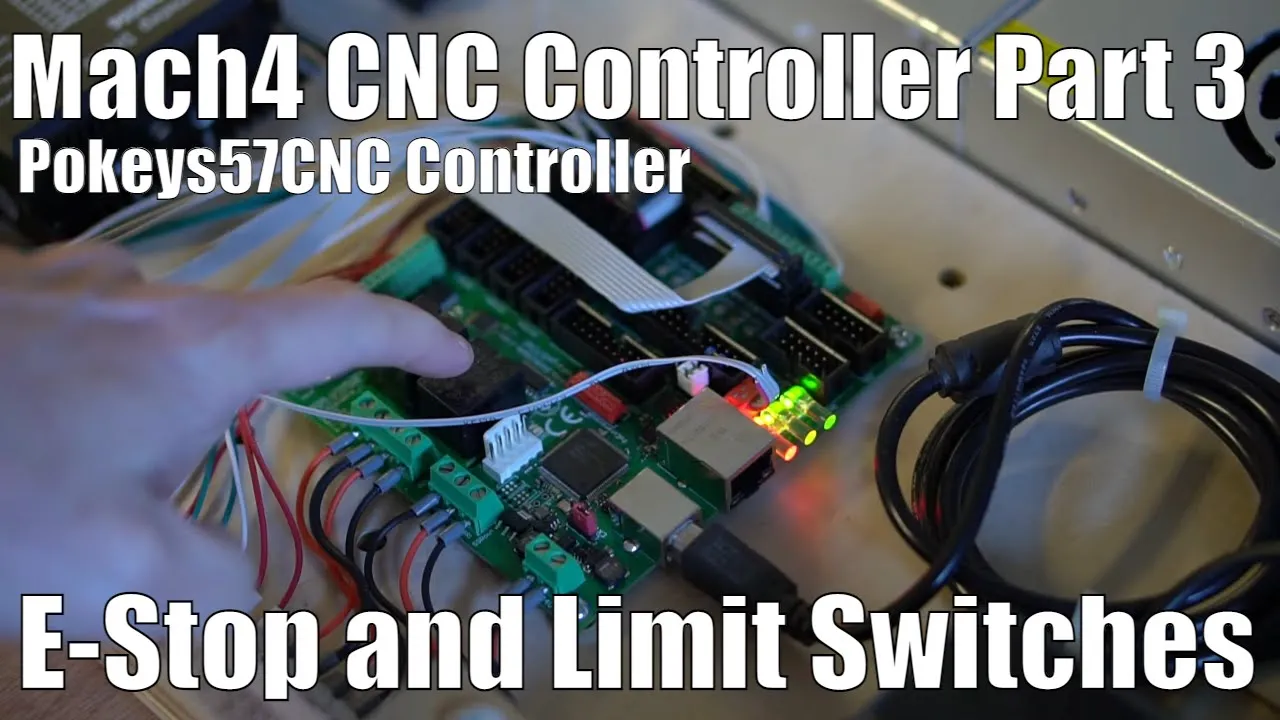
Integrating limit switches, emergency stops, and spindle/laser control relays into the CNC Shield.
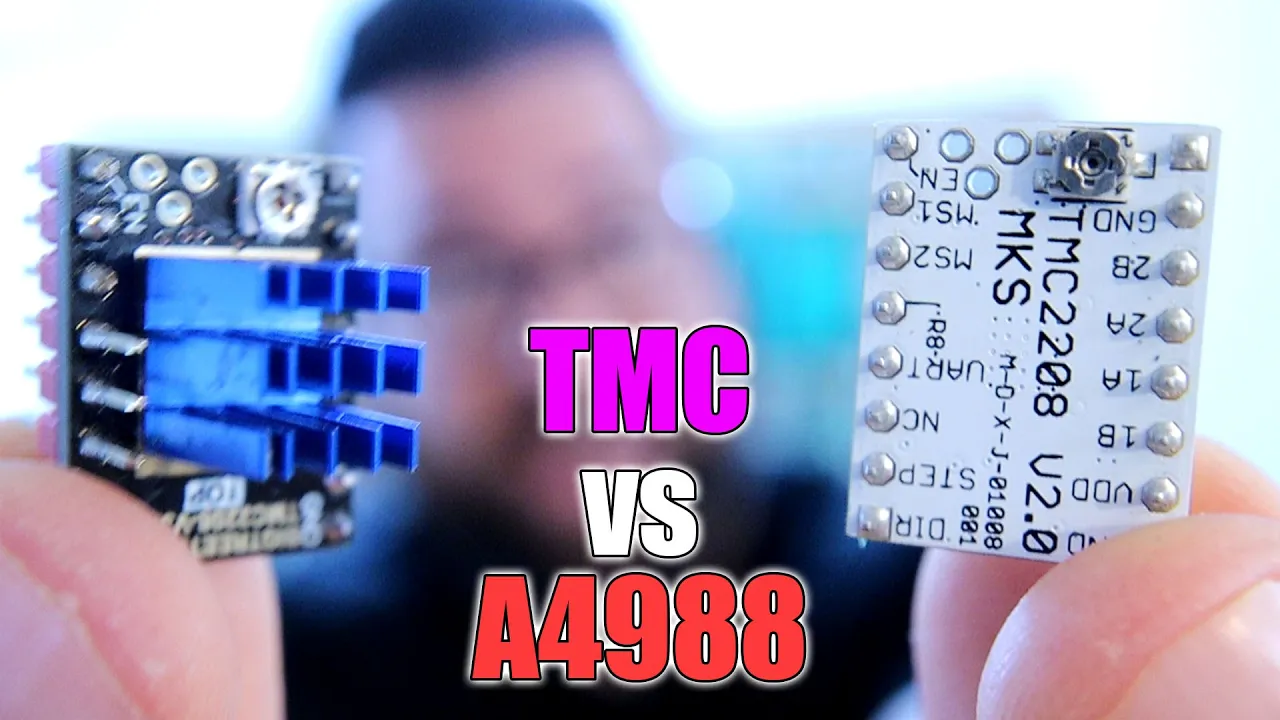
Upgrading to advanced stepper drivers (like DRV8825 or TMC2209) for microstepping resolution and quieter operations.
1.7K views26likes8:57Original Release: 2022-03-12
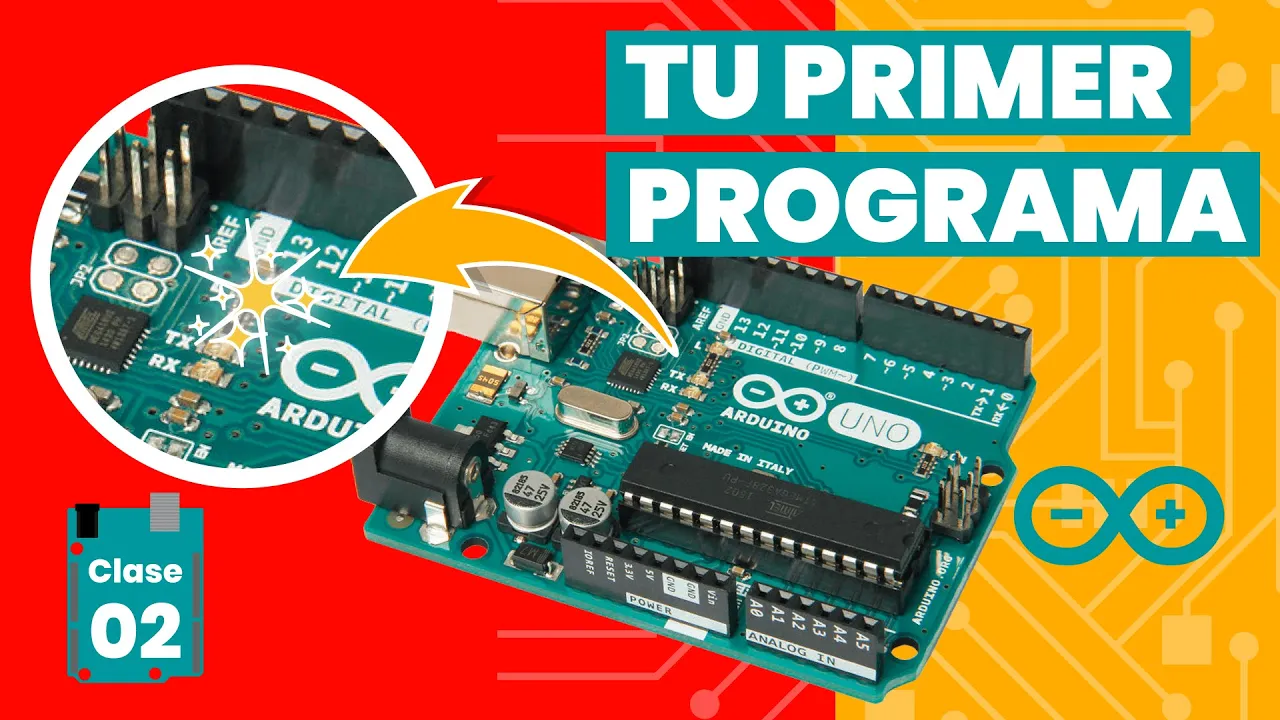
assalamualaikum in this video i will be talking on arduino cnc shield v 3.0 and stepper moto driver a4988 this is cnc shield with 3.0 and this is stepper motor driver a4 988 which can be carry up to 2 ampere current let's set this heat sink very good adhesive i'll use three drivers for x y and z axis look at the silk it's upside down leveled very clearly gnd and vdd 3 to 5.5 volt dc to power of the driver arduinos 5 volt and gnb can be used here [Music] 2 b 2 a on a on b these are for bipolar stepper motor as the motor has four wires which are internally connected with two coils i mean windings on a and two a that will be connected with the one winding and two a and two b will be connected with another winding gnd and vmot these are used to power up stepper motor those are connected to a dc power from 8 to 35 volt one thing be very careful if you don't use cnc shield then must use a decoupling capacitor so that the capacitor can save the motor driver from voltage spike direction this pin is used to control the direction of rotation this will connect with a digital pin of microcontroller step this pin is used to control the micro step of motor for each pulse it moves one step slip this can be used to minimize power consumption when the motor is not in use a logic low input on this pin puts the driver in sleep mode reset this pin sets the translator to a predefined home state ms3 ms2 ms1 they are used for selecting of the five step resolution look at the micro step 2 table here h is for jumper is inserted and l is for jumper is not inserted those pins have internal pull down resistor so if you leave them disconnected then the board will operate in full step mode enable this is used to turn on or off see carefully here is a bar above enable so logic high will keep the output disabled you can adjust current through this potentiometer now let's learn about the cnc shield v 3.0 you can use an open source firmware like grbl that turns the code commands into stepa signal i have shown how to upload grvl in my previous video i'll provide here the link as well these pins are for stepper motors x y z and a axis these male pins are for controlling micro steps of motor how many jumper you will use here the steps of motor will be lower if you use three jumpers then motor will rotate with most micro steps so the rpm will be decreasing but you will get high torque they are for stepper motor e stop if you connect them then the motor will stop working instantly [Music] resume if you pause your task then same way if you connect those pins then your task will resume hold this will pause your task about this is for terminate or task these three options are for spindle controlling cool en this will enable the spindle uh pwm i mean pulse oid modulation signal will control the speed spndir this is for the direction of spindle these are for the limit switch of x y z axis scl sda and these are for lcd panel rx and tx for communication now let's place shield on arduino uno see here is a push button here is also these push buttons will be same side look at the gap no pin is here now let's place all driver on cnc shield look at the top silk very clearly written en and look here enable both will be placed same side i go this is how place all drivers i think this video will help you a lot take care everyone allah faze
Up Next
6:18
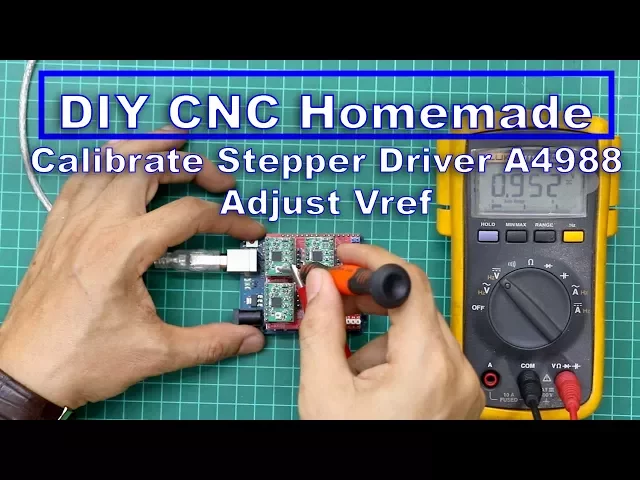
A4988 Stepper Driver Vref Calibration Guide for DIY CNC
@laborjag
51K views•2017-08-31

12:54
Triumph of Orthodoxy Icon: Byzantine Art & History Explained
@BenCallan
2.1K views•2024-08-06

9:49
FastAPI vs Flask vs Django: Choosing the Right Python Web Framework
@TechWithTim
302.5K views•2024-05-26

1:42
Game of Thrones Opening Credits: A Cinematic Analysis
@gameofthrones
46.3M views•2011-04-18
Related Study Plans & Knowledge Roadmaps
Structured learning paths in General & Interdisciplinary Studies
general-studies
Elevator Engineering: History, Physics & Cities
01From Hoists to Safety Brakes: The Dawn of Vertical Lift
02Hydraulic vs. Traction: The Engineering Physics of Elevators
03Modern Speed, Safety, and Algorithms
+ 2 more learning modules
12h5 modules
Explore Roadmap
general-studies
Rubber: Material Science, History & Geopolitics
01Origins of Natural Rubber & Mesoamerican History
02The Chemistry of Natural Rubber & Vulcanization
03The Geopolitics of the Rubber Boom & Colonization
+ 2 more learning modules
12h5 modules
Explore Roadmap
general-studies
Containerization: Evolution, Logistics & Trade
01Ancient Trade & Bulk Cargo: Amphorae to Barrels
02The Industrial Revolution & Cardboard Packaging
03The Containerization Revolution: Malcom McLean
+ 2 more learning modules
12h5 modules
Explore Roadmap
general-studies
Textile Tech: Evolution, Labor & Global Impact
01Pre-Industrial Textiles: Handloom & Cottage Industry
02Mechanization: The Spinning Jenny to the Power Loom
03The Factory System & Global Labor Transformation
+ 2 more learning modules
10h5 modules
Explore Roadmap